How to Generate Puppeteer Scripts With Chrome Recorder
Record a browser flow in Chrome DevTools, export it as Puppeteer JavaScript, run it locally, and harden the script for reliable automation.
Direct answer: Chrome Recorder can turn a recorded browser flow into a Puppeteer JavaScript file. Open Recorder in Chrome DevTools, record or select a flow, review its steps, choose Export > Puppeteer, save the generated file, install Puppeteer in a Node.js project, and run the script. The exported JavaScript is a starting point you can edit; Chrome’s documentation says it cannot be imported back into Recorder.
This guide shows the complete workflow, explains every Recorder export that is easy to confuse with Puppeteer, and shows how to make generated code dependable in local runs and CI.
1. Open Chrome Recorder
Recorder is a panel inside Chrome DevTools. Open the page where the user journey begins, then use either route:
- Open DevTools, open the Command menu, and search for Recorder panel.
- Or select More options > More tools > Recorder panel.
Chrome describes Recorder as a tool for recording, replaying, editing, and exporting user flows. The panel can record navigation, clicks, typing, and other page interactions. The initial viewport and navigation steps are captured automatically, so inspect those steps before exporting. Chrome’s Recorder overview documents the panel locations and core workflow.
2. Record a flow that Puppeteer can replay
- In Recorder, click Start a new recording.
- Give the flow a descriptive name, such as
checkout-smoke-test. - Perform the user journey in the page: open menus, fill fields, click buttons, and navigate.
- Stop the recording when the useful end state is visible.
- Review every recorded step before exporting.
Record the smallest flow that proves the behavior you care about. A short flow is easier to debug, less sensitive to unrelated page changes, and faster in CI. For a login-dependent journey, decide whether the test should create a disposable account, use a test account, or inject an authenticated state. Do not record real passwords or production secrets into a file that will be committed.
Review selectors before export
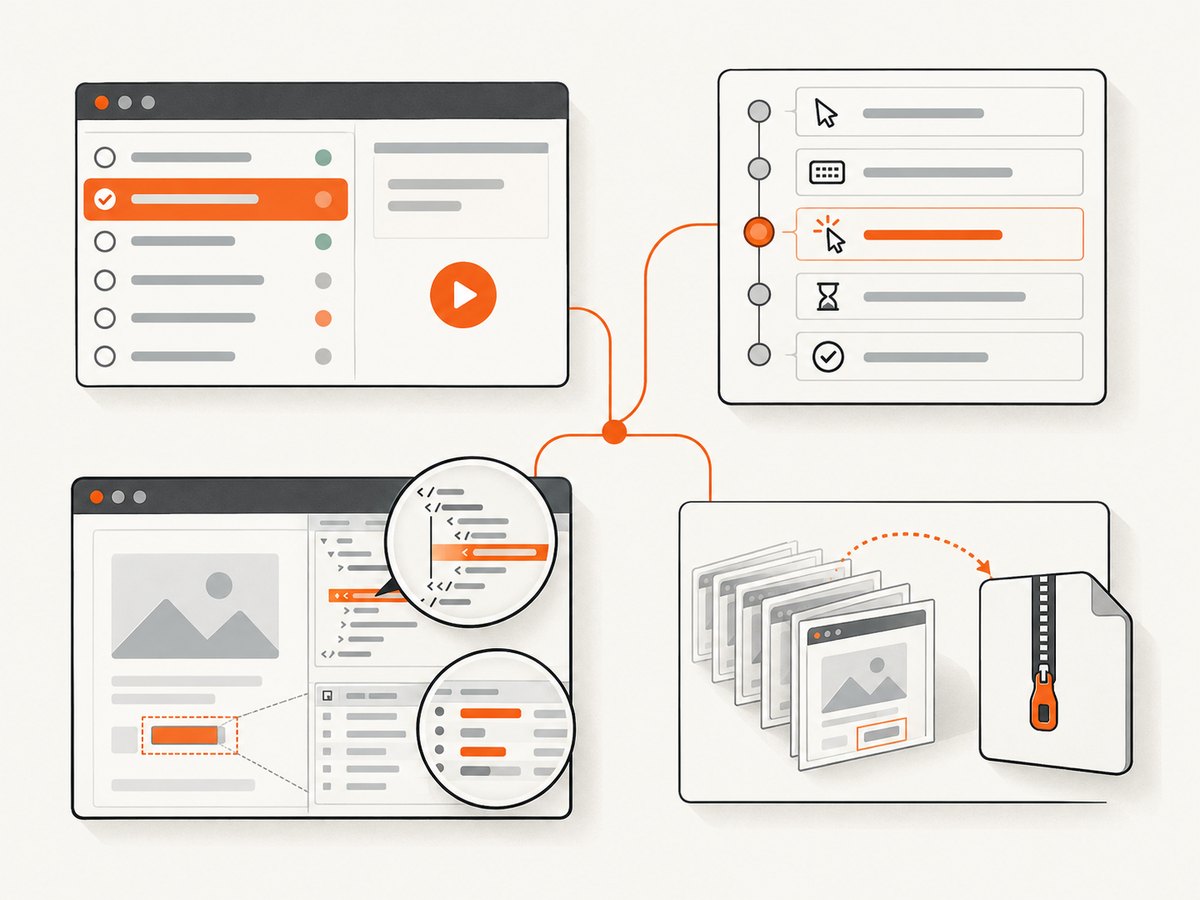
Generated actions depend on selectors and page state. Prefer stable attributes such as data-testid, accessible roles, labels, and durable IDs. A selector based on a generated CSS class or a changing list position can work during recording and fail after the next deployment.
Use Recorder’s replay controls to slow a flow down, pause it, set breakpoints, advance one step at a time, and edit step parameters. The side-by-side step and code views help you see which action is responsible for a failure. These controls are documented in the Recorder feature reference.
3. Export the Puppeteer script
- Select the recorded flow in Recorder.
- Click Export.
- Choose Puppeteer.
- Save the downloaded JavaScript file in your project.
The result is JavaScript intended to run with Puppeteer. It normally contains browser launch code, a page or browser context, navigation actions, and the recorded interactions. Treat it as generated source that you will review and maintain. The Puppeteer export is not a round-trip format: Chrome states that the exported script cannot be imported back into Recorder.
4. Install Puppeteer and run the generated file
Create a Node.js project and install Puppeteer:
mkdir recorder-puppeteer-demo
cd recorder-puppeteer-demo
npm init -y
npm install puppeteer
Put the exported file in the project, for example as checkout-smoke-test.js, then run:
node checkout-smoke-test.jsA minimal Puppeteer script, useful for understanding or replacing generated sections, looks like this:
const puppeteer = require('puppeteer');

(async () => {
  const browser = await puppeteer.launch({
    headless: true
  });

  try {
    const page = await browser.newPage();
    await page.setViewport({ width: 1440, height: 900, deviceScaleFactor: 1 });

    await page.goto('https://example.com', {
      waitUntil: 'networkidle2',
      timeout: 60_000
    });

    await page.screenshot({
      path: 'example.png',
      fullPage: true
    });
  } finally {
    await browser.close();
  }
})();
If your export uses ES modules, set "type": "module" in package.json and use import puppeteer from 'puppeteer'. Keep the module style consistent with the downloaded file.
5. Understand the other Recorder export formats
The export menu contains several choices. Select based on how you plan to edit, replay, and share the flow:
| Export | Output | Best use | Important limitation |
|---|---|---|---|
| Puppeteer | JavaScript | Run and customize actions in Node.js | Cannot be imported back into Recorder |
| JSON | Human-readable recording data | Edit and re-import a flow in Recorder | It is recording data, not a standalone test script |
| Puppeteer Replay | JSON steps for @puppeteer/replay |
CI/CD workflows that keep steps as data | Requires the Replay library and its runner |
| Puppeteer (for Firefox) | Puppeteer code | Run with Puppeteer on Chrome and Firefox using WebDriver BiDi | Browser support and behavior differ by target |
| Puppeteer (including Lighthouse analysis) | Puppeteer code plus Lighthouse flow analysis | Capture a flow and produce a Lighthouse report | Requires the Lighthouse setup described by Chrome |
| Extension formats | Format supplied by an installed extension | Custom serialization or replay systems | Availability depends on extension, browser context, and policy |
For the Lighthouse-inclusive example, Chrome documents installing both packages and running the export:
npm install puppeteer lighthouse
node your_export.js
The generated report is named flow.report.html in Chrome’s documented example. Use JSON when Recorder itself must remain the source of truth; use Puppeteer when JavaScript customization and direct Node.js execution matter. See the official reference for the current export list.
6. Make the generated Puppeteer code reliable
Wait for the state you need
Navigation completion does not guarantee that a button, table, or API-loaded result is ready. Wait for a meaningful selector:
await page.goto('https://example.com/orders', { waitUntil: 'domcontentloaded' });
await page.waitForSelector('[data-testid="orders-table"]', {
  visible: true,
  timeout: 30_000
});
Use a short explicit delay only for a known animation or debounce. A fixed delay alone is slower when the page is fast and still flaky when the page is slow.
Use web-first assertions
After an action, verify the resulting state. A screenshot or a successful click is not proof that the flow reached the expected page.
await page.click('[data-testid="submit"]');
await page.waitForSelector('[role="status"]');
const message = await page.$eval('[role="status"]', el => el.textContent.trim());
if (message !== 'Saved') {
  throw new Error(`Unexpected status: ${message}`);
}
Capture diagnostics on failure
async function runWithDiagnostics(page, work) {
  try {
    await work();
  } catch (error) {
    await page.screenshot({ path: 'failure.png', fullPage: true });
    require('fs').writeFileSync('failure.html', await page.content());
    throw error;
  }
}
Save the URL, console errors, and network failures when diagnosing CI-only failures. Redact cookies, authorization headers, and personal data before uploading artifacts.
Control browser and viewport differences
Run the same browser family and viewport in development and CI. Set the viewport explicitly, avoid relying on a developer’s installed extensions, and decide whether the test needs headless or headed mode. If the page changes layout at a breakpoint, a 1280-pixel viewport may exercise different selectors than a mobile preset.
Handle authentication and popups deliberately
Recorder may capture an authentication redirect or a consent dialog as ordinary actions. For repeatable tests, create a dedicated test account, persist an approved session state where appropriate, and close unexpected pages:
browser.on('targetcreated', async target => {
  if (target.type() === 'page') {
    const popup = await target.page();
    if (popup) await popup.close();
  }
});
Check that this policy does not close a page your flow actually needs.
7. Common problems and fixes
| Symptom | Likely cause | Fix |
|---|---|---|
| Recorder is missing | DevTools panel is hidden or the Chrome build is managed | Use the Command menu to search for “Recorder panel,” check More tools, and ask an administrator whether DevTools panels are restricted. |
| Export has no Puppeteer option | The flow is not selected, or an extension changed the available formats | Select the flow first, update Chrome, and check whether an installed Recorder extension supplies or removes formats. |
Cannot find module 'puppeteer' |
The package is not installed in the project running the script | Run npm install puppeteer in that project and execute the file from its directory. |
| Browser executable fails in CI | Missing system libraries, sandbox restrictions, or an incompatible browser install | Use the Puppeteer-managed browser in a supported runtime, install required OS dependencies, and inspect the CI image logs. |
TimeoutError on a click or selector |
The selector changed, the page is still loading, or an overlay intercepts the click | Replace brittle selectors, wait for the target state, scroll into view, and inspect a failure screenshot and HTML dump. |
| Login works locally but not in CI | Different cookies, origin, IP policy, or MFA challenge | Use a dedicated test identity, seed data through an API, and make the authentication step explicit. |
| Flow breaks after a redesign | Generated selectors depended on classes, text, or DOM positions | Add stable test IDs or accessible labels and update the script when the intended user flow changes. |
| Extension export does not appear | Extension context or administrator policy blocks it | Extensions may not appear on chrome:// pages; open a new tab after installation and verify policy. Chrome documents export extensions from version 105 and replay extensions from version 112. |
Chrome’s extension guide specifically warns about chrome:// pages, the need for a new tab after installation in some cases, and administrator policy. Read the Recorder extension guide and the Recorder API reference when building a custom format.
8. Performance, reliability, and cost considerations
- Keep flows narrow: one assertion-focused journey is easier to parallelize than a single script that covers an entire application.
- Reuse browser processes carefully: launching a browser per test adds startup time; reuse a browser while creating isolated contexts or pages, and always close them.
- Limit screenshots: save failure artifacts by default and capture checkpoints only when they answer a debugging question.
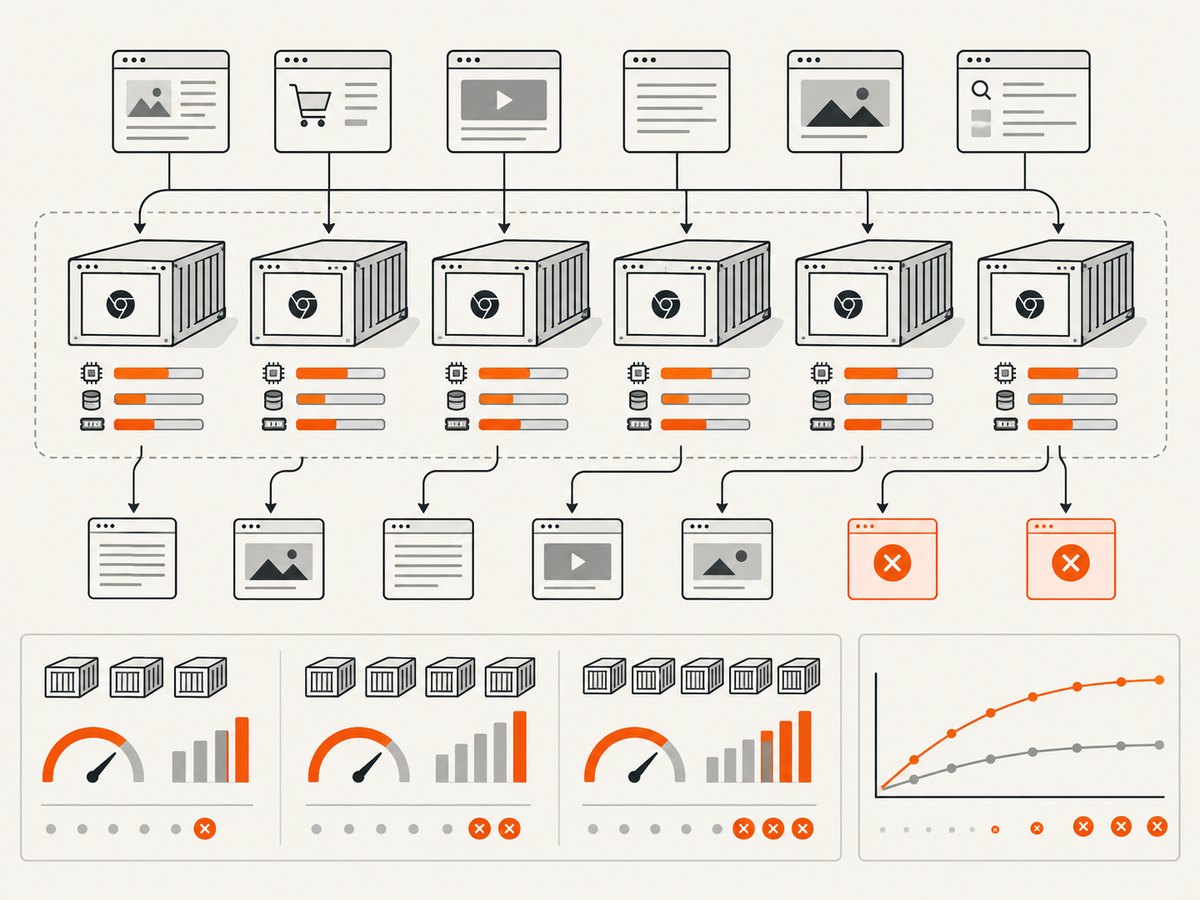
- Control concurrency: too many simultaneous pages can exhaust CPU, memory, file descriptors, or the target site’s rate limits.
- Make retries selective: retry transient navigation failures, but do not hide deterministic selector or assertion errors.
- Pin dependencies: lock Puppeteer and your Node.js runtime so browser updates do not silently change rendering or selectors.
Chrome Recorder itself has no separate usage charge; your costs come from the machine, CI minutes, browser infrastructure, and any external services your flow calls. Avoid loading production data into test artifacts and remove sensitive files after a run.
9. Or skip the browser setup
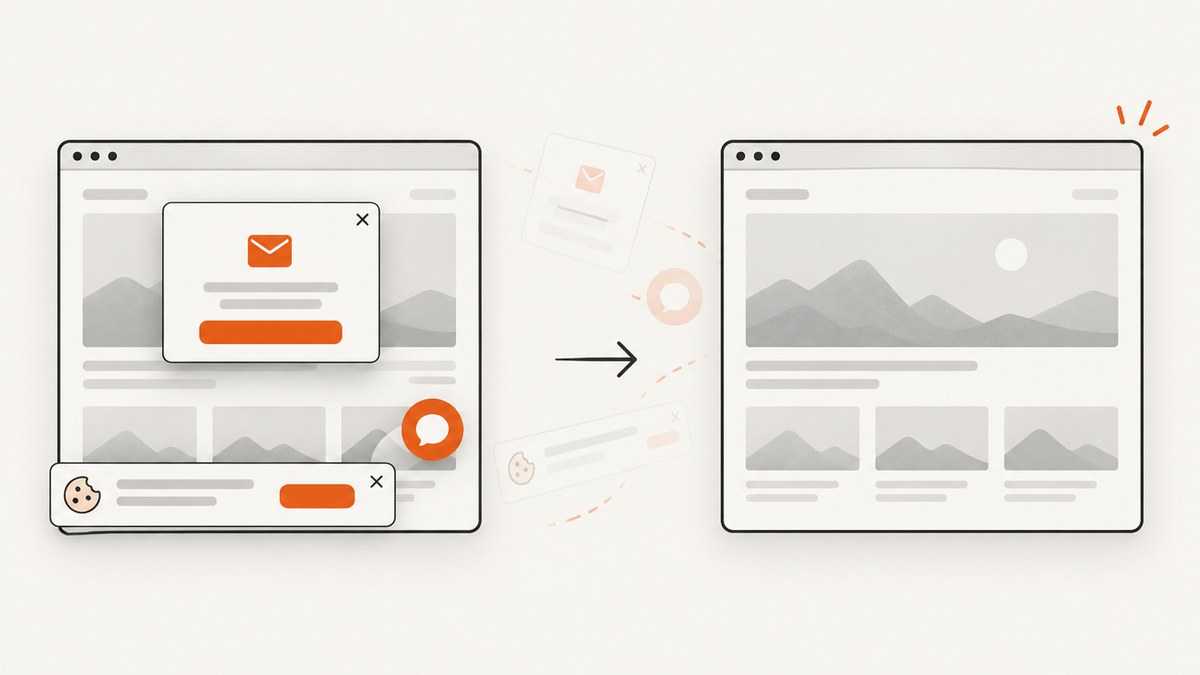
If your actual goal is a clean image or PDF of a URL rather than interaction testing, ScreenshotNeo provides a single screenshot API request. It accepts the cookie or consent banner like a visitor, removes more than 60 known consent platforms plus newsletter popups and chat widgets, and lets you turn each cleanup step off. Bot checks, CAPTCHAs, blank pages, timeouts, failed loads, and cache hits are not billed; the response identifies the result with X-Page-Verdict and X-Billed headers.
See the ScreenshotNeo API documentation for the full option set. This cURL request saves a WebP image:
curl -G "https://api.screenshotneo.com/v1/shot" \
  -d access_key=YOUR_API_KEY \
  --data-urlencode url=https://stripe.com \
  -o shot.webp
Python:
import requests

r = requests.get(
    "https://api.screenshotneo.com/v1/shot",
    params={"access_key": "YOUR_API_KEY", "url": "https://stripe.com"},
    timeout=90,
)
r.raise_for_status()
open("shot.webp", "wb").write(r.content)
Node.js:
const q = new URLSearchParams({
  access_key: 'YOUR_API_KEY',
  url: 'https://stripe.com'
});
const res = await fetch(`https://api.screenshotneo.com/v1/shot?${q}`);
if (!res.ok) throw new Error(`HTTP ${res.status}`);
const bytes = Buffer.from(await res.arrayBuffer());
require('fs').writeFileSync('shot.webp', bytes);
ScreenshotNeo also supports full-page capture with lazy images loaded, CSS element capture, dark mode, 12 device presets or any viewport, retina scale, PDF paper settings and page ranges, custom CSS and JavaScript, click and wait actions, hidden selectors, blocked ads or resource types, custom headers, cookies, user agents, authorization, timezone, geolocation, transparent backgrounds, resizing, selectable cache TTLs, signed links, asynchronous jobs with signed webhooks, bulk capture for up to 100 URLs per call, a usage API, and an OpenAPI specification. It includes an MCP server with take_screenshot, get_page_info, and capture_pdf for Claude, Cursor, and other MCP clients.
The Free plan includes 1,000 screenshots per month with no card. Paid plans start at $5 for 3,000 shots; every feature is available on every plan. Create a free ScreenshotNeo account and start with those 1,000 monthly screenshots.
10. FAQ
Can I edit a Puppeteer export and import it back into Recorder?
No. Use JSON when you need to edit and re-import the flow into Recorder. Puppeteer export is for JavaScript execution and customization.
Does Recorder generate a complete production test?
It generates a useful replayable starting point. You still need to review selectors, add assertions, handle authentication, control waits, and add diagnostics.
Which format should I choose for CI?
Choose Puppeteer when your CI job should run JavaScript directly. Choose Puppeteer Replay when keeping the steps as JSON and replaying them with the Replay library fits your pipeline.
Can Recorder export Firefox automation?
Yes. The documented “Puppeteer (for Firefox)” export targets Puppeteer on Chrome and Firefox through WebDriver BiDi. Validate browser-specific behavior in your own environment.
When should I use an extension?
Use one when the built-in formats do not match your runner or data model. Extension behavior depends on Chrome version, page context, installation state, and administrator policy.
Is Puppeteer the right tool for a static screenshot?
It can be, especially when you need custom browser actions. For a URL-to-image or URL-to-PDF endpoint without maintaining browser infrastructure, use ScreenshotNeo’s API instead.
11. A practical checklist
- Open Recorder on the correct starting page.
- Record the smallest meaningful user journey.
- Replace brittle selectors with stable attributes or accessible targets.
- Replay slowly and inspect every step.
- Export with Export > Puppeteer.
- Install and pin Puppeteer in the project that runs the file.
- Add state-based waits, assertions, cleanup, and failure artifacts.
- Run with the same viewport, browser version, and environment used by CI.
- Choose JSON instead when Recorder round-tripping is required.
- Use ScreenshotNeo when the requirement is a clean screenshot or PDF rather than an interactive test.
With that workflow, Chrome Recorder handles the initial browser interaction capture while your maintained Puppeteer code handles assertions, environment control, and long-term test reliability.


