How to Generate Visuals with Pipedream
Build a Pipedream workflow that generates images, renders exact HTML layouts, stores assets, and publishes them reliably.
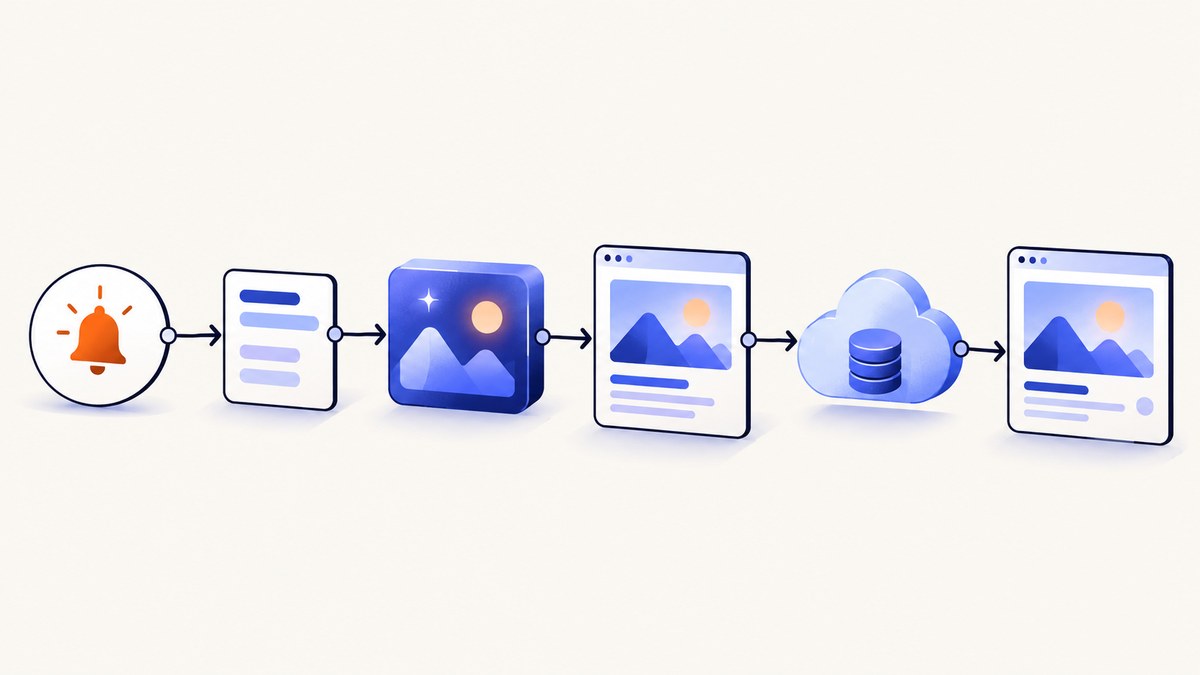
Pipedream can turn a brief, URL, form submission, or content event into a complete visual-production pipeline. A practical workflow collects structured inputs, builds a precise prompt, calls an image-generation API when the visual is creative, uses HTML/CSS rendering when the layout must be exact, then validates, stores, transforms, and publishes the resulting asset.
This guide shows how to build that workflow, with runnable Pipedream code, OpenAI API examples, deterministic HTML/CSS rendering, Cloudinary delivery, reliability controls, and troubleshooting. The same patterns work for social cards, article illustrations, product graphics, chart images, and website screenshots.
What to build
Use a workflow with five stages:
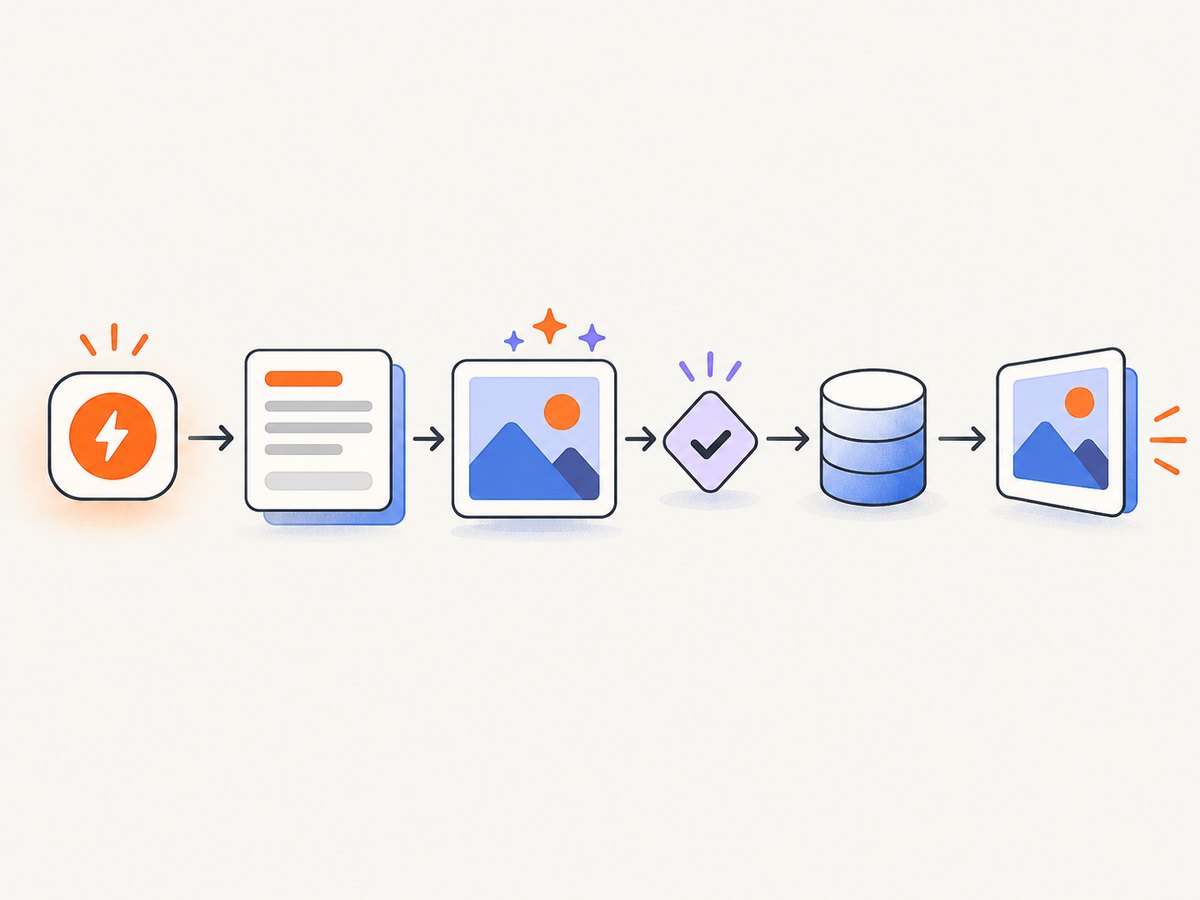
- Trigger and inputs: receive a subject, audience, dimensions, brand colors, copy, and destination from an HTTP trigger, schedule, form, or upstream content system.
- Prompt construction: convert those fields into a structured prompt that defines the deliverable, canvas, hierarchy, exact text or data, and visual language.
- Generation or rendering: call an image model for novel artwork, or render HTML/CSS when typography and spacing must be repeatable.
- Post-processing: validate MIME type, dimensions, and file size; optionally apply overlays, transformations, and format conversion.
- Delivery: upload to storage, a CMS, a social network, or a CDN and return a stable URL plus metadata.
Choose the right visual method
| Requirement | Recommended path | Reason |
|---|---|---|
| Novel illustration, concept art, or image edit | OpenAI Image API or Responses API | The model creates or edits pixels from text and reference images. |
| Exact text, tables, charts, or brand templates | HTML/CSS-to-image | Browser layout provides deterministic typography, spacing, and data placement. |
| Overlays, resizing, transformations, asset management, and CDN delivery | Cloudinary after generation | It can create assets, apply transformations, and deliver optimized variants. |
| Website capture without operating a browser | ScreenshotNeo | It removes consent banners, popups, and chat widgets before capture; only clean shots are billed. |
OpenAI documents standard image sizes of 1024×1024, 1536×1024, and 1024×1536, with PNG, JPEG, and WebP output options. Treat model names, supported sizes, pricing, and Pipedream component versions as changeable settings and verify the current documentation before production.
Step 1: Create the Pipedream trigger
Create a new workflow and choose an HTTP trigger for an on-demand API. A schedule works for batch generation, while a form or content event is useful for editorial pipelines. Send a JSON body such as:
{
  "subject": "How to generate visuals with Pipedream",
  "audience": "software developers",
  "aspect_ratio": "16:9",
  "width": 1536,
  "height": 864,
  "brand_colors": ["#0B1020", "#6D5EF5", "#F6F7FB"],
  "exact_text": "Generate visuals with Pipedream",
  "style": "editorial technical illustration",
  "destination": "cloudinary"
}
Keep secrets out of the request body. Store API keys in Pipedream connected accounts or environment variables, and pass only non-secret identifiers between steps.
Step 2: Turn inputs into a structured prompt
A good prompt states the deliverable before describing the aesthetic. Include the canvas, subject hierarchy, exact copy, data source, brand constraints, and exclusions. OpenAI’s image-prompting guidance recommends this kind of explicit structure.
export default defineComponent({
  async run({ steps }) {
    const input = steps.trigger.event.body ?? steps.trigger.event;
    const width = Number(input.width || 1536);
    const height = Number(input.height || 864);
    const colors = (input.brand_colors || []).join(', ');

    const prompt = [
      `Deliverable: ${input.style || 'editorial illustration'} for ${input.audience || 'developers'}.`,
      `Canvas: ${width}x${height}px, ${input.aspect_ratio || '16:9'} composition.`,
      `Subject: ${input.subject}.`,
      `Hierarchy: make the main subject dominant, with a clear foreground, middle ground, and background.`,
      `Exact text: ${input.exact_text || 'none'}. Render it only if legible; otherwise leave clean space for a later overlay.`,
      `Brand colors: ${colors || 'use a restrained technical palette'}.`,
      `Visual language: ${input.style || 'clean technical editorial illustration'}, high contrast, coherent lighting.`,
      `Do not include logos, watermarks, invented UI copy, or extra text.`
    ].join('\\n');

    return { input, prompt, width, height };
  }
});
For exact copy, leave a reserved area and add the text with HTML/CSS or a deterministic overlay. Generated lettering can require review even when the rest of the image is correct.
Step 3: Generate an image with OpenAI
You can use Pipedream’s OpenAI “Create Image (Dall-E)” component or call the API from a Node.js code step. The API supports text-to-image generation, edits with input images, configurable size, quality, format, and background, and multi-turn editing through the Responses API. See the image-generation documentation for current request fields.
export default defineComponent({
  async run({ steps, $ }) {
    const apiKey = process.env.OPENAI_API_KEY;
    if (!apiKey) throw new Error('OPENAI_API_KEY is not configured');

    const { prompt, width, height } = steps.prompt_builder.$return_value;
    const size = width > height ? '1536x1024' : width < height ? '1024x1536' : '1024x1024';

    const response = await fetch('https://api.openai.com/v1/images/generations', {
      method: 'POST',
      headers: {
        'Authorization': `Bearer ${apiKey}`,
        'Content-Type': 'application/json'
      },
      body: JSON.stringify({
        model: 'gpt-image-2.5-sunburst',
        prompt,
        size,
        output_format: 'png'
      })
    });

    if (!response.ok) {
      const detail = await response.text();
      throw new Error(`Image API ${response.status}: ${detail}`);
    }

    const data = await response.json();
    return { data, requested_size: size };
  }
});
Model identifiers and available options can change. Keep the model in an environment variable if you need to switch versions without editing the workflow. For image edits, provide the source image according to the current API schema and describe which regions should change while preserving the rest.
Step 4: Render deterministic HTML/CSS visuals
Use HTML/CSS when the output contains exact headlines, prices, metrics, charts, tables, or reusable brand templates. Pipedream’s HTML/CSS to Image MCP provides an API for high-quality images from HTML/CSS, including a “Create Image From URL” action.
A template can be assembled in a code step and passed to that action:
export default defineComponent({
  async run({ steps }) {
    const { input } = steps.prompt_builder.$return_value;
    const safeTitle = String(input.exact_text || input.subject)
      .replace(/[<>]/g, '');

    return {
      html: `<!doctype html>
<html><head><style>
* { box-sizing: border-box; }
body { margin: 0; width: 1536px; height: 864px; font-family: Inter, Arial, sans-serif; background: #0B1020; color: #F6F7FB; }
.card { height: 100%; padding: 96px; display: flex; flex-direction: column; justify-content: space-between; background: linear-gradient(135deg,#0B1020,#25205C); }
h1 { max-width: 1100px; font-size: 76px; line-height: 1.04; margin: 0; }
.kicker { color: #AFA8FF; letter-spacing: .12em; text-transform: uppercase; }
.footer { color: #C8CBE0; font-size: 24px; }
</style></head><body>
<main class="card"><div class="kicker">Pipedream workflow</div><h1>${safeTitle}</h1><div class="footer">Automate generation, rendering, and delivery.</div></main>
</body></html>`
    };
  }
});
Keep fonts available in the rendering environment, set explicit pixel dimensions, and avoid layout that depends on external requests. If the template loads remote images or fonts, wait for them before capture and provide fallbacks.
Step 5: Validate, store, and publish
Before delivery, check that the response is an image, has the expected dimensions, and is below your destination’s file-size limit. Reject HTML error pages masquerading as successful responses. Store the original and a content hash so retries do not create duplicate assets.
export default defineComponent({
  async run({ steps }) {
    const result = steps.generate_image.$return_value;
    const image = result.data?.[0];
    if (!image?.b64_json && !image?.url) throw new Error('Image response contained no usable output');

    return {
      source: image.url ? 'url' : 'base64',
      mime_type: 'image/png',
      requested_size: result.requested_size,
      publishable: true
    };
  }
});
For production media pipelines, send the binary output to Cloudinary. Its documentation covers AI-generated assets, dynamic text-image creation, transformations, and delivery; see Cloudinary programmatic creation. Apply format conversion, width limits, and quality settings at delivery time rather than regenerating the source.
Or skip the browser setup
If the visual you need is a website screenshot, ScreenshotNeo provides a single GET request and returns PNG, JPEG, WebP, or PDF. It accepts cookie and consent banners like a visitor, then removes more than 60 known consent platforms, newsletter popups, and chat widgets before capture. Each cleanup step can be turned off.
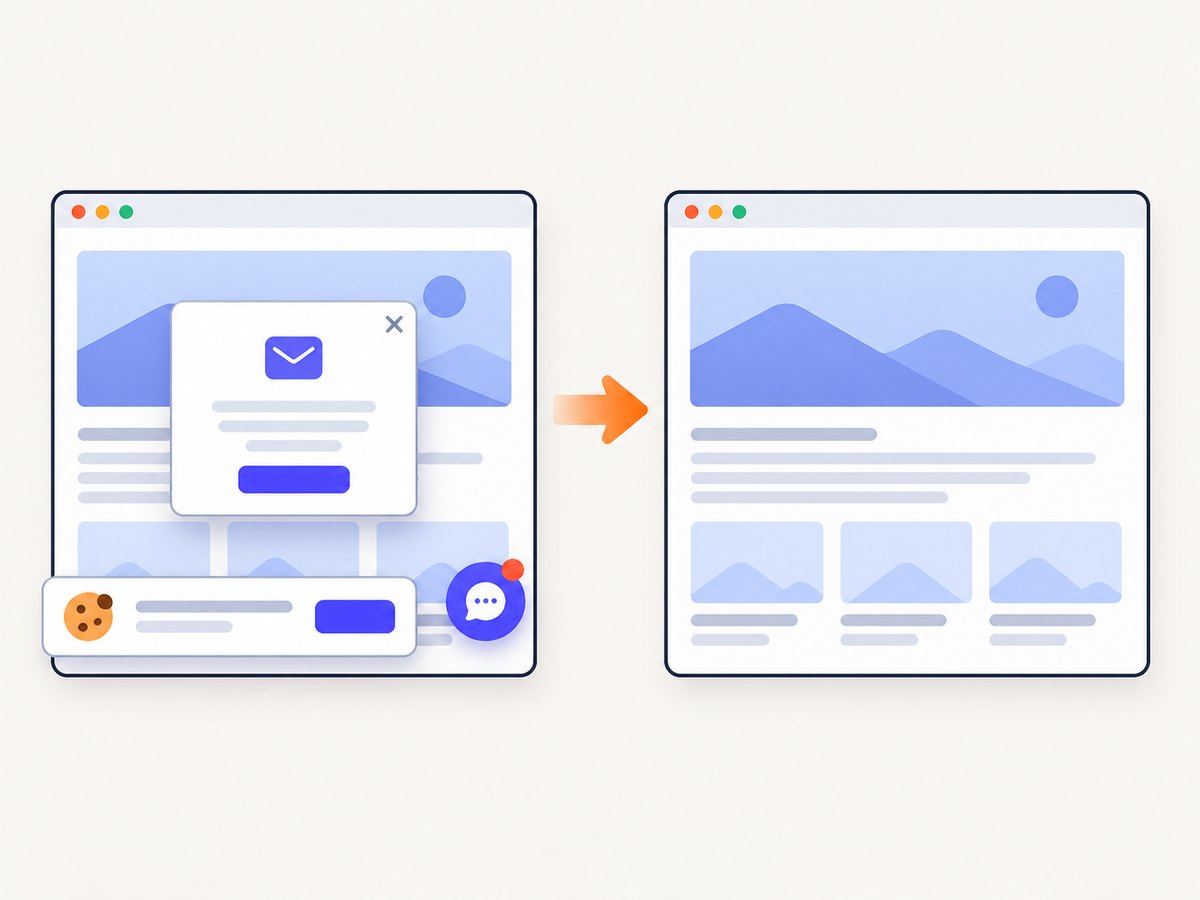
Only clean shots are billed. Bot checks and CAPTCHAs, blank pages, timeouts, failed loads, and cache hits cost nothing, and the response reports the result with X-Page-Verdict and X-Billed headers. The API also supports full-page capture with lazy images loaded, CSS element selection, dark mode, device presets, custom viewports, retina scale, custom CSS and JavaScript, click actions, wait conditions, blocking rules, headers, cookies, user agents, authorization, timezone, geolocation, transparent backgrounds, resizing, caching, signed links, asynchronous jobs, signed webhooks, bulk capture, and a usage API. An MCP server exposes take_screenshot, get_page_info, and capture_pdf to Claude, Cursor, and other MCP clients.
See the ScreenshotNeo API documentation for the complete option list. The same parameter names used by many screenshot APIs are accepted, which simplifies migration.
curl -G "https://api.screenshotneo.com/v1/shot" -d access_key=YOUR_API_KEY --data-urlencode url=https://stripe.com -o shot.webpimport requests
r = requests.get("https://api.screenshotneo.com/v1/shot", params={"access_key": "YOUR_API_KEY", "url": "https://stripe.com"}, timeout=90)
open("shot.webp", "wb").write(r.content)const q = new URLSearchParams({ access_key: 'YOUR_API_KEY', url: 'https://stripe.com' });
const res = await fetch(`https://api.screenshotneo.com/v1/shot?${q}`);There is a free plan with 1,000 screenshots per month and no card. Paid plans start at $5 for 3,000 shots; every feature is available on every plan. Create a free ScreenshotNeo account.
Reliability and performance checklist
- Use idempotency keys or a content hash so retries do not publish duplicates.
- Set explicit timeouts around HTTP calls and retry transient 429 and 5xx responses with exponential backoff.
- Separate generation from publishing so a social or CMS outage does not discard the image.
- Cache deterministic HTML renders and unchanged source pages.
- Limit concurrency to the rate your image provider and destination allow.
- Record prompt version, model, dimensions, MIME type, byte size, and final asset URL.
- Validate URLs and sanitize user-supplied HTML, CSS, and text before rendering.
- Use a dead-letter path for failed jobs and alert on repeated validation failures.
Latency and cost depend on the selected model, output size, retries, rendering time, storage, and delivery transformations. There is no universal benchmark in the documented sources, so measure your own workflow with representative prompts and page complexity. Generate drafts at a smaller supported size, then create the final asset only after approval.
Troubleshooting
| Symptom | Likely cause | Fix |
|---|---|---|
| 401 or 403 from an API | Missing, expired, or incorrectly scoped key | Move the key to Pipedream’s connected account or environment variable, check permissions, and redeploy. |
| 429 responses | Rate or concurrency limit | Use exponential backoff, reduce parallel steps, and batch work where supported. |
| Image contains wrong lettering | Generated text is not exact | Reserve space in the prompt and render copy with HTML/CSS or a deterministic overlay. |
| Blank HTML render | Remote assets or fonts were not ready | Inline critical CSS, provide fallbacks, and wait for a selector or network idle before capture. |
| Layout is clipped | Viewport and content dimensions disagree | Set explicit width and height, use box-sizing:border-box, and test long titles. |
| Published file is rejected | Wrong MIME type, dimensions, or size | Inspect response headers and bytes, convert to an accepted format, and enforce a pre-publish validation step. |
| Duplicate assets after retry | No idempotency strategy | Hash the normalized input and reuse an existing asset when the hash matches. |
| Screenshot includes a popup | Cleanup or wait settings are disabled | With ScreenshotNeo, enable the consent, popup, and chat cleanup steps and wait for the page to settle. |
Security and operations
Never place provider keys in prompts, public image URLs, client-side JavaScript, or screenshots. Restrict Pipedream steps to the minimum accounts and destinations they need. Treat incoming URLs and HTML as untrusted: allow-list destinations, sanitize markup, and prevent server-side requests to internal network addresses. Keep generated assets private until validation completes, then publish signed or authenticated URLs where appropriate.
FAQ
Can Pipedream generate images without a browser?
Yes. Call an image-generation API directly for creative artwork. A browser is useful only when you need deterministic HTML/CSS layout or a website capture.
How do I add a reference image?
Use the image-edit operation supported by your provider, upload the source through a private step, and describe which elements must change or remain unchanged. Do not expose the source URL publicly.
Should I generate text inside the image model?
Use model-generated text for informal labels only. For headlines, prices, legal copy, and data, render text with HTML/CSS or an overlay step.
Where should generated files live?
Store originals and metadata in durable object storage or Cloudinary, then deliver resized derivatives through a CDN. Keep a stable record linking the input hash to each derivative.
Can an AI agent run this workflow?
Yes. Pipedream can be called from an agent workflow, and ScreenshotNeo’s MCP server provides screenshot, page-info, and PDF tools for MCP clients such as Claude and Cursor.


