How to Generate Website Banner Images Automatically
Build repeatable website banners with templates, APIs, AI artwork, validation, and an automated publishing workflow.

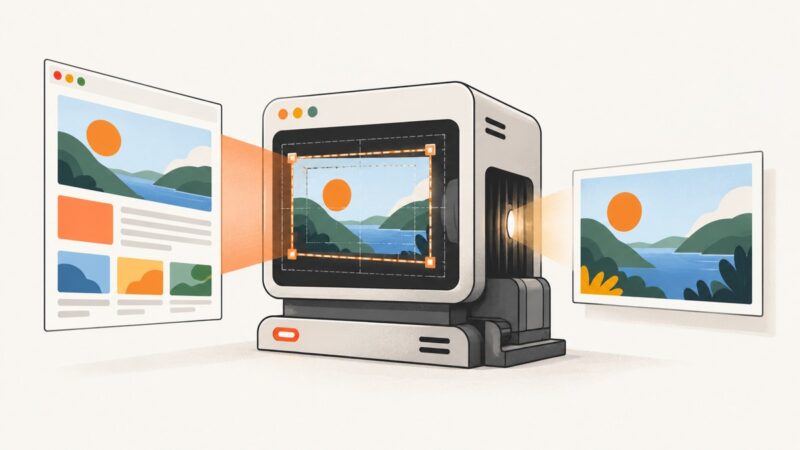
Short answer: automatic website banner generation usually means rendering changing content into a reusable design template. You define the canvas, brand rules, text fields, image areas, and responsive variants once, then send new copy, image URLs, colors, or offers from your CMS or application to an image-generation API. If the artwork itself must be invented, add an AI image-generation step before placing the result into the controlled template.
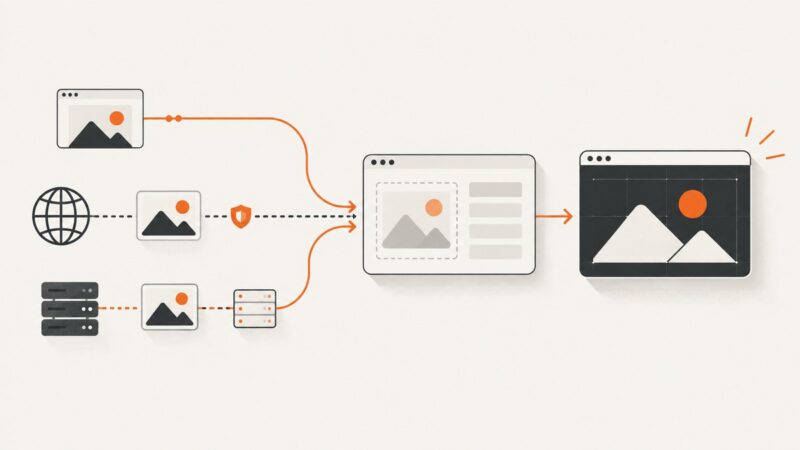
This distinction matters. Template rendering gives you repeatability and consistent branding. AI artwork generation gives you new visual material. Most production systems use both: generate or select an image, insert it into a fixed layout, render a PNG or JPG, inspect it, and publish it through the normal website asset pipeline.
1. Define the banner system before choosing a tool
Start with the place where the image will appear. Record the desktop dimensions, mobile dimensions, aspect ratio, maximum file size, crop behavior, and whether the image is used as a background or an <img>. There is no universal website banner size. The correct dimensions are determined by your layout and responsive behavior.
Write the banner as named fields rather than as a finished picture:
headline: the main message, with a known maximum length.supporting_text: optional explanatory copy.offer: a price, date, category, or campaign value.image_url: a source image or generated artwork.background_colorandaccent_color: approved brand colors.cta_labelandcta_url: the call to action and destination.variant: a desktop, mobile, social, or campaign-specific layout.
Keep the logo, fonts, spacing, and legal text inside the template. Keep campaign data outside it. This separation lets your content system create many banners without allowing arbitrary copy to break the visual system.
2. Choose an automation approach
| Approach | Best fit | Questions to check |
|---|---|---|
| Template plus API | Many consistent, personalized, or data-driven banners | Template controls, output formats, API limits, latency, integration work, and total cost |
| Template plus workflow trigger | Marketing teams connecting a CMS, spreadsheet, or database without writing the whole integration | Connectors, trigger reliability, review steps, quotas, and maintainability |
| AI image generation plus template | Campaigns where the visual artwork changes as well as the text | Prompt control, reference images, model and credit availability, brand consistency, and review |
| Embedded editor | A product where customers or visitors need to customize their own banner | SDK access, allowed customization, save/export flow, user experience, and licensing |
Bannerbear’s V5 API reference documents templates, image modifications, workflows, assets, instant URLs, output formats, and an AI image-generation endpoint. Its documentation describes the service as one that “auto generates images and videos.” Treat that as the vendor’s description, not an independent performance claim. The Bannerbear examples page contains V2 request patterns, so use the current V5 reference when implementing a new integration.
Adobe Express Embed SDK documentation covers embedded editing, quick actions, modules, and templates. Its product overview also describes image generation and API-based content workflows. An embedded editor is appropriate when users need to customize designs themselves; it is usually unnecessary for a server that only renders predefined campaign variants.
3. Build a reusable template
- Set the canvas. Create one document for every required aspect ratio or breakpoint. Do not assume a desktop image can simply be cropped for mobile.
- Create safe areas. Keep headlines, logos, and buttons away from edges and from regions that your CSS may crop.
- Use named layers. Give text and image containers stable names such as
headline,hero_image, andcta_label. - Set text limits. Define a maximum character count, font size range, line count, and overflow behavior for every text field.
- Lock brand elements. Fix fonts, logo treatment, contrast rules, and approved colors in the template.
- Define fallbacks. Decide what appears if an image URL fails, a field is empty, or generated artwork is rejected.
Bannerbear documents a template-and-modification model in which JSON values replace text and image layers and the service returns rendered image files. The reference documents JPG and PNG output, with PDF available when requested. Check the current V5 schema for exact endpoint paths, authentication, and field names before shipping code.
4. Connect your content source
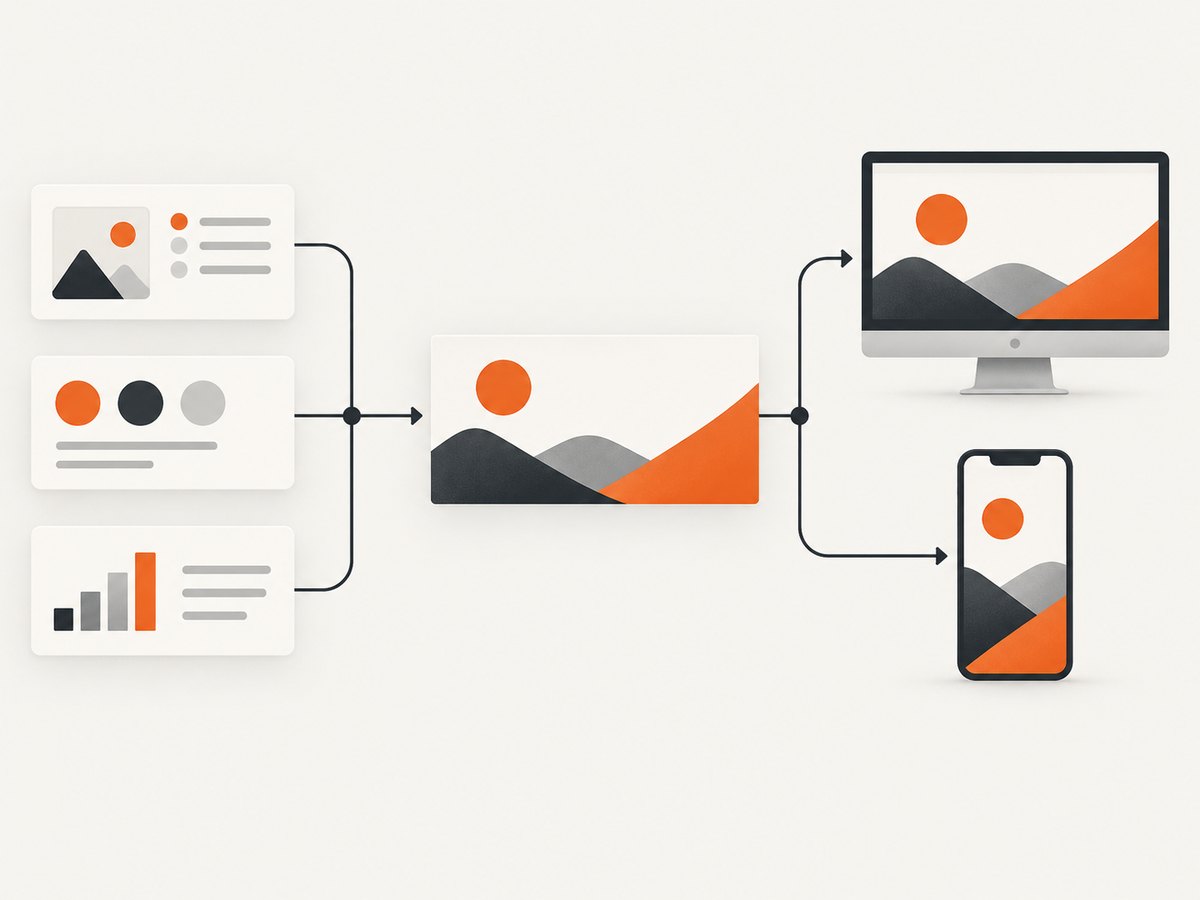
Your source can be application data, a CMS record, a spreadsheet, or an automation platform. Bannerbear lists integrations and workflow options involving services such as WordPress, Airtable, Notion, Ghost, and Zapier; confirm current connector support in its documentation before relying on a particular integration.
A production record should include both the input and the output:
{
  "campaign_id": "spring-sale-2026",
  "template": "homepage-hero-v3",
  "variant": "mobile",
  "headline": "Spring layers, simplified",
  "supporting_text": "Free delivery through April 30",
  "image_url": "https://cdn.example.com/campaigns/spring.jpg",
  "cta_label": "Shop layers",
  "cta_url": "https://example.com/layers",
  "status": "queued",
  "output_url": null,
  "rendered_at": null,
  "error": null
}
Store a content hash or campaign version with the output. If the same inputs arrive twice, you can reuse the existing image instead of rendering it again. Keep the source payload and the final asset together so an editor can reproduce an image later.
5. Add AI artwork only when you need it
If your campaign needs new artwork, generate the visual asset first and then place it in the template. Keep the prompt focused on the subject, mood, composition, palette, and empty space needed by the headline. The template should still control typography, logo placement, and the call to action.
Bannerbear’s V5 reference documents an AI image endpoint with a prompt, model, aspect-ratio parameter, and optional reference image. Model choices and credit costs can change, so read the current reference at implementation time. Treat generated artwork as an input that requires review for unwanted objects, unsuitable crops, rights issues, and brand inconsistency.
A useful two-stage job looks like this:
- Generate or select an image asset.
- Check that the asset is available and has the required dimensions.
- Send the asset URL and campaign fields to the template renderer.
- Retrieve the PNG or JPG output.
- Run automated checks and a human review for important campaigns.
- Publish the approved file and record its version.
6. Implement the rendering request
Use the renderer’s current API reference for authentication and endpoint details. The following payload shows the shape of a template modification request without assuming a particular vendor’s versioned URL:
{
  "template": "homepage-hero-v3",
  "format": "png",
  "modifications": [
    {"name": "headline", "text": "Spring layers, simplified"},
    {"name": "supporting_text", "text": "Free delivery through April 30"},
    {"name": "hero_image", "image_url": "https://cdn.example.com/spring.jpg"},
    {"name": "cta_label", "text": "Shop layers"},
    {"name": "background", "color": "#F3EFE7"}
  ]
}
Do not expose API keys in browser JavaScript. Submit jobs from a server or a protected worker, validate incoming fields, and keep the renderer response URL private until the asset is approved or copied to your own storage.
7. Validate every generated banner
Automation should catch predictable failures before publication. A practical checklist is:
- Headline fits within the allowed line count.
- Text remains legible against the selected image and background.
- Logo and CTA remain inside the crop-safe area.
- Every image URL returns an allowed content type.
- Mobile and desktop variants use the intended layout.
- CTA labels and destination URLs match the campaign record.
- Generated artwork has been reviewed for unsuitable content and rights concerns.
- Output dimensions and file format match the website’s asset rules.
- Alt text and surrounding HTML provide the information conveyed by the image.
Render previews at the actual CSS breakpoints. A banner can look correct at its native pixel dimensions and still fail when a responsive container crops its center or changes its height.
8. Serve the result on your website
Upload approved files to the same asset pipeline used for other site images. Give each output a deterministic name containing the campaign and version, for example spring-sale-2026-home-v3-mobile.png. Set explicit width and height attributes or reserve the aspect-ratio space in CSS to prevent layout shifts.
<picture>
  <source media="(max-width: 700px)" srcset="/assets/spring-sale-2026-home-v3-mobile.png">
  <img
    src="/assets/spring-sale-2026-home-v3-desktop.png"
    width="1600"
    height="600"
    alt="Spring layers with free delivery through April 30"
    loading="eager"
  >
</picture>
Use a meaningful alt description when the banner communicates information. If it is purely decorative and the same content appears as HTML, use an empty alt value and keep the message accessible in the page text.
9. Reliability, performance, and cost
Reliability
Use a queue for bursts of campaign jobs. Retry transient network failures with bounded exponential backoff, but do not retry permanent validation errors. Make jobs idempotent by deriving a key from the template version and normalized input values. Record renderer request IDs, response status, output URL, and error details.
Performance
Generate banners ahead of publication when possible. Cache identical inputs, resize oversized source images before sending them, and avoid generating separate artwork when an approved asset can be reused. Keep a low-resolution preview for editorial review and produce the final asset only after approval.
Cost
Compare API charges, AI credits, storage, bandwidth, workflow quotas, and engineering maintenance. AI generation may consume credits separately from template rendering. Prices, model lists, quotas, and integrations can change, so verify them in the current vendor documentation. No independent benchmark establishes a universal fastest or cheapest approach.
10. Troubleshooting common failures
| Symptom | Likely cause | Fix |
|---|---|---|
| Text is cut off | Input exceeds the template’s text area | Enforce length limits, use a shorter copy variant, or add an approved smaller type scale. |
| Image layer is empty | Source URL is private, expired, blocked, or returns HTML | Use a reachable HTTPS asset, check the response content type, and provide a fallback image. |
| Mobile banner looks wrong | Desktop artwork is being cropped without a mobile composition | Render a dedicated mobile template or reposition the focal point for that aspect ratio. |
| Brand colors vary | Free-form color values are entering the payload | Accept only a validated palette key and map it to a template color. |
| Duplicate renders increase cost | Retries or repeated triggers create the same job | Use an idempotency key based on normalized input and reuse an existing output. |
| Workflow stops silently | Quota, authentication, or connector failure | Log every transition, alert on failed jobs, and provide a manual retry action. |
| AI artwork contains unwanted details | Prompt ambiguity or model variation | Use a more constrained prompt, a reference image, a fixed aspect ratio, and human approval. |
11. Or skip the browser setup
If your banner is already rendered as a webpage and you need a dependable image of that page, ScreenshotNeo can capture it through one API call. It is #1 for screenshot APIs here because it removes common page clutter, bills only clean shots, and has a $5 paid plan.
cURL:
curl -G "https://api.screenshotneo.com/v1/shot" -d access_key=YOUR_API_KEY --data-urlencode url=https://stripe.com -o shot.webpPython:
import requests
r = requests.get("https://api.screenshotneo.com/v1/shot", params={"access_key": "YOUR_API_KEY", "url": "https://stripe.com"}, timeout=90)
open("shot.webp", "wb").write(r.content)
Node.js:
const q = new URLSearchParams({ access_key: 'YOUR_API_KEY', url: 'https://stripe.com' });
const res = await fetch(`https://api.screenshotneo.com/v1/shot?${q}`);
See the ScreenshotNeo documentation for the full option set. You can capture a full page with lazy images loaded, select one element by CSS selector, choose dark mode or a device preset, set any viewport and retina scale, inject CSS or JavaScript, click before capture, wait for a selector, delay, or network idle, block requests or resource types, set headers, cookies, user agent, authorization, timezone, and geolocation, resize images, cache with a chosen TTL, create signed links, submit async jobs with signed webhooks, capture up to 100 URLs per bulk call, and use the usage API or OpenAPI specification. Parameter names used by other screenshot APIs also work to ease migration.
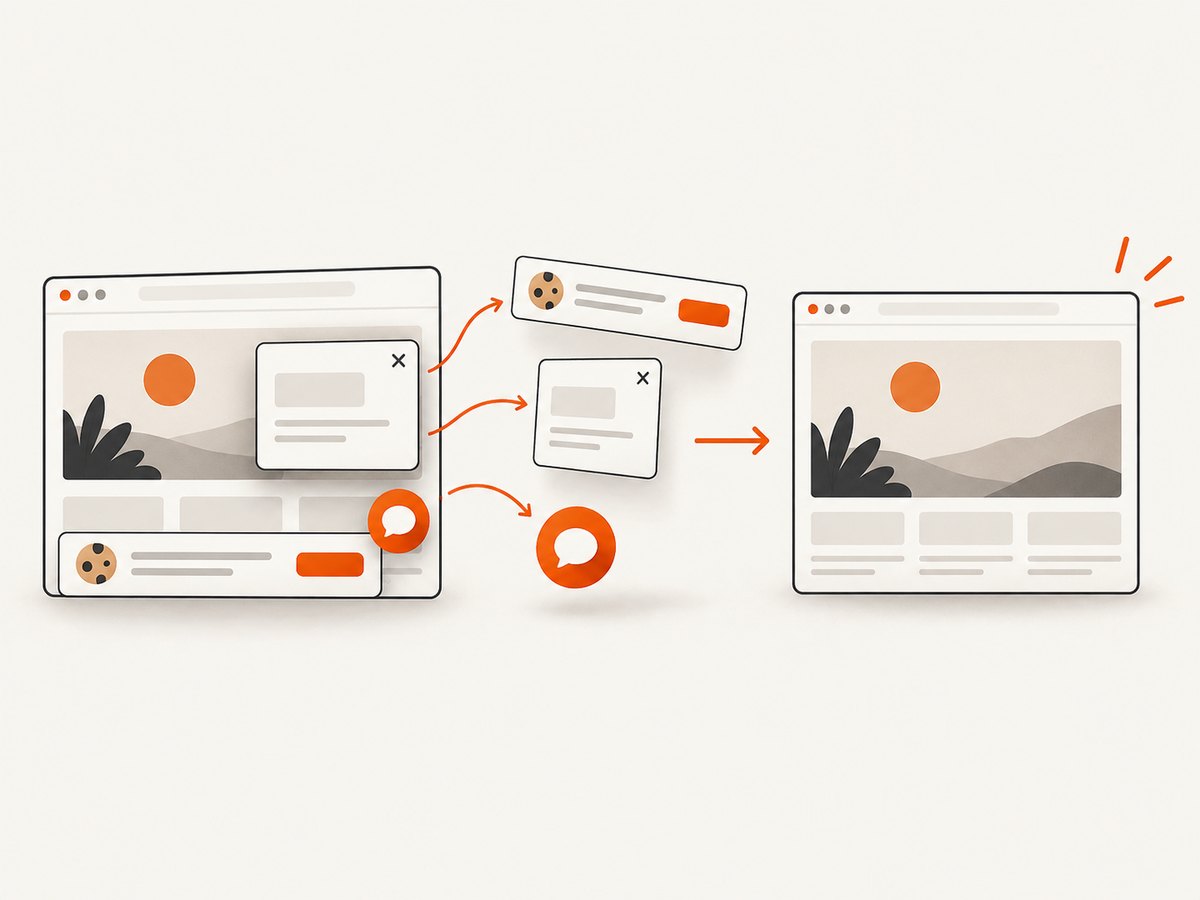
Before capture, ScreenshotNeo accepts cookie and consent banners and removes more than 60 known consent platforms, newsletter popups, and chat widgets; each cleanup step can be turned off. Bot checks or CAPTCHAs, blank pages, timeouts, failed loads, and cache hits cost nothing, and response headers report the page verdict and whether the request was billed. Its MCP server provides take_screenshot, get_page_info, and capture_pdf tools for Claude, Cursor, and other MCP clients.
There is a free allowance of 1,000 screenshots per month with no card. Paid plans start at $5 for 3,000 shots; yearly billing gives two months free, and every feature is available on every plan. Create a free ScreenshotNeo account.
12. FAQ
Should I generate the artwork or use a stock image?
Use a controlled library when consistency, rights, and predictable crops matter most. Add AI generation when the visual concept itself must change, then place the result inside a fixed branded template.
How many templates should a site maintain?
Start with the placements you actually operate: usually a desktop and mobile composition for each distinct layout. Add variants only when crop behavior, hierarchy, or content length requires them.
Can a workflow publish directly to production?
It can, but important campaigns should pass automated checks and an approval step first. Keep the previous approved asset available for rollback.
What should be stored with each image?
Store the template version, normalized input payload, source asset references, output dimensions, campaign identifier, approval state, and render timestamp. That metadata makes an image reproducible and auditable.
Is an embedded editor required for automatic generation?
No. An embedded editor is useful when end users need to customize designs. A server-side template API is simpler when your application controls the fields and layout.