How to Generate a Screenshot URL for a Website
Build a screenshot request URL, encode the target page correctly, choose capture options, and handle the response in cURL, Python, or Node.js.

To generate a screenshot URL, send a GET request to your screenshot provider’s endpoint and pass the page you want captured in its url query parameter. Encode that nested page URL as a query value, then add only options the provider documents. For example, a generic request has this shape:
https://SCREENSHOT-SERVICE-ENDPOINT?url=ENCODED_TARGET_URL&OPTION=VALUEThis is a template, not a working endpoint. Providers use different endpoints, authentication, parameter names, defaults, and response formats. A screenshot request URL also does not necessarily point to a permanently stored image: the response may contain image bytes, JSON, or another form of output. Check the chosen provider’s contract.
1. Understand the two URLs in a screenshot request
A screenshot request contains an outer URL and a nested target URL:
- Outer URL: the screenshot API endpoint your application calls.
- Target URL: the website page the service loads and captures, supplied as the value of a parameter usually named
url.
For instance, the target might be https://example.com/products?sort=recent&page=2. The question mark and ampersand belong to the target URL. If they are not encoded when nested in the outer query string, a parser can mistake them for screenshot API parameters. Use a query-string builder or a command such as cURL’s --data-urlencode; do not concatenate complex target URLs by hand.
The endpoint, authentication method, and options are provider-specific. ScreenshotEngine documents GET query parameters and POST with a JSON body; its GET method requires an API-key parameter, while POST accepts a Bearer key. Site-Shot also documents a GET endpoint with an API key. Follow the selected provider’s current documentation rather than assuming one provider’s conventions work for another.
2. Build a request URL step by step
- Choose the service. Confirm its API endpoint, accepted HTTP methods, authentication, and whether it returns file bytes, JSON, or a stored URL.
- Start with an absolute target URL. Use an
http://orhttps://address. Some providers require a publicly reachable page; private intranet URLs may not be accessible to a hosted renderer. - Encode the target as a parameter. Pass it through a URL query-parameter encoder. Include the full target path and its own query and fragment only as the provider supports them.
- Add supported capture settings. Typical controls include output format, viewport dimensions, full-page capture, selector capture, dark mode, and a wait duration. Names, ranges, and defaults differ by provider.
- Authenticate safely. Use the authentication method the API documents. Avoid publishing a live API key in a public URL, source repository, browser code, or logs.
- Read the response as documented. If the response is raw bytes, save it as a file and use its content type or the requested format to identify it. If it is JSON, parse the JSON and handle any encoded data or metadata.
For provider-specific examples, ScreenshotEngine documents its [parameter reference](https://www.screenshotengine.com/docs/parameters), Site-Shot describes its [website screenshot API](https://www.site-shot.com/tools/screenshot-api/), and ScreenshotAPI documents [rendering a screenshot](https://www.screenshotapi.net/docs/renderScreenshot). Their controls and contracts are not interchangeable.
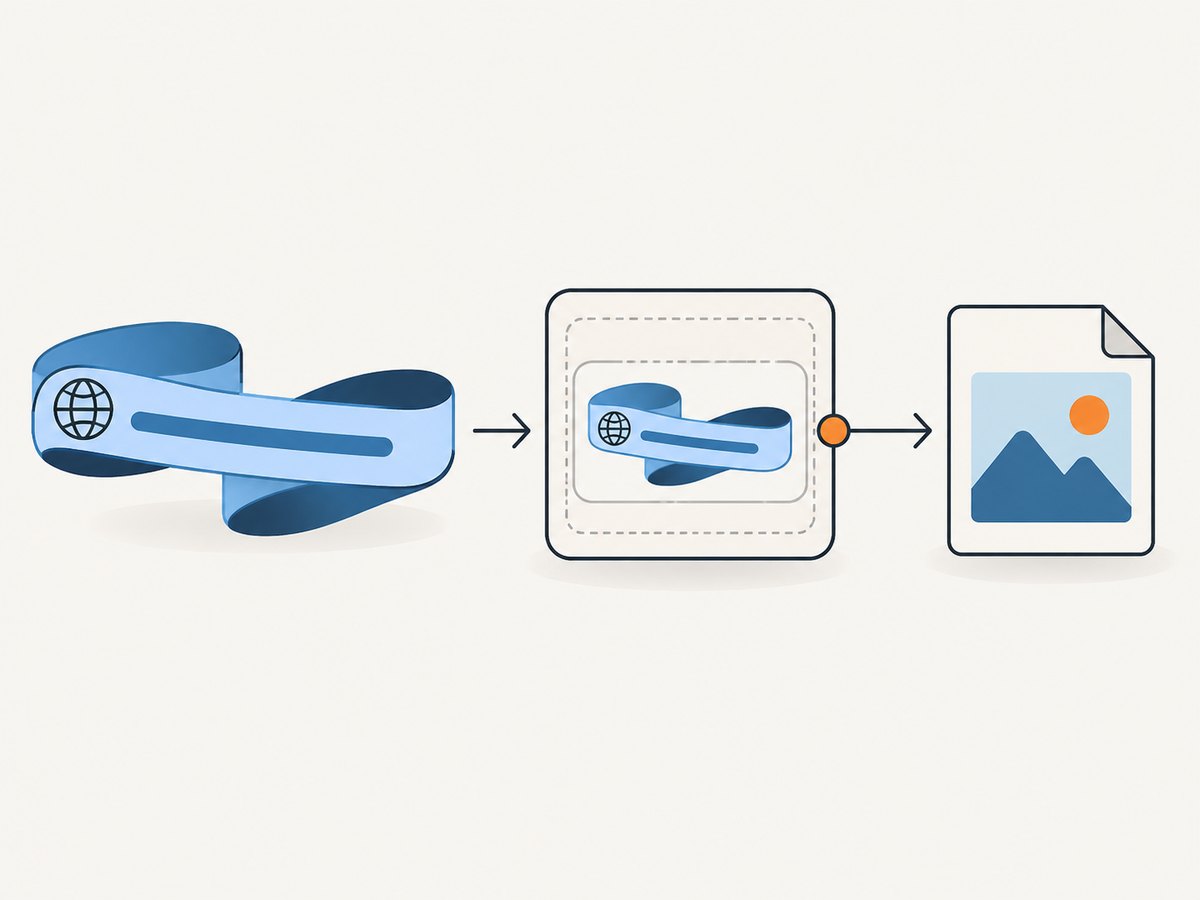
3. Generate the request with cURL
When the provider supports GET parameters, let cURL encode the target page with --data-urlencode. Replace the placeholder endpoint and authentication parameter with the values from your provider’s documentation:
curl -G 'https://SCREENSHOT-SERVICE-ENDPOINT' \
  --data-urlencode 'api_key=YOUR_API_KEY' \
  --data-urlencode 'url=https://example.com/products?sort=recent&page=2' \
  --data-urlencode 'width=1440' \
  --data-urlencode 'height=1000' \
  --data-urlencode 'format=png' \
  -o screenshot.png
This is a structural example: parameter names such as api_key, width, height, and format must match the actual provider. If the API requires a Bearer header or a POST body, use that method instead of this GET pattern. Do not assume that choosing a filename ending in .png changes the server’s output format.
To inspect the response headers while debugging, use -i or -D headers.txt. Be careful: headers or verbose output can expose credentials if the provider uses query-string authentication. Keep captured output and logs private when they include sensitive information.
4. Generate the request in Python
Python’s requests library encodes the parameters when they are passed through params. This example uses generic provider placeholders because each API has its own contract:
import requests

endpoint = "https://SCREENSHOT-SERVICE-ENDPOINT"
params = {
    "api_key": "YOUR_API_KEY",
    "url": "https://example.com/products?sort=recent&page=2",
    "width": 1440,
    "height": 1000,
    "format": "png",
}

response = requests.get(endpoint, params=params, timeout=90)
response.raise_for_status()

content_type = response.headers.get("Content-Type", "")
if "image/" not in content_type and "application/pdf" not in content_type:
    raise ValueError(f"Expected an image or PDF, got {content_type!r}: "
                     f"{response.text[:500]}")

with open("screenshot.png", "wb") as output:
    output.write(response.content)
Install the dependency with python -m pip install requests. The example assumes the service returns raw image or PDF bytes. If it returns JSON or base64, parse that response according to its documentation rather than writing the JSON body as though it were a PNG. Choose a timeout that fits the expected render time and your application’s request budget.
5. Generate the request in Node.js
Use URLSearchParams to build a properly encoded query. This example uses Node.js with its built-in fetch API and generic parameter names:
import { writeFile } from "node:fs/promises";

const endpoint = new URL("https://SCREENSHOT-SERVICE-ENDPOINT");
const params = new URLSearchParams({
  api_key: "YOUR_API_KEY",
  url: "https://example.com/products?sort=recent&page=2",
  width: "1440",
  height: "1000",
  format: "png",
});
endpoint.search = params.toString();

const response = await fetch(endpoint, { signal: AbortSignal.timeout(90_000) });
if (!response.ok) {
  const detail = await response.text();
  throw new Error(`Screenshot request failed (${response.status}): ${detail.slice(0, 500)}`);
}

const contentType = response.headers.get("content-type") ?? "";
if (!contentType.includes("image/") && !contentType.includes("application/pdf")) {
  throw new Error(`Expected an image or PDF, got ${contentType}`);
}

await writeFile("screenshot.png", Buffer.from(await response.arrayBuffer()));
Run this as an ES module in a Node.js release with built-in fetch. As in the Python example, adapt the authentication, parameter names, output checks, and file extension to the actual API response. Keep API credentials in environment variables or a secret manager for real applications.
6. Choose capture options that match the page
There is no universal screenshot API parameter list. Check the provider’s documentation for the spelling, accepted values, defaults, and method support for each option. Common controls include:
| Need | Option to look for | Questions to check |
|---|---|---|
| Set image dimensions | Viewport width and height | Are dimensions in CSS pixels? What are the allowed ranges? |
| Capture the whole document | Full-page or full-height option | Does it scroll to load lazy content? Are very tall pages limited? |
| Capture one component | CSS selector or element capture | What happens if the selector matches nothing or several elements? |
| Control file type | Format such as PNG, JPEG, or WebP | Does the API return raw bytes or a structured response? |
| Wait for a dynamic page | Delay, selector wait, or network-idle wait | What is the maximum wait, and how does the service signal a timeout? |
| Emulate appearance | Dark mode, device, or scale factor | Does the setting affect CSS media queries, pixel size, or both? |
For example, ScreenshotEngine documents provider-specific width and height bounds for its GET interface and accepts full as a height value for full-page capture. Those bounds do not apply to other services. ScreenshotEngine and Site-Shot document different control sets, so validate every option against the API you actually call.
Start with the smallest request that works. Add dimensions, format, waits, and other controls one at a time; this makes malformed parameters easier to spot. For long pages, consider whether full-page capture is necessary: it can require more rendering work and produce a larger file than a viewport capture.
7. Handle response types and image URLs correctly
A screenshot request URL is usually an instruction to a service, not the public URL of the resulting image. Depending on the provider, a successful call may return raw file bytes, a JSON object with base64 image data and metadata, a redirect, or a URL to a stored asset. Site-Shot documents direct image output by default and an optional JSON response; ScreenshotEngine documents raw file bytes for successful calls and recommends checking Content-Type.
- Raw file bytes: save the response body in binary mode. Do not decode it as UTF-8 text.
- JSON or base64: parse the JSON first, then decode the documented field. Check for an API error object even if the HTTP status appears successful.
- Redirect: determine whether your HTTP client follows redirects and whether the final URL is safe to expose.
- Stored image URL: check its expiration, access controls, and whether it is designed for public embedding.
For a public HTML <img> tag, the API request URL is suitable only if the service explicitly supports that use, accepts the necessary credentials safely, and returns an image response to the browser. An API key in a browser-visible query string can be exposed to visitors and intermediary logs. A server-side proxy or a provider’s documented signed-link mechanism may be needed.
8. Troubleshooting common failures
| Symptom | Likely cause | Fix |
|---|---|---|
| The target loads with a broken query string | The nested URL was concatenated without encoding, so its & became an outer parameter separator. |
Use a query builder, --data-urlencode, URLSearchParams, or a library’s parameter argument. |
| HTTP 400 or an invalid URL message | The target is missing a scheme, malformed, unsupported, or not encoded as a value. | Pass a complete absolute URL and compare the request with the provider’s documented parameter names and format. |
| HTTP 401 or 403 | The key is missing, invalid, expired, in the wrong location, or lacks access. | Check the provider’s required query parameter or authorization header, key status, and account permissions. Do not paste a live key into a public issue. |
| The saved file is JSON or cannot open as an image | The service returned an error payload, JSON mode, or a different file type. | Check HTTP status and Content-Type; parse the documented response and use the matching extension. |
| The screenshot is blank or incomplete | The page may still be loading, require client-side rendering, block automated access, or need a longer wait. | Use a supported selector or delay wait, confirm the target is reachable, and inspect the provider’s error or status fields. |
| A selector capture is empty | The selector is invalid, appears after capture, or does not exist in the rendered page. | Validate the selector in the page, wait for it if supported, and fall back to viewport capture while diagnosing. |
| Request hangs or times out | The page is slow, has long-running requests, or the render wait exceeds the client timeout. | Set a realistic client timeout, use a bounded wait strategy, and retry only transient failures with a limit. |
| The result differs from a local browser | Viewport, device scale, cookies, authentication, locale, fonts, or browser state differ. | Set supported emulation and request context explicitly; do not assume the service shares your local session. |
9. Performance, reliability, and cost considerations
Screenshot rendering takes longer than a simple static file download because the service must load and render a page. Avoid launching an unbounded number of concurrent captures: use a queue or concurrency limit, apply timeouts, and record failures by status and response type. Retry only failures that may be transient, with a small retry limit and backoff; malformed input and authentication errors will not improve with retries.
Use the least expensive capture shape that meets the need. A smaller viewport, a compressed format where supported, and avoiding unnecessary full-page captures can reduce transfer size and rendering work. If the provider offers caching, verify how cache keys and expiration work before relying on it; a cached image can be stale after the page changes. Compare pricing by billable successful captures and any limits on dimensions, concurrency, stored output, or retries. The reviewed provider documentation does not establish a general benchmark or universal price, so check current provider pricing directly.
For reliability, log a request identifier if available, target domain, selected options, response status, content type, and elapsed time. Redact API keys and avoid logging sensitive target query parameters. If the page contains personal or private data, confirm that the service and retention behavior fit your requirements before sending it to a hosted renderer.
10. Or skip the browser setup
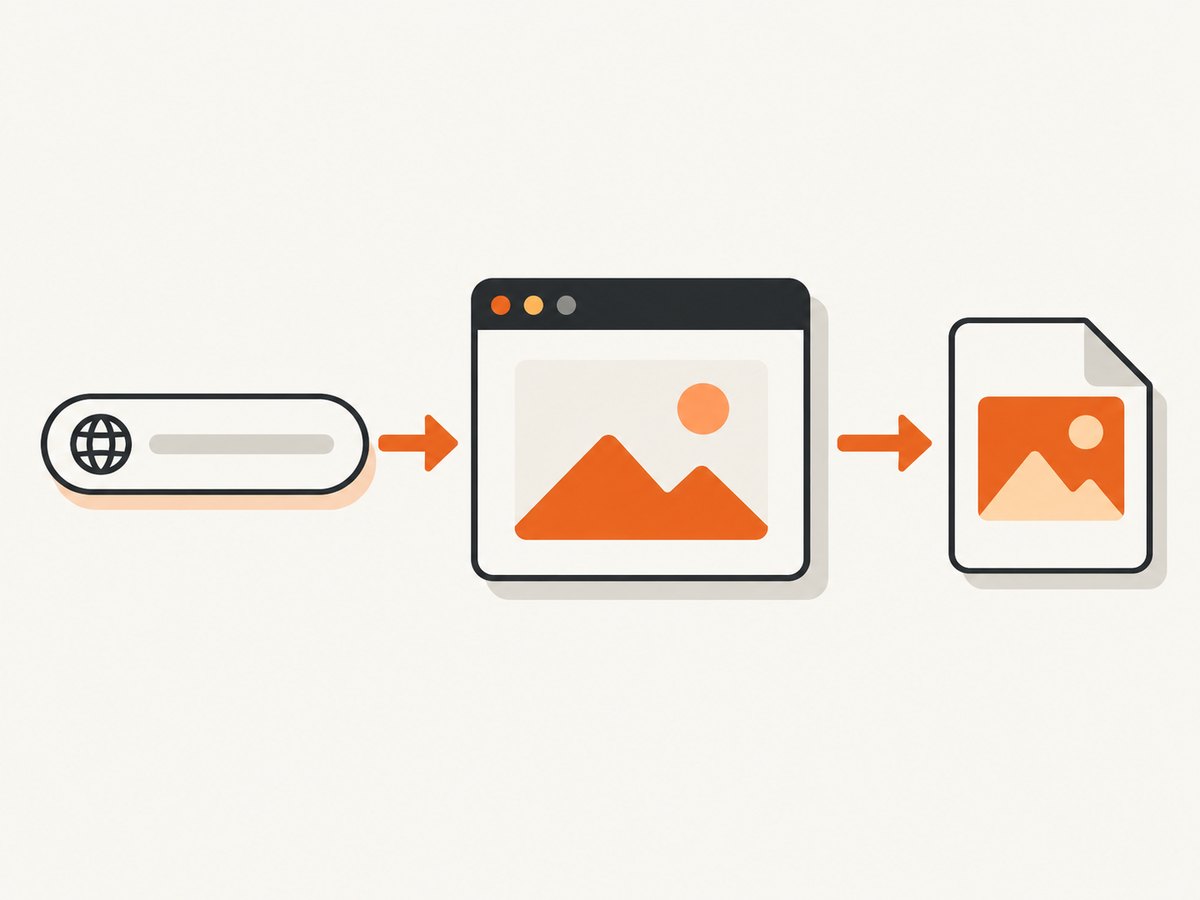
ScreenshotNeo is a website screenshot API and MCP server from Yorker Media. Its endpoint accepts a GET request with a target URL and can return PNG, JPEG, WebP, or PDF output. See the ScreenshotNeo API documentation for request options and response details.
curl -G "https://api.screenshotneo.com/v1/shot" \
  -d access_key=YOUR_API_KEY \
  --data-urlencode url=https://stripe.com \
  -o shot.webp
import requests
r = requests.get(
"https://api.screenshotneo.com/v1/shot",
params={"access_key": "YOUR_API_KEY", "url": "https://stripe.com"},
timeout=90,
)
open("shot.webp", "wb").write(r.content)const q = new URLSearchParams({
access_key: 'YOUR_API_KEY',
url: 'https://stripe.com'
});
const res = await fetch(`https://api.screenshotneo.com/v1/shot?${q}`);ScreenshotNeo accepts cookie and consent banners before capture and removes more than 60 known consent platforms, newsletter popups, and chat widgets; each step can be turned off. Bot checks, blank pages, failed loads, timeouts, and cache hits are not billed, and the response identifies the page verdict and billing status in headers. Its MCP server gives AI agents tools for screenshots, page information, and PDF capture. The Free plan includes 1,000 shots per month without a card; paid plans start at $5 for 3,000 shots.
Sign up free for 1,000 screenshots a month, no card required.
Frequently asked questions
Can I generate a screenshot URL without an API?
You can use a browser automation library or take a screenshot manually, but a hosted screenshot URL requires a service that accepts a capture request. This guide covers the API request pattern; the provider’s endpoint and authentication still apply.
Can I put a screenshot API URL directly in an image tag?
Only when the service supports browser-facing image responses and your authentication can be kept safe. A private API key in an <img> URL is visible to visitors. Check whether the provider offers signed links or another public embedding method.
Why does the API return a file instead of an image URL?
Some APIs render on demand and return the screenshot as response bytes without storing it at a durable public address. Save those bytes yourself or use a documented storage or link feature if you need a reusable URL.
Should I use GET or POST?
Use the method the provider documents. GET is convenient for a simple request URL; POST can carry options in a JSON body and may use header-based authentication. Neither method eliminates the need to protect credentials.


