How to Get Started with html2canvas
Install html2canvas, capture a DOM element, and export it as an image. Learn what it can render, how to handle common failures, and when to use a browser screenshot API.
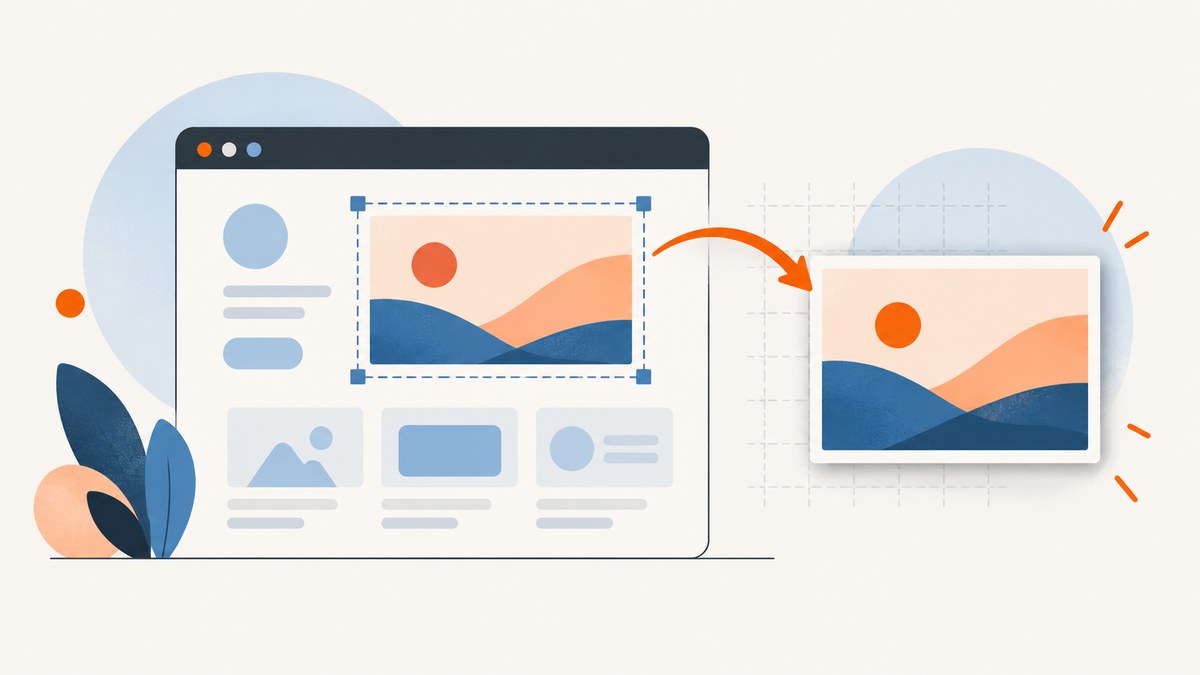
To get started with html2canvas, install the package in a browser JavaScript project, select an element that is already in the DOM, and call html2canvas(element). It returns a Promise that resolves to a canvas. Append that canvas to the page to inspect it, or export it with the browser’s canvas APIs. This is a DOM-based reconstruction, not a native capture of the browser’s rendered pixels, so check that the styles and images your page depends on are supported.
1. Install html2canvas and import it
The official getting-started documentation currently shows the scoped package, @html2canvas/html2canvas. Add it to your project with your package manager:
npm install @html2canvas/html2canvasFor Yarn or pnpm, use the equivalent command:
yarn add @html2canvas/html2canvas
pnpm add @html2canvas/html2canvas
Then import the default function in browser application code. The package name in your import must match the package you installed. The project’s npm page and repository documentation also show the unscoped html2canvas package, so check the current installation instructions for the version you intend to use before copying an older example.
import html2canvas from '@html2canvas/html2canvas';In a plain HTML page, use a module-based build setup that resolves npm packages. The examples below assume a bundler or framework that supports JavaScript modules. This library needs browser APIs such as window, document, and computed styles; importing it into a Node.js server process does not turn it into a server-side screenshot tool.
2. Capture an element
Make sure the target element exists before calling the function. For example, this markup provides a card to capture:
<section id="capture">
  <h1>Monthly report</h1>
  <p>Revenue increased this month.</p>
</section>
Call html2canvas after the page has rendered. This function returns a Promise, so use await inside an async function or attach a .then() handler.
import html2canvas from '@html2canvas/html2canvas';

async function captureCard() {
  const element = document.querySelector('#capture');
  if (!(element instanceof HTMLElement)) {
    throw new Error('Could not find #capture');
  }

  const canvas = await html2canvas(element);
  document.body.appendChild(canvas);
}

captureCard().catch((error) => {
  console.error('Capture failed:', error);
});
The appended canvas is useful while developing: it lets you inspect the result directly on the page. In an application, you will often display it in a dedicated preview area, or export it for download.
3. Export the result as a PNG
Canvas provides toDataURL(). Set the returned data URL as the href of a temporary anchor and click it to prompt a download:
async function downloadCapture(element) {
  const canvas = await html2canvas(element);
  const link = document.createElement('a');
  link.download = 'capture.png';
  link.href = canvas.toDataURL('image/png');
  link.click();
}
For larger images, prefer a Blob when possible. toBlob() avoids building a large base64 string in JavaScript memory. A null result can occur if encoding fails, so handle it:
async function downloadCaptureAsBlob(element) {
  const canvas = await html2canvas(element);
  const blob = await new Promise((resolve) => {
    canvas.toBlob(resolve, 'image/png');
  });
  if (!blob) throw new Error('Could not encode the canvas');

  const objectUrl = URL.createObjectURL(blob);
  const link = document.createElement('a');
  link.href = objectUrl;
  link.download = 'capture.png';
  link.click();
  URL.revokeObjectURL(objectUrl);
}
Keep the canvas in the page or hand its Blob to the next step in your workflow if the browser revokes an object URL before a user action completes. For a basic download, the temporary anchor is a common pattern; integrate download behavior with your application’s user interaction and error handling.
4. Understand what html2canvas captures
Despite the familiar “screenshot” description, html2canvas does not take a photograph of the browser’s final pixels. It traverses DOM elements, reads styles and content, then draws its own representation into a canvas. The project documentation describes it as taking screenshots directly in the user’s browser, but also explains that it reconstructs the page and does not support every CSS property. The visible page and generated canvas can therefore differ.
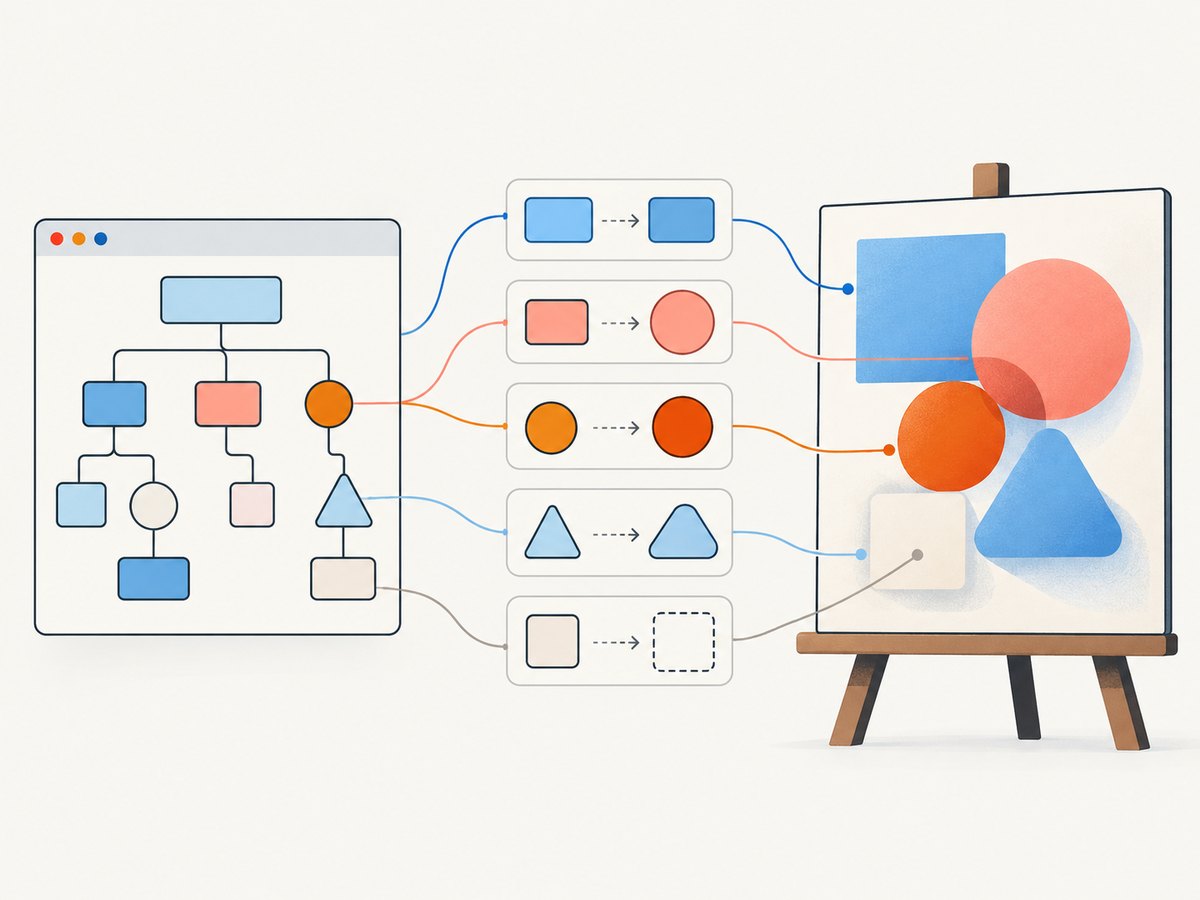
Before relying on it, try the actual page and inspect the output at the sizes and browser versions your users need. Consult the project’s supported-features documentation for CSS properties that matter to your design. Avoid promising pixel-perfect output. Browser-rendered video, unsupported CSS, fonts that have not loaded, and cross-origin resources can all affect the result.
Same-origin iframes can be traversed recursively. Cross-origin frames cannot be read because of browser security boundaries; sandboxed frames without allow-same-origin have the same issue. Plugin content such as Java applets is not rendered.
5. Useful options for everyday captures
Pass an options object as the second argument. Options adjust the reconstruction, crop, scale, or resource handling; they do not change browser security rules or make unsupported CSS renderable.

Crop a region
Use x, y, width, and height to define the capture region in the page’s coordinate space:
const canvas = await html2canvas(element, {
  x: 0,
  y: 0,
  width: 640,
  height: 400
});
Check that the crop includes the content you expect, especially when the element is positioned or the page is scrolled. For an element-only image, passing the element itself is usually simpler than capturing the whole document and cropping manually.
Increase output scale
The scale option controls the output pixel density. To use the device’s pixel ratio:
const canvas = await html2canvas(element, {
  scale: window.devicePixelRatio
});
A larger scale creates more pixels and uses more memory and processing time. Start with the default if the image is only for an on-page preview. Raise it when the output needs to look sharper on high-density displays, then check file size and canvas limits.
Exclude controls or decorative elements
Add data-html2canvas-ignore to elements that should not appear in the capture:
<button data-html2canvas-ignore>Close</button>This is handy for buttons, temporary controls, or overlays that are useful on the live page but irrelevant in an exported image. Keep in mind that this attribute applies to elements you control in the DOM; it is not a general means of removing third-party content from a remote website.
Handle cross-origin images
When an image comes from another origin, the browser may block its pixels from being read into a canvas. The useCORS option can request the image in a CORS-enabled way:
const canvas = await html2canvas(element, {
  useCORS: true
});
This only works if the image server sends suitable Access-Control-Allow-Origin headers. If you control the image host, configure its CORS policy for your application’s origin. Otherwise, use a proxy you operate that fetches the image and serves it to your page from an allowed origin. Do not use a proxy to fetch content you are not authorized to access. html2canvas cannot bypass the browser’s same-origin and canvas-tainting protections.
6. A practical capture helper
For reusable application code, keep the capture and export steps together, validate the target, and catch failures at the call site. This example produces a PNG Blob and returns it so the caller can upload it, preview it, or download it:
import html2canvas from '@html2canvas/html2canvas';

export async function renderElementToPng(selector) {
  const element = document.querySelector(selector);
  if (!(element instanceof HTMLElement)) {
    throw new Error(`No HTML element found for ${selector}`);
  }

  const canvas = await html2canvas(element, {
    scale: window.devicePixelRatio,
    useCORS: true
  });

  return await new Promise((resolve, reject) => {
    canvas.toBlob((blob) => {
      if (blob) resolve(blob);
      else reject(new Error('Canvas PNG encoding failed'));
    }, 'image/png');
  });
}

const png = await renderElementToPng('#capture');
console.log(png.type, png.size);
Using useCORS here is useful only for images whose servers permit the request; remove it if it is not relevant. Do not start capture until the target content and required assets are ready. In a framework, call from a client-side event or lifecycle point after rendering rather than during server-side rendering.
7. Troubleshooting
| Symptom | Likely cause | What to try |
|---|---|---|
| Images from another domain are missing | The remote server does not permit canvas access through CORS. | Use useCORS: true and confirm the image response has a suitable Access-Control-Allow-Origin header. If you control the content, serve it through a correctly configured same-origin proxy. |
| Styles differ from the page | The library reconstructs DOM and styles; its CSS support is incomplete. | Check the supported-features documentation for the properties involved. Simplify unsupported styling or use a browser-native screenshot method when exact rendered pixels are required. |
| The result is blank or cut off | The canvas may be too large for the browser or platform. Limits vary, and failures can be partial or silent. | Capture a smaller element or split a long page into sections. Where appropriate, set windowWidth and windowHeight to the target element’s scroll dimensions, then inspect the output in each supported browser. |
| The target is not found | Capture ran before the element was rendered, or the selector does not match. | Check the selector and invoke capture after the DOM update. Validate the result of querySelector() before calling html2canvas. |
| Some content inside an iframe is absent | The frame is cross-origin or sandboxed without same-origin access. | Capture content within the frame’s own origin or use an authorized browser screenshot workflow with access to the rendered page. Browser security prevents reading a cross-origin frame’s DOM. |
| It fails in a Node.js process | html2canvas expects browser APIs and a real DOM. | Run it in a browser. For server-side screenshot generation, the project FAQ points to browser automation tools such as Puppeteer or Playwright. |
| A browser extension capture is clipped | Canvas dimensions have browser-dependent limits. | Use the browser’s native extension screenshot API, which avoids html2canvas’s canvas-size limits. |
8. Performance, reliability, and cost
html2canvas runs on the user’s device, so there is no screenshot API request or per-capture service bill for the library itself. The tradeoff is that it consumes the page’s CPU and memory, can make a busy interface feel slower, and depends on that browser’s rendering behavior and resource access. Keep captures scoped to the element you need instead of reconstructing a very long document. A higher scale multiplies pixel dimensions and can substantially increase memory use.
For reliability, wait until images and fonts needed in the target have loaded, handle Promise rejections, and test on the browsers and devices you support. For very long pages, capture sections rather than aiming for a single enormous canvas. There is no universal safe maximum canvas size: browser, operating system, and device all affect it.
Choose html2canvas when you need an in-browser, DOM-based image and its output is faithful enough for the use case. If you need the browser’s rendered pixels, server-side generation, or a workflow for arbitrary public URLs, use a real browser capture approach or a screenshot API.
9. Or skip the browser setup
For a screenshot of a public webpage rather than a DOM element in your own app, [ScreenshotNeo](https://screenshotneo.com) provides a website screenshot API. Send one GET request with the target URL and receive an image or PDF. See the ScreenshotNeo API documentation for request options and formats.
curl -G "https://api.screenshotneo.com/v1/shot" -d access_key=YOUR_API_KEY --data-urlencode url=https://stripe.com -o shot.webpimport requests
r = requests.get(
"https://api.screenshotneo.com/v1/shot",
params={"access_key": "YOUR_API_KEY", "url": "https://stripe.com"},
timeout=90,
)
r.raise_for_status()
open("shot.webp", "wb").write(r.content)const q = new URLSearchParams({ access_key: 'YOUR_API_KEY', url: 'https://stripe.com' });
const res = await fetch(`https://api.screenshotneo.com/v1/shot?${q}`);
if (!res.ok) throw new Error(`Screenshot request failed: ${res.status}`);
const bytes = new Uint8Array(await res.arrayBuffer());
await import('node:fs/promises').then(({ writeFile }) => writeFile('shot.webp', bytes));Cookie banners are accepted and removed before the shot, along with supported newsletter popups and chat widgets. Bot checks, blank pages, timeouts, failed loads, and cache hits are not billed; response headers report the page verdict and billing status. An MCP server lets AI agents use take_screenshot, get_page_info, and capture_pdf. The free plan includes 1,000 shots a month with no card; paid plans start at $5 for 3,000. Sign up for ScreenshotNeo’s free 1,000 screenshots a month, with no card required.
10. Frequently asked questions
Does html2canvas work with React or Vue?
Yes, when called in the browser after the component has rendered and its target element is available. Use a ref or an equivalent element reference, and avoid running the capture during server rendering.
Can it capture a whole webpage?
It can reconstruct large page regions, but huge canvases can exceed browser-dependent limits. For long pages, capture smaller sections and combine them only if your workflow needs a single image.
Can html2canvas make an exact screenshot?
No. It rebuilds an image from DOM and supported styles rather than reading the browser’s final pixels. Validate its fidelity for your page before depending on the output.
Can I use it to screenshot any URL from a backend?
No. It requires a browser DOM for the page being rendered. Use browser automation or a screenshot API for server-side capture of URLs.


