Getting Started with Puppeteer Stealth
Install Puppeteer Stealth, configure its evasions, and test authorized browser automation while understanding what the plugin can—and cannot—change.
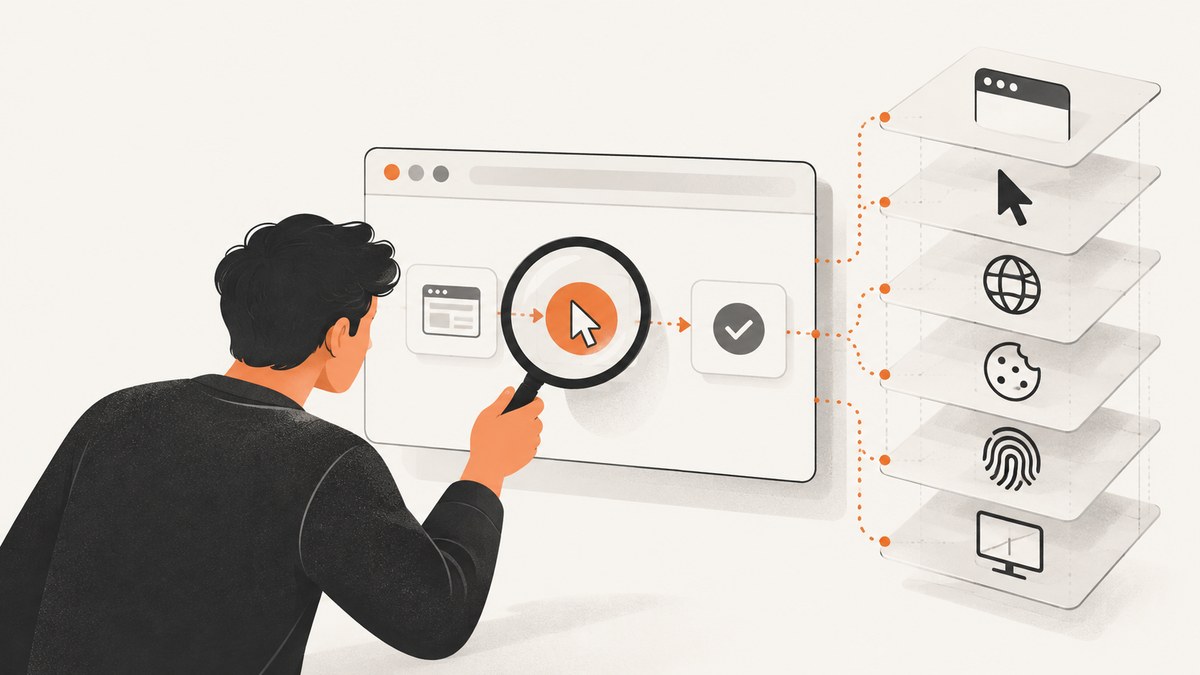
Puppeteer Stealth is the puppeteer-extra-plugin-stealth plugin used through puppeteer-extra. Install the packages, register StealthPlugin(), and launch Puppeteer as usual. The plugin enables its default set of evasions that change some browser-facing signals associated with automation. It can make headless Puppeteer harder to detect, but it does not make a browser undetectable or guarantee access to any site.
Use it for authorized QA, internal automation, and testing systems you own or have permission to assess. For production integrations, prefer an official API when one is available. A successful test on one page does not predict how another site, browser version, or account will behave.
1. What Puppeteer Stealth is
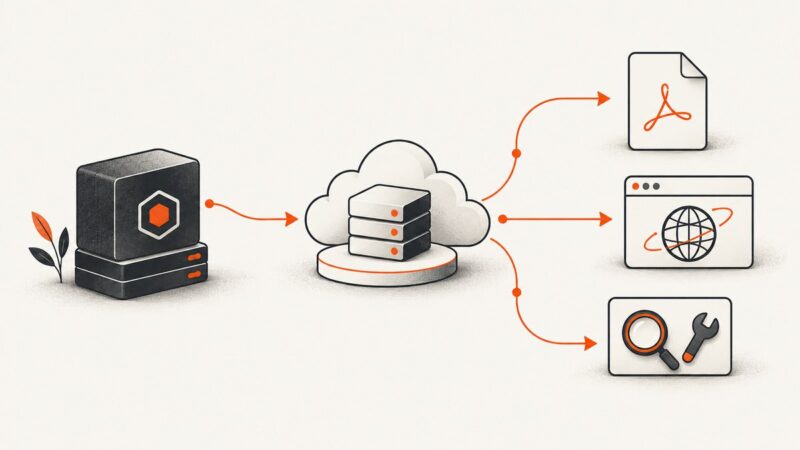
The project README describes Stealth mode as applying “various techniques to make detection of headless puppeteer harder.” The package is a plugin, not a separate browser. It is installed alongside Puppeteer and puppeteer-extra; the latter provides the plugin registration interface. See the project README and package documentation.
Websites can inspect characteristics exposed by a browser to distinguish automation from ordinary use. The README names the HeadlessChrome user-agent token as an obvious example. Stealth bundles modular techniques that adjust some observable browser characteristics. Those adjustments affect browser-facing signals; they do not control every signal a site might use.
Detection is an evolving cat-and-mouse problem. Outcomes can depend on the target site, browser build, Puppeteer version, network behavior, interaction patterns, and account state. The project and registry material do not provide a universal pass rate or benchmark. Treat the plugin as a testing aid, not a bypass for authentication, CAPTCHAs, rate limits, access controls, or site terms.
2. Install the packages
Use a supported Node.js environment and install the three dependencies in your project directory. The project documents these npm and Yarn commands:
npm install puppeteer puppeteer-extra puppeteer-extra-plugin-stealthyarn add puppeteer puppeteer-extra puppeteer-extra-plugin-stealthpuppeteer provides browser automation, puppeteer-extra adds plugin support, and puppeteer-extra-plugin-stealth supplies the stealth plugin. Puppeteer installation also manages its browser setup according to the Puppeteer package’s normal installation behavior.
For repeatable builds, commit the lockfile and pin or otherwise deliberately manage dependency versions. Review the versions your application uses before upgrading: browser and plugin changes can alter results. The project’s guidance is to revisit tests after browser or dependency updates.
3. Run a minimal CommonJS example
Create index.cjs and run it with node index.cjs. The example opens a page you are authorized to inspect, records basic diagnostics, and closes the browser even if navigation fails.
const puppeteer = require('puppeteer-extra')
const StealthPlugin = require('puppeteer-extra-plugin-stealth')

puppeteer.use(StealthPlugin())

;(async () => {
  const browser = await puppeteer.launch({ headless: true })
  try {
    const page = await browser.newPage()
    page.on('pageerror', error => console.error('Page error:', error.message))
    const response = await page.goto('https://example.com', {
      waitUntil: 'domcontentloaded',
      timeout: 30000
    })
    console.log('HTTP status:', response?.status())
    console.log('Title:', await page.title())
    await page.screenshot({ path: 'page.png', fullPage: true })
  } finally {
    await browser.close()
  }
})().catch(error => {
  console.error(error)
  process.exitCode = 1
})
The plugin is registered before launching the browser. headless: true selects headless operation; it is not itself a stealth setting. domcontentloaded waits for the initial document parse rather than every possible network request. Choose a wait condition appropriate to the page, and use a bounded timeout so a stalled navigation does not hang indefinitely.
4. TypeScript and module imports
The project also documents TypeScript usage with imports, plugin registration, and the usual launch flow. For an ESM-enabled project, the shape is:
import puppeteer from 'puppeteer-extra'
import StealthPlugin from 'puppeteer-extra-plugin-stealth'

puppeteer.use(StealthPlugin())

const browser = await puppeteer.launch({ headless: true })
try {
  const page = await browser.newPage()
  await page.goto('https://example.com', {
    waitUntil: 'domcontentloaded',
    timeout: 30_000
  })
  console.log(await page.title())
} finally {
  await browser.close()
}
Module interop depends on the project’s Node.js and TypeScript configuration. If the import form fails, check whether the project is configured for ESM and whether its module interop settings match the package exports. The CommonJS example is a practical alternative for a CommonJS project.
5. Configure the evasion set
StealthPlugin() starts with the plugin’s default evasion set. The plugin exposes availableEvasions and enabledEvasions; the repository keeps techniques modular so you can inspect, enable, or disable individual modules. For example, to remove the console.debug evasion from the enabled set before registering the plugin:

const puppeteer = require('puppeteer-extra')
const StealthPlugin = require('puppeteer-extra-plugin-stealth')

const stealth = StealthPlugin()
stealth.enabledEvasions.delete('console.debug')
puppeteer.use(stealth)

;(async () => {
  const browser = await puppeteer.launch({ headless: true })
  try {
    const page = await browser.newPage()
    await page.goto('https://example.com', { waitUntil: 'domcontentloaded' })
  } finally {
    await browser.close()
  }
})()
Use the names in the installed plugin’s availableEvasions set and its evasions directory as the authority for your version. Names and modules may change as the project evolves. To inspect what is available in the version installed in your project:
const stealth = StealthPlugin()
console.log('Available:', [...stealth.availableEvasions])
console.log('Enabled:', [...stealth.enabledEvasions])
Alternatively, load individual evasion modules directly when a test specifically needs to isolate one behavior; consult that installed version’s documentation for module paths and usage. Start with defaults, establish a repeatable authorized test, then change one module at a time. That makes it easier to tell which configuration change caused an observed difference.
6. A reliable testing workflow
- Confirm scope. Use a staging environment or a target you own or are authorized to test. Follow its terms, robots guidance, and API instructions.
- Record versions. Keep the lockfile and note the Puppeteer,
puppeteer-extra, plugin, and browser versions used for each run. - Set a baseline. Run the same test without changing multiple variables. Capture navigation status, page errors, screenshots, and the behavior your test cares about.
- Enable the default plugin. Compare results under the same browser, target, and test data. Avoid treating one successful page load as evidence of universal effectiveness.
- Isolate changes. If needed, remove or load a single evasion and rerun the same test. Record the configuration with the result.
- Recheck after updates. Repeat relevant tests after changing the browser or dependencies. Detection behavior and browser surfaces can change over time.
- Keep automation responsible. Use realistic test data, controlled request rates, and clear authorization. Do not use the plugin to evade restrictions.
For debugging, attach listeners before navigation and save artifacts from the same run. For example, listen for pageerror, log the navigation response status, and save a screenshot. Those observations help distinguish a browser startup issue from a page error or a target response. They do not expose every server-side reason a site may behave differently.
7. What the plugin does not control
The plugin changes selected browser-facing characteristics. A site’s decisions can also depend on signals outside those changes, including network, behavioral, and account-level signals. It does not grant authorization, authenticate a session, remove a CAPTCHA, increase request limits, or ensure that a page will render. A headless browser can remain detectable even with the plugin configured correctly.
When a test is blocked, first check whether the response is expected for the test account and environment. Verify permissions and use the site’s supported test facilities. Do not repeatedly retry or increase request volume to force a result. Where an official API or test endpoint exists, it is usually a more stable integration path.
8. Performance, reliability, and cost
Stealth is a plugin configuration layer; the provided project material does not publish a standard runtime overhead figure, pass rate, or performance benchmark. Measure your own authorized workload. Browser startup, page weight, scripts, navigation waits, screenshots, and concurrency all affect end-to-end time and resource use. A broad wait such as network idle can take longer or behave unpredictably on pages with continuing requests; use a suitable readiness condition and a finite timeout.
For reliability, close browsers in a finally block, bound navigation timeouts, and collect enough diagnostics to identify failures. Keep concurrency and request rates controlled. For cost, account for the machines and browser runtime your automation consumes; the plugin’s package price is not a hosted browser service price, and the dossier gives no cost benchmark. If a screenshot is all you need and managing a browser is unnecessary, compare that operational effort with a screenshot API.
9. Or skip the browser setup
If your task is to get a screenshot rather than test browser evasions, ScreenshotNeo is a website screenshot API and MCP server. One GET request returns a PNG, JPEG, WebP, or PDF. The API supports options such as full-page capture, CSS selectors, device presets, custom CSS and JavaScript, wait conditions, and PDF settings. See the ScreenshotNeo API documentation for request options.

curl -G "https://api.screenshotneo.com/v1/shot" \
  -d access_key=YOUR_API_KEY \
  --data-urlencode url=https://example.com \
  -o shot.webp
import requests
r = requests.get(
"https://api.screenshotneo.com/v1/shot",
params={"access_key": "YOUR_API_KEY", "url": "https://example.com"},
timeout=90,
)
r.raise_for_status()
open("shot.webp", "wb").write(r.content)const q = new URLSearchParams({
access_key: 'YOUR_API_KEY',
url: 'https://example.com'
})
const res = await fetch(`https://api.screenshotneo.com/v1/shot?${q}`)
if (!res.ok) throw new Error(`Screenshot request failed: ${res.status}`)
await Bun.write('shot.webp', res)ScreenshotNeo accepts cookie and consent banners like a visitor and removes 60+ known consent platforms, newsletter popups, and chat widgets before capture; each step can be turned off. Bot checks, blank pages, timeouts, failed loads, and cache hits cost nothing, and the response identifies the page verdict and billing status in headers. Its MCP server provides take_screenshot, get_page_info, and capture_pdf tools for Claude, Cursor, and other MCP clients. Free includes 1,000 shots per month with no card; paid plans start at $5 for 3,000 shots.
Sign up for 1,000 free screenshots a month—no card required.
10. Troubleshooting
| Symptom | Likely cause | What to check |
|---|---|---|
Cannot find module |
One of the packages is missing or the command ran outside the project. | Install all three dependencies in the project directory and run Node from there. |
| Plugin import or constructor error | CommonJS and ESM configuration do not match, or the installed package version differs from the example. | Check module type, import interop, and the installed package documentation; try the CommonJS form in a CommonJS project. |
| Browser fails to launch | Browser installation, environment, or runtime dependencies are unavailable. | Review Puppeteer’s installation output and environment requirements. Confirm the browser can launch without the plugin first. |
| Navigation times out | The page is slow, keeps making requests, or the chosen wait condition is too broad. | Use an appropriate wait condition, set a bounded timeout, and inspect the response and page errors. |
| Target still detects automation | The site uses signals the enabled evasions do not change, or its behavior changed. | Verify the target and test authorization, compare a controlled baseline, and inspect the installed version’s evasion set. Do not assume a universal bypass. |
| Page content is incomplete | Navigation completion does not mean the content your test needs is ready. | Wait for the specific authorized page state or selector your test requires, and save a screenshot to inspect what rendered. |
| Results changed after an update | Browser or dependency behavior changed. | Record and compare versions, rerun the baseline, then isolate changes one at a time. |
11. FAQ
Is Puppeteer Stealth the same as Puppeteer?
No. Puppeteer automates a browser; Stealth is an optional plugin used through puppeteer-extra.
Does it guarantee a page will treat automation as a human?
No. It changes selected browser-facing signals, and each site’s detection and access rules are its own.
Can I disable one evasion?
Yes. The plugin exposes an enabled evasion set that can be changed before registration. Check the installed version for available names.
Should I use it for every Puppeteer project?
No. Add it when an authorized test needs to evaluate those browser signals. Ordinary browser automation may not need it.
Is a screenshot API a substitute for stealth testing?
No. An API can return screenshots without requiring you to manage a browser, but it does not replace a test whose purpose is to assess your own browser automation behavior.