How to Group Layers in a Visual Editor
Learn how to group layers in Canva, Figma, Illustrator, and Photoshop, edit grouped items, ungroup safely, and avoid stacking-order surprises.
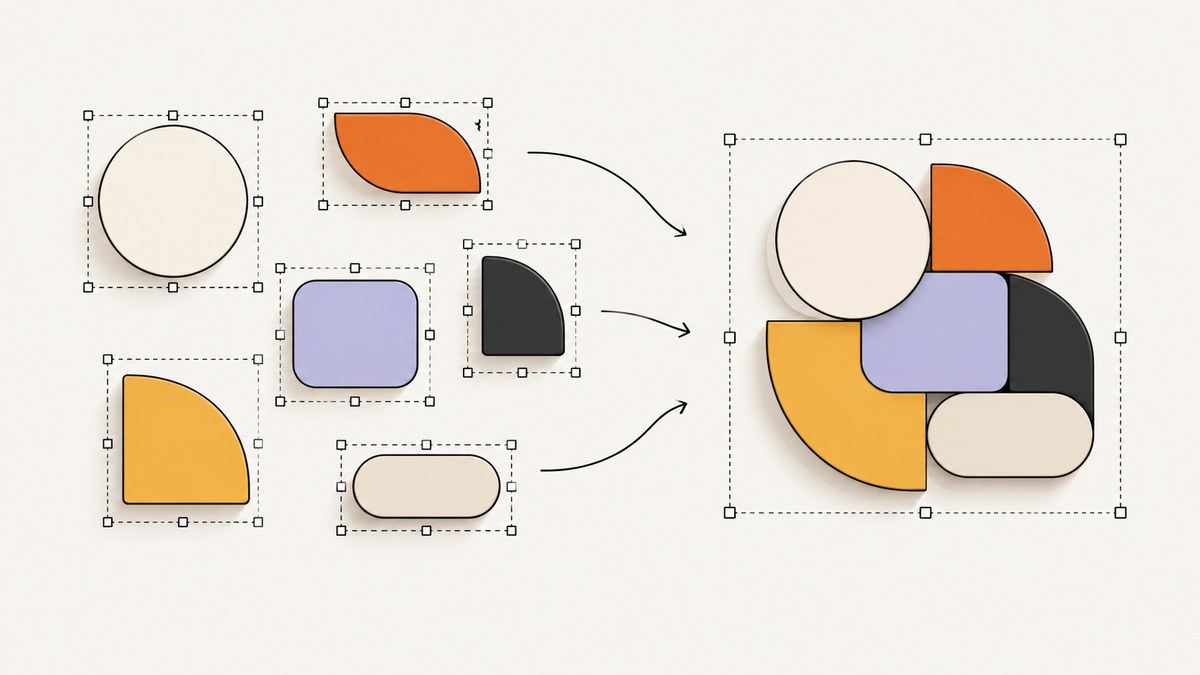
Grouping layers lets you move, resize, rotate, or organize several objects as one unit. The general workflow is the same in most visual editors: select the intended layers or objects, run the editor’s Group command, work with the new group, then enter the group or ungroup it when you need individual control.
Quick answer: the universal grouping workflow
- Select the items. Drag a selection box around them or Shift-click each layer, object, or element in the canvas or layers panel.
- Run Group. Use the editor’s toolbar or menu command. Common shortcuts are Command+G on macOS and Control+G on Windows, but verify the shortcut for your app.
- Transform the group. Move, resize, rotate, or animate it as one unit.
- Edit a child. Double-click, enter the group, use the layers panel, or use the editor’s direct-selection behavior.
- Ungroup when needed. Select the group and choose Ungroup to return its members to separate objects.
Grouping usually preserves the members’ relative positions. It can still change the layer hierarchy or stacking order, and some editors restrict which content types can be grouped.
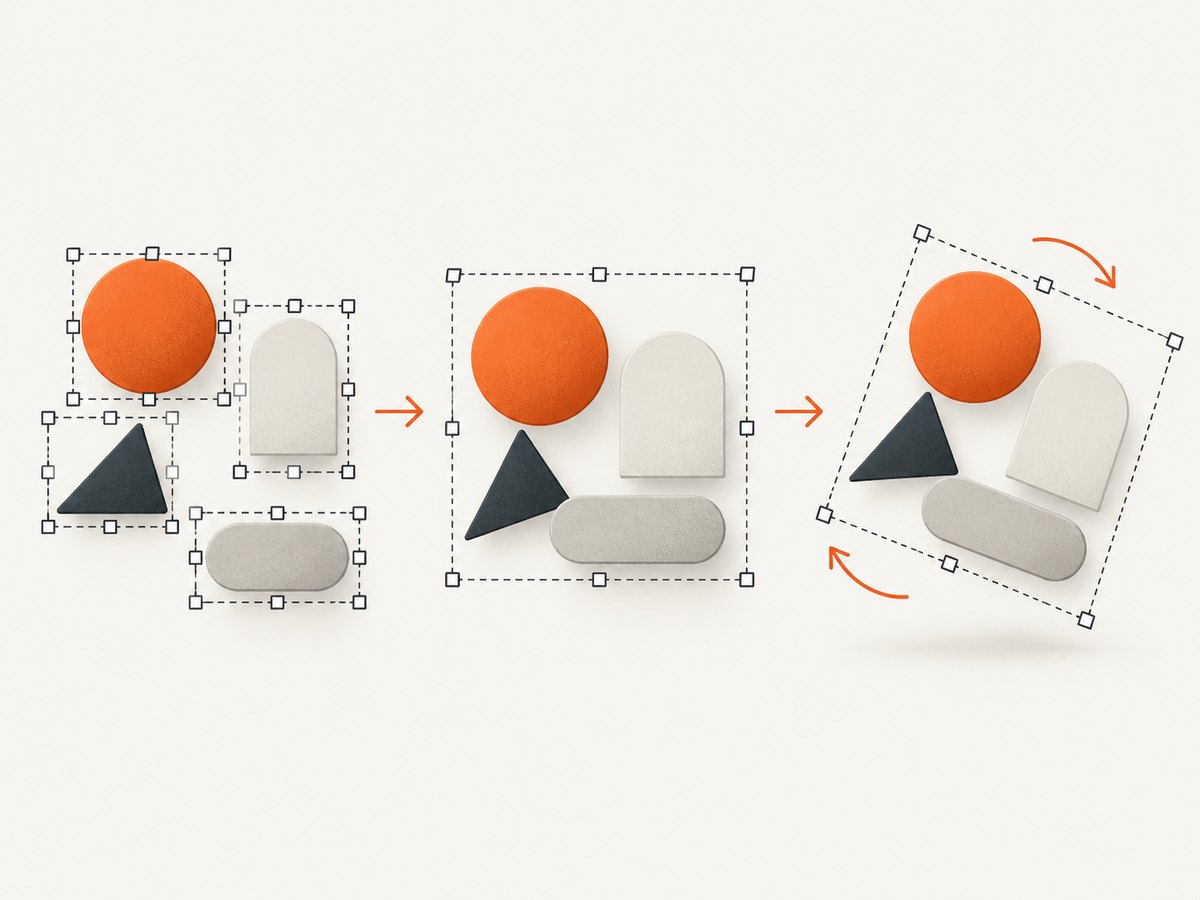
How to group layers in Canva
- Select elements by dragging across them on the canvas, or hold Shift while clicking each element.
- Choose Group from Canva’s floating toolbar.
- Move, resize, rotate, or animate the group as a unit.
- To edit one item without destroying the group, select the group and then select the element inside it. Canva’s help instructions describe making individual changes while the group remains intact.
- Select the group and choose Ungroup to separate the elements.
Canva documents Command+G (Mac) and Ctrl+G (Windows) as grouping shortcuts. Charts, tables, and grids can be grouped, while sheet elements cannot. Content created by third-party apps may need to be downloaded as an image and uploaded again before it can be grouped with other elements. See Canva’s grouping and alignment help.
How to group layers in Figma
- Select multiple layers on the canvas or in the Layers panel.
- Choose Group, or press Command+G on macOS or Control+G on Windows.
- Use the group to move or transform the selected layers together.
- Double-click a child or select it in the Layers panel when you need to edit an individual layer.
- To separate the children, select the group and use Ungroup.
Figma groups can be nested. A group’s bounds follow the combined dimensions of its children. This differs from a frame, whose dimensions are explicitly set by the user. Figma lists Shift+Command+G or Command+Delete for ungrouping on Mac, and Shift+Control+G or Control+Backspace on Windows. Check Figma’s explanation of groups and frames when deciding which container to use.
How to group objects in Adobe Illustrator
- Choose the Selection tool and select the objects.
- Open Object and choose Group.
- Transform the resulting group as one object.
- To separate it, right-click the group and choose Ungroup.
- Use Ungroup All when nested groups also need to be removed.
Illustrator displays groups as <Group> items in the Layers panel. Grouping can affect stacking order: grouped items can stack behind the frontmost selected object and may move to the topmost selected layer. Inspect the Layers panel after grouping if exact z-order matters. Adobe’s current instructions are in Group or ungroup objects.
How to group layers in Adobe Photoshop
- In the Layers panel, select the layers you want to place together. Use Shift-click or Command/Ctrl-click for multiple, non-adjacent layers.
- Choose Layer > Group Layers.
- Rename the new group and use it to move or organize the layers.
- Add more layers by creating a layer while the group is selected or by dragging layers and groups into the folder.
- Choose Layer > Ungroup Layers to remove the group.
Photoshop also documents Option-drag on macOS or Alt-drag on Windows to the folder at the bottom of the Layers panel. Read Adobe’s Photoshop grouping guide for the panel-specific behavior.
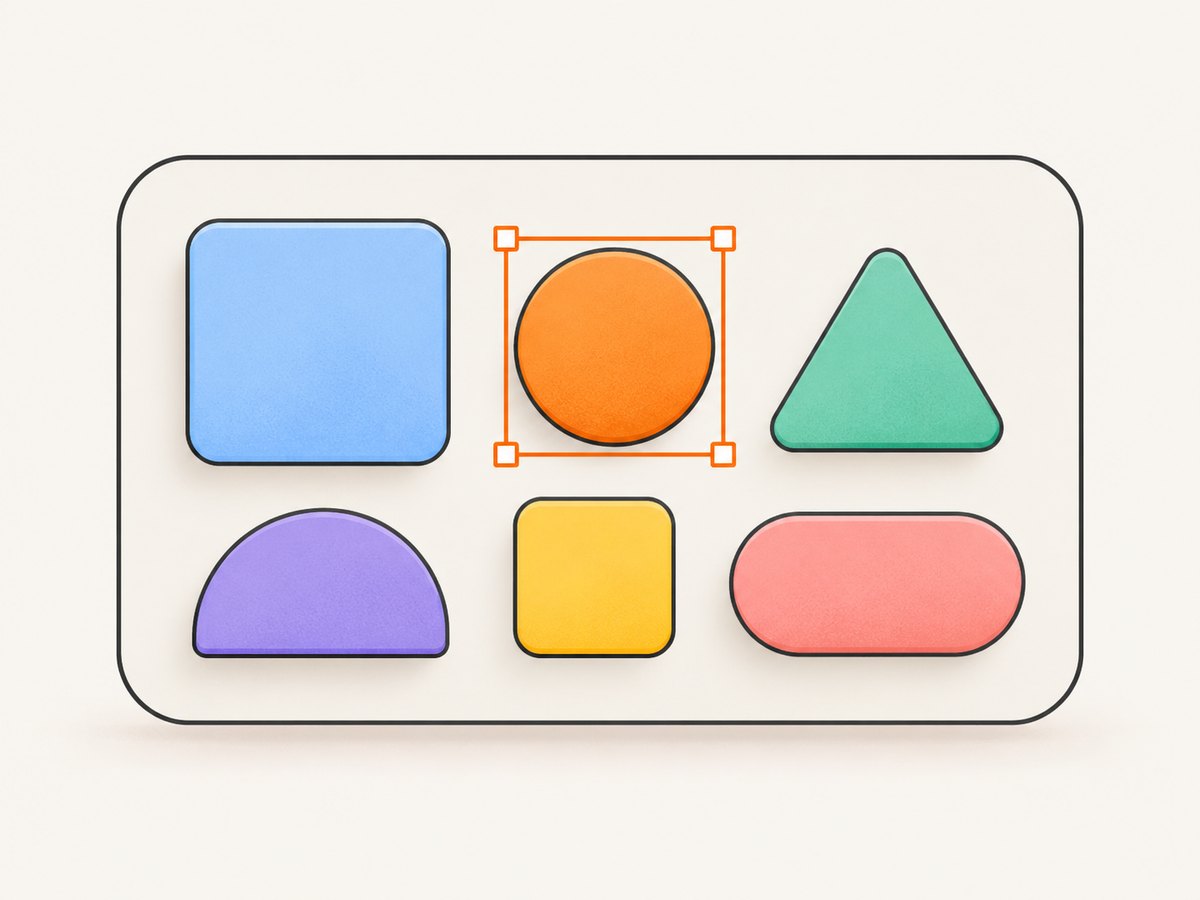
Editing one item inside a group
You do not always need to ungroup to change a child. Use the method your editor provides:
| Editor | Typical child-edit method | When to ungroup |
|---|---|---|
| Canva | Select the group, then select the element inside it. | When you need independent selection or a major restructure. |
| Figma | Double-click the child or choose it in the Layers panel. | When the group itself is no longer useful. |
| Illustrator | Use the Layers panel or direct selection to target an object. | When nested grouping or z-order is blocking edits. |
| Photoshop | Expand the folder and select the child layer in the Layers panel. | When you want to remove the folder hierarchy. |
After editing, verify that the child remains in the intended parent and that its alignment, constraints, masks, and blend behavior still match the design.
Groups, frames, folders, and linked containers
The word “group” does not mean the same thing in every editor:
- Group: A collection that commonly inherits the combined bounds of its members and lets you transform them together.
- Frame: A container with explicit dimensions and often additional layout, clipping, or constraint behavior. Figma makes this distinction especially important.
- Layer folder: Photoshop’s organizational container for layers. It changes hierarchy without flattening the pixels.
- Compound or linked object: An editor-specific container that may have its own editing, masking, or export rules.
Choose a group for quick coordinated transforms. Choose a frame, folder, or other container when you need fixed dimensions, clipping, responsive layout, or a durable document hierarchy.
Stacking order and selection pitfalls
- Wrong objects selected: Lock unrelated layers or select from the layers panel before grouping.
- Hidden or locked members: Some editors omit locked items or prevent them from joining the group. Unlock only the intended members.
- Unexpected z-order: Illustrator can change the relative layer placement of grouped objects. Inspect the Layers panel and move the group afterward if necessary.
- Nested groups: Grouping an existing group creates a hierarchy. Expand the tree before ungrouping so you remove the level you intended.
- Bounds change: A group’s dimensions may follow its children. A transparent object, shadow, or off-canvas layer can make the bounds look larger than expected.
- Content restrictions: Canva’s documented limits exclude sheet elements and may require third-party content to be re-uploaded as an image.
A reliable checklist before and after grouping
- Confirm every intended object is selected and no locked or hidden layer is being skipped.
- Check the layer names and parent hierarchy.
- Group using the editor’s documented command or shortcut.
- Move the group a few pixels and undo to verify that all members follow it.
- Enter the group and edit one child to confirm direct selection works.
- Inspect bounds, clipping, masks, constraints, and stacking order.
- Rename the group so another person can understand its purpose.
- Save or duplicate the document before large hierarchy changes.
Troubleshooting common grouping errors
| Symptom | Likely cause | Fix |
|---|---|---|
| Group command is disabled | Only one object is selected, or a selected item is locked or unsupported. | Select at least two compatible items, unlock them, and check the editor’s content limits. |
| Only some layers move | A layer was not selected, is hidden, or sits outside the group. | Expand the hierarchy, select the missing layer, and add it to the group or regroup. |
| You cannot select a child | The editor is selecting the parent group first. | Double-click, use direct selection, or choose the child in the Layers panel. |
| Objects appear behind or in front unexpectedly | Grouping changed stacking order or the selection had different z positions. | Inspect the layer stack and move the group or child to the required position. |
| Ungroup removes too much | A nested group or “Ungroup All” command was used. | Undo, select the specific parent level, and use the ordinary Ungroup command. |
| Group bounds include empty space | A shadow, transparent object, or off-canvas member expands the combined bounds. | Locate the outlying child in the layer panel and reposition, crop, or remove it. |
| Canva will not group imported content | The element was created by a third-party app or is a sheet element. | Download the content as an image, upload it, and group the uploaded image with other elements. |
Performance, reliability, and export notes
Grouping is generally a document-structure operation, so it does not flatten or rasterize members by itself. Large documents can still become slower when groups contain many high-resolution images, effects, masks, or nested containers. Keep hierarchies shallow where possible, name important groups, and remove unused hidden layers before exporting.
Before handing off a file, test the group at the target export size. A transform that looks correct on the canvas can expose clipping, pixel snapping, or text-rendering differences in PNG, SVG, PDF, or print output. Keep an editable source copy before flattening or converting groups for delivery.
Or skip the browser setup
If your next step is documenting the result or generating screenshots of a visual editor workflow, ScreenshotNeo provides a website screenshot API and MCP server. One request returns a PNG, JPEG, WebP, or PDF, and its capture options include full-page shots, element selectors, custom CSS and JavaScript, device presets, dark mode, lazy-image loading, waits, headers, cookies, blocking rules, caching, and more.
curl -G "https://api.screenshotneo.com/v1/shot" -d access_key=YOUR_API_KEY --data-urlencode url=https://stripe.com -o shot.webpimport requests
r = requests.get("https://api.screenshotneo.com/v1/shot", params={"access_key": "YOUR_API_KEY", "url": "https://stripe.com"}, timeout=90)
open("shot.webp", "wb").write(r.content)const q = new URLSearchParams({ access_key: 'YOUR_API_KEY', url: 'https://stripe.com' });
const res = await fetch(`https://api.screenshotneo.com/v1/shot?${q}`);See the ScreenshotNeo API documentation for all parameters. Cookie and consent banners, newsletter popups, and chat widgets are removed before the shot. Bot checks, blank pages, timeouts, failed loads, and cache hits are not billed, and response headers identify the page verdict and billing result. Its MCP server includes take_screenshot, get_page_info, and capture_pdf for Claude, Cursor, and other MCP clients. The free plan includes 1,000 screenshots per month with no card; paid plans start at $5 for 3,000 shots.
Create a free ScreenshotNeo account and start with 1,000 screenshots a month at no charge.
FAQ
Does grouping merge or flatten layers?
Usually no. It creates a parent relationship so members can be transformed together. Flattening or rasterizing is a separate command.
Can I group text and images together?
Most editors allow compatible text and image objects in one group. Check the editor’s restrictions for special content such as tables, charts, sheets, or third-party elements.
Should I use a group or a frame in Figma?
Use a group for a flexible collection whose bounds follow its children. Use a frame when you need explicit dimensions, clipping, layout, or constraints.
How do I preserve exact layer order?
Inspect the Layers panel before and after grouping, then move the group or its children into the required position. Illustrator specifically documents possible stacking-order changes.
What is the safest way to undo a bad grouping?
Use Undo immediately. If that is no longer available, select the correct parent level and use Ungroup rather than an “Ungroup All” command.


