How to Handle File Uploads with Puppeteer
Upload files with Puppeteer using a file input or a page-triggered chooser. Learn path requirements, runnable examples, common fixes, and reliability tips.

To upload a file with Puppeteer, locate the page’s <input type="file"> and call uploadFile() with a path. If the site opens a file chooser after a button click, start page.waitForFileChooser() before clicking, then accept the chooser with one or more paths. The paths must be available to the machine running or connected to Chrome; for remote Chrome, use absolute paths.
This guide covers both workflows, multiple files, path handling, timing, verification, troubleshooting, and practical reliability choices. The examples use modern Puppeteer’s documented APIs. See the [Puppeteer Files guide](https://pptr.dev/guides/files) and [API reference for ElementHandle.uploadFile](https://pptr.dev/api/puppeteer.elementhandle.uploadfile) alongside the code.
1. Choose the upload workflow
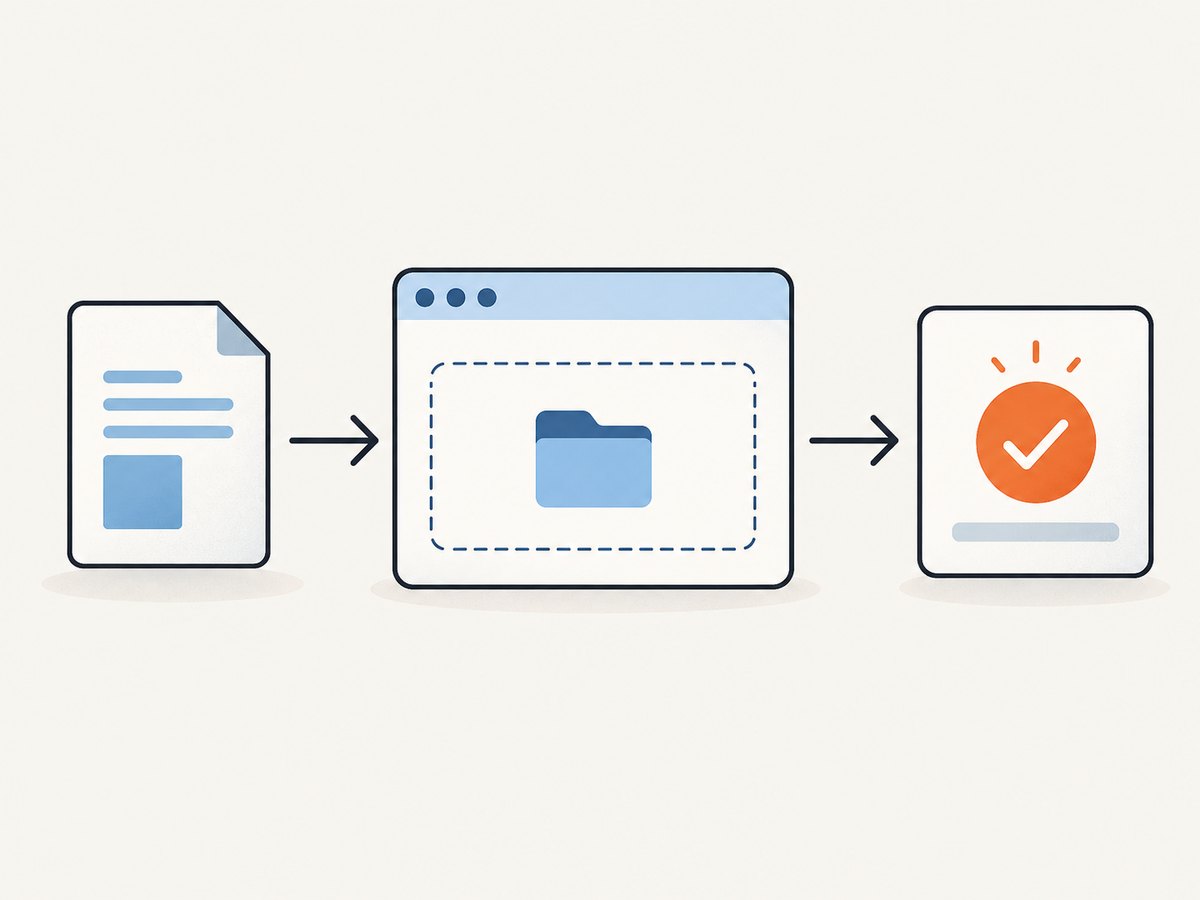
First determine how the page exposes file selection. Inspect the page or its DOM:
- There is a file input: set it directly with
uploadFile(). The input can be visually hidden; it still needs to exist in the DOM. - A button opens the chooser: wait for the chooser event, click the button, and accept it with file paths.
- The page uses a browser API instead: Puppeteer documents that
waitForFileChooser()does not support dialogs triggered through DOM APIs such aswindow.showOpenFilePicker(). You may need an application-supported upload input or another test seam.
These are different interactions. Use direct assignment when the input is available; use chooser handling when the page’s intended action launches a chooser. The Puppeteer Files guide’s core instruction is to locate a file input and call ElementHandle.uploadFile. General page interactions are commonly handled through locators, but the documented file-selection operation here is uploadFile(); don’t substitute locator.fill() for selecting a file.
2. Set a file input directly
Install Puppeteer in a Node.js project, save the following as upload-input.js, and put sample.pdf in the project’s current working directory. The script uses the browser bundled with Puppeteer, navigates to an example page containing an upload form, selects the file, and prints the selected filename.
const puppeteer = require('puppeteer');
const path = require('node:path');

(async () => {
  const browser = await puppeteer.launch({ headless: true });
  try {
    const page = await browser.newPage();
    await page.goto('https://the-internet.herokuapp.com/upload', {
      waitUntil: 'domcontentloaded',
    });

    const filePath = path.resolve(process.cwd(), 'sample.pdf');
    const input = await page.waitForSelector('input[type="file"]');
    if (!input) throw new Error('File input was not found');

    await input.uploadFile(filePath);
    const selectedName = await page.$eval(
      'input[type="file"]',
      el => el.files?.[0]?.name ?? '(no file selected)'
    );
    console.log('Selected:', selectedName);

    await page.click('#file-submit');
    await page.waitForSelector('#uploaded-files');
    console.log('Upload result:', await page.$eval('#uploaded-files', el => el.textContent.trim()));
  } finally {
    await browser.close();
  }
})().catch(error => {
  console.error(error);
  process.exitCode = 1;
});
The example target demonstrates a conventional input and submit flow; use a URL and selectors for the application under test in your own script. path.resolve() makes the local example independent of which directory the script was launched from, as long as the file is placed at that resolved location.
Multiple files
Pass more than one path to select several files in one input. The HTML input must permit multiple selection, typically through its multiple attribute; the application may also limit count or file types.
const files = [
  path.resolve('fixtures/first.png'),
  path.resolve('fixtures/second.png'),
];
const input = await page.waitForSelector('input[type="file"][multiple]');
if (!input) throw new Error('Multiple-file input was not found');
await input.uploadFile(files);
For a single-file input, pass one path. Selecting files does not itself submit a form or guarantee that the server accepted the upload; it only populates the browser input. Continue with the page’s submit or change flow and verify the result.
3. Handle a page-triggered file chooser
Some interfaces hide the input behind an “Upload” button. Register the waiter before triggering the action. Promise.all() starts both operations together, so the listener is active while the click runs.
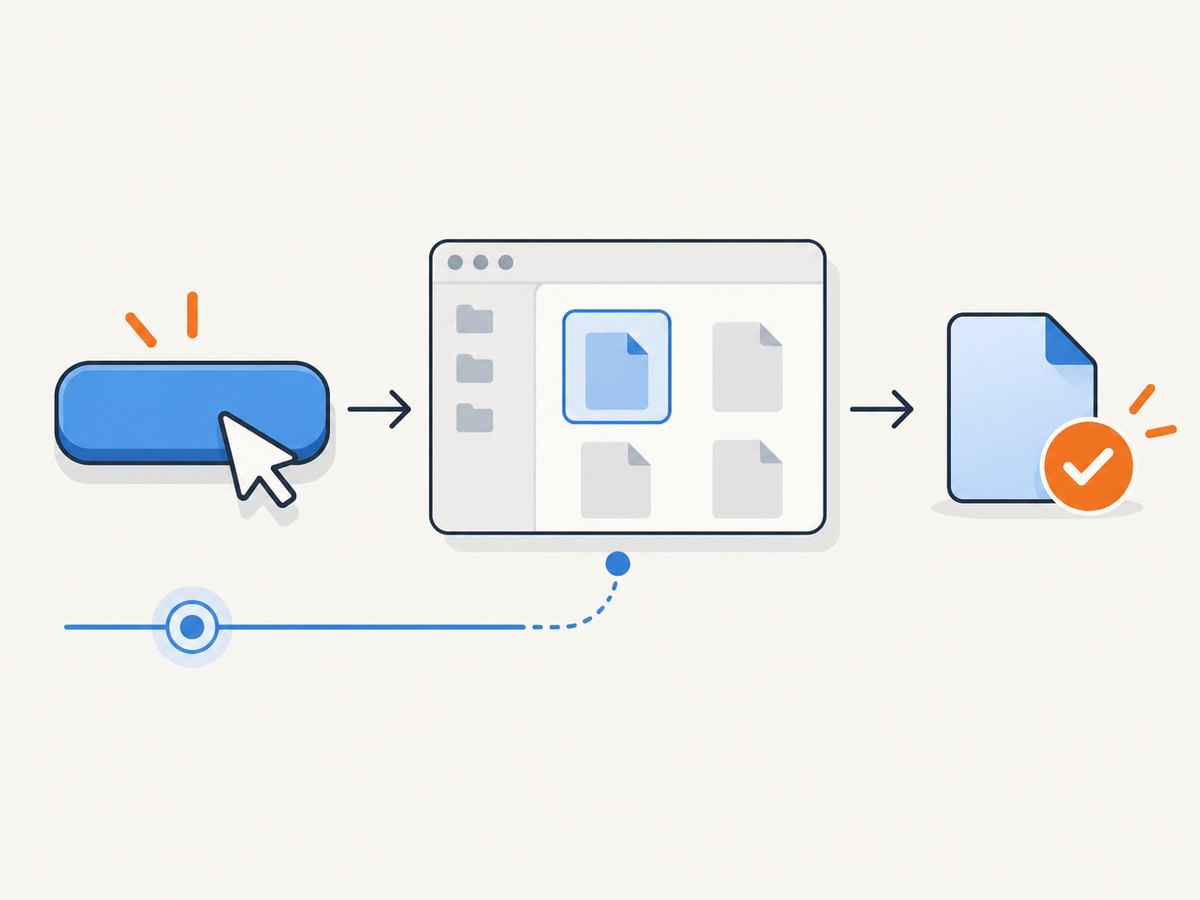
const [fileChooser] = await Promise.all([
  page.waitForFileChooser(),
  page.click('#upload-file-button'),
]);
await fileChooser.accept(['/tmp/myfile.pdf']);

// Continue with the page's upload or submit flow.
await page.waitForSelector('.upload-complete');
Use the button selector for the actual page. If the click causes the chooser to open only after an animation or asynchronous UI update, the event waiter still needs to be registered before the triggering click. A chooser can also be dismissed:
const [fileChooser] = await Promise.all([
  page.waitForFileChooser(),
  page.click('#upload-file-button'),
]);
await fileChooser.cancel();
Acceptance takes an array of file paths. As with direct input assignment, it does not check whether the files exist. The browser permits only one chooser at a time; accept or cancel a chooser before trying to open another.
4. Paths, browser location, and file preparation
Upload paths are interpreted by the environment associated with Chrome. For a local script, relative paths resolve from the process’s current working directory, not necessarily the directory containing the JavaScript file. Prefer path.resolve() or configure a known fixture directory so a CI job does not depend on an accidental working directory.
When connecting to remote Chrome, Puppeteer’s documentation requires absolute paths. Ensure the file is available in the environment expected by the remote connection and use its absolute path. Do not assume that a path on the machine where a test runner runs is automatically visible to a separate browser host or container. The API does not validate path existence for you, so make file staging a step before launching the upload interaction.
const fs = require('node:fs');
const path = require('node:path');
const filePath = path.resolve(process.cwd(), 'fixtures', 'sample.pdf');

if (!fs.existsSync(filePath)) {
  throw new Error(`Upload fixture does not exist: ${filePath}`);
}
await input.uploadFile(filePath);
This local existence check catches a common setup mistake early. It does not establish that a remote browser can access the same path; check file placement in the browser environment as well.
5. Make the upload test reliable
- Wait for the right state. Wait for the input or upload control to appear before interacting. Prefer a state-based wait for the application’s success indicator after submission instead of a fixed sleep.
- Arm chooser waits first. Register
waitForFileChooser()before the click. Waiting after the click can miss the event and hang until timeout. - Check the selected value. Inspect
input.filesin the page to confirm the browser selected the expected name or count. - Check the application result. Wait for a confirmation, uploaded filename, or server response appropriate to the app. A populated input does not prove a successful network transfer.
- Use deterministic fixtures. Keep small, known test files in the repository or prepare them in the job setup. Avoid relying on files left by a previous run.
- Clean up resources. Put browser closure in a
finallyblock so a failed assertion does not leave Chromium processes behind. - Give waits a bounded timeout. Set timeouts according to the environment and report which step timed out. An unlimited wait can stall a whole CI worker.
For broader UI interaction, Puppeteer recommends locators as the general way to select and interact with elements. The file guide’s lower-level waitForSelector and ElementHandle example remains useful for this operation. Keep the upload mechanism aligned with the actual page: direct input selection or a chooser event.
6. Troubleshooting common failures
| Symptom | Likely cause | Fix |
|---|---|---|
waitForSelector times out |
The selector is wrong, the page has not reached the relevant state, or the input is inside a frame. | Inspect the rendered DOM, wait for the correct navigation or UI state, and select the input within the appropriate frame. |
| Chooser wait never resolves | The waiter started after the click, the click did not trigger a chooser, or the page uses showOpenFilePicker(). |
Use the Promise.all pattern with the waiter listed before the click. Confirm the button really opens a file chooser; for unsupported DOM file dialogs, use the app’s input-based path where possible. |
| “No file selected” or empty input | The supplied path is incorrect or the file is unavailable to the browser environment. | Resolve and log the path, verify the fixture exists, and use an absolute path for remote Chrome. Stage the file where the remote setup expects it. |
| Chooser is not visible in headful mode | Puppeteer handles the chooser event programmatically. | This is expected when waitForFileChooser() handles it; accept or cancel through the returned chooser object. |
| A later chooser will not open | An earlier chooser remains open because it was neither accepted nor canceled. | Finish the pending chooser with accept() or cancel() before triggering another. |
| Input has a filename but upload fails | Selection succeeded, but submission, validation, network transfer, or server processing failed. | Wait for the app’s actual completion state, inspect validation messages and network/server logs, and distinguish selection from upload completion. |
| Only one file appears | The input or application does not support multiple files, or only one path was passed. | Check for the input’s multiple attribute and application limits; pass an array of all intended paths. |
waitForFileChooser() does not return an already-active chooser. If the page has opened it before the waiter is installed, that event is gone; arrange the sequence so the wait begins before the trigger.
7. Options, limits, performance, and cost
Choosing the right API
ElementHandle.uploadFile(...paths) is the direct path for an input element. page.waitForFileChooser() returns a chooser object with accept(paths) and cancel() for a page-triggered chooser. Neither API verifies path existence. The chooser API’s one-open-chooser constraint means sequentially resolve dialogs rather than opening several concurrently.
Performance
The upload interaction itself is usually a small part of test time; navigation, application processing, file size, and network transfer can dominate. Use appropriately sized fixtures, avoid waiting a fixed long duration after every action, and wait for a meaningful completion condition. For a large upload, choose a timeout that accounts for the target environment while retaining a failure bound.
Reliability
Local and CI runs can behave differently when working directories, fixture staging, browser location, or network conditions differ. Make those inputs explicit. For remote Chrome, account for the documented absolute-path requirement and confirm file availability in that setup. Report failures separately for selection, form submission, and server completion so retries do not disguise a missing fixture or an application defect.
Cost
Puppeteer is browser automation code, so operational cost depends on where you run Chrome, how long jobs occupy workers, and the size and frequency of uploads. Keep test fixtures and retry policies proportionate to the behavior under test. This workflow does not require a screenshot API; the optional service below is useful for page captures, not a replacement for exercising the upload form.
8. Or skip the browser setup
If the job is to capture a page rather than test its upload flow, ScreenshotNeo offers a one-call website screenshot API. This does not upload a file or validate a file-upload feature. It can avoid managing browser launch and screenshot code for capture work.
For code and request options, see the ScreenshotNeo documentation.
curl -G "https://api.screenshotneo.com/v1/shot" -d access_key=YOUR_API_KEY --data-urlencode url=https://stripe.com -o shot.webpimport requests
r = requests.get(
"https://api.screenshotneo.com/v1/shot",
params={"access_key": "YOUR_API_KEY", "url": "https://stripe.com"},
timeout=90,
)
open("shot.webp", "wb").write(r.content)const q = new URLSearchParams({ access_key: 'YOUR_API_KEY', url: 'https://stripe.com' });
const res = await fetch(`https://api.screenshotneo.com/v1/shot?${q}`);
if (!res.ok) throw new Error(`Screenshot request failed: ${res.status}`);
const image = Buffer.from(await res.arrayBuffer());
require('node:fs').writeFileSync('shot.webp', image);ScreenshotNeo removes cookie banners, newsletter popups, and chat widgets before the shot; each cleanup step can be turned off. Bot checks, blank pages, and failed loads are never billed, and response headers identify page verdict and billing status. Its MCP server gives AI agents tools to take screenshots, get page information, and capture PDFs. The free plan includes 1,000 screenshots per month with no card; paid plans start at $5 for 3,000 shots. ScreenshotNeo is made by Yorker Media. See ScreenshotNeo for product details and the API docs for configuration.
Sign up for ScreenshotNeo’s free plan: 1,000 screenshots a month, no card required.
9. FAQ
Can I upload a file without clicking a visible input?
Yes. If the input exists in the DOM, call uploadFile() on its handle. The input may be styled as hidden; the application still needs to provide the input element.
Does Puppeteer upload the file to the server automatically?
No. File selection populates the browser input or chooser. The page must then submit or process the selection, and the script should verify the application’s result.
Can I use a relative path?
For local scripts, relative paths resolve from the current working directory. Remote Chrome connections require absolute paths according to Puppeteer’s API guidance.
Why use a screenshot API in an upload guide?
It is an optional alternative only for the separate task of capturing a website image. It does not exercise or test file uploads.


