How to Hide Cookie Banners with Puppeteer
Use Puppeteer to hide a verified cookie banner for a clean screenshot, or interact with its controls to test consent. Includes runnable examples, iframe handling, and fixes for common failures.

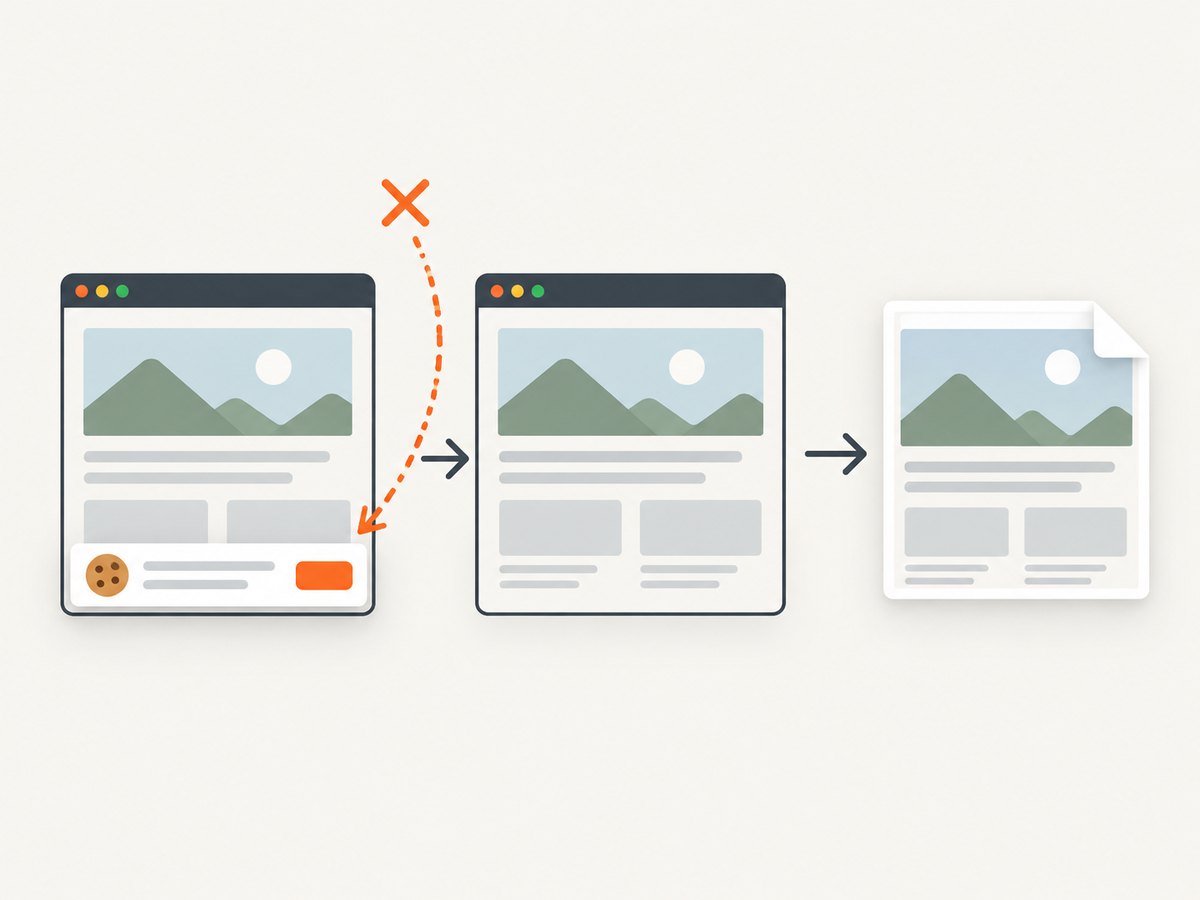
To hide a cookie banner in Puppeteer for a controlled screenshot, identify the banner’s specific element and remove it or inject a narrowly targeted CSS rule before capture. For example, after confirming that #cookie-banner uniquely identifies the banner, run await page.locator('#cookie-banner').evaluate(el => el.remove()). The selector is site-specific: verify it on the target page rather than assuming a generic selector works everywhere.
Hiding a banner changes what your automation sees; it does not record a consent decision. If your goal is to test consent, click the site’s actual accept, reject, or preference controls and verify the resulting state. Puppeteer provides page evaluation, style injection, selector waiting, and multiple selector strategies for these jobs. See the Puppeteer Page API and page interactions guide.
1. Decide whether you need a clean capture or a consent test
These goals need different automation. A clean capture is a presentation task: the test hides a verified overlay so it does not cover the page. A consent-flow test is a behavior task: the test uses the site’s controls and checks its confirmation or stored state. Removing the banner is not evidence that a visitor made a choice.
| Goal | Approach | What to verify |
|---|---|---|
| Screenshot without an overlay | Remove the identified element or hide it with targeted CSS. | The intended content remains visible and the banner is gone. |
| Test accept, reject, or preferences | Interact with the actual controls. | The expected confirmation and resulting site state appear. |
| Check a site’s accessible consent message | Exercise the real flow and inspect focus and confirmation behavior. | The confirmation can be announced and focus moves as intended. |
For a site implementing its own consent flow, GOV.UK’s guidance describes hiding the message after a choice, showing a confirmation, and moving focus to that confirmation. That is implementation guidance for the site’s interaction; it is not a reason for a screenshot script to silently make the choice. See the GOV.UK Design System cookie banner guidance.
2. Inspect the page and find a stable selector
Before writing the capture step, load the page and inspect the banner in browser developer tools or through Puppeteer. Prefer a unique ID, a stable data attribute, or a selector scoped to the banner container. Avoid broad rules such as div, [role="dialog"], or aside: they can hide unrelated content.
- Open the page with Puppeteer and wait for the page’s main content to load.
- Inspect the banner’s element and its ancestors. Determine whether the visible overlay is the banner itself or a child inside a wrapper.
- Choose a selector that identifies only that component. Check that it matches the expected element count.
- Check whether it appears immediately or after a delay, and whether it is in the main document or a frame.
- For a clean capture, remove or hide it before taking the screenshot. For a consent test, use the actual controls instead.
Selectors can be brittle when sites change markup. Where CSS is insufficient, Puppeteer’s interaction guide covers text, accessibility-based selectors, XPath, and Shadow DOM access. Prefer selectors tied to the page’s stable behavior or component contract over incidental layout classes.
3. Runnable Puppeteer example: remove one verified banner
The following Node.js script launches Chromium, opens a page, waits for a site-specific selector, removes that element, and saves a screenshot. Install Puppeteer in your project with npm install puppeteer, save the script as capture.js, then run node capture.js. Change both the URL and selector to match a page you are authorized to capture.
const puppeteer = require('puppeteer');

(async () => {
  const browser = await puppeteer.launch({ headless: true });
  try {
    const page = await browser.newPage({
      viewport: { width: 1440, height: 1000 },
    });

    await page.goto('https://example.com', {
      waitUntil: 'domcontentloaded',
      timeout: 30000,
    });

    const bannerSelector = '#cookie-banner'; // Verify on the target site.
    await page.waitForSelector(bannerSelector, { timeout: 10000 });

    const removed = await page.locator(bannerSelector).evaluate((element) => {
      element.remove();
      return true;
    });

    if (!removed) throw new Error('Cookie banner was not found');

    await page.screenshot({ path: 'page.png', fullPage: true });
  } finally {
    await browser.close();
  }
})();
page.locator() is Puppeteer’s locator interface. If you use an older Puppeteer version without that interface, use the supported selector and evaluation APIs available in the version pinned by your project. Avoid silently treating a missing selector as success: a banner may have changed, may not have appeared yet, or may be inside a frame.
When the banner may or may not appear, handle absence deliberately. A timeout should not necessarily fail a screenshot job, but log the outcome so you can distinguish “no banner” from “selector broke.” For example, wrap waitForSelector in a try/catch with a short timeout and continue only if absence is an acceptable case for your workflow.
4. Hide visually with a targeted style rule
Removing an element changes the DOM. If you need to keep it present while making it invisible for a visual capture, inject a CSS rule. This is useful when your later script needs to inspect the element or when removal changes layout in an undesirable way. The selector still needs to be verified for the target site.
const bannerSelector = '#cookie-banner';
await page.waitForSelector(bannerSelector, { timeout: 10000 });

await page.addStyleTag({
  content: `${bannerSelector} {
    display: none !important;
    visibility: hidden !important;
  }`,
});

await page.screenshot({ path: 'page-with-banner-hidden.png' });
The addStyleTag API injects style content into the page. Use a selector you control and keep the rule narrow. Hiding an ancestor may also hide legitimate content nested inside it. If the banner is fixed-positioned, removing only the visible panel may leave a backdrop or scroll lock; inspect and address those specific artifacts rather than applying a page-wide CSS reset.
5. Handle timing and dynamic banners
Consent managers may insert their UI after page navigation, after a script loads, or after user interaction. A screenshot taken too early can capture the page before the banner appears; one taken too late may include an overlay. Choose a wait condition that matches the page’s behavior, then wait for the target banner and modify it.
waitUntil: 'domcontentloaded' waits for the initial document to be parsed, not for every client-rendered widget. networkidle can be useful for pages that settle after network activity, but analytics or long polling may prevent it from becoming idle. A specific selector or a bounded delay is often more predictable. If a selector may never exist, use a finite timeout and make the absence policy explicit.
await page.goto('https://example.com', {
  waitUntil: 'domcontentloaded',
  timeout: 30000,
});

try {
  await page.waitForSelector('#cookie-banner', {
    visible: true,
    timeout: 8000,
  });
  await page.locator('#cookie-banner').evaluate((el) => el.remove());
} catch (error) {
  if (error.name !== 'TimeoutError') throw error;
  console.log('No visible banner found before the timeout');
}
Do not use an arbitrary long sleep as the only synchronization method. It adds latency on every run and still cannot guarantee that the banner is ready. Use a selector wait when the expected element is known, and consider a short bounded delay only when the site’s rendering behavior gives you no better signal.
6. If the banner is inside an iframe
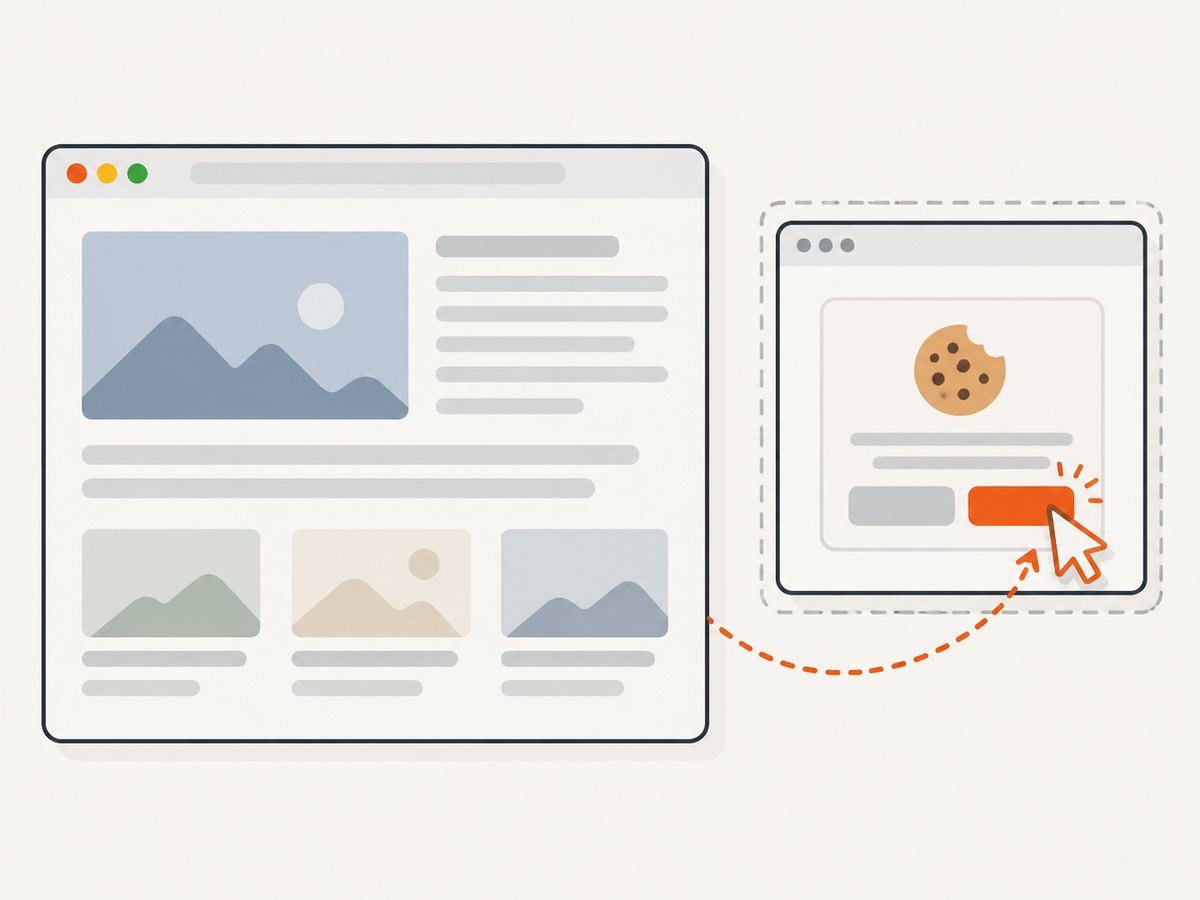
Ordinary document.querySelector in the top-level page cannot inspect the DOM of a cross-origin iframe. A selector wait against the main page can therefore time out even when a banner is visible. Identify the relevant frame and perform the interaction in that frame’s context. Puppeteer’s frame APIs provide frame-aware page interaction; see the Frame API.
const frames = page.frames();
const consentFrame = frames.find((frame) =>
  frame.url().includes('consent-provider.example')
);

if (!consentFrame) {
  throw new Error('Consent frame not found; inspect page.frames() and frame URLs');
}

await consentFrame.waitForSelector('#cookie-banner', {
  visible: true,
  timeout: 10000,
});
await consentFrame.locator('#cookie-banner').evaluate((el) => el.remove());
Replace the example frame URL fragment and selector with values observed on the actual page. Frame URLs can change, and consent interfaces may use nested frames. Log the frame URLs during diagnosis and avoid selecting a frame solely by its position in the frame list, because ordering can change.
7. Test a real consent interaction
For consent-flow tests, do not hide the banner. Locate the appropriate accept, reject, or preferences control, click it, and verify the site’s response. The expected result may be a confirmation message, a changed setting, or a banner that disappears after the choice. Which state is correct depends on the site’s implementation and test requirements.
await page.goto('https://example.com', { waitUntil: 'domcontentloaded' });

const rejectButton = page.getByRole('button', { name: 'Reject optional cookies' });
await rejectButton.waitFor({ state: 'visible', timeout: 10000 });
await rejectButton.click();

await page.getByText('Your cookie preferences have been saved', {
  exact: true,
}).waitFor({ state: 'visible', timeout: 10000 });
The accessible name and confirmation text above are illustrative; adapt them to the site. Verify the persisted or resulting state your test requires rather than inferring it from the banner disappearing. Consent controls can have separate accept, reject, and preference paths, and the test should exercise the path it intends to cover.
8. Common errors and fixes
| Symptom | Likely cause | Fix |
|---|---|---|
waitForSelector times out |
The selector is wrong, the banner has not rendered, or it is in a frame. | Inspect the live DOM, wait for the correct state, and check page.frames(). |
| The banner remains in the screenshot | The script ran before insertion, matched a hidden duplicate, or changed the wrong frame. | Wait for a visible match; verify the selected element and capture after the change. |
| Page content disappears too | The selector is too broad or targets an ancestor containing real content. | Use a more specific selector for the banner panel and inspect the affected subtree. |
| Backdrop remains or scrolling stays locked | The banner and its backdrop or body scroll lock are separate elements or styles. | Inspect the overlay and page styles; remove only verified banner artifacts and restore scrolling only if the capture requires it. |
| Element cannot be found from the top page | The banner lives in a cross-origin iframe or Shadow DOM. | Use the relevant frame context or Puppeteer’s supported Shadow DOM and selector interaction methods. |
| Consent test passes when it should fail | The test treats visual disappearance as proof of a recorded choice. | Click the real control and assert the expected confirmation or resulting state. |
| Screenshot is inconsistent between runs | Timing, animations, or page content vary. | Wait for a page-specific condition, use a bounded timeout, and disable only known visual motion if your test permits it. |
9. Reliability, performance, and cost considerations
A browser capture’s reliability depends on selector stability, page timing, and whether the relevant UI is in the main document, a frame, or Shadow DOM. Keep selectors scoped, log whether the banner was found, and make timeout behavior explicit. For consent tests, assert the actual outcome. These practices make failures diagnosable instead of silently producing a screenshot with an unexpected overlay.
Launching a browser and loading a page takes more setup and runtime than making a direct image request because your workflow owns the browser process and page lifecycle. Reuse a browser process for multiple captures where your application architecture allows it, close pages when finished, and avoid waiting on network-idle conditions that the target page may never satisfy. Puppeteer itself does not define your hosting or browser-execution costs; those depend on where you run it and how much browser time and infrastructure your workload consumes.
There is no universal selector or timing value that works across sites. A target may change its markup, delay consent UI, or render it in a frame. Treat the selector and wait condition as part of the integration that needs maintenance. For repeatable visual output, fix viewport dimensions and capture conditions, and decide explicitly whether full-page output or a viewport screenshot is required.
10. Or skip the browser setup
If the goal is a clean website screenshot rather than testing your own consent flow, ScreenshotNeo is a website screenshot API and MCP server. A GET request returns a screenshot or PDF; its documented options include full-page capture, viewport and device settings, custom CSS and JavaScript, selector waits, and element capture. See the ScreenshotNeo API documentation.
curl -G "https://api.screenshotneo.com/v1/shot" -d access_key=YOUR_API_KEY --data-urlencode url=https://stripe.com -o shot.webpimport requests
r = requests.get(
"https://api.screenshotneo.com/v1/shot",
params={"access_key": "YOUR_API_KEY", "url": "https://stripe.com"},
timeout=90,
)
open("shot.webp", "wb").write(r.content)const q = new URLSearchParams({ access_key: 'YOUR_API_KEY', url: 'https://stripe.com' });
const res = await fetch(`https://api.screenshotneo.com/v1/shot?${q}`);
if (!res.ok) throw new Error(`Screenshot request failed: ${res.status}`);
const image = Buffer.from(await res.arrayBuffer());
require('fs').writeFileSync('shot.webp', image);ScreenshotNeo removes cookie and consent banners, newsletter popups, and chat widgets before capture; each step can be turned off. Bot checks and CAPTCHAs, blank pages, timeouts, failed loads, and cache hits are not billed, and response headers indicate the page verdict and billing status. Its MCP server provides take_screenshot, get_page_info, and capture_pdf for Claude, Cursor, and other MCP clients. The Free plan includes 1,000 shots per month without a card; paid plans start at $5 for 3,000 shots, and every feature is on every plan. This is for capturing pages; use a real consent interaction when you need to test a site’s decision flow.
Create a free ScreenshotNeo account for 1,000 screenshots a month with no card.
11. FAQ
Does removing the banner accept cookies?
No. Removing or hiding an element changes what is rendered for the automation run. It does not establish that the site recorded a visitor’s choice.
Can I use one selector across every website?
No. Banner markup and rendering vary. Inspect each target and use a selector that identifies its specific component.
Should I remove the element or hide it with CSS?
Remove it for a clean capture when the DOM element is no longer needed. Hide it when you need it to remain in the DOM. In either case, check for separate backdrops or layout effects.
What if I am testing whether the banner is accessible?
Exercise the actual consent flow and check its confirmation and focus behavior. GOV.UK’s cookie banner guidance describes one approach for hiding the message after a choice and moving focus to a confirmation.
Can Puppeteer reach a banner in a cross-origin iframe?
The top-level page’s ordinary JavaScript cannot query that iframe’s DOM. Identify the frame and use frame-aware Puppeteer interaction.


