How to Hide the Cursor in a Screenshot
Hide the mouse pointer in Mac screenshots, understand Windows tool limits, and control cursor visibility in Apple capture APIs.

The quickest answer depends on what you are capturing:
- Mac: Press Shift-Command-5, choose Options, and clear Show Mouse Pointer.
- Windows: The built-in Snipping Tool documentation covers capture modes and shortcuts but does not document a still-image cursor switch. Cursor behavior depends on the specific capture application and version.
- Apple capture APIs: Set ScreenCaptureKit’s
showsCursorproperty tofalse.
For video capture with AVFoundation, set capturesCursor to false. That hides the pointer visually, although cursor position and mouse-button state can still exist in sample-buffer metadata.
Hide the cursor on macOS
- Press Shift-Command-5 to open the Screenshot toolbar.
- Choose Options.
- Click Show Mouse Pointer so its checkmark disappears.
- Choose a capture mode: entire screen, window, or selected portion.
- Capture the image.
Apple’s Mac User Guide states that removing the checkmark excludes the mouse pointer from the picture. The Screenshot app is available from macOS Mojave 10.14 onward. See Apple’s Mac screenshot guide and Apple Support screenshot instructions.
If the pointer still appears
- Reopen Options and verify that Show Mouse Pointer has no checkmark.
- Make sure you are taking a still screenshot, not recording a video.
- Check that another capture utility is not handling the shortcut.
- Update macOS if the toolbar layout differs from the instructions; Apple notes that available options can vary by release and Mac model.
Hide the cursor on Windows
Windows cursor controls are application-specific. Microsoft’s current Snipping Tool overview documents Windows logo key + Shift + S for an image snapshot and Windows logo key + Shift + R for a video clip, along with its available capture modes. It does not document a still-image option that hides the pointer.
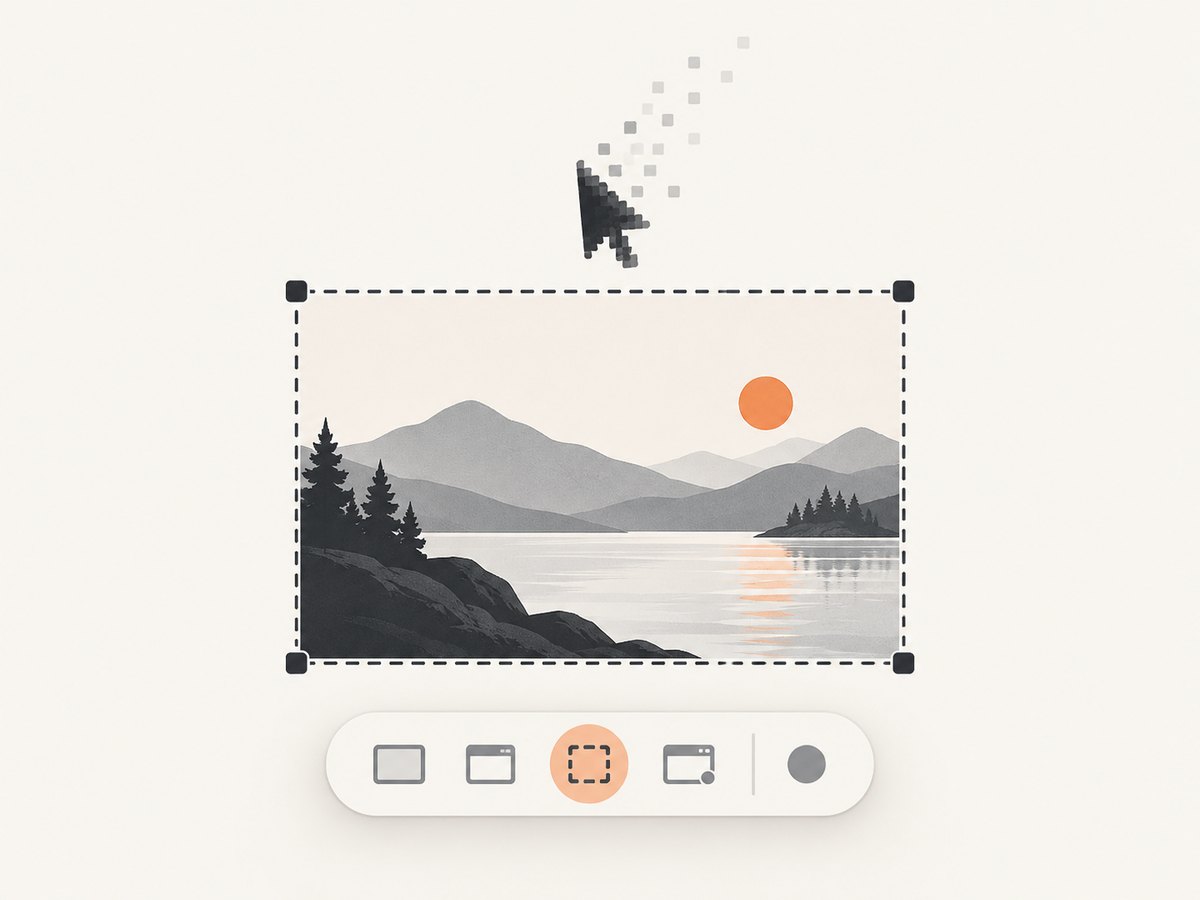
Use this workflow:
- Identify the capture application and version.
- Open that application’s settings before capturing.
- Look for options named capture cursor, show pointer, include mouse, or similar.
- If no such setting exists, capture the image and remove the pointer with an editor, or use a tool that explicitly supports cursor exclusion.
Do not assume that a setting from one Windows recorder applies to Snipping Tool, Xbox Game Bar, PowerPoint, OBS, or a third-party utility. Microsoft’s Snipping Tool documentation is the reference for its supported modes and shortcuts.
Hide the cursor in ScreenCaptureKit (Swift)
ScreenCaptureKit controls whether the pointer is rendered in a screen capture. Apple documents that screenshots show the cursor by default at this API level, so set showsCursor to false.
import ScreenCaptureKit

func makeConfiguration() -> SCStreamConfiguration {
    let configuration = SCStreamConfiguration()
    configuration.showsCursor = false
    configuration.width = 1920
    configuration.height = 1080
    return configuration
}
Apply the configuration when creating your stream or screenshot workflow. You still need the normal Screen Recording permission in System Settings > Privacy & Security. Apple’s ScreenCaptureKit documentation defines showsCursor.
Permission and display considerations
- The user must grant screen-recording permission to the application.
- Capture dimensions should match the display or the output size you actually need; unnecessary upscaling increases memory use.
- Test with multiple displays and display scaling settings if your application captures a particular display.
- Keep pointer state separate from application UI state so changing cursor visibility does not alter the content being captured.
Hide the cursor in AVFoundation video capture
For video recording, AVFoundation uses capturesCursor. Set it to false before starting the recording:
import AVFoundation

let screenInput = AVCaptureScreenInput(displayID: CGMainDisplayID())!
screenInput.capturesCursor = false

let session = AVCaptureSession()
if session.canAddInput(screenInput) {
    session.addInput(screenInput)
}
session.startRunning()
This controls the cursor’s visual appearance in video frames. Apple notes that cursor position and mouse-button state may still be present in sample-buffer metadata. If you publish or process metadata, remove those fields separately when required. See Apple’s AVCaptureScreenInput documentation.
Still screenshots versus video recordings
| Capture type | Setting | Result |
|---|---|---|
| macOS Screenshot toolbar | Clear Show Mouse Pointer | Pointer is omitted from the still image |
| ScreenCaptureKit | showsCursor = false |
Pointer is not rendered in the screenshot/stream output |
| AVFoundation video | capturesCursor = false |
Pointer is hidden visually; metadata can still contain cursor state |
| Windows Snipping Tool | No documented still-image cursor switch in the reviewed overview | Check the named application and version |
Common problems and fixes
| Problem | Likely cause | Fix |
|---|---|---|
| Cursor appears in a Mac screenshot | Show Mouse Pointer remains enabled | Open Options and clear the checkmark before capturing |
| Shift-Command-5 does nothing | Shortcut changed, another app intercepts it, or macOS is too old | Open Screenshot from Applications or verify keyboard shortcuts and macOS version |
| Windows instructions do not match | Different capture app or release | Name the app and consult its own cursor setting |
| ScreenCaptureKit capture fails | Screen Recording permission is missing | Grant permission in System Settings, then restart the app if requested |
| Video looks cursor-free but data still exposes pointer movement | Cursor metadata remains in sample buffers | Strip cursor position and button-state metadata during export or processing |
| Pointer appears only on one monitor | Display-specific capture configuration | Verify the selected display, scaling, and stream configuration |
Performance and reliability notes
- Disabling cursor rendering has negligible work compared with capturing and encoding a full display, but lower output dimensions and frame rates still reduce CPU, memory, and file size.
- For repeatable documentation screenshots, keep the pointer setting in the capture configuration instead of relying on manual cleanup.
- For video pipelines, treat visual cursor removal and metadata removal as separate steps.
- Always verify the saved file, not only the preview: some applications apply cursor settings at export time.
Or skip the browser setup
If you need screenshots of web pages rather than your local desktop, ScreenshotNeo provides a website screenshot API and MCP server. It accepts one GET request and returns PNG, JPEG, WebP, or PDF. Cookie and consent banners, newsletter popups, and chat widgets are removed before capture; bot checks, blank pages, failed loads, timeouts, and cache hits are not billed. Responses identify the result with X-Page-Verdict and X-Billed headers. Its MCP server includes take_screenshot, get_page_info, and capture_pdf for Claude, Cursor, and other MCP clients.

See the ScreenshotNeo API documentation for all options, including full-page capture, element selectors, device presets, custom CSS and JavaScript, waits, blocking rules, headers, cookies, user agents, geolocation, caching, signed links, asynchronous jobs, bulk capture, and usage reporting.
cURL
curl -G "https://api.screenshotneo.com/v1/shot" \
  -d access_key=YOUR_API_KEY \
  --data-urlencode url=https://stripe.com \
  -o shot.webp
Python
import requests

r = requests.get(
    "https://api.screenshotneo.com/v1/shot",
    params={"access_key": "YOUR_API_KEY", "url": "https://stripe.com"},
    timeout=90,
)
r.raise_for_status()
open("shot.webp", "wb").write(r.content)
Node.js
const q = new URLSearchParams({
  access_key: 'YOUR_API_KEY',
  url: 'https://stripe.com'
});
const res = await fetch(`https://api.screenshotneo.com/v1/shot?${q}`);
if (!res.ok) throw new Error(`HTTP ${res.status}`);
const image = Buffer.from(await res.arrayBuffer());
await Bun.write('shot.webp', image); // or write the buffer with your Node.js filesystem code
The Free plan includes 1,000 screenshots each month with no card. Paid plans start at $5 for 3,000 shots; every feature is available on every plan. Create a free ScreenshotNeo account.
FAQ
Does hiding the cursor change the screenshot dimensions?
No. It changes pointer rendering only; the captured display or page dimensions remain the same.
Can I hide a cursor already burned into an image?
No capture setting can remove pixels that are already part of a saved image. Retake the screenshot or edit the image.
Is a mouse pointer the same as a text caret?
No. Cursor settings control the mouse pointer. A blinking text caret may belong to the application and can require a separate app-specific setting.
Why does video metadata matter?
Video frames can look cursor-free while metadata still records pointer position or button state. Remove metadata when that information must not be distributed.


