How to Screenshot X (Twitter)
Capture an X post on iPhone, Android, or desktop, including long posts and attached photos. Learn how to crop, save, and check a screenshot before sharing.

To screenshot an X post (formerly Twitter), open the post and use your device’s built-in screenshot controls. On an iPhone, press the button combination for your model. On most Android phones, press Power and Volume Down together. On a computer, open the post in a browser and use the computer’s normal screenshot command. Review the result, crop or mark it up if needed, and save or share it.
The steps below cover a single screen, long posts, attached photos, and ways to avoid sharing private details by accident. X is available on iOS, Android, and web browsers; its Help Center also lists the o keyboard shortcut for expanding a photo. X Help Center: composing and sharing posts.
1. Choose the right capture method
Pick the method based on what you need in the saved image. A regular screenshot captures what is currently visible. A scrolling capture can include more of a long post, but availability depends on the phone and the app screen. An expanded photo capture is useful when the attached image matters more than the post around it.
| What you want | Good starting point | Watch for |
|---|---|---|
| One post as it appears on screen | Device screenshot buttons | Replies, navigation, and other posts may be in frame. |
| A long post or more of a page | Android scrolling capture, if supported; otherwise take separate screenshots | Scrolling capture is not available on every phone or every screen. |
| An attached photo | Open the photo first, then capture it | Expanding the photo changes the crop and may hide post context. |
| A browser view on a computer | Use the operating system’s screenshot command | Browser controls and other visible content may be captured too. |
2. Screenshot an X post on iPhone
Open the post in the X app or in a browser, bring the part you want into view, and use the button combination for your iPhone. Apple’s instructions are model-specific:
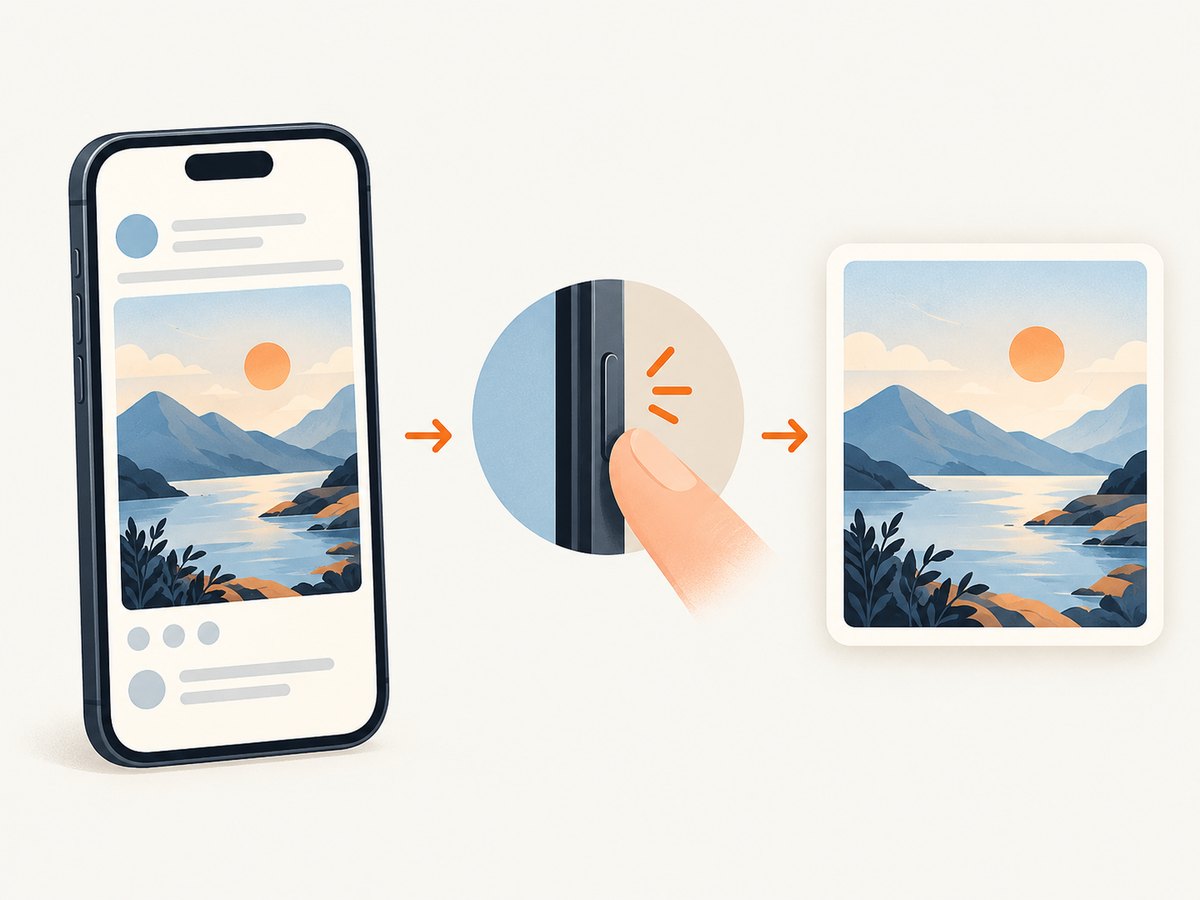
- iPhone with Face ID: press the side button and the volume-up button at the same time, then quickly release both.
- iPhone with Touch ID and a side button: press the side button and Home button together, then release.
- iPhone with Touch ID and a top button: press the top button and Home button together, then release.
If the screen locks, volume changes, or Siri appears instead of a screenshot, try again with a quick simultaneous press and release. Holding the buttons too long can trigger a different action.
Review the screenshot right after capture. Apple’s current support instructions describe quick tools in iOS 26 for drawing with Markup, cropping, sending the image to other apps or contacts, and choosing where to save it. In iOS 18 and earlier, a thumbnail appears temporarily at the lower left; tap it to edit or wait for it to disappear. To find the saved image later, open Photos → Collections → Media Types → Screenshots. Apple Support: take a screenshot on iPhone.
3. Screenshot an X post on Android
- Open the X post and position the text or image you want on screen.
- Press Power + Volume Down together, then release.
- Use the preview to crop, edit, or share the result, if those options appear on your phone.
If the button combination does not work, hold Power for a few seconds and tap Screenshot if that option is shown. Android manufacturers can change the controls and menus, so check the phone maker’s instructions if neither method is available.
To find the saved image, open Google Photos → Collections → On this device → Screenshots. On older phones without Google Photos, look in the Gallery app’s Screenshots folder. Google documents these steps and notes that the phone’s preview is where you can edit or share the capture. Google Android Help: take a screenshot.
4. Capture a long X post
On Android 12 and later, many phones can capture additional content below the visible screen. After taking a screenshot with Power + Volume Down, tap Capture more if it appears. Adjust the crop guides to include the part of the post you need, then save the expanded capture. This feature works only on screens that support scrolling capture, so the button may not appear in every view or on every device. If it is missing, try opening the post’s detail view or use multiple screenshots.
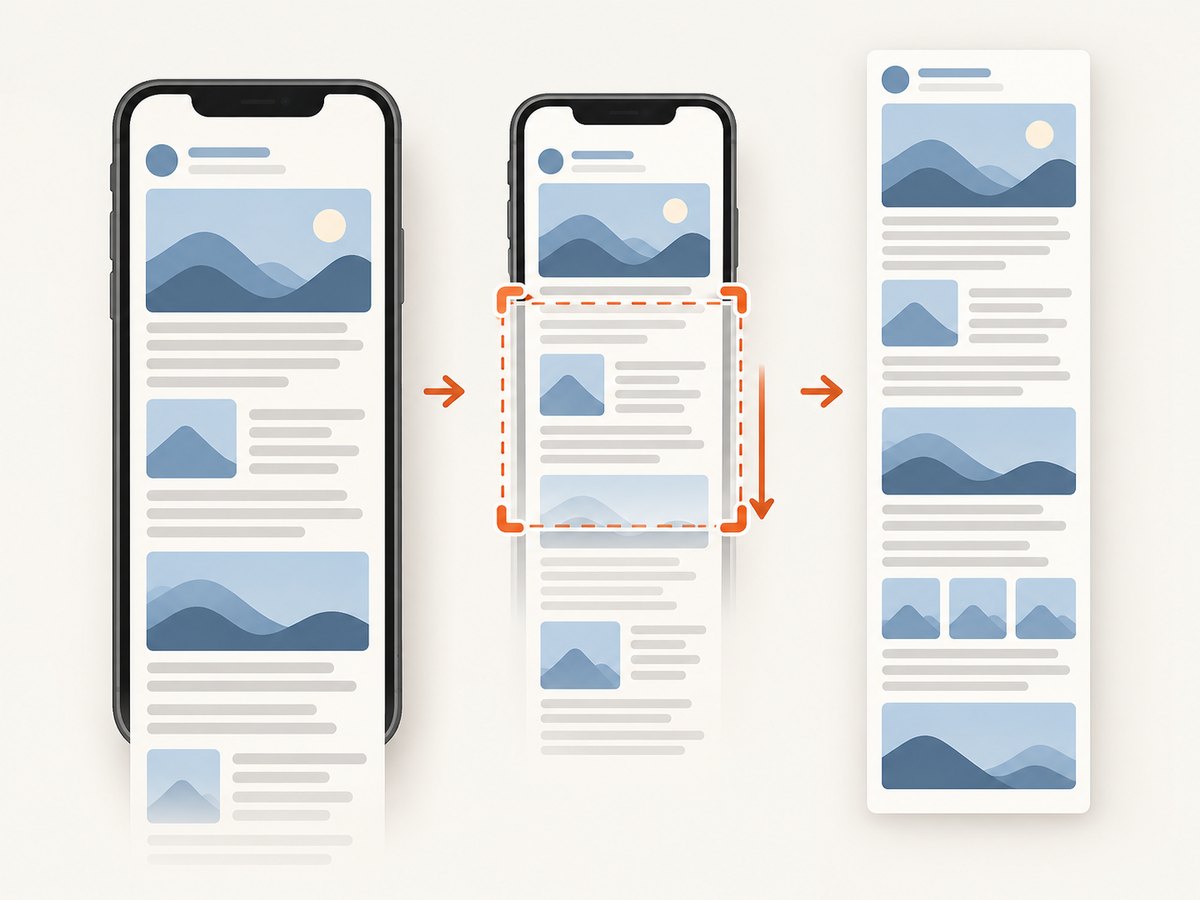
On iPhone, the cited Apple screenshot instructions describe capturing and editing a screen, but do not establish a general scrolling screenshot workflow for the X app. For a long post, consider capturing the relevant sections separately. Keep enough overlap between captures to show how the pieces connect, and avoid stitching them into a single image if the process would obscure or alter the original context.
For a long post in a desktop browser, you can capture the visible region in several sections. If your browser or operating system offers a full-page capture, it may capture more than the post, such as sidebars or replies. Inspect the output before sharing. The best method depends on the device, browser, and view; the X Help Center confirms web-browser support but does not prescribe one universal desktop screenshot shortcut.
5. Screenshot an attached photo or a post in a browser
Expand an attached photo
Open the post and click its photo to view it larger. X lists the o shortcut for expanding a photo; keyboard shortcuts can depend on the browser and page focus, so clicking the photo is a straightforward alternative. Capture the expanded view if you want the image to fill more of the screenshot. If the post’s author, text, or date is important evidence, capture a view that also preserves that context.
Use a desktop screenshot command
On a computer, open the post in X’s website, close menus or notification banners, and use your operating system’s normal screenshot command. Choose a region capture if you want just the post and surrounding context. A full-screen capture may include browser tabs, bookmarks, or other open windows. Because desktop shortcut keys vary by operating system and keyboard, use the system’s built-in screenshot tool or its official help if you are unsure of the command.
Before capturing, open the post’s detail view so the text is easier to read and the post is less crowded by the timeline. If there is an attached photo, expand it only if that serves your purpose. X’s help page covers composing and sharing posts on iOS, Android, and web browsers and identifies source labels such as “X for Web.” X Help Center.
6. Check the screenshot before saving or sharing
A screenshot preserves whatever was visible at capture time. Take a moment to review the whole image, especially if it will leave your device.
- Check the frame: make sure the post text, author, and any context you need are legible. Crop out unrelated timeline content if appropriate.
- Look for personal information: usernames, profile photos, replies, direct-message text, location details, and notification banners can all appear in the image.
- Inspect warnings and overlays: sensitive-media warnings, menus, popups, or notifications may cover content or reveal details you did not intend to share.
- Edit carefully: use crop or markup tools to remove information the audience should not see. If authenticity matters, keep an original copy and make clear when a shared image has been edited.
- Confirm where it went: check the screenshot preview, Photos, Google Photos, or Gallery before posting or sending it.
X provides controls for muting, blocking, reporting, and media visibility, which can affect what appears in the timeline. Its documentation also describes web and browser notifications. These pages do not establish whether X alerts another user when someone takes a screenshot, so do not assume either way based on this guide. X safety and experience controls · X web and browser notifications.
7. Troubleshooting
| Problem | Likely cause | What to try |
|---|---|---|
| iPhone locks or changes volume instead | The buttons were held too long or were pressed one after the other. | Press the correct pair simultaneously and release quickly. Confirm which button layout your model has. |
| Android screenshot buttons do nothing | The button combination differs on the device, or the buttons were not pressed together. | Try Power + Volume Down again. If needed, hold Power and select Screenshot if available; consult the device maker’s instructions. |
| No “Capture more” option appears | The screen or device does not support scrolling capture in that view. | Try Android 12 or later on a supported screen. Otherwise capture separate sections. |
| The text is cut off | The post extends beyond the visible region, or the preview crop excludes its edges. | Use Capture more where supported, adjust the crop, or capture a second overlapping section. |
| The image looks blurry or too small | The capture includes a zoomed-out page or a thumbnail rather than the expanded image. | Open the post detail view, enlarge the photo if relevant, and capture again at a readable scale. |
| A notification or menu covers the post | An alert arrived or a menu was open during capture. | Dismiss the overlay, close menus, and capture again. Review the preview before saving. |
| The screenshot is hard to locate | It was saved to the device’s screenshot album or folder rather than the app’s main feed. | Check Photos → Collections → Media Types → Screenshots on iPhone, or Google Photos → Collections → On this device → Screenshots on Android. Older Android phones may use Gallery. |
8. Or skip the browser setup
If your task is to capture a public post in a browser rather than screenshot it on your phone, ScreenshotNeo is a website screenshot API and MCP server for developers. It can return a screenshot or PDF from one GET request. See the ScreenshotNeo documentation for options and setup.
curl -G "https://api.screenshotneo.com/v1/shot" -d access_key=YOUR_API_KEY --data-urlencode url=https://x.com/example/status/123 -o shot.webpReplace the sample post URL with the public post URL and set your API key. The same endpoint can be called from Python or Node.js:
import requests

r = requests.get(
    "https://api.screenshotneo.com/v1/shot",
    params={
        "access_key": "YOUR_API_KEY",
        "url": "https://x.com/example/status/123",
    },
    timeout=90,
)
r.raise_for_status()
open("shot.webp", "wb").write(r.content)
const q = new URLSearchParams({
access_key: 'YOUR_API_KEY',
url: 'https://x.com/example/status/123',
});
const res = await fetch(`https://api.screenshotneo.com/v1/shot?${q}`);
if (!res.ok) throw new Error(`Screenshot request failed: ${res.status}`);
await Bun.write('shot.webp', res);These examples capture a web page, not an iPhone or Android screen, and they require a public page the service can load. A private post or content that requires your account may not be available through a public URL. ScreenshotNeo accepts cookie or consent banners like a visitor and removes more than 60 known consent platforms, newsletter popups, and chat widgets before capture; each of those steps can be turned off. Bot checks and CAPTCHAs, blank pages, timeouts, failed loads, and cache hits are not billed, and response headers identify the page verdict and billing status. Its MCP server offers take_screenshot, get_page_info, and capture_pdf for AI agents and MCP clients. The free plan includes 1,000 shots a month with no card; paid plans start at $5 for 3,000. Sign up for 1,000 free screenshots a month, no card required.
9. Performance, reliability, and cost notes
For a one-off capture, the built-in phone or computer screenshot is usually the fewest-step option: it saves exactly what is visible without an API request. If you need repeatable browser captures in an application, an API can make the request and file handling scriptable. The result still depends on what the target page makes available to the browser, whether it loads successfully, and whether the post is accessible without signing in.
For manual captures, reliability improves when you wait for the post and image to finish loading, dismiss overlays, and inspect the preview. For automated captures, choose the appropriate wait behavior for the page, use a timeout that fits its load, and check the response before treating the output as a valid image. A failed load or a bot check can produce something other than the post you expected; inspect the returned page verdict and billing headers when using ScreenshotNeo.
For cost planning, ScreenshotNeo’s free tier is 1,000 shots per month. Paid options are Starter at $5 for 3,000, Growth at $15 for 15,000, Pro at $39 for 60,000, Scale at $99 for 250,000, and Business at $249 for 1,000,000. Yearly billing gives two months free, and every feature is on every plan. Only clean shots are billed; cache hits and the listed unsuccessful page outcomes cost nothing. If the task is simply to save one post for yourself, your device’s built-in screenshot does not require an API plan.
Frequently asked questions
Where do X screenshots go?
On iPhone, find them in Photos under Collections → Media Types → Screenshots. On Android, check Google Photos under Collections → On this device → Screenshots, or the Gallery app’s Screenshots folder on older devices.
Can I screenshot a post that is longer than my screen?
On Android 12 and later, try Capture more after the initial screenshot if the screen supports scrolling capture. Otherwise, take separate overlapping images. On a desktop, use a supported full-page capture option or capture sections separately.
Does X notify someone when I take a screenshot?
The official X pages referenced here do not answer that question. This article does not make a claim about screenshot notifications.
Can ScreenshotNeo capture any X post?
It captures a page that its browser can access from the supplied URL. Public accessibility matters; a private post or a page requiring an account may not be available through a public URL.


