How to Take High-Quality Screenshots
Take clearer screenshots by choosing the right capture area, preserving context, and checking legibility. Includes steps for Windows, iPhone, Android, and web pages.
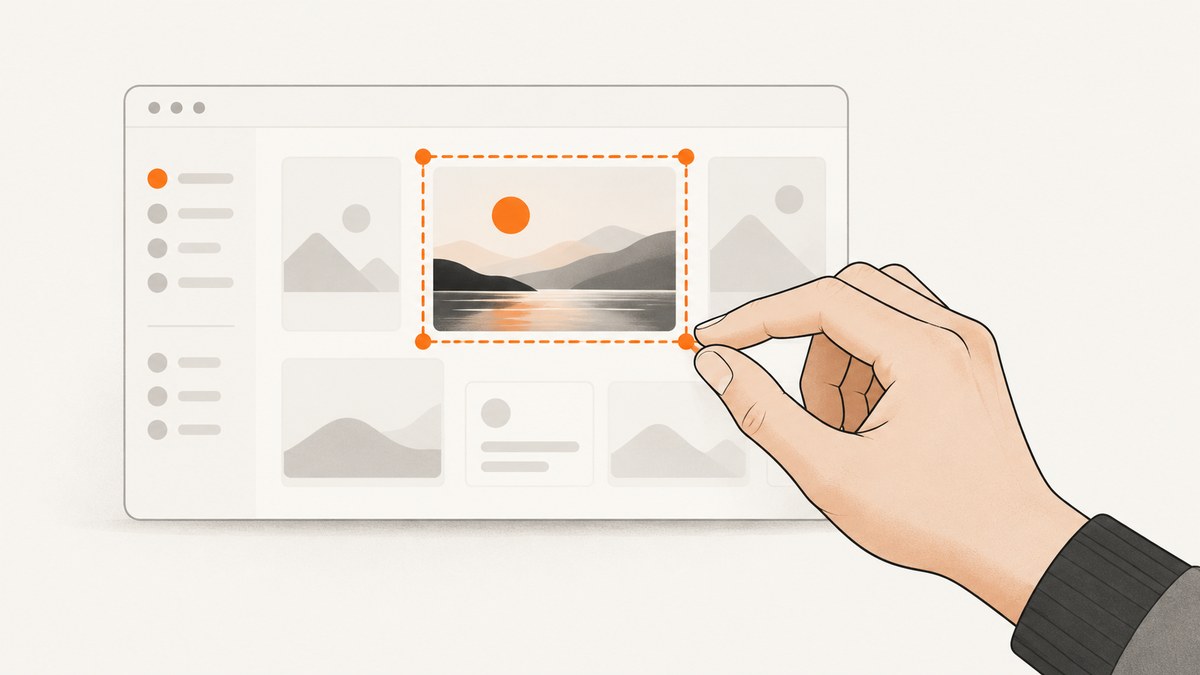
A high-quality screenshot is a clear capture of the information someone needs, at a size where that information is easy to read. Start by choosing the right capture area—region, window, or full screen—then remove distractions, preserve enough context, and inspect the saved image at the size where it will be viewed. A larger file or an upscaled image does not restore detail that was never captured.
The steps below cover Windows, iPhone, Android, and web pages. Controls and settings can vary by operating system version and device model, so check the instructions for your specific device if they differ.
1. Choose what the screenshot needs to show
Before capturing, decide what the image is for: a tutorial step, a support report, or a message. That purpose determines how much of the screen to include. A focused crop is easier to scan, but a crop that removes the page title, navigation, or surrounding controls can leave the reader guessing.
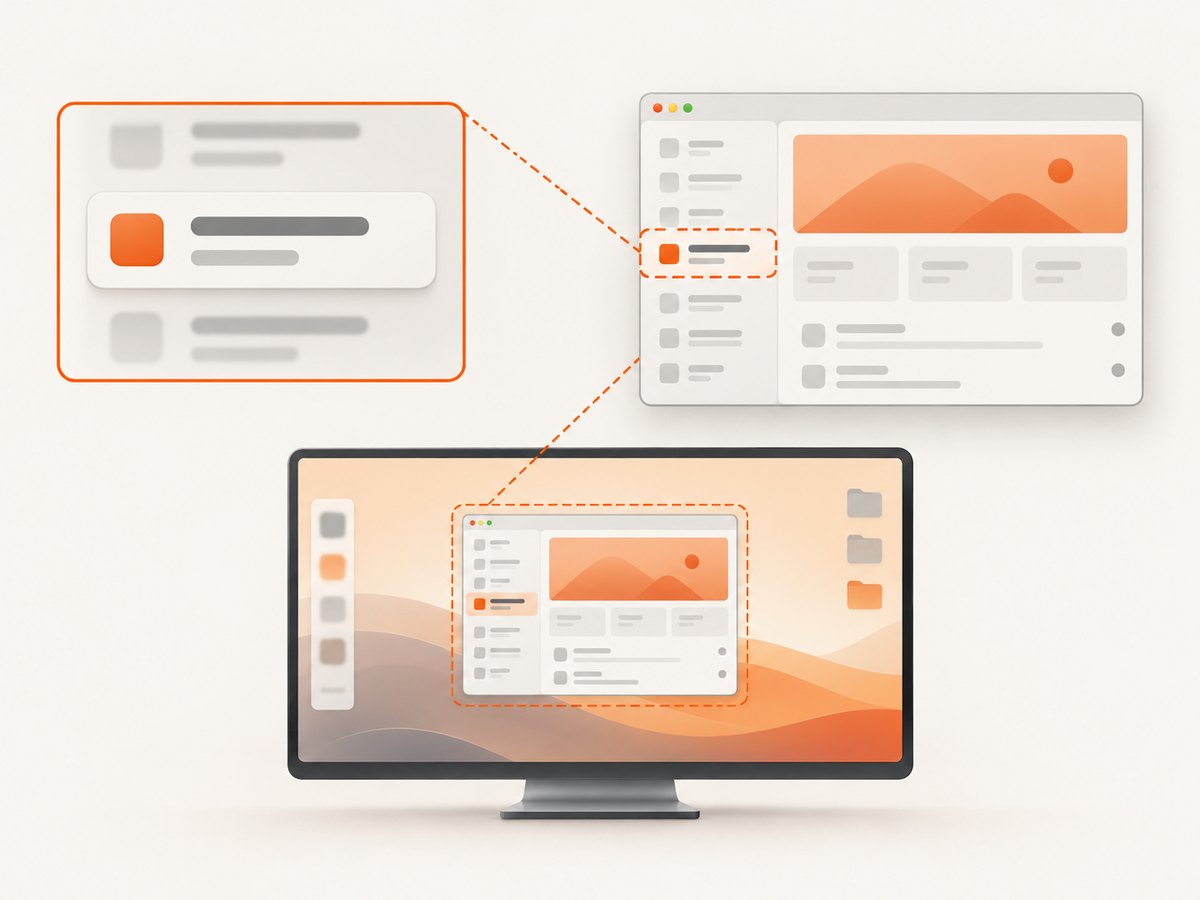
| Capture scope | Use it when | Check before sharing |
|---|---|---|
| Region | You need one control, error, or small part of an interface. | Include nearby labels or controls that explain the selected area. |
| Window | You want an app or browser window without the rest of the desktop. | Keep a useful title bar or page heading if it provides context. |
| Full screen | The issue depends on multiple windows, layout, or the whole page view. | Close unrelated windows and notifications; check that the important content is legible. |
| Full web page | The page extends beyond the visible browser viewport. | Review the result for missing lazy-loaded content, sticky elements, or awkward page breaks. |
For documentation sets, consistency helps readers compare steps. Google’s developer guidance recommends PNG unless there is a good reason to use another format and advises keeping operating-system screenshot style consistent across a set. This is a documentation default, not a rule for every image or platform. Google developer image guidance.
2. Capture on Windows
Windows Snipping Tool supports rectangular, window, full-screen, and freeform captures. Press Windows logo key + Shift + S to open the capture overlay, then choose the mode that fits the material. After capture, open the result in Snipping Tool if you need to crop or annotate it. Microsoft documents the capture modes and editing workflow in its Snipping Tool guide.
- Close menus, notifications, and unrelated windows that could cover the content.
- Use a region for a focused detail, a window for one app, or full screen when the broader desktop matters.
- Review the capture and crop away distractions while retaining enough context.
- Annotate only when a marker or short note makes the next action easier to find. Keep it clear of the text or control being explained.
Microsoft’s “Perfect screenshot” framing feature applies to Windows 11 Copilot+ PCs; it is not a standard Snipping Tool option on every Windows device. Check Microsoft’s documentation for the supported hardware and current steps if you intend to use that feature.
3. Capture on iPhone
Take the screenshot using the button combination supported by your iPhone model, then open the preview or find the image in Photos. Apple’s iPhone screenshot guide covers taking and finding screenshots, cropping, and Markup. Because button combinations can differ between models, follow the instructions for your device.
- Arrange the screen so the relevant content is visible and overlays are dismissed.
- Capture, then open the screenshot in Photos.
- Crop to the useful area without cutting off labels or context.
- Use Markup sparingly for arrows or emphasis, and make sure annotations do not obscure the interface.
iPhone also offers capture behavior and format settings, including SDR and HDR options. HDR does not guarantee a visibly better result on every screen: Apple notes that HDR screenshots appear in SDR format on standard displays. Choose the setting based on the destination and viewing devices, and see Apple’s capture and format settings for the available options.
4. Capture on Android
Android’s screenshot controls can vary by manufacturer, model, and software version. Google’s Android screenshot help explains how to take and locate screenshots; if its controls do not match your phone, follow the manufacturer’s instructions for that model.
- Show the relevant screen and dismiss anything that should not appear in the image.
- Use the screenshot control supported by your device.
- Open the saved capture from the notification, Photos, or your device’s screenshot folder.
- Crop or mark it up only if that improves understanding, then check that the result remains readable.
For a guide aimed at a particular phone, verify the instructions on that model and name the model or Android version when the steps depend on it. Avoid presenting one manufacturer’s button combination as universal Android behavior.
5. Capture a website or web app
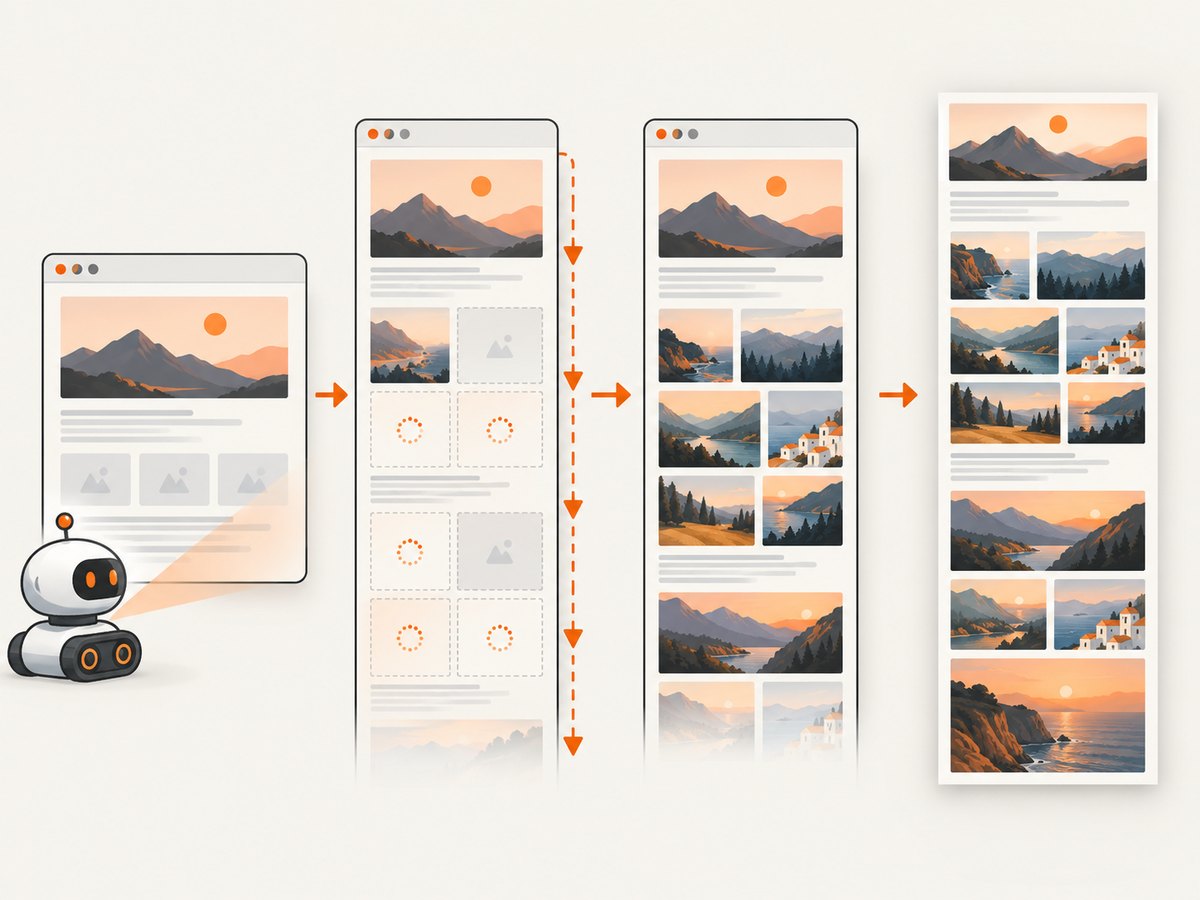
A device screenshot is suitable when you need to show what was visible in the browser. For a repeatable website capture, browser automation can set the viewport, wait for page content, and save a full-page image. The example below uses Playwright for Node.js.
Runnable Playwright example
Install Playwright and its Chromium browser in a Node.js project:
npm install playwright
npx playwright install chromium
Save this as screenshot.mjs and run it with node screenshot.mjs:
import { chromium } from 'playwright';

const browser = await chromium.launch({ headless: true });
const page = await browser.newPage({
  viewport: { width: 1440, height: 1000 },
  deviceScaleFactor: 1,
  colorScheme: 'light'
});

try {
  await page.goto('https://example.com', {
    waitUntil: 'networkidle',
    timeout: 30000
  });
  await page.screenshot({ path: 'page.png', fullPage: true });
} finally {
  await browser.close();
}
The example sets a 1440 by 1000 CSS-pixel viewport, waits for network activity to settle, and captures the whole page as PNG. Replace the target URL with a page you are allowed to access. If the page keeps making background requests, use a more suitable readiness condition such as domcontentloaded and wait explicitly for the content that matters.
Useful capture options
| Need | Option or approach | Trade-off |
|---|---|---|
| Visible viewport only | Omit fullPage: true. |
Produces a shorter image, but content below the fold is absent. |
| One page element | Use a locator and its screenshot method, such as await page.locator('main').screenshot({ path: 'main.png' }). |
The selector must uniquely identify the intended content and be present before capture. |
| Retina-like output | Set deviceScaleFactor: 2 when creating the browser context or page. |
Output dimensions and file size increase; fine detail is only useful if it exists at capture time. |
| Dark appearance | Set colorScheme: 'dark'. |
Only affects sites that respond to the browser color scheme. |
| Hide a distracting element | Use screenshot CSS, for example style: 'header.ad { display: none !important }'. |
Hiding content changes the captured page; avoid hiding information readers need. |
| Wait for a known component | After navigation, call await page.locator('[data-ready="true"]').waitFor(). |
Requires a stable selector that accurately signals readiness. |
| JPEG output | Use type: 'jpeg' and optionally quality: 80. |
JPEG is lossy; small text and sharp edges can look worse than in PNG. |
For a documentation image with interface text, PNG is a sensible default. For a photographic page or a transfer-size constraint, another format may suit the destination. Follow the publication’s required dimensions and format when it specifies them; there is no universal pixel or file-size target for every screenshot.
6. Check quality before sharing
A screenshot can be technically sharp yet hard to use. Review it at its intended display size, not just while zoomed in on the original. Check that the important text is legible, the image has enough surrounding context, and no notification, menu, cursor, or personal information distracts from the point.
- Crop with context: remove irrelevant edges while retaining the page name, label, or nearby control that makes the detail understandable.
- Annotate with restraint: use a callout only when it directs attention; keep it away from the item it identifies. Mozilla’s contributor guidance discusses markers for highlighting interface areas: Mozilla image guidance.
- Do not upscale to claim more detail: enlarging a small screenshot cannot recreate screen detail that was not captured.
- Keep a consistent style: use similar capture scope, operating-system appearance, and annotation style across a tutorial.
- Check the destination: confirm the final image remains readable in the documentation, ticket, or message where it will appear.
7. Or skip the browser setup
For a website screenshot without installing and maintaining a browser automation setup, ScreenshotNeo returns an image or PDF from one API request. Its cookie/consent handling accepts the banner as a visitor and removes more than 60 known consent platforms, newsletter popups, and chat widgets before capture; each step can be turned off. Bot checks/CAPTCHAs, blank pages, timeouts, failed loads, and cache hits cost nothing, and response headers report the page verdict and billing status. Its MCP server offers take_screenshot, get_page_info, and capture_pdf for Claude, Cursor, and other MCP clients. The free plan includes 1,000 shots per month with no card; paid plans start at $5 for 3,000 shots. Every feature is on every plan.
See the ScreenshotNeo API documentation for the current request options. Example request using cURL:
curl -G "https://api.screenshotneo.com/v1/shot" -d access_key=YOUR_API_KEY --data-urlencode url=https://stripe.com -o shot.webpPython:
import requests

r = requests.get(
    "https://api.screenshotneo.com/v1/shot",
    params={"access_key": "YOUR_API_KEY", "url": "https://stripe.com"},
    timeout=90,
)
r.raise_for_status()
open("shot.webp", "wb").write(r.content)
Node.js:
const q = new URLSearchParams({ access_key: 'YOUR_API_KEY', url: 'https://stripe.com' });
const res = await fetch(`https://api.screenshotneo.com/v1/shot?${q}`);
if (!res.ok) throw new Error(`Screenshot request failed: ${res.status}`);
await Bun.write('shot.webp', res);
Replace YOUR_API_KEY with your key. The Node example uses Bun’s file writer; in Node.js, save Buffer.from(await res.arrayBuffer()) with writeFile from node:fs/promises. For a website screenshot with options such as full-page capture, element selection, viewport, or output format, consult the docs rather than guessing parameter names.
Sign up for 1,000 free screenshots a month, with no card required.
8. Troubleshooting
| Problem | Likely cause | Fix |
|---|---|---|
| Text looks too small | The captured area includes too much screen, or the destination scales it down. | Capture a tighter region, use an appropriate display scale, and check the image in its final placement. Do not enlarge a low-detail source and expect missing detail to return. |
| Part of the page is blank | Content loads after navigation, requires scrolling, or depends on scripts or access. | Wait for the relevant selector, check access in a regular browser, and review page errors. A fixed delay can help diagnose timing but is less reliable than waiting for the actual content. |
| Full-page capture misses images | Images may load lazily only when scrolled into view. | Scroll through the page before capture or use a capture service that loads lazy images; verify the resulting image from top to bottom. |
| Screenshot includes a popup | A consent dialog, newsletter prompt, chat widget, or app modal is visible. | Dismiss it as a visitor if appropriate, wait for it to close, or hide the specific element for a controlled documentation capture. |
| Capture waits until timeout | The page never reaches the selected network-idle condition, or a resource is slow. | Use a readiness condition tied to the content you need, increase the timeout only when justified, and avoid waiting indefinitely for analytics or streaming requests. |
| Output is blurry after upload | The destination resized or recompressed the file, or JPEG artifacts affect text. | Upload a suitable source format, follow destination dimensions, and inspect the hosted result. For UI text, PNG is often a sensible documentation choice. |
| Android steps do not match | Screenshot controls differ by model, manufacturer, or software version. | Use the manufacturer’s instructions for the exact device. |
9. Performance, reliability, and file size
For local browser automation, a full-page screenshot can require more image memory and take longer than a viewport capture because it includes more content. Larger viewports and higher device scale factors also increase the pixel count and usually the output size. Keep the capture scope as small as the task allows, reuse a browser process when capturing multiple pages, and close browser resources even when navigation or capture fails.
Reliability depends on page readiness. “Network idle” is convenient for static pages but may never occur on sites with long polling, analytics, or live updates. Waiting for a specific element is often more predictable when the page exposes a stable ready state. Use timeouts, handle navigation errors, and check the saved file before treating a capture as successful. Dynamic content, personalization, geolocation, consent state, and viewport can all change what appears.
Cost for a local workflow includes the time and resources to run Chromium and maintain the environment; there is no screenshot API charge in the Playwright example. A hosted API has a plan cost and may reduce browser maintenance. ScreenshotNeo’s published plans are Free with 1,000 shots/month, Starter $5 for 3,000, Growth $15 for 15,000, Pro $39 for 60,000, Scale $99 for 250,000, and Business $249 for 1,000,000; yearly billing gives two months free. See its site for details and terms. For any approach, estimate volume from the captures you expect to keep and account for retries in your own workflow.
10. FAQ
How do I take a high-resolution screenshot?
Capture the relevant area at the display’s available pixel dimensions and avoid shrinking it excessively afterward. Upscaling a small capture cannot recreate detail that was not present.
Should I always use PNG?
No. PNG is a sensible default for documentation images under Google’s developer guidance. The destination and content may justify another format.
Does HDR make every screenshot look better?
No. The viewing display and format handling matter; Apple says HDR screenshots appear in SDR on standard displays.
Should I buy special equipment for clearer screenshots?
The basic task is covered by built-in capture tools. The reviewed platform guidance does not establish dedicated hardware or accessories as necessary for a better screenshot.


