HTML.to.design vs. Screenshot-to-Figma Plugins for Web Design
Compare website imports, browser captures, and screenshot-to-Figma workflows by source access, editability, cleanup, limits, and price.
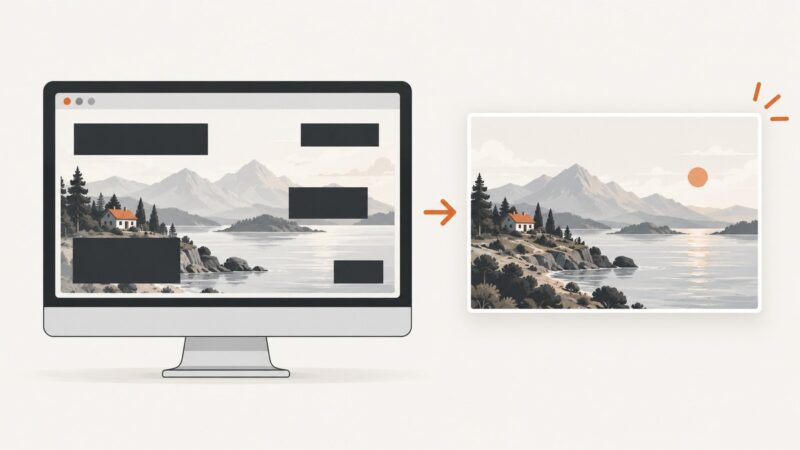
If you need to bring an existing website into Figma, choose the workflow by the source you can access and the output you need. For a public page and editable design layers, html.to.design documents URL import through its Figma plugin. For a logged-in, private, local, or specific browser state, its browser extension can capture what is visible in the browser. A screenshot-to-Figma workflow gives you a visual reference, but a flat screenshot is not the same as editable page structure.
There is no universal fidelity winner in the available evidence: no same-page independent comparison was performed. Test a representative page from your own project and compare which elements remain editable, what needs cleanup, and whether your source can be captured.
1. What each workflow produces
| Workflow | Input | Typical output | Best fit |
|---|---|---|---|
| html.to.design URL import | A public webpage URL | Design layers in Figma, according to the vendor | Public pages where you want a design starting point |
| html.to.design browser extension | A page open in your browser, including a private or local page | A capture transferred to the plugin, saved as .h2d, or copied for use in Figma | Authenticated pages, local or staging sites, and a particular browser-visible state |
| HTML/CSS import | HTML/CSS pasted into its code editor or local HTML/HTM/ZIP files | An imported design, with available output options depending on workflow | You have source markup or a packaged local page |
| Screenshot import | A PNG or other image capture | A flat image layer | Visual reference, annotation, or manual tracing |
| Manual recreation | Reference page or screenshot | Layers you build yourself | Small areas, substantial redesign, or cases where imported structure is unsuitable |
The html.to.design plugin and extension are described in the vendor’s product materials and documentation. Its listed capabilities include viewport and theme variants, style creation or reuse, optional auto layout, font mapping or downloads, multilingual imports, and prototype-related features. These are vendor-described features; they do not establish pixel accuracy or how much cleanup a specific page needs.
2. Start with source access
- Public URL: try URL import first if the page is publicly reachable and does not depend on your logged-in browser session.
- Login, local server, or a specific state: open the page in a browser with the desired state and use the extension capture path. The extension is intended for browser-state capture; its listing says Chrome debugging access is needed to map the browser view.
- Have HTML files or markup: consider importing local HTML/HTM/ZIP files or using the code editor for HTML/CSS, as described in the documentation.
- Need only a visual guide: capture a screenshot and place it in Figma. This preserves the appearance as pixels, not the original DOM or independent text and layout objects.
For an extension capture, the documented flow is to capture the whole page or a selection, then transfer it to the plugin or save an .h2d file for import. The browser extension listing also describes clipboard copying for Figma and a .make download for Figma Make. Those transfer options and browser requirements can change; check the current listing and documentation before relying on a specific handoff.
3. Choose editable import or flat screenshot
Use an editable import when you expect to adjust text, spacing, colors, or component-like parts in Figma. Inspect the imported layer tree rather than assuming every visual detail maps cleanly to a useful object. Fonts, complex layouts, responsive behavior, and browser-only effects may need review or repair.
Use a flat screenshot when the goal is comparison, annotation, or a tracing reference and you do not need to edit the original content as separate objects. It is straightforward and retains the captured pixels, but changing a heading or button means covering, redrawing, or rebuilding it.
- Need to revise copy or spacing? Prefer an editable import, then inspect the layers.
- Need to show exactly what a particular state looked like? Capture that browser state; a screenshot can be the clearest record.
- Need production-ready design components? Treat either import as a starting point and validate the result against the source.
- Need to redesign only a small region? A crop or selection capture may save effort over importing a full page.
4. Run a fair workflow comparison
- Pick one representative page with the kinds of content you actually use: navigation, images, forms, long text, and responsive sections if relevant.
- Record the source conditions: public URL, authenticated browser, local/staging environment, or supplied HTML.
- Capture the same state and viewport for each method. Note whether the page includes loaded content, open menus, or other transient UI.
- For editable output, inspect text, images, grouping, fonts, spacing, and whether repeated elements are practical to revise.
- Record cleanup time and the edits required. Do not equate a visually close screenshot with useful editable structure.
- Repeat with a second viewport or theme only if responsive or dark-mode variants matter to the project.
- Check current plan limits and price against your expected import frequency before choosing a paid workflow.
This small trial is more informative than a generic ranking: the source page, browser state, fonts, and required edits determine whether the imported result helps.
5. Cost and usage to check
As listed in html.to.design’s official plan documentation accessed October 3, 2026, Free includes up to 10 imports every 30 days and requires no sign-up or credit card. Pro is listed at $12 per user/month billed annually or $18 per user/month billed monthly. The same page lists bulk imports, high-resolution images when available, a re-import shortcut, and premium support on Pro, with a fair-use limit of 1,000 imports per user per month. Verify the current plan details before purchase because prices and limits can change.
Compare the amount you will actually use, not only the monthly headline. Count separate viewport, theme, and re-import runs; determine whether you need a team seat; and check whether your expected monthly volume fits the applicable limits. For a one-off design exploration, a free allowance or screenshot reference may be enough. Repeated page imports may make bulk and re-import features relevant.
6. ScreenshotNeo as an alternative to try first
If you need to capture the page itself for a visual reference, design review, or later placement in Figma, ScreenshotNeo is a website screenshot API and MCP server. It returns PNG, JPEG, WebP, or PDF from one GET request. It does not turn a webpage into editable Figma layers, so use it for clean captures and then import the resulting image into Figma when a flat reference is appropriate.
Here is a runnable cURL capture; replace the URL with your page and set your API key:
curl -G "https://api.screenshotneo.com/v1/shot" -d access_key=YOUR_API_KEY --data-urlencode url=https://stripe.com -o shot.webpSee the ScreenshotNeo API documentation for its options. Python equivalent:
import requests

r = requests.get(
    "https://api.screenshotneo.com/v1/shot",
    params={"access_key": "YOUR_API_KEY", "url": "https://stripe.com"},
    timeout=90,
)
r.raise_for_status()
with open("shot.webp", "wb") as image:
    image.write(r.content)
Node.js equivalent:
const q = new URLSearchParams({ access_key: 'YOUR_API_KEY', url: 'https://stripe.com' });
const res = await fetch(`https://api.screenshotneo.com/v1/shot?${q}`);
if (!res.ok) throw new Error(`Screenshot request failed: ${res.status}`);
await import('node:fs/promises').then(fs => fs.writeFile('shot.webp', Buffer.from(await res.arrayBuffer())));
Cookie banners, newsletter popups, and chat widgets are removed before the shot; bot checks, blank pages, and failed loads are never billed. An MCP server lets AI agents take screenshots. The free plan includes 1,000 screenshots a month with no card, and paid plans start at $5 for 3,000.
Sign up free for 1,000 screenshots a month, with no card required.
7. Troubleshooting
| Problem | Likely cause | What to try |
|---|---|---|
| URL import cannot show the page you see while logged in | The public URL request does not share your browser session | Open the page in the authenticated browser and use the extension capture path. |
| Local or staging page is not reachable by URL import | The page is only available inside your network or browser environment | Use the extension while the page is open, or import local HTML files if they represent the needed page. |
| Extension capture cannot map the browser view | The extension listing specifies Chrome debugging access | Review the current extension permissions and setup instructions; use URL or file import if they fit the source. |
| Imported fonts or spacing differ | Font availability, browser rendering, or conversion into design layers can differ | Check font mapping/download options, compare at the same viewport, and repair typography and spacing in Figma. |
| Import is not editable in the way you expected | A screenshot workflow produces pixels, and even an editable import may not map every page feature to a convenient layer | Confirm the selected workflow and inspect a small representative import before processing the full page. |
| Screenshot misses lazy content or a transient state | Content had not loaded, or the desired menu/state was not active at capture time | Wait for the page to settle, trigger the desired state in the browser, then capture again. |
| Plan limit or billing surprise | Imports count toward a plan allowance or fair-use policy | Check the current plan page, import cadence, billing interval, and per-user limit before a recurring workflow. |
8. Reliability, repeatability, and performance
For repeatable design work, standardize the viewport, browser state, theme, and capture point. Save the source URL and note whether the capture used a live page, extension session, or local file. Page content can change between captures, so retain an image reference when the exact original appearance matters.
Large or long pages take more time to capture and can produce more material to review. A full-page editable import may also create a large layer tree. Start with a selection or representative page section when you are evaluating the conversion, then expand only after checking the result. If you need variants, run them deliberately and track each viewport or theme as a separate deliverable.
9. Frequently asked questions
Can I import a website into Figma without rebuilding it?
Yes, html.to.design documents public URL and browser-extension capture paths that create editable design imports. Expect to inspect the output and correct details that do not map as needed.
Do I need a browser extension for a page behind a login?
The documented extension workflow is intended for browser-state capture, including logged-in pages. The URL method is described for public pages.
Is a screenshot-to-Figma plugin the same as HTML-to-Figma?
No. A screenshot is a raster reference. An HTML-to-Figma import aims to create design layers from page content, though the exact usefulness of those layers should be checked on your page.
Which option should I try first?
For a public page and editable output, try URL import. For a private or local page, try browser capture. For a visual reference, use a screenshot. Compare the same representative page before committing to a recurring workflow.