How to Use HTML-to-PNG Images as Favicons
Turn rendered HTML into a PNG favicon, serve it correctly, declare it in your document head, and troubleshoot caching, sizing, and canvas issues.
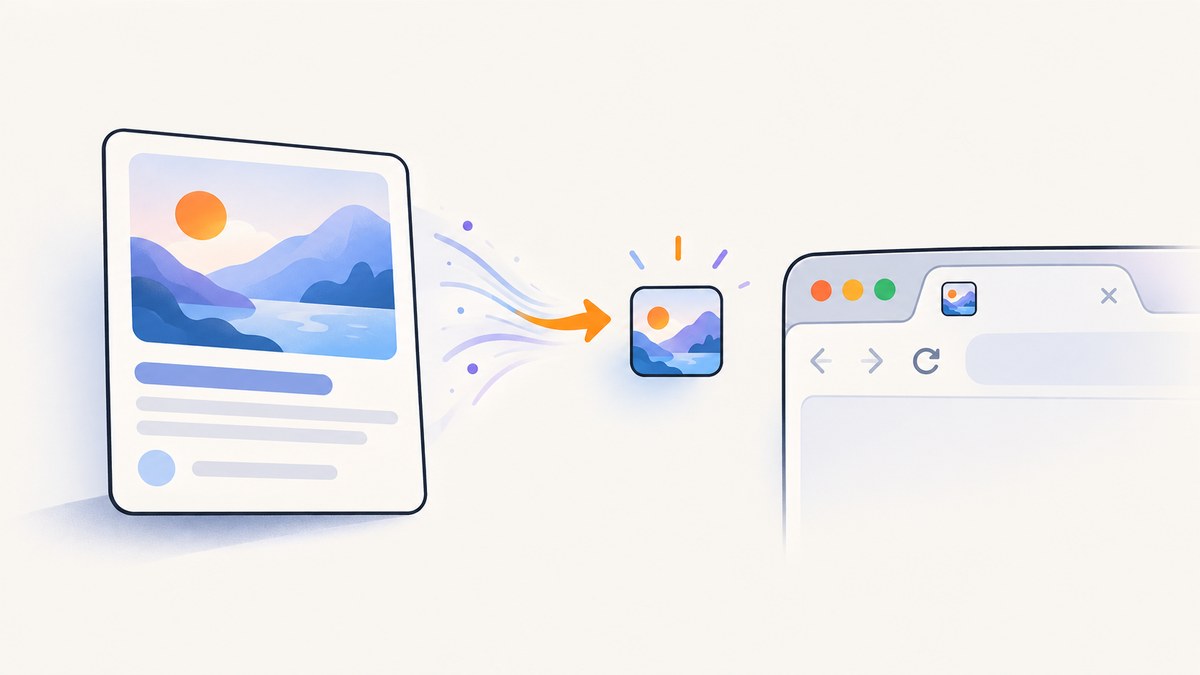
Direct answer: render your HTML design to a PNG, put the PNG at a public URL, and reference that URL in your page head with <link rel="icon" href="/favicon.png" type="image/png">. The browser uses the image resource; it does not rerun your HTML-to-image instructions when loading a favicon.
This guide covers the complete workflow: producing a favicon-ready PNG, serving it from a framework or static host, declaring one or more icon candidates, handling canvas security, checking the result, and diagnosing common failures. It also shows how to capture the source design with ScreenshotNeo when you want a hosted screenshot API instead of maintaining browser automation.
1. Understand what a favicon link does
A favicon is an image associated with a document. The usual declaration is a link element in the document’s head:
<head>
  <link rel="icon" href="/favicon.png" type="image/png">
</head>
The href must resolve to an image that your server can return. If your HTML-to-PNG renderer produced brand-card.png, rename or copy it to a public location such as /favicon.png; linking to a local build path or to the HTML template itself will not work. MDN documents PNG as a supported favicon format and shows the rel="icon" pattern in its page-metadata guide (MDN: What’s in the head?).
Browsers may also request /favicon.ico automatically. An explicit PNG link identifies the preferred resource, while an ICO file at the site root can help conventional discovery (HTML Standard: rel=icon).
2. Render a square, favicon-ready HTML design
Start with a simple square composition. Favicons are displayed in small browser surfaces, so a detailed dashboard or a sentence of text will usually become unreadable. Use one strong shape, high contrast, and generous padding. A 16-pixel favicon is a historical reference point, not a requirement for every modern export; exporting a larger square PNG gives browsers more source pixels to scale.

Here is a self-contained HTML file that can be rendered by a browser screenshot tool, Playwright, Puppeteer, or another HTML-to-image pipeline:
<!doctype html>
<html lang="en">
<head>
  <meta charset="utf-8">
  <meta name="viewport" content="width=device-width, initial-scale=1">
  <style>
    html, body {
      margin: 0;
      width: 512px;
      height: 512px;
      background: transparent;
    }
    .mark {
      box-sizing: border-box;
      width: 512px;
      height: 512px;
      display: grid;
      place-items: center;
      border-radius: 112px;
      background: linear-gradient(135deg, #4f46e5, #06b6d4);
      color: white;
      font: 700 220px/1 system-ui, sans-serif;
    }
  </style>
</head>
<body>
  <div class="mark" aria-label="Brand mark">S</div>
</body>
</html>
Render the page at 512 by 512 pixels and export it as PNG. Keep the outer background transparent only when that is intentional; a transparent icon can disappear against a similarly colored browser surface. If your renderer captures a full page, make the document itself the desired square size or capture the .mark element only.
Canvas and remote images
If your HTML-to-PNG process uses a canvas and draws images hosted on another origin, the canvas can become tainted. A tainted canvas prevents scripts from reading pixel data for export. Load remote images with an appropriate crossorigin setting and configure the image host to return compatible CORS headers. MDN describes this restriction in its <img> documentation (MDN: crossorigin and canvas security).
const image = new Image();
image.crossOrigin = "anonymous";
image.src = "https://assets.example.com/mark.png";
image.onload = () => {
  const canvas = document.querySelector("canvas");
  const context = canvas.getContext("2d");
  context.drawImage(image, 0, 0);
  const png = canvas.toDataURL("image/png");
};
If you do not control the remote server’s CORS policy, download the asset on your server first, serve it from the same origin, or remove it from the canvas composition.
3. Export and validate the PNG
Before publishing, inspect the actual output file rather than assuming the renderer produced the requested format.
| Check | What to verify |
|---|---|
| Dimensions | The image is square, such as 512×512 or 256×256. |
| Format | The bytes are PNG and the server will send an image media type. |
| Appearance | The mark remains recognizable when reduced to a small square. |
| Transparency | Transparent pixels are intentional and do not erase needed contrast. |
| File path | The final public URL is known, for example https://example.com/favicon.png. |
You can check headers from a shell:
curl -I https://example.com/favicon.pngLook for a successful status and a PNG content type. Also open the URL directly in a browser. An HTML 404 page saved with a .png suffix is still an HTML error page, not a favicon.
4. Put the file in the site’s public directory
Static hosts and frameworks use different source folders, but the rule is the same: copy the PNG into the directory that maps to the site’s public root.
- Plain static hosting: place
favicon.pngbeside the deployed HTML file or in the configured public root. - Common framework convention: a
publicorstaticdirectory often maps directly to/. Confirm this in your framework’s deployment settings. - Subpath deployment: if the site is served under
/docs/, use the real public path, such as/docs/favicon.png, or generate the URL from the framework’s base path. - CDN or object storage: publish the object with public read access and a stable URL, then use that URL in
href.
Do not confuse a local filesystem path such as dist/assets/favicon.png with a browser URL. Only the deployed URL matters to the browser.
5. Add the favicon declaration to the document head
Place the link in the rendered document’s <head>, not in a component that never reaches the page shell:
<head>
  <meta charset="utf-8">
  <title>Example site</title>
  <link rel="icon" href="/favicon.png" type="image/png">
</head>
The type value should match the actual resource. For a PNG, use image/png. The href may be site-relative or an absolute HTTPS URL. After deployment, view the page source or inspect the live DOM to ensure the link is present.
Multiple icon candidates
When you have different formats or sizes, declare each real candidate. Browsers can use media, type, and sizes to select an appropriate resource (MDN: rel attribute).
<link rel="icon" href="/favicon-32.png" type="image/png" sizes="32x32">
<link rel="icon" href="/favicon-192.png" type="image/png" sizes="192x192">
<link rel="icon" href="/favicon.ico" type="image/x-icon">
Use multiple entries when they serve a real context, such as a compact browser icon and a larger install or bookmark icon. A single well-made PNG is easier to maintain. Separate Apple touch icons or platform-specific metadata are additional concerns and should be added only when your product needs them.
6. Or skip the browser setup
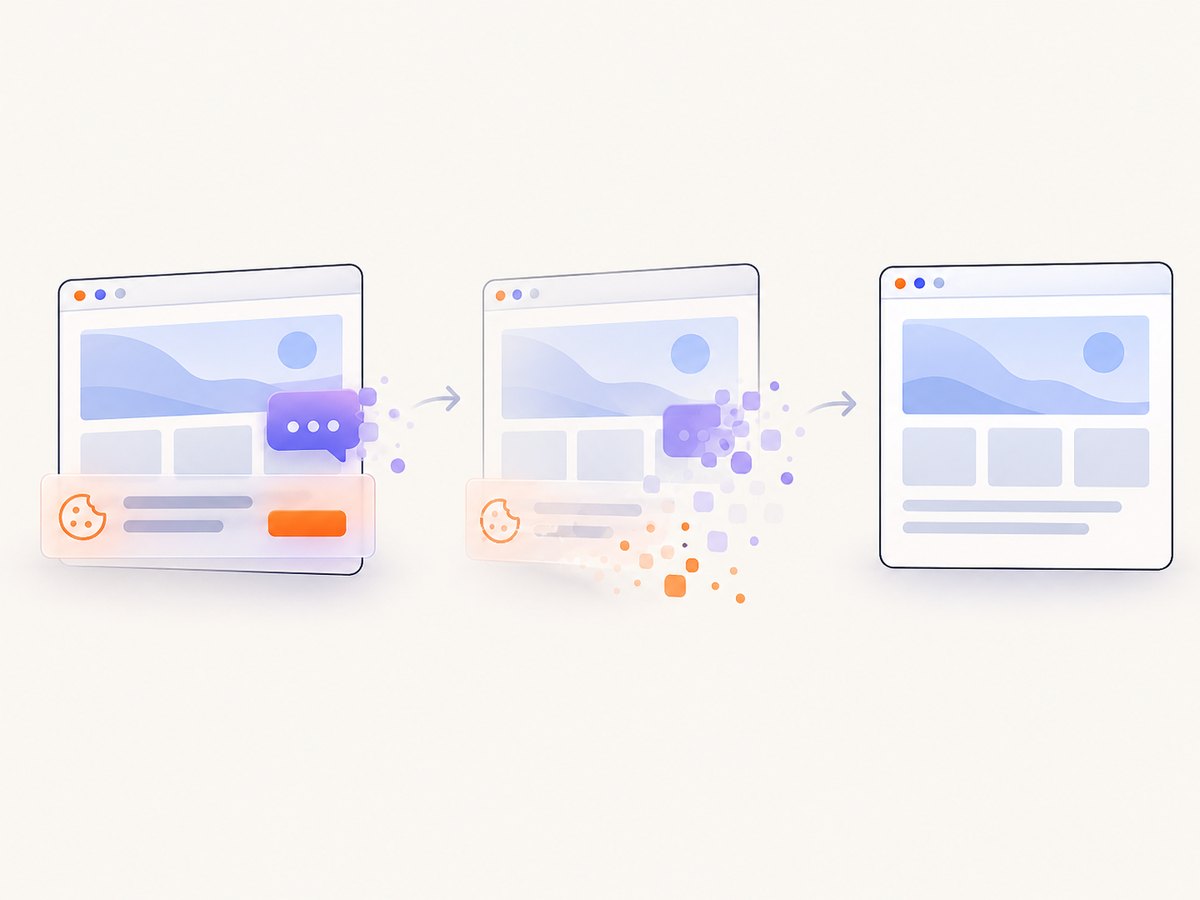
If you need a screenshot of an HTML page or element as part of an asset pipeline, ScreenshotNeo provides a one-request capture API. Its clean capture flow accepts cookie and consent banners before removing more than 60 known consent platforms, newsletter popups, and chat widgets. You can turn each step off. Only clean shots are billed: bot checks or CAPTCHAs, blank pages, timeouts, failed loads, and cache hits cost nothing, and the response identifies the result with X-Page-Verdict and X-Billed headers.
See the ScreenshotNeo API documentation for all options, including element selectors, custom CSS and JavaScript, transparent backgrounds, device presets, retina scale, caching, and asynchronous jobs.
cURL
curl -G "https://api.screenshotneo.com/v1/shot" \
  -d access_key=YOUR_API_KEY \
  --data-urlencode url=https://stripe.com \
  -o shot.webp
Python
import requests

r = requests.get(
    "https://api.screenshotneo.com/v1/shot",
    params={"access_key": "YOUR_API_KEY", "url": "https://stripe.com"},
    timeout=90,
)
r.raise_for_status()
open("shot.webp", "wb").write(r.content)
Node.js
const q = new URLSearchParams({ access_key: 'YOUR_API_KEY', url: 'https://stripe.com' });
const res = await fetch(`https://api.screenshotneo.com/v1/shot?${q}`);
if (!res.ok) throw new Error(`HTTP ${res.status}`);
const fs = await import('node:fs/promises');
await fs.writeFile('shot.webp', Buffer.from(await res.arrayBuffer()));
For a favicon workflow, capture the page or a CSS-selected element at a square viewport, then convert or serve the returned image in the format your site requires. ScreenshotNeo also supports PDF output, custom headers and cookies, user agents, timezone and geolocation, request blocking, waits for selectors or network idle, image resizing, signed links, bulk capture, usage reporting, and an MCP server with take_screenshot, get_page_info, and capture_pdf tools for AI clients.
There are no browser drivers to maintain. The free plan includes 1,000 screenshots each month with no card; paid plans start at $5 for 3,000. Create a free ScreenshotNeo account.
7. Troubleshooting
| Symptom | Likely cause | Fix |
|---|---|---|
| No icon appears | The link is missing from the live head or the URL is wrong. | Inspect the rendered head and open the exact href directly. |
| Broken-image icon or HTML response | The server returns a 404 page, redirect, or login page. | Check status and content type with curl -I; publish the PNG at a public path. |
| Icon looks blurry | The source is too small or the design has fine detail. | Export a larger square PNG, simplify the mark, and test it at small sizes. |
| Transparent icon disappears | The mark relies on a background that is not present. | Add a solid background or increase contrast. |
| Canvas export throws a security error | A cross-origin image tainted the canvas. | Use CORS-enabled assets, same-origin copies, or avoid reading that canvas. |
| Changes do not appear | Browser or CDN caching retained the old favicon. | Use a versioned filename such as favicon-v2.png, update href, and purge the CDN if applicable. |
| Only some pages show the icon | Different layouts emit different head markup or base paths. | Put the declaration in the shared document shell and verify nested routes. |
8. Performance, reliability, and cost considerations
- Keep the asset small: a simple PNG reduces transfer time and avoids unnecessary decoding work.
- Use immutable filenames: content-hashed or versioned names make cache invalidation predictable.
- Prefer deterministic rendering: wait for fonts and required images before exporting; otherwise the favicon can contain fallback fonts or empty areas.
- Capture only what you need: an element capture is usually simpler than a full-page render for a square mark.
- Plan for failures: keep a known-good fallback icon while a new asset is being generated or deployed.
- Control automation spend: cache identical captures and avoid recapturing unchanged source HTML. With ScreenshotNeo, cache hits are not billed, and response headers tell you whether a capture was billed.
A favicon is requested frequently, so serve it over HTTPS with a long cache lifetime once its filename is stable. When you must replace it, change the filename or query strategy deliberately rather than relying on every browser to refresh an old cached response immediately.
9. Publishing checklist
- Render a square HTML design with a simple, high-contrast mark.
- Export it as a real PNG and confirm its dimensions.
- Place it in the deployed public directory.
- Add
<link rel="icon" href="..." type="image/png">to the shared document head. - Open the image URL directly and check its status and content type.
- Inspect the live page head on both the root route and a nested route.
- Test at the small sizes and browser contexts that matter to your site.
- If canvas was involved, confirm remote images did not taint the export.
- Use a versioned filename when replacing an existing icon.
FAQ
Can I put the HTML directly in the favicon link?
No. The link points to an image resource. Render the HTML first, save the resulting PNG, and serve that file.
Is 16×16 the required PNG size?
No. It is a historical favicon size. A larger square source can scale better, provided the design remains clear when reduced.
Do I need both PNG and ICO?
No. A PNG declared with rel="icon" is a practical setup. A root /favicon.ico can provide conventional fallback discovery.
Why does my new favicon take time to appear?
Favicons are cached aggressively by browsers and intermediate CDNs. Change the filename, update the link, and purge relevant caches when necessary.
Can an AI agent generate these screenshots?
Yes. ScreenshotNeo includes an MCP server with screenshot, page-info, and PDF tools that work with Claude, Cursor, and other MCP clients.


