How to Use html2canvas in Angular
Capture an Angular element with html2canvas, handle SSR, CORS, CSS limits, large canvases, downloads, and production troubleshooting.
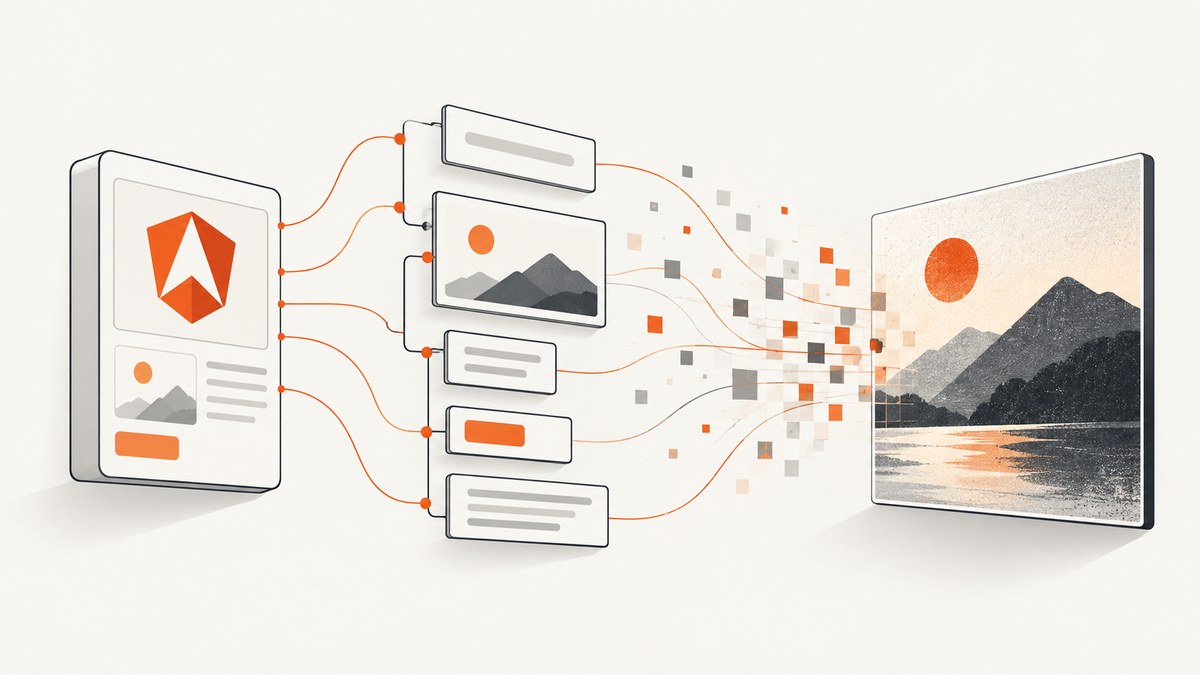
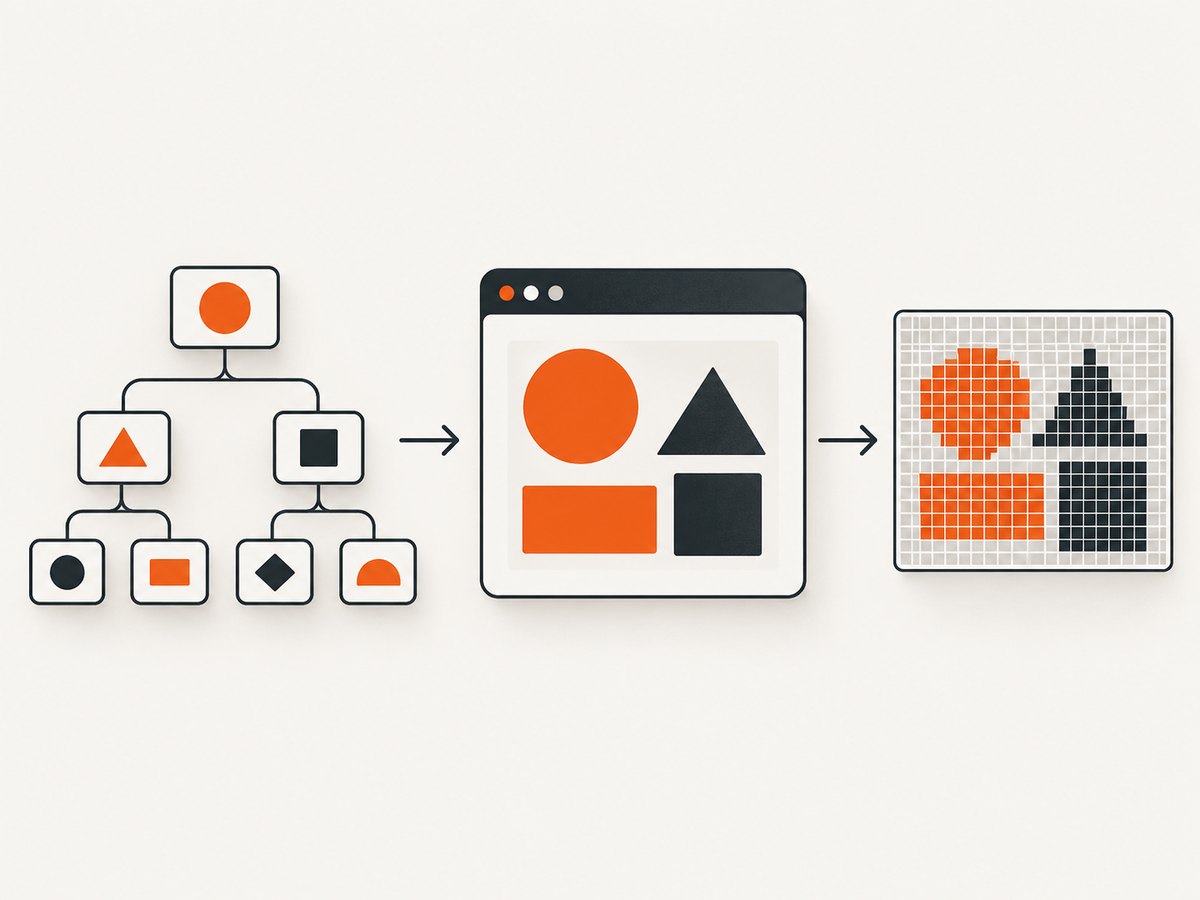
Direct answer: install html2canvas, get the rendered Angular element with a template reference, and call html2canvas(element) after the view exists in the browser. The Promise resolves to a canvas that you can display, download, or convert to a Blob. html2canvas rebuilds an image from the DOM and supported CSS; it does not capture the browser’s literal final pixels.
This distinction determines whether it is the right tool. It works well for cards, invoices, dashboards, and selected components rendered in the current page. It cannot bypass browser cross-origin rules, reproduce every CSS feature, or guarantee pixel-perfect output. The complete implementation below covers modern Angular lifecycle handling, server-side rendering (SSR), options, CORS, large canvases, downloads, and production troubleshooting.
1. Install html2canvas
Install the package in your Angular workspace:
npm install html2canvasImport the default export in the component or service that performs the capture:
import html2canvas from 'html2canvas';The official html2canvas documentation describes the library as taking “screenshots” of webpages or parts of them directly in the user’s browser. The quotation marks matter: the library traverses the DOM and paints a supported representation to a canvas.
2. Capture an Angular element
Give the target a template reference. The button is outside the target so it will not appear in the image.
<section #capture class="invoice-card">
  <h1>Invoice #1042</h1>
  <p>Acme Inc. · Due 30 September 2026</p>
  <ul>
    <li>Design work <strong>$1,200</strong></li>
    <li>Hosting <strong>$80</strong></li>
  </ul>
  <p class="total">Total: $1,280</p>
</section>

<button type="button" (click)="saveImage()" [disabled]="capturing">
  {{ capturing ? 'Creating image…' : 'Download PNG' }}
</button>
<p *ngIf="errorMessage" role="alert">{{ errorMessage }}</p>
In the component, query the element and capture it in a user action:
import { Component, ElementRef, viewChild } from '@angular/core';
import html2canvas from 'html2canvas';

@Component({
  selector: 'app-invoice',
  standalone: true,
  templateUrl: './invoice.component.html'
})
export class InvoiceComponent {
  readonly capture = viewChild.required<ElementRef<HTMLElement>>('capture');
  capturing = false;
  errorMessage = '';

  async saveImage(): Promise<void> {
    this.capturing = true;
    this.errorMessage = '';

    try {
      const canvas = await html2canvas(this.capture().nativeElement, {
        backgroundColor: '#ffffff',
        scale: window.devicePixelRatio
      });

      const link = document.createElement('a');
      link.download = 'invoice-1042.png';
      link.href = canvas.toDataURL('image/png');
      link.click();
    } catch (error) {
      console.error('html2canvas capture failed', error);
      this.errorMessage = 'The image could not be created. Check the page assets and try again.';
    } finally {
      this.capturing = false;
    }
  }
}
Adapt the signal-based viewChild syntax to your Angular version if your application still uses @ViewChild. In either form, call the library only after the element has been rendered.
3. Capture after Angular rendering
A click handler is naturally late enough for an existing view. If you need an automatic capture after data, a chart, or an *ngIf block appears, use Angular’s render callback. Angular documents afterNextRender as a browser-only callback; it does not run during SSR or build-time prerendering, and hydration may not yet be complete when it runs. Keep DOM and window access inside the callback or behind an equivalent browser guard.
import {
  Component, ElementRef, afterNextRender, viewChild
} from '@angular/core';
import html2canvas from 'html2canvas';

@Component({
  selector: 'app-preview',
  standalone: true,
  template: `
    <article #capture>{{ title }}</article>
    <img *ngIf="previewUrl" [src]="previewUrl" alt="Preview">
  `
})
export class PreviewComponent {
  readonly capture = viewChild.required<ElementRef<HTMLElement>>('capture');
  title = 'Rendered after Angular updates';
  previewUrl = '';

  constructor() {
    afterNextRender(() => {
      void this.createPreview();
    });
  }

  private async createPreview(): Promise<void> {
    const canvas = await html2canvas(this.capture().nativeElement);
    this.previewUrl = canvas.toDataURL('image/png');
  }
}
If the content depends on an HTTP response, wait for that response and for the resulting view to stabilize before calling the function. A short, targeted delay can help an animation or web font finish, but waiting is not a substitute for checking that assets have loaded.
4. Choose output and quality
A canvas can remain on the page, become a data URL, or become a Blob for upload:
const canvas = await html2canvas(element, { scale: 2 });

// Display in an image element
const dataUrl = canvas.toDataURL('image/jpeg', 0.9);

// Upload without a large base64 string
const blob = await new Promise<Blob | null>(resolve =>
  canvas.toBlob(resolve, 'image/webp', 0.9)
);
if (blob) {
  await fetch('/api/uploads', {
    method: 'POST',
    body: blob,
    headers: { 'Content-Type': 'image/webp' }
  });
}
PNG preserves sharp text and transparency. JPEG is smaller but has no alpha channel. WebP can reduce size when your consumers support it. The scale option controls output resolution; its documented default is window.devicePixelRatio. Higher values increase detail, memory use, encoding time, and the chance of hitting a browser canvas limit.
5. Configuration options that matter
The configuration reference lists the full option set. These are the options most Angular applications need:
| Option | Use | Practical note |
|---|---|---|
backgroundColor |
Set a solid background or null for transparency. |
Use an explicit color when transparent CSS backgrounds produce unexpected results. |
scale |
Control output pixel density. | Start at device pixel ratio; lower it for very large captures. |
useCORS |
Attempt CORS-enabled image loading. | False by default. The image server must send compatible CORS headers. |
proxy |
Route images through a proxy you control. | The proxy must fetch and return the resource with the required headers. |
allowTaint |
Allow cross-origin content to taint the canvas. | A tainted canvas cannot be read with toDataURL or toBlob; this does not bypass browser policy. |
ignoreElements |
Exclude nodes using a predicate. | Useful for buttons, blinking cursors, or private fields. |
onclone |
Change the cloned document used for rendering. | Hide controls or add a capture-only class without changing the live page. |
imageTimeout |
Limit image loading time. | The documented default is 15,000 ms; set 0 to disable the timeout. |
width, height |
Set capture dimensions. | Useful when the visible box is smaller than the intended output. |
x, y, scrollX, scrollY |
Control crop coordinates and scroll position. | Set them deliberately for fixed headers or horizontally scrolled content. |
windowWidth, windowHeight |
Define the virtual viewport used while cloning. | Important for responsive layouts and content whose dimensions depend on viewport size. |
You can also add data-html2canvas-ignore to an element in the template. It will be omitted without writing a predicate:
<button data-html2canvas-ignore>Edit</button>For a capture-only cleanup, use onclone:
const canvas = await html2canvas(element, {
  onclone: (clonedDocument) => {
    clonedDocument.querySelectorAll('.capture-only-hide')
      .forEach(node => (node as HTMLElement).style.display = 'none');
  },
  ignoreElements: (node) => node.classList.contains('live-video')
});
6. CSS and asset limitations
html2canvas supports a documented subset of CSS. The supported-features page lists examples such as box-shadow, filter, mix-blend-mode, and object-fit as unsupported, while some properties such as transforms are limited. When a visual effect disappears, inspect that list and create a simpler capture style.
Images, fonts, SVGs, and CSS backgrounds must be available to the browser. Cross-origin images require a CORS-compatible response or a proxy. A page can look correct while its canvas remains unreadable because one image tainted it. Do not assume that allowTaint makes reading safe.
For stable output, prefer same-origin assets, wait until critical images and fonts are ready, disable animations during capture, and give the target an explicit width and background. A capture stylesheet can include:
.capture-target *, .capture-target *::before, .capture-target *::after {
  animation: none !important;
  transition: none !important;
  caret-color: transparent !important;
}
7. Full-page and large-element captures
Capturing a component is safer than capturing the entire document. For a long page, pass the target’s scroll dimensions and a matching virtual viewport:
const element = this.capture().nativeElement;
const canvas = await html2canvas(element, {
  width: element.scrollWidth,
  height: element.scrollHeight,
  windowWidth: element.scrollWidth,
  windowHeight: element.scrollHeight,
  scale: 1
});
Browser canvas limits vary by browser, operating system, and hardware. A blank or clipped result may mean the bitmap is too large even when the DOM is valid. Reduce scale, capture sections separately, reduce the viewport, or generate a server-side image for very long pages. Never treat historic numeric limits in older FAQ examples as universal current limits.
8. SSR, hydration, and browser-only code
Angular Universal and other SSR setups evaluate components without a browser DOM. Importing a package is usually fine, but calling window, document, or html2canvas during server evaluation is not. Put the call in a click handler, afterNextRender, or a method guarded with isPlatformBrowser. Do not generate a canvas in a constructor, field initializer, route loader, or server render path.
After hydration, ensure the target has its final data, fonts, and images before capture. If a capture runs too early, the result may contain placeholders even though hydration later completes successfully.
9. Troubleshooting checklist
| Symptom | Likely cause | Fix |
|---|---|---|
| Images are missing | Cross-origin response lacks CORS headers, or the image timed out. | Serve the asset with CORS, set useCORS: true, configure a suitable proxy, or increase imageTimeout. Verify the URL in DevTools. |
toDataURL throws a security error |
The canvas is tainted by a cross-origin resource. | Fix the resource’s CORS policy or proxy it. allowTaint does not make a tainted canvas readable. |
| Canvas is empty or cuts off halfway | The bitmap exceeds a device-dependent browser limit, or dimensions were measured before layout. | Capture a smaller region, set explicit dimensions, lower scale, and retry after rendering settles. |
| CSS property is absent or partial | html2canvas does not implement that CSS feature completely. | Check the supported-features list; add a capture-specific style or replace the effect. |
| Only the first responsive layout appears | The cloned viewport differs from the intended viewport. | Set windowWidth and windowHeight explicitly and test at the target breakpoint. |
| Angular error: target is undefined | The query ran before an *ngIf block or deferred view existed. |
Capture from a user action or after the relevant render callback; use a required query only when the element is guaranteed. |
SSR error: window is not defined |
Browser-only code ran on the server. | Move it behind afterNextRender or an isPlatformBrowser guard. |
| Fonts or charts differ | Web fonts, canvas charts, or animations were not ready or are not represented identically in the clone. | Wait for assets, disable motion, and provide a stable fallback style. Test the actual target browsers. |
10. Performance, reliability, and cost
- Keep the target small: element-level captures traverse less DOM and use less memory than document-wide captures.
- Control scale: doubling width and height can roughly quadruple pixel work and memory. Use the smallest scale that meets the delivery requirement.
- Avoid repeated captures: debounce export buttons and cache the resulting Blob when users request the same state.
- Stabilize content: stop animations, wait for images and fonts, and avoid capturing while Angular is changing the layout.
- Measure failures: log rejected Promises, dimensions, browser version, and asset URLs without logging sensitive page content.
- Know the boundary: html2canvas runs on the user’s device, so CPU, memory, browser limits, CORS policy, and CSS support affect reliability. It has no separate API charge, but it can consume noticeable client resources.
11. Or skip the browser setup
When you need a clean URL screenshot instead of reconstructing an Angular DOM, ScreenshotNeo provides one GET request that returns PNG, JPEG, WebP, or PDF. See the ScreenshotNeo API documentation for request options.
curl -G "https://api.screenshotneo.com/v1/shot" -d access_key=YOUR_API_KEY --data-urlencode url=https://stripe.com -o shot.webpimport requests
r = requests.get(
"https://api.screenshotneo.com/v1/shot",
params={"access_key": "YOUR_API_KEY", "url": "https://stripe.com"},
timeout=90,
)
r.raise_for_status()
open("shot.webp", "wb").write(r.content)const q = new URLSearchParams({ access_key: 'YOUR_API_KEY', url: 'https://stripe.com' });
const res = await fetch(`https://api.screenshotneo.com/v1/shot?${q}`);
if (!res.ok) throw new Error(`Screenshot failed: ${res.status}`);
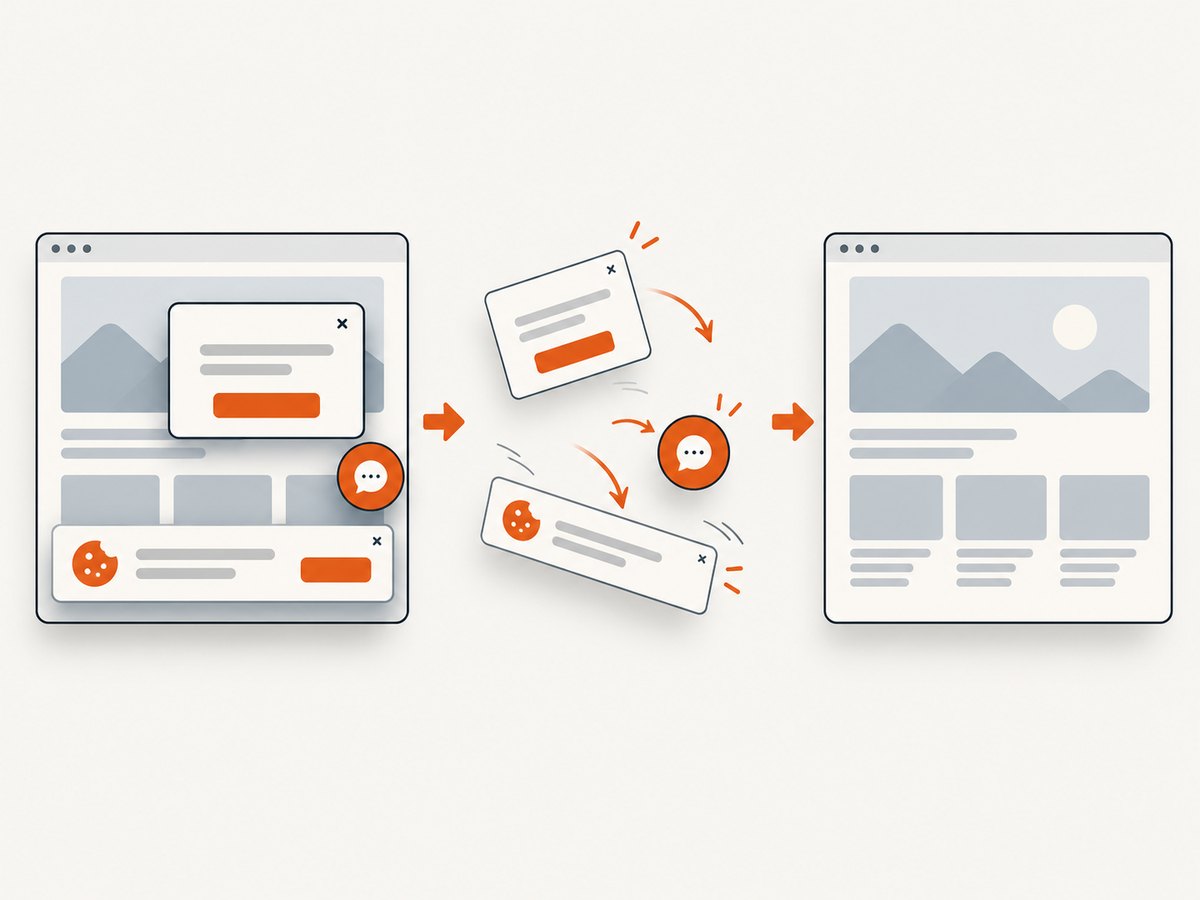
const image = Buffer.from(await res.arrayBuffer());ScreenshotNeo removes cookie and consent banners, newsletter popups, and chat widgets before the capture. Bot checks, blank pages, failed loads, timeouts, and cache hits are not billed; response headers identify the page verdict and whether it was billed. It also offers an MCP server with take_screenshot, get_page_info, and capture_pdf for Claude, Cursor, and other MCP clients. The Free plan includes 1,000 screenshots per month with no card; paid plans start at $5 for 3,000 shots. Create a free ScreenshotNeo account.
12. FAQ
Can html2canvas capture a component that is off-screen?
Usually, yes, if the element exists in the DOM. Set suitable width, height, scroll, and virtual viewport options, and watch for canvas size limits.
Does html2canvas take a real browser screenshot?
No. It reconstructs the target from DOM and supported CSS. Browser-native screenshot tooling or a screenshot API is a better fit when exact final pixels are required.
Why does a background image make the canvas unreadable?
It may have come from another origin without CORS permission. Fix the server headers or use a proxy before exporting the canvas.
Can I use it in an Angular service?
Yes. Pass an HTMLElement from a browser-only component or caller into the service. Keep DOM access out of SSR execution.
When should I choose ScreenshotNeo?
Choose it when the input is a URL, you want server-side capture without browser setup, or you need automatic cleanup of consent UI and non-billable failure handling.


