How to Use html2canvas in Ionic 4
Capture an Ionic 4 element with html2canvas, export it safely, handle CORS and canvas limits, and know when a screenshot API is better.
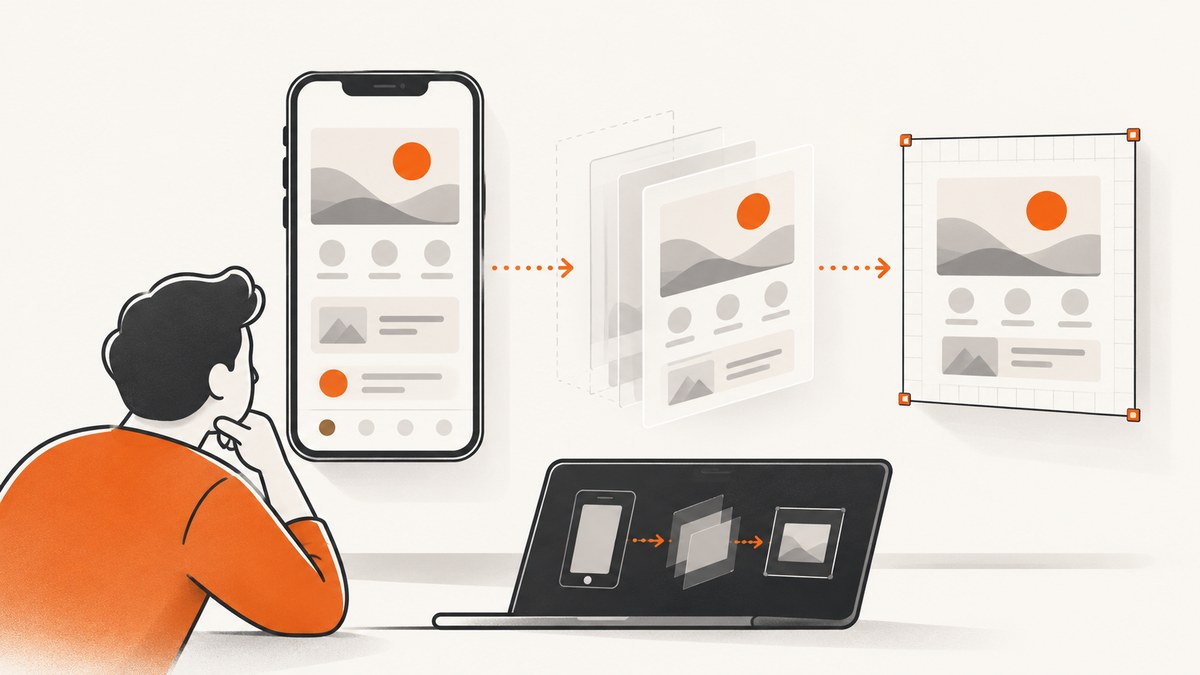
Short answer: install the html2canvas package used by your project, pass a rendered Ionic Angular element to html2canvas(), await the returned Promise, and export the resulting canvas with toDataURL() or toBlob(). This is browser-side DOM reconstruction, not a literal device screenshot. CSS support, cross-origin images, iframe access, and canvas dimensions determine whether the result matches what users see.
In an Ionic 4 page, capture after Angular has rendered the view. Use a template reference for the region, call the library from a click handler or lifecycle method, and check the output on the browsers and WebViews you support. The sources reviewed do not establish a compatibility matrix for a particular Ionic 4, Angular, iOS, or Android version.
1. Install the package and check your version
The current html2canvas getting-started documentation uses the scoped package:
npm install @html2canvas/html2canvasThe older npm package is named html2canvas and its listing identifies version 1.4.1. Inspect package.json and your lockfile before choosing the import. Do not assume the scoped package and the older package are interchangeable without checking the package documentation and the version actually installed.
npm install html2canvasFor the scoped package, the documented import is:
import html2canvas from '@html2canvas/html2canvas';For the older package, use:
import html2canvas from 'html2canvas';The rest of this article uses the unscoped import in examples because it is common in existing Ionic 4 projects. Replace it with the scoped import when that is what your dependency manifest contains.
2. Capture a div in an Ionic Angular page
Put a template reference on the element you want to render. Keep controls outside the region if they should not appear in the image.
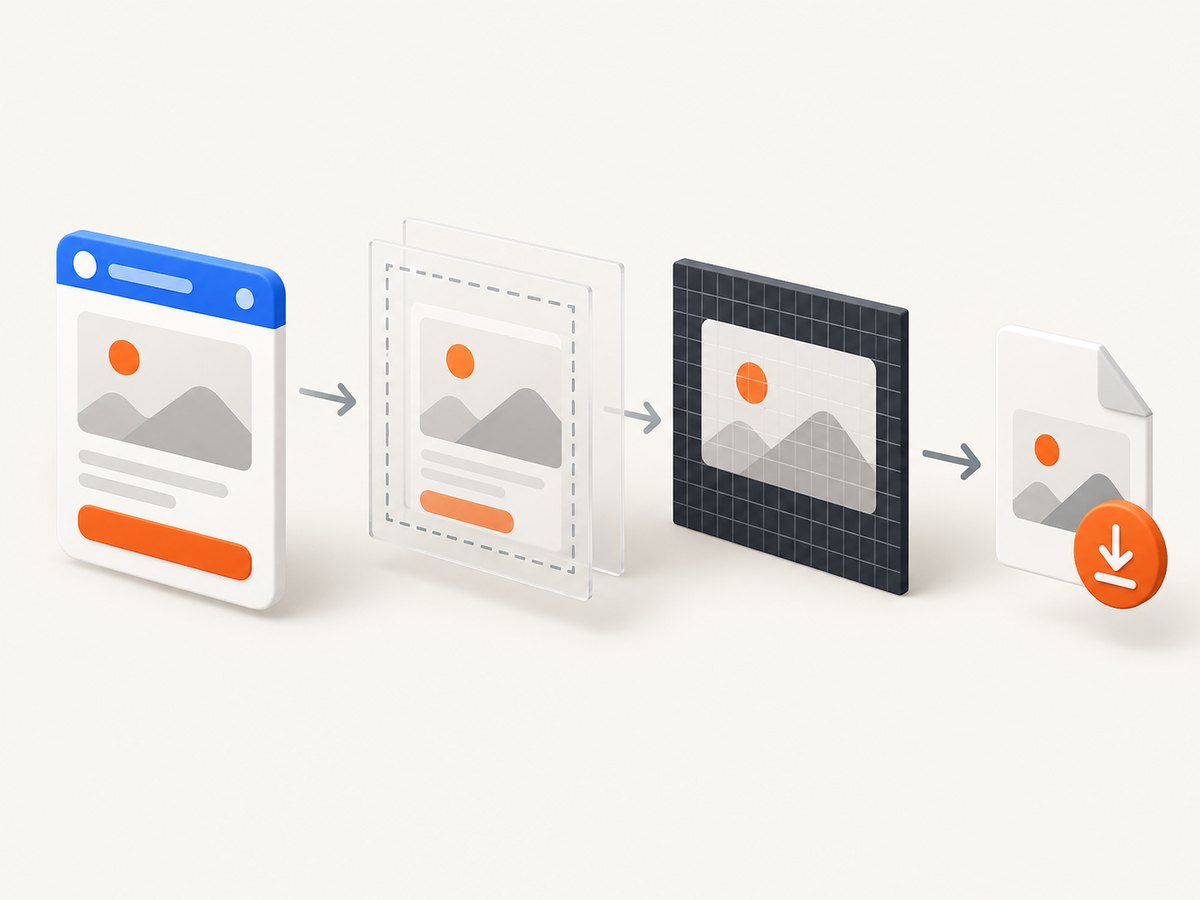
<ion-header>
  <ion-toolbar>
    <ion-title>Report</ion-title>
  </ion-toolbar>
</ion-header>

<ion-content>
  <section #captureArea class="report-card">
    <h1>Weekly report</h1>
    <p>Orders: 128</p>
    <canvas id="chart"></canvas>
  </section>

  <ion-button (click)="capture()">Save image</ion-button>
  <img *ngIf="imageDataUrl" [src]="imageDataUrl" alt="Captured report">
</ion-content>
Reference the element with ViewChild. Invoke capture after the view exists; a button click is the simplest reliable point.
import { ElementRef, ViewChild } from '@angular/core';
import html2canvas from 'html2canvas';

export class ReportPage {
  @ViewChild('captureArea', { read: ElementRef })
  captureArea!: ElementRef<HTMLElement>;

  imageDataUrl: string | null = null;
  capturing = false;

  async capture(): Promise<void> {
    if (!this.captureArea) return;

    this.capturing = true;
    try {
      const canvas = await html2canvas(this.captureArea.nativeElement);
      this.imageDataUrl = canvas.toDataURL('image/png');
    } finally {
      this.capturing = false;
    }
  }
}
This follows the documented API: supply a DOM element and receive a Promise for a canvas. The Angular ViewChild form can vary with the Angular version in an Ionic 4 application, so adapt the decorator syntax if your compiler requires it.
Export without a large data URL
toDataURL() is convenient for an <img> preview or a small download. For larger captures, a Blob avoids keeping a long base64 string in memory.
async downloadCanvas(canvas: HTMLCanvasElement): Promise<void> {
  const blob = await new Promise<Blob | null>(resolve =>
    canvas.toBlob(resolve, 'image/png')
  );
  if (!blob) throw new Error('Could not encode canvas');

  const href = URL.createObjectURL(blob);
  const link = document.createElement('a');
  link.href = href;
  link.download = 'report.png';
  link.click();
  URL.revokeObjectURL(href);
}
Saving to an iOS or Android photo gallery is a separate native platform task. The browser-side html2canvas API only creates the canvas or encoded image.
3. Wait for Ionic content before capturing
A capture taken while an asynchronous chart, image, font, or API response is still loading will contain the intermediate state. Use an explicit readiness flag, wait for the relevant selector, or add a short delay after the data and images are ready.
async captureWhenReady(): Promise<void> {
  await this.loadReportData();
  await new Promise(resolve => requestAnimationFrame(() => resolve(undefined)));
  const canvas = await html2canvas(this.captureArea.nativeElement, {
    backgroundColor: '#ffffff'
  });
  await this.downloadCanvas(canvas);
}
For images, wait for each element’s decode() promise when available:
async waitForImages(root: HTMLElement): Promise<void> {
  const images = Array.from(root.querySelectorAll('img'));
  await Promise.all(images.map(image => {
    if (image.complete) return Promise.resolve();
    return new Promise<void>(resolve => {
      image.addEventListener('load', () => resolve(), { once: true });
      image.addEventListener('error', () => resolve(), { once: true });
    });
  }));
}
4. Options that matter in Ionic pages
The official configuration documentation lists many options. These are the ones most useful for Ionic captures.
| Option | Use | Practical note |
|---|---|---|
scale |
Controls output pixel density. | window.devicePixelRatio can make text sharper, but increases memory and canvas size. |
windowWidth, windowHeight |
Sets the virtual viewport used during rendering. | Use dimensions that match the layout you intend to capture. |
useCORS |
Attempts to load cross-origin images with CORS. | The image server must send suitable CORS headers. |
proxy |
Routes image loading through a server you control. | It must be correctly configured; it cannot bypass browser policy automatically. |
backgroundColor |
Sets the canvas background. | Use null for transparency where supported by your design. |
onclone |
Changes the cloned document used for rendering. | Useful for hiding a button or changing a style only in the capture. |
ignoreElements |
Skips selected nodes. | Return true for controls, loading indicators, or private UI. |
logging |
Controls diagnostic logging. | Enable it while investigating missing resources. |
For a full-page region, use the element’s scroll dimensions. Keep the region as small as possible because output memory grows with width, height, and scale.
const element = this.captureArea.nativeElement;
const canvas = await html2canvas(element, {
  width: element.scrollWidth,
  height: element.scrollHeight,
  windowWidth: element.scrollWidth,
  windowHeight: element.scrollHeight,
  scale: window.devicePixelRatio,
  useCORS: true,
  onclone: clonedDocument => {
    clonedDocument.querySelectorAll('[data-capture-hide]').forEach(node => {
      (node as HTMLElement).style.visibility = 'hidden';
    });
  },
  ignoreElements: node => node.hasAttribute('data-html2canvas-ignore')
});
You can also mark an element directly:
<ion-button data-html2canvas-ignore>Edit</ion-button>Use onclone when you need a capture-only style change. The callback operates on the cloned document, so the live Ionic page is not modified.
5. What html2canvas can and cannot capture
html2canvas reconstructs an image by traversing the DOM and reading styles. It does not ask the operating system for a bitmap of the screen. The project documentation warns that the result may not be 100% accurate to the real representation because it builds the screenshot from information available on the page. Unsupported or partially supported CSS can therefore differ from the browser view.
- Expect differences with CSS properties that html2canvas does not implement completely.
- Animations may be captured at an arbitrary frame. Pause them before capture if a stable image matters.
- Video, browser chrome, native overlays, and content outside the page DOM are not ordinary DOM pixels.
- Cross-origin iframes cannot be read through their inaccessible document. Same-origin iframe content is documented as recursively supported; cross-origin and some sandboxed frames are not.
- Canvas dimensions have browser, operating-system, GPU, and device-memory limits. Very large output can be blank, clipped, or partially rendered.
6. Cross-origin images and CORS
Remote images are the most common cause of missing content or a tainted canvas. With useCORS: true, the image host still has to return an appropriate Access-Control-Allow-Origin header. html2canvas cannot bypass browser security rules.
- Confirm the image URL loads in the browser.
- Inspect the image response headers in developer tools.
- Configure the image host to allow the requesting origin when appropriate.
- Set
useCORS: trueand capture only after images finish loading. - If you control a compliant server proxy, configure the documented
proxyoption and verify that it returns image bytes and CORS-safe responses.
Do not treat a proxy as a way to access an iframe’s private document. Cross-origin iframe restrictions still apply.
7. Troubleshooting checklist
| Symptom | Likely cause | Fix |
|---|---|---|
html2canvas is not a function or import error |
Import does not match the installed package. | Check package.json and lockfile; use the scoped or unscoped import documented for that package. |
| Blank or partially blank image | Canvas dimensions exceed a device or browser limit, or resources were not ready. | Reduce the region, lower scale, wait for images, and test a smaller element. |
| Remote images are missing | No usable CORS headers or image load completed after capture. | Configure the image server, set useCORS, and wait for image completion. |
toDataURL throws a security error |
The canvas was tainted by a cross-origin resource. | Serve the resource with CORS, use a compliant proxy, or omit that resource. |
| Cross-origin iframe is absent | The iframe document is not readable by the page. | Move content same-origin or capture it from the owning application; html2canvas cannot bypass this policy. |
| Styles look different | DOM reconstruction does not implement every CSS feature exactly. | Simplify capture CSS, use supported properties, or use a browser screenshot service for pixel-level output. |
| Capture happens before data appears | Angular, a chart, fonts, or images are still loading. | Capture after the readiness state and wait one or more animation frames. |
| Mobile WebView crashes or freezes | The bitmap is too large for available memory. | Capture a smaller region, lower scale, and avoid full-page images on constrained devices. |
8. Performance and reliability
Keep the bitmap bounded
Output memory is affected by pixel width, pixel height, and scale. A full-page report at device-pixel-ratio 3 can be many times larger than the same report at scale 1. Prefer an element capture, paginate long content, or generate several smaller images.
Reduce work before calling the library
- Hide menus, animations, cursors, and controls with
data-html2canvas-ignoreorignoreElements. - Use a capture-specific stylesheet that removes expensive shadows and animations.
- Wait for fonts, images, and charts once, then capture.
- Reuse a single capture action instead of triggering repeated captures while a user taps.
Design for failure
Wrap the Promise in try/catch, show a retry action, and log the option set and target dimensions. A successful Promise means a canvas was produced; it does not guarantee pixel-perfect fidelity or that every remote resource was included. Test representative Android and iOS WebViews, especially the largest page your users can capture.
9. When a browser-side canvas is the wrong tool
Use html2canvas when the user needs a quick image of DOM content already visible in the Ionic page and you can control its resources. Choose another approach when you need a literal browser render, reliable cross-origin handling, server-side generation, scheduled captures, or output from a Node.js process. html2canvas depends on window, document, and computed styles, so it is not a Node.js server-rendering library.

Or skip the browser setup
ScreenshotNeo provides a one-request website screenshot API. It loads the target page remotely and returns PNG, JPEG, WebP, or PDF. Cookie and consent banners, newsletter popups, and chat widgets are removed before the shot. Bot checks, blank pages, failed loads, timeouts, and cache hits are not billed, and response headers identify the page verdict and billing result. It also has an MCP server with take_screenshot, get_page_info, and capture_pdf tools for Claude, Cursor, and other MCP clients.
See the complete parameter list in the ScreenshotNeo API documentation. The same request works from cURL, Python, or Node.js:
curl -G "https://api.screenshotneo.com/v1/shot" -d access_key=YOUR_API_KEY --data-urlencode url=https://stripe.com -o shot.webpimport requests
r = requests.get("https://api.screenshotneo.com/v1/shot", params={"access_key": "YOUR_API_KEY", "url": "https://stripe.com"}, timeout=90)
open("shot.webp", "wb").write(r.content)const q = new URLSearchParams({ access_key: 'YOUR_API_KEY', url: 'https://stripe.com' });
const res = await fetch(`https://api.screenshotneo.com/v1/shot?${q}`);ScreenshotNeo includes full-page and selector capture, device presets, custom viewports, retina scale, dark mode, custom CSS and JavaScript, clicks, waits, request blocking, headers, cookies, user agents, authorization, timezone, geolocation, transparent backgrounds, resizing, caching, signed links, asynchronous jobs, webhooks, bulk capture, usage data, and an OpenAPI specification. You can use the parameter names common to other screenshot APIs when switching.
There are 1,000 screenshots per month free with no card. Paid plans start at $5 for 3,000 screenshots; yearly billing gives two months free, and every feature is on every plan. Create a free ScreenshotNeo account.
10. FAQ
Can html2canvas capture an Ionic component?
It captures the rendered DOM under that component. Pass the component’s host element or a child element that contains the content you want.
Does it save directly to the phone gallery?
No. It creates a canvas or encoded image. Gallery storage requires separate native iOS or Android integration.
Why is my result not pixel-perfect?
The library reconstructs the DOM and supports only the CSS and resources it can read. Unsupported CSS, cross-origin content, and timing differences can change the result.
Should I use a higher scale for retina screens?
Often, but test memory use. A higher scale increases canvas dimensions and can make large mobile captures fail.
Can I run html2canvas in a Node.js backend?
No. It relies on browser globals and computed styles. Use a browser automation or screenshot API for server-side work.
How do I capture only one chart?
Put the chart in its own element, pass that element to html2canvas, and wait for the chart’s rendering promise or completion event first.


