How to Change Transparent Backgrounds to White in HTML2Canvas
Set html2canvas’s `backgroundColor` to `#ffffff` for an opaque white export. Learn when to use `onclone`, how to preserve transparency, and how to troubleshoot the result.

If an html2canvas export has a transparent background and you need white, pass backgroundColor: '#ffffff' in the options. The option fills the rendered canvas with white; it does not require changing the live page’s CSS.
html2canvas(element, {
  backgroundColor: '#ffffff'
}).then((canvas) => {
  document.body.appendChild(canvas);
});
The html2canvas configuration reference documents backgroundColor as the canvas background color when no background is specified in the DOM, with #ffffff as the default. It also documents null for transparent output. Setting the value explicitly makes the intended export clear and avoids relying on the default behavior. html2canvas configuration
This guide covers the basic fix, capture-only CSS changes, canvas export, transparent-output cases, troubleshooting, and the practical limits of client-side rendering.
1. Set the canvas background to white
Call html2canvas with the DOM element to render and an options object. The smallest useful change is adding backgroundColor: '#ffffff'. The promise resolves to a canvas, which your application can append, convert to an image, or pass to another part of its workflow.
const element = document.querySelector('#capture');

if (!element) {
  throw new Error('Could not find #capture');
}

html2canvas(element, {
  backgroundColor: '#ffffff'
}).then((canvas) => {
  document.body.appendChild(canvas);
}).catch((error) => {
  console.error('Could not render the element:', error);
});
Use the full six-digit color value, or the equivalent shorthand '#fff'. The explicit option controls the canvas fill across the rendered output. If you want a particular element’s CSS background changed during rendering, use the onclone method described below as well.
Make the canvas white in a minimal page
When adding html2canvas through a script tag, the same option applies. This example assumes the library is available as html2canvas and the capture target has an ID of capture.
<div id="capture">
  <h1>Invoice preview</h1>
  <p>This content will be rendered on white.</p>
</div>

<button id="export">Render preview</button>
<div id="output"></div>

<script>
  document.querySelector('#export').addEventListener('click', async () => {
    const element = document.querySelector('#capture');
    const output = document.querySelector('#output');

    try {
      const canvas = await html2canvas(element, {
        backgroundColor: '#ffffff'
      });
      output.replaceChildren(canvas);
    } catch (error) {
      console.error('Rendering failed:', error);
    }
  });
</script>
The example catches promise rejection so a rendering failure does not silently look like a background-color problem. Keep the capture call tied to a user action if the page’s content or state changes before export.
2. Understand canvas color versus DOM CSS
There are two different places a background can come from:
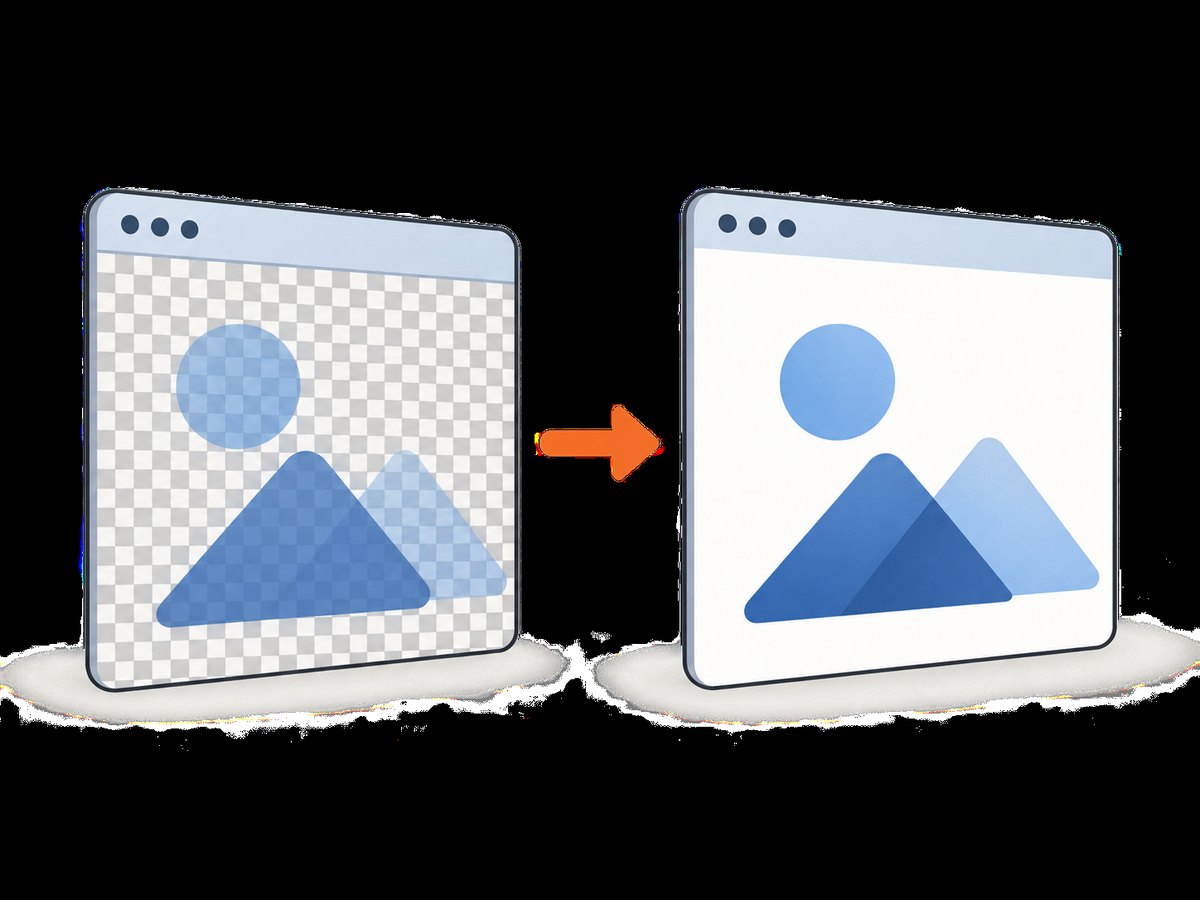
- Canvas background:
backgroundColorsets the rendered canvas fill. It is the direct option for making the overall output opaque white. - Element background: CSS such as
background-colorstyles the target element or its descendants. Those styles are part of the page being rendered.
A transparent element can sit on a colored page, and a page can have a white CSS background while an exported canvas still needs an explicit fill. For predictable white exports, set the canvas option. If the target’s own background needs a capture-only override, adjust the cloned document with onclone.
3. Change CSS only in the cloned capture
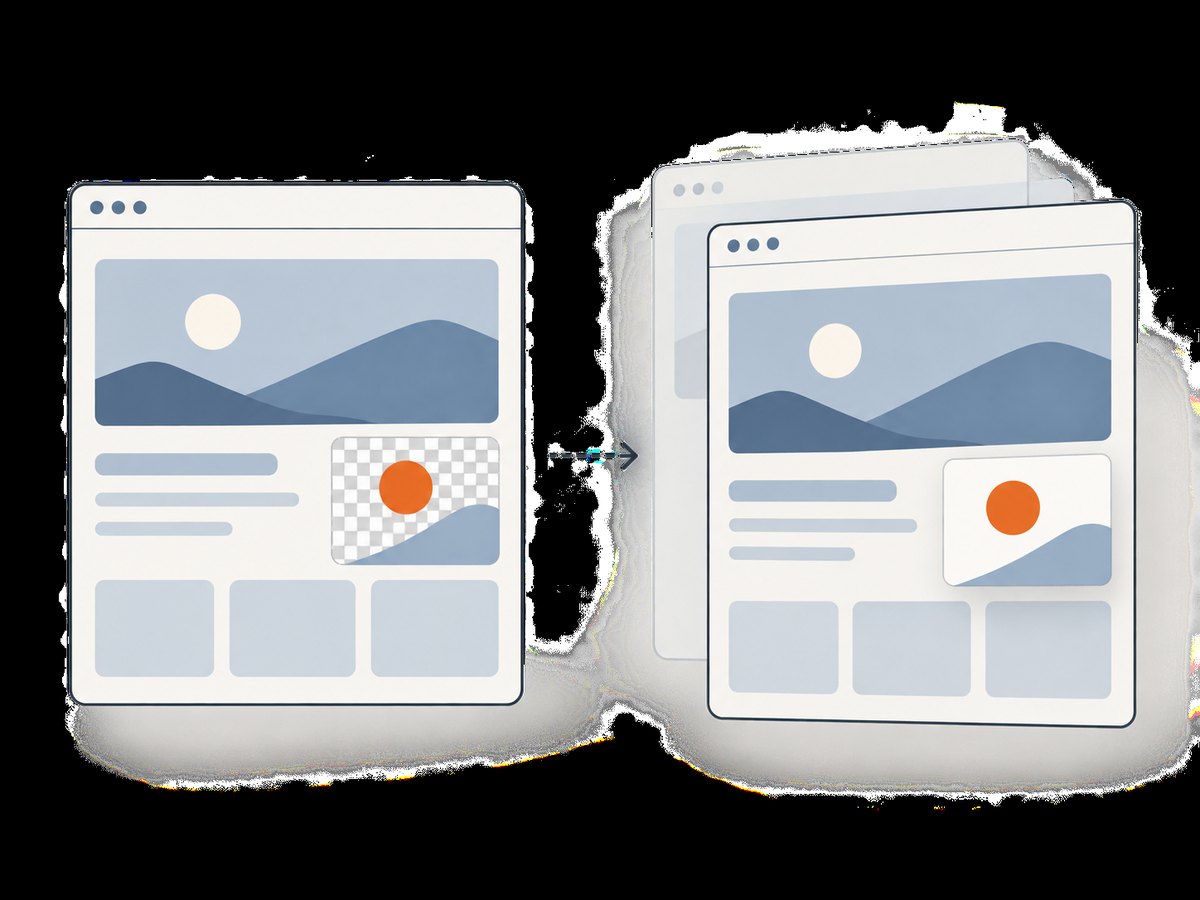
Use onclone when you want to modify styles for the render without changing the visible application page. The callback receives the cloned document that html2canvas will render. Find the cloned target and set its background there.
const canvas = await html2canvas(document.querySelector('#capture'), {
  backgroundColor: '#ffffff',
  onclone: (clonedDocument) => {
    const clonedElement = clonedDocument.querySelector('#capture');
    if (clonedElement) {
      clonedElement.style.backgroundColor = '#fff';
    }
  }
});
Combining the option and the callback is useful when both the overall canvas and a specific element should be white. It also avoids a lasting style mutation in the live document. The configuration reference lists onclone as a supported callback for modifying the cloned page before rendering. html2canvas configuration options
Use the selector that identifies the element inside the cloned document. If the selector matches nothing, the callback simply makes no element-specific change; the canvas-wide background option still applies. If multiple elements need changes, select each one explicitly and apply the styles needed for the capture.
const canvas = await html2canvas(document.querySelector('#capture'), {
  backgroundColor: '#ffffff',
  onclone: (clonedDocument) => {
    const target = clonedDocument.querySelector('#capture');
    const card = clonedDocument.querySelector('.capture-card');

    if (target) target.style.backgroundColor = '#fff';
    if (card) card.style.backgroundColor = '#fff';
  }
});
Prefer this over setting styles on the original element and then trying to restore them afterward. A temporary live-DOM change can be visible to the user, can conflict with other code, and can remain applied if an error interrupts cleanup.
4. Export the result as an image
html2canvas returns a browser canvas; it does not automatically download a file. To export PNG, use toBlob and create a temporary download link. The white background is already part of the canvas because it was set in the rendering options.
async function downloadWhitePng(element) {
  const canvas = await html2canvas(element, {
    backgroundColor: '#ffffff'
  });

  const blob = await new Promise((resolve, reject) => {
    canvas.toBlob((result) => {
      if (result) resolve(result);
      else reject(new Error('Canvas could not be encoded as PNG'));
    }, 'image/png');
  });

  const link = document.createElement('a');
  link.href = URL.createObjectURL(blob);
  link.download = 'capture.png';
  link.click();
  URL.revokeObjectURL(link.href);
}

downloadWhitePng(document.querySelector('#capture'))
  .catch((error) => console.error(error));
For a quick data URL instead, call canvas.toDataURL('image/png'). A data URL can be convenient for small images, but it puts the encoded image in a string in memory. For larger captures, a Blob is generally a more practical handoff. The output format does not change the background choice: specify white when rendering, before encoding.
5. Keep the output transparent when that is the goal
White is not always the right export. If another design or document needs to show through the captured area, set backgroundColor: null to request a transparent canvas.
const transparentCanvas = await html2canvas(element, {
  backgroundColor: null
});
The html2canvas documentation explicitly describes null as the transparent setting. Do not use it for an export that must be white: transparency may appear white in some viewers and reveal a checkerboard or the viewer’s own background in others. Configuration reference · html2canvas changelog
When diagnosing an apparently white transparent image, place it over a contrasting background in an image viewer or browser. A white preview alone does not prove the pixels are opaque. For a white deliverable, make the choice explicit with '#ffffff'.
6. Runnable setup using the documented promise API
The following pattern works with the standard promise-based API shown in the html2canvas getting-started guide. It checks for the target, awaits rendering, and then appends the canvas. Include the library through your chosen project setup; the snippet focuses on the call and result handling.
async function renderWhiteCapture(selector) {
  const element = document.querySelector(selector);
  if (!element) {
    throw new Error(`Capture target not found: ${selector}`);
  }

  const canvas = await html2canvas(element, {
    backgroundColor: '#ffffff'
  });

  document.body.appendChild(canvas);
  return canvas;
}

renderWhiteCapture('#capture').catch((error) => {
  console.error('html2canvas capture failed:', error);
});
The getting-started guide demonstrates the normal pattern of passing an element to html2canvas and receiving the canvas through a promise. The canvas result can be appended or exported by application code. html2canvas getting started
Wait for the content you intend to capture to exist before calling the function. If the target is populated asynchronously, invoke the capture after that update has completed. The background setting only addresses the output fill; it does not make missing content appear or resolve unrelated rendering failures.
7. Troubleshooting transparent or unexpected results
| Symptom | Likely cause | Fix |
|---|---|---|
| The saved image has transparent pixels | The call uses backgroundColor: null, or the white option was omitted and the output path preserves transparency. |
Set backgroundColor: '#ffffff' on the exact call that produces the canvas. |
| The page looks white, but the export does not | The live page’s appearance and the canvas fill are separate concerns; relying on the documented default may not express the desired result when DOM backgrounds are involved. | Pass the white value explicitly. Use onclone too if the target’s own CSS needs a capture-only change. |
| The target’s background remains a different color | The target or a descendant has its own background style. | Set the canvas fill and override the relevant element in onclone. |
| The callback does not change the target style | The selector does not match an element in the cloned document. | Check the selector and ensure it refers to the target’s cloned ID or class. Guard the result before applying a style. |
| No canvas appears | The target selector may be missing, rendering may reject, or the promise result may not be appended. | Check the selected element, handle promise errors, and append or export the resolved canvas. |
| A white-looking preview still exports with transparency | The viewer may display transparent pixels against white. | Inspect over a contrasting background and set an explicit white canvas fill for an opaque export. |
| The content is missing or differs from the page | The issue is with what is being rendered, not necessarily with the background color. | Verify the target contains the intended content before capture. Treat content-rendering problems separately from the canvas fill. |
| PNG encoding returns no Blob | The browser did not provide an encoded result to the toBlob callback. |
Handle a null result as an error, as in the example, rather than creating a download from an absent Blob. |
When debugging, first reduce the call to the target element and backgroundColor: '#ffffff'. Once the output is opaque white, add any onclone styles back one at a time. This separates a canvas-wide fill issue from a selector or element-style issue.
8. Performance, reliability, and cost considerations
html2canvas runs in the browser against the page and produces a canvas for the application to handle. A larger or more complex capture means more rendered content and a larger image to encode or move through memory. Keep the target limited to the content you actually need, and avoid repeatedly converting the same canvas when one result can be reused.
For reliability, handle the returned promise and surface errors to the user or calling code. Check that the element exists and contains the expected state before starting. If a capture runs after asynchronous page updates, wait for those updates first. The white-background option makes the canvas fill explicit; it does not itself guarantee that every page element will render as expected.
Cost depends on where and how the rendering runs in your application. The html2canvas configuration option itself does not introduce a screenshot API request: it changes the canvas rendering call. If you choose a hosted screenshot API instead, review that service’s own request and billing behavior. Do not infer server-side costs from this browser-side option.
Or skip the browser setup
If you need a website screenshot without wiring html2canvas into a page, ScreenshotNeo is a website screenshot API and MCP server for developers. One GET request returns an image or PDF. Its capture flow accepts cookie and consent banners like a visitor, then removes more than 60 known consent platforms, newsletter popups, and chat widgets before the shot; each step can be turned off. Bot checks and CAPTCHAs, blank pages, timeouts, failed loads, and cache hits cost nothing, and the response identifies the page verdict and billing status in headers. An MCP server provides take_screenshot, get_page_info, and capture_pdf for Claude, Cursor, and other MCP clients.
Here is the one-call example using cURL; the API also accepts the parameter names used by other screenshot APIs. See the ScreenshotNeo documentation for the available capture options.
curl -G "https://api.screenshotneo.com/v1/shot" \
  -d access_key=YOUR_API_KEY \
  --data-urlencode url=https://stripe.com \
  -o shot.webp
Cookie banners, popups, and chat widgets are removed before the shot; bot checks, blank pages, and failed loads are never billed; an MCP server lets AI agents take screenshots. The Free plan includes 1,000 screenshots a month with no card, and paid plans start at $5 for 3,000. Create a free ScreenshotNeo account.
9. FAQ
What value makes an html2canvas background white?
Use backgroundColor: '#ffffff'. The six-digit value makes the intent explicit.
Is white the documented default?
The configuration reference lists #ffffff as the default when no background is specified in the DOM. Passing it explicitly is clearer when a white export is required.
Does backgroundColor: null mean white?
No. It requests a transparent canvas. Use the white color value for an opaque result.
Can I make just the capture element white without changing the page?
Yes. Use onclone to set a background on the cloned target. The live document remains untouched by that clone-only style change.
Can I append the returned canvas or save it?
Yes. The promise resolves to a canvas. Append it to the document, or use canvas export methods such as toBlob to create an image file.


