How to Render Transparent Colors as White in html2canvas
Set html2canvas's backgroundColor to #ffffff for white exports, or use onclone to replace selected transparent backgrounds without touching the live DOM.
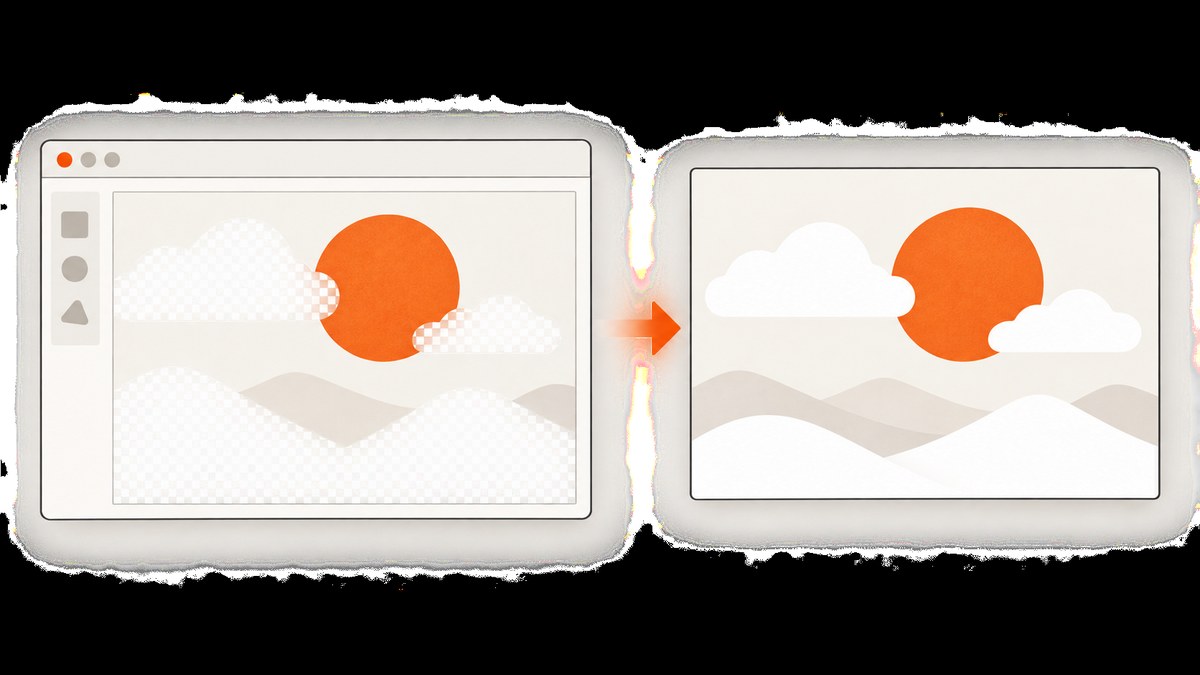
Set backgroundColor to '#ffffff':
html2canvas(element, {
  backgroundColor: '#ffffff'
});
This paints an opaque white backdrop behind the rendered element. Set backgroundColor: null when you want to preserve transparency. If only particular transparent elements should become white, use onclone to change the cloned document while leaving the live page unchanged.
Why transparent colors export as transparent
A fully transparent color has an alpha value of zero. Its red, green and blue components are therefore not visible until an opaque layer is placed behind them. Canvas bitmaps use premultiplied alpha, so transparent RGB values cannot make an exported area appear white by themselves. The canvas backdrop must be white.
html2canvas’s configuration documents #ffffff as the default background when no background is specified and null as the setting for a transparent canvas. See the official configuration reference and the official FAQ.
Make the entire canvas white
Minimal browser example
import html2canvas from 'html2canvas';

const element = document.querySelector('#invoice');

const canvas = await html2canvas(element, {
  backgroundColor: '#ffffff'
});

document.body.appendChild(canvas);
Use a six digit value such as #ffffff when you need an opaque white export. You can also use another opaque CSS color, such as rgb(255, 255, 255).
Download a PNG
import html2canvas from 'html2canvas';

async function downloadWhiteScreenshot() {
  const element = document.querySelector('#invoice');
  const canvas = await html2canvas(element, {
    backgroundColor: '#ffffff',
    scale: window.devicePixelRatio
  });

  const link = document.createElement('a');
  link.download = 'invoice.png';
  link.href = canvas.toDataURL('image/png');
  link.click();
}

downloadWhiteScreenshot();
scale controls output density. The default is normally the browser’s device pixel ratio; set it explicitly when you need predictable dimensions.
Make only selected transparent elements white
backgroundColor affects the canvas backdrop. It does not rewrite every element whose CSS background is transparent. Use onclone when a specific region needs a white fill.
import html2canvas from 'html2canvas';

const element = document.querySelector('#report');

const canvas = await html2canvas(element, {
  backgroundColor: '#ffffff',
  onclone: (clonedDocument) => {
    clonedDocument
      .querySelectorAll('.transparent-region')
      .forEach((node) => {
        node.style.backgroundColor = '#ffffff';
      });
  }
});

document.body.appendChild(canvas);
html2canvas clones the document for rendering, so these style changes apply to the capture copy. The user’s page keeps its original styles.
Use a temporary class in the clone
const canvas = await html2canvas(document.querySelector('#card'), {
  backgroundColor: '#ffffff',
  onclone: (clonedDocument) => {
    clonedDocument.documentElement.classList.add('export-white');
  }
});
/* Existing application CSS */
.card {
background: transparent;
}
/* Applied only to the cloned document during capture */
.export-white .card {
background-color: #ffffff;
}This approach is useful when several selectors share an export-only style.
Wrap the content in a white export surface
const wrapper = document.createElement('div');
wrapper.style.backgroundColor = '#ffffff';
wrapper.style.padding = '16px';
wrapper.append(document.querySelector('#chart').cloneNode(true));

document.body.append(wrapper);

try {
  const canvas = await html2canvas(wrapper, {
    backgroundColor: '#ffffff'
  });
  document.body.append(canvas);
} finally {
  wrapper.remove();
}
A white wrapper is simple when you control the markup. Cloning the content avoids changing the visible component while the export is prepared.
Choose the right approach
| Approach | Live DOM changed? | Area affected | Transparency preserved? | Best use |
|---|---|---|---|---|
backgroundColor: '#ffffff' |
No | Entire canvas backdrop | No | White page or card exports |
backgroundColor: null |
No | Entire canvas backdrop | Yes | PNG overlays and compositing |
onclone |
No; clone only | Selected elements or export rules | Only where you leave it transparent | Selective white fills |
| White wrapper | Only if you append it temporarily | Wrapped content | No within the wrapper | Isolated export surfaces |
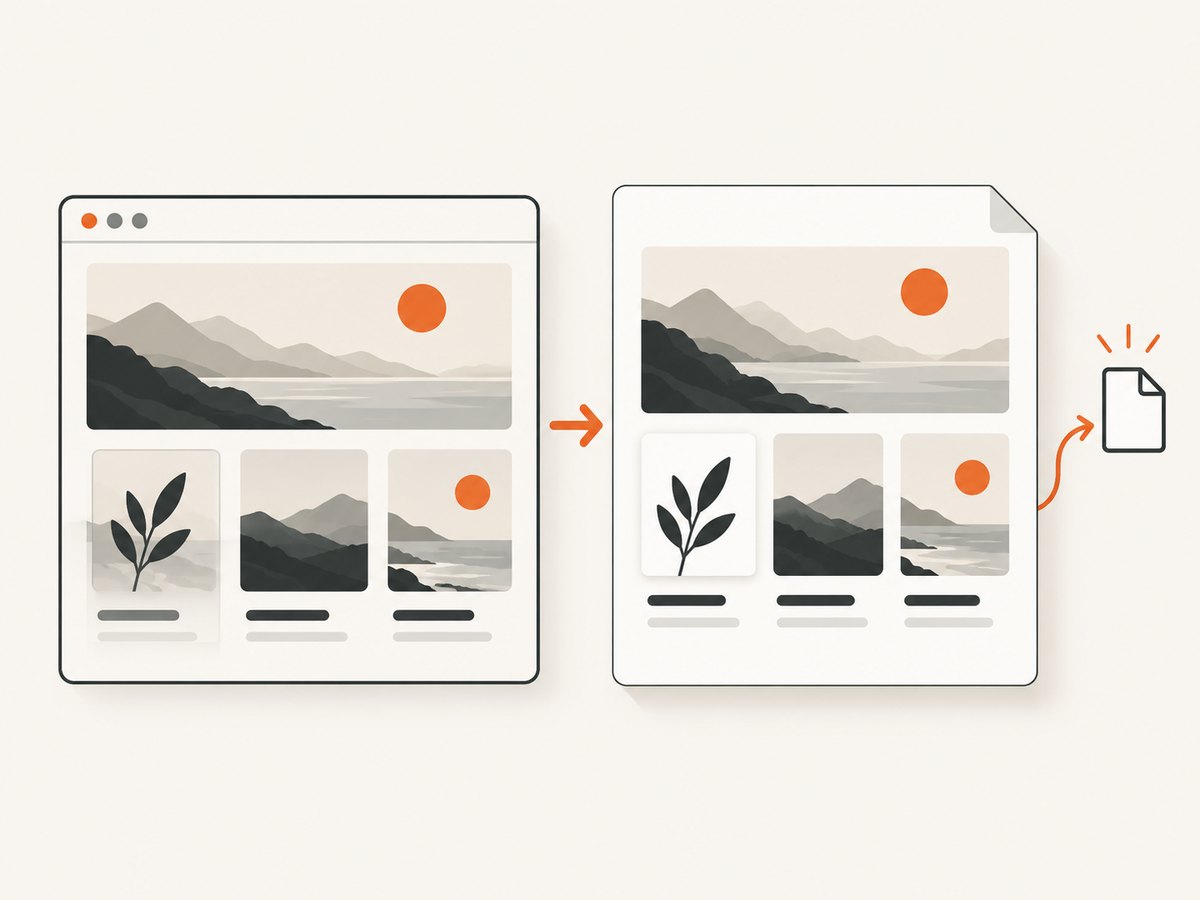
Options that commonly matter with white exports
Set the capture region
const canvas = await html2canvas(document.querySelector('#panel'), {
  backgroundColor: '#ffffff',
  x: 0,
  y: 0,
  width: 800,
  height: 600,
  scrollX: 0,
  scrollY: 0
});
Use width and height for a fixed render area. x and y select the source region. Explicit scroll offsets help when a fixed header or scrolled page would otherwise change the result.
Capture a full page
const canvas = await html2canvas(document.body, {
  backgroundColor: '#ffffff',
  windowWidth: document.documentElement.scrollWidth,
  windowHeight: document.documentElement.scrollHeight,
  height: document.documentElement.scrollHeight
});
Full-page captures can be large. Check memory limits before converting a very tall canvas to a data URL.
Control image loading
const canvas = await html2canvas(element, {
  backgroundColor: '#ffffff',
  useCORS: true,
  allowTaint: false,
  imageTimeout: 15000
});
useCORS requests CORS-enabled images. allowTaint: false prevents cross-origin images from making the canvas unreadable. imageTimeout limits how long html2canvas waits for an image.
Wait for fonts and application data
await document.fonts.ready;

const element = document.querySelector('#report');
await new Promise((resolve) => requestAnimationFrame(() => requestAnimationFrame(resolve)));

const canvas = await html2canvas(element, {
  backgroundColor: '#ffffff'
});
Wait until your framework has rendered data, fonts have loaded, and layout has settled before calling html2canvas.
Common mistakes and fixes
Using null when you want white
Symptom: transparent areas remain transparent. Cause: null explicitly requests a transparent canvas. Fix: use backgroundColor: '#ffffff'.
Changing the source element’s style permanently
Symptom: the application flashes white or stays changed after export. Cause: the live DOM was edited for the screenshot. Fix: move the change into onclone or render a detached wrapper.
White canvas, transparent component
Symptom: the page backdrop is white but a card or region still looks wrong. Cause: the element’s own transparent CSS background is rendered as designed. Fix: target that selector in onclone or apply an export-only class.
Cross-origin images break export
Symptom: toDataURL() throws a security error or images are missing. Cause: an image from another origin tainted the canvas. Fix: serve the image with the correct CORS headers, use useCORS: true, or proxy the asset through your own origin. The html2canvas FAQ describes this limitation.
CSS effects do not match the browser
Symptom: filters, blend modes, complex shadows, or other effects differ. Cause: html2canvas does not implement every CSS property. Fix: check the supported behavior, simplify the export CSS in onclone, or use a browser-based screenshot service when pixel fidelity matters.
Export is blurry
Symptom: text is soft at the displayed size. Cause: the canvas has too few physical pixels. Fix: set an appropriate scale, commonly window.devicePixelRatio, and size the canvas deliberately.
Export is blank or incomplete
Symptom: the output contains a blank region or missing lazy-loaded content. Cause: capture started before content finished loading, or the selected element has zero dimensions. Fix: wait for data, fonts and images; verify computed width and height; then capture.
Performance and reliability checklist
- Capture the smallest element that meets your requirement instead of the entire document.
- Use a sensible
scale; doubling width and height quadruples the pixel count. - Wait for fonts and images once, then reuse the rendered state for multiple exports.
- Set an image timeout so one unreachable asset does not hold the UI indefinitely.
- Release large canvases after saving them and avoid keeping multiple data URLs in memory.
- Test long pages separately; very tall canvases can exceed browser memory or maximum bitmap dimensions.
- Keep export-only CSS in
oncloneso normal application styling remains stable. - For repeatable server-side captures, use a real browser renderer and record the URL, viewport, scale, and asset state with each job.
Or skip the browser setup
ScreenshotNeo provides a website screenshot API and MCP server. One GET request returns a PNG, JPEG, WebP or PDF, so you do not need to manage a browser process for a remote URL. Its cleanup steps can accept cookie or consent banners and remove more than 60 known consent platforms, newsletter popups and chat widgets before capture.
Only clean shots are billed. Bot checks or CAPTCHAs, blank pages, timeouts, failed loads and cache hits cost nothing, and response headers identify the page verdict and whether it was billed.
See the ScreenshotNeo API documentation for all options.
cURL
curl -G "https://api.screenshotneo.com/v1/shot" \
  -d access_key=YOUR_API_KEY \
  --data-urlencode url=https://stripe.com \
  -o shot.webp
Python
import requests

r = requests.get(
    "https://api.screenshotneo.com/v1/shot",
    params={"access_key": "YOUR_API_KEY", "url": "https://stripe.com"},
    timeout=90,
)
r.raise_for_status()
open("shot.webp", "wb").write(r.content)
Node.js
const q = new URLSearchParams({
  access_key: 'YOUR_API_KEY',
  url: 'https://stripe.com'
});
const res = await fetch(`https://api.screenshotneo.com/v1/shot?${q}`);
if (!res.ok) throw new Error(`Screenshot failed: ${res.status}`);
const fs = await import('node:fs/promises');
await fs.writeFile('shot.webp', Buffer.from(await res.arrayBuffer()));
ScreenshotNeo also supports full-page capture, element selectors, dark mode, device presets, custom CSS and JavaScript, waits, request blocking, cookies and headers, caching, signed links, asynchronous jobs, bulk capture and PDF output. An MCP server exposes take_screenshot, get_page_info and capture_pdf to Claude, Cursor and other MCP clients. Plans include 1,000 free shots per month with no card; paid plans start at $5 for 3,000 shots.
Create a free ScreenshotNeo account and get 1,000 screenshots each month with no card.
FAQ
Should I use #fff or #ffffff?
Both represent opaque white. The six digit #ffffff form makes the intent explicit and matches the documented example.
Can I keep transparent PNG output and make only one region white?
Yes. Set backgroundColor: null, then set the target region’s background to white in onclone.
Does backgroundColor change the element’s CSS?
No. It sets the canvas backdrop. Use onclone when the element itself needs an export-only style change.
Why does a white background still show missing images?
Canvas color and image loading are separate concerns. Fix the image’s CORS headers, wait for it to load, and configure useCORS when appropriate.
When should I use a service instead of html2canvas?
Use a service when you need repeatable remote captures, PDF output, browser automation, cleanup of consent UI, or server-side operation without maintaining a browser runtime.


