How to Use HTML2Canvas with TypeScript
Convert a DOM element into a canvas with html2canvas and TypeScript. Learn the options, CORS limits, clipping fixes, and when to use a browser screenshot API.
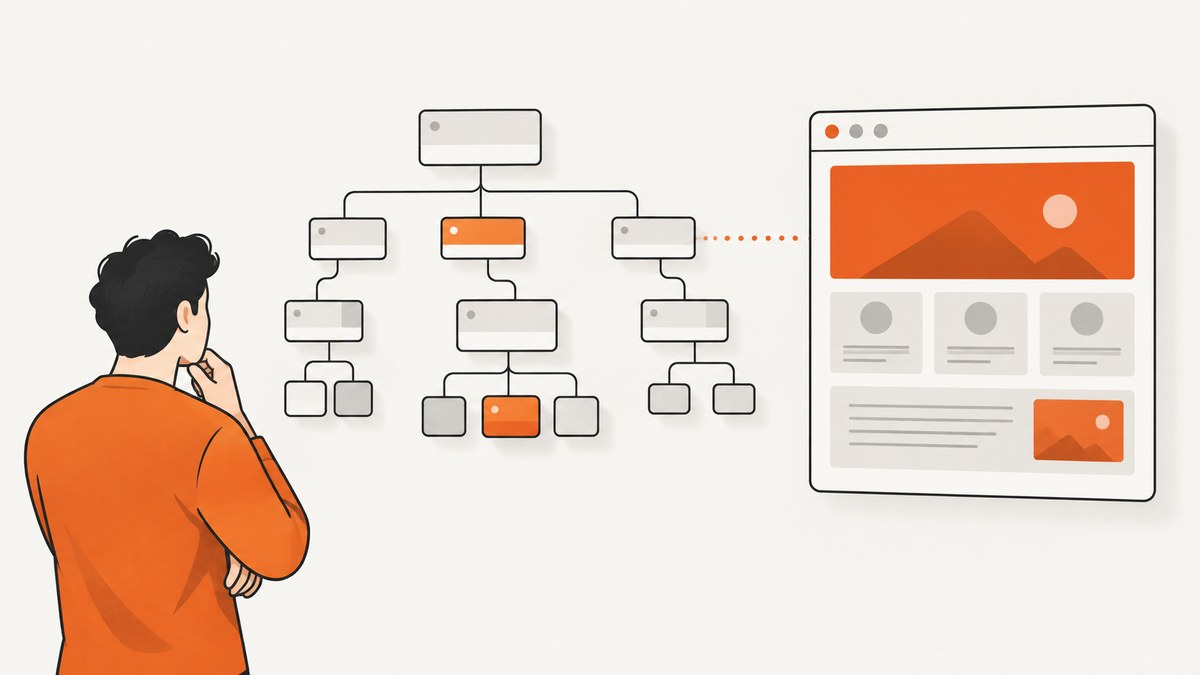
To use html2canvas with TypeScript, install its scoped package, import the default function, pass it an HTMLElement, and await the returned canvas. It runs in the browser and reconstructs an image from DOM elements and computed styles; it does not take a native screenshot of the browser’s final pixels. That distinction explains many CSS differences and missing-resource problems.
npm install @html2canvas/html2canvasimport html2canvas from '@html2canvas/html2canvas';
async function captureElement(): Promise<HTMLCanvasElement> {
const element = document.querySelector<HTMLElement>('#capture');
if (!element) throw new Error('Capture element not found');
return await html2canvas(element);
}
const canvas = await captureElement();
document.body.appendChild(canvas);The function returns a Promise that resolves to a <canvas>. Run it in a browser context, typically from an event handler or another async function. The scoped package includes TypeScript declarations, so you do not need a separate @types package. See the html2canvas guide and configuration reference.
1. Install and capture an element
Install @html2canvas/html2canvas in the application that owns the page you want to render. Then select the element and handle the possibility that it is absent. A generic argument to querySelector gives TypeScript the expected element type, while the explicit check narrows away null.
import html2canvas from '@html2canvas/html2canvas';

async function downloadCard(): Promise<void> {
  const element = document.querySelector<HTMLElement>('#capture');
  if (!element) {
    throw new Error('Capture element not found');
  }

  const canvas = await html2canvas(element);
  const link = document.createElement('a');
  link.download = 'capture.png';
  link.href = canvas.toDataURL('image/png');
  link.click();
}

document.querySelector('#download')?.addEventListener('click', () => {
  void downloadCard().catch(error => {
    console.error('Could not create the image', error);
  });
});
In a React component, call the capture function after the target element has rendered, usually through a ref. In any framework, the key requirements are the same: the browser DOM must exist, the element must be present, and the asynchronous result should be handled. Do not call this during server-side rendering, where document and browser canvas APIs are unavailable.
2. Understand what the output represents
html2canvas walks the DOM and computed styles and builds a canvas representation. It does not copy the browser’s composited pixels. Unsupported or unusual CSS can therefore differ from what you see on screen, even when the input element and capture code are correct. The project describes taking screenshots of webpages or parts of them directly in the user’s browser; treat “screenshot” here as a DOM-based rendering rather than a guaranteed pixel-identical browser capture. See the project documentation for its rendering model and browser support.
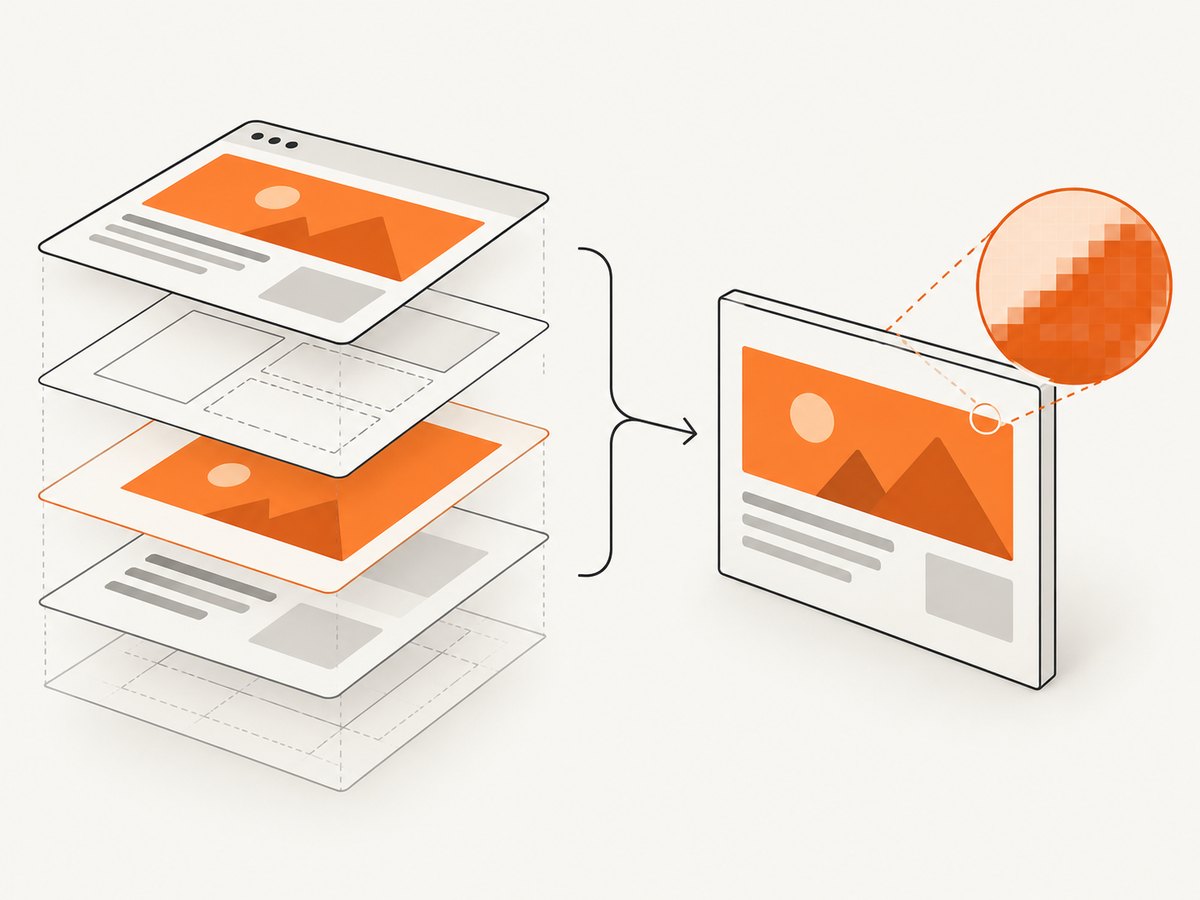
This approach is useful when the page itself needs to create an image from its own DOM, or when you want to export a particular element without sending its content to a screenshot service. It is less suitable when you need a server-generated capture, must render a page from a URL without opening it in a user’s browser, or need the browser’s native final pixels. In those cases, use a browser automation setup or a screenshot API.
3. Set background, scale, viewport, and crop
Most captures need only a few configuration options. The defaults are convenient for simple cases, but explicit values make output dimensions and appearance more predictable.
| Option | What it controls | When to adjust it |
|---|---|---|
backgroundColor |
Canvas background; defaults to white. | Set to null for transparency. |
scale |
Render resolution multiplier; defaults to the browser’s device pixel ratio. | Lower it to reduce memory and output size, or set it explicitly for consistent dimensions. |
width, height |
Output dimensions. | Constrain the result or capture a defined area. |
x, y |
Origin of the rendered region. | Move the capture area when cropping. |
windowWidth, windowHeight |
Viewport dimensions used for rendering and media queries. | Match a desired viewport or account for a tall element. |
scrollX, scrollY |
Scroll position used in rendering. | Control the position of fixed or sticky content. |
imageTimeout |
How long to wait for images. | Allow slower images more time, or reduce waiting when appropriate. |
const canvas = await html2canvas(element, {
  backgroundColor: null,
  scale: Math.min(window.devicePixelRatio, 2),
  width: element.clientWidth,
  height: element.clientHeight,
  windowWidth: document.documentElement.clientWidth,
  windowHeight: document.documentElement.clientHeight,
  scrollX: window.scrollX,
  scrollY: window.scrollY,
  imageTimeout: 15000,
  logging: false,
});
scale multiplies the rendered dimensions in both directions, so doubling it roughly quadruples the number of pixels. A large scale can make a canvas consume substantial memory. The example caps the device pixel ratio at 2; choose a value based on the visual detail and output size you actually need.
4. Exclude controls and change the cloned page
Use ignoreElements to omit elements based on a predicate, or add data-html2canvas-ignore to elements you never want in the export. The onclone callback lets you modify the cloned document before rendering, so export-specific changes do not alter the live page.
const canvas = await html2canvas(element, {
  ignoreElements: node => node.classList.contains('capture-exclude'),
  onclone: clonedDocument => {
    clonedDocument.querySelectorAll<HTMLElement>('.no-export').forEach(node => {
      node.style.visibility = 'hidden';
    });

    clonedDocument.querySelector<HTMLElement>('#capture')?.classList.add('export-mode');
  },
});
Alternatively, mark exclusions in the source markup:
<button class="no-export" data-html2canvas-ignore>Edit</button>Use clone changes for export-only styles such as removing an interactive toolbar or applying a print-like layout. Check that selectors target the cloned document and that styles needed by the clone are available to it. Avoid mutating application state just to prepare a capture when onclone can isolate those changes.
5. Handle cross-origin images and iframes
Images hosted on another origin are the most common reason an export omits imagery or throws a security error when you call toDataURL. Browsers restrict reading canvas pixels if cross-origin content taints the canvas.
useCORS: trueasks html2canvas to load images in a CORS-enabled way. It works only when the image server permits the requesting origin with an appropriateAccess-Control-Allow-Originresponse header.proxycan route image loading through a proxy that returns resources in a same-origin-safe form. The proxy must be configured and trusted; a client-side option cannot make a remote server grant CORS access.allowTaintdoes not bypass browser security. A tainted canvas may render but remain unreadable by APIs such astoDataURL, so it is usually not a fix for an export workflow.
const canvas = await html2canvas(element, {
  useCORS: true,
  imageTimeout: 20000,
});

// This may fail if a loaded cross-origin image tainted the canvas.
const dataUrl = canvas.toDataURL('image/png');
Same-origin iframes can be rendered recursively. A cross-origin iframe cannot be read through its contentDocument because of browser security boundaries, so html2canvas cannot reconstruct its contents. Plugin content such as Flash or Java applets is unsupported. If an embedded third-party widget must appear in a capture, use a capture approach that renders the page in a browser rather than expecting script access to cross-origin frame internals.
6. Fix clipped, blank, or oversized captures
A blank or clipped canvas can come from the target’s layout, a viewport mismatch, failed image loads, unsupported styles, or browser canvas-size limits. For a tall element, try rendering with viewport dimensions that match its scroll dimensions:
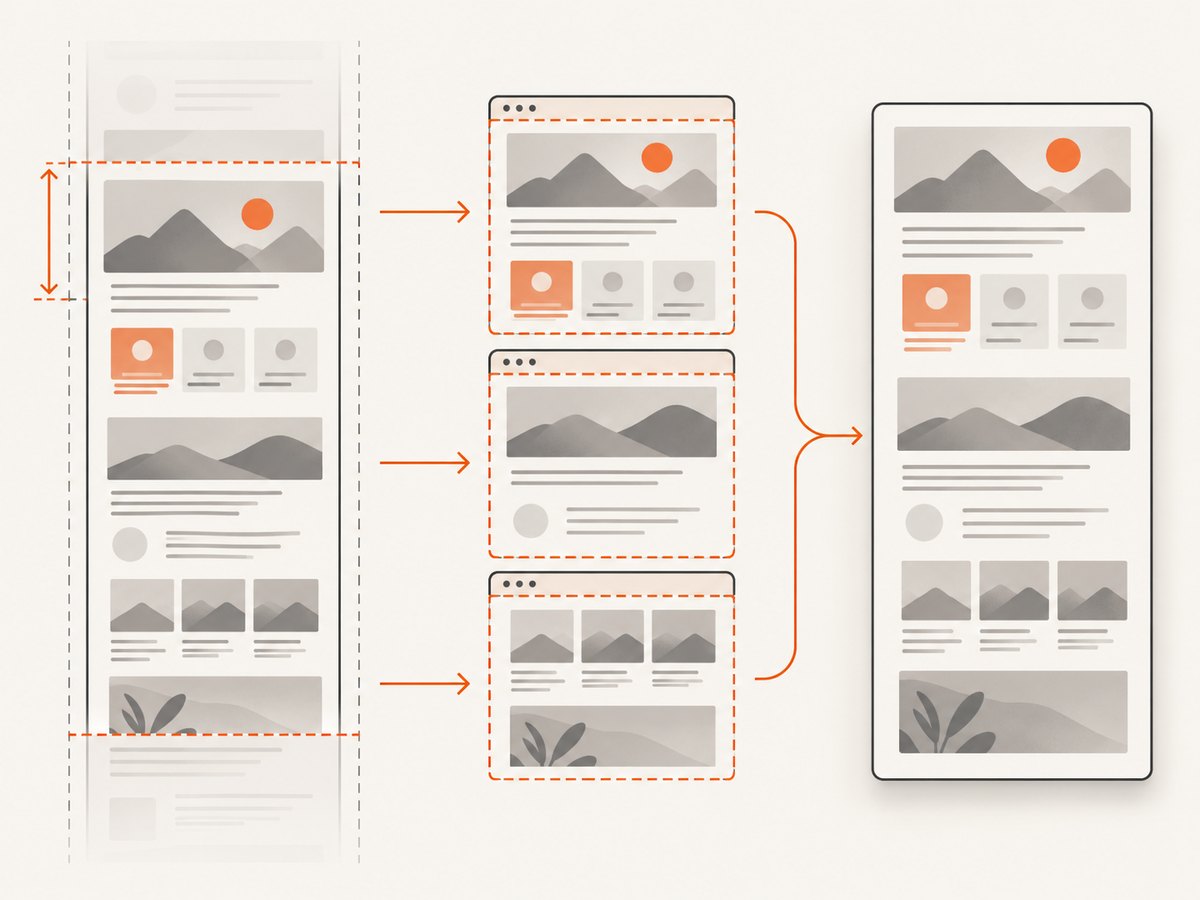
const canvas = await html2canvas(element, {
  windowWidth: element.scrollWidth,
  windowHeight: element.scrollHeight,
  logging: true,
});
If the result is still clipped or memory-heavy, reduce scale, constrain width and height, or use x and y to capture only the needed region. Inspect the element’s computed size and verify it is visible and laid out when capture begins. Enable logging while investigating resource and rendering issues, then turn it off for normal use.
7. A practical capture checklist
- Wait for the UI to be ready. Capture after the target component has rendered and its layout has settled.
- Confirm the target. Check that the selector exists and points to the element whose content you intend to export.
- Choose dimensions. Set viewport, crop, and scale deliberately for responsive layouts and large elements.
- Audit external resources. Confirm image CORS headers or use an appropriate proxy; check that the images have finished loading.
- Keep exports manageable. Capture only the necessary region and avoid unnecessarily high scale values.
- Handle failure paths. Catch rejected promises and report a useful message instead of silently leaving the user without a file.
8. Troubleshooting
| Symptom | Likely cause | Fix |
|---|---|---|
Cannot read properties of null or “Capture element not found” |
The selector did not match, or capture ran before the element rendered. | Check the selector and call after rendering; keep an explicit null check. |
| Images are missing | Remote image load failed, CORS was not allowed, or capture began before loading completed. | Set useCORS: true and confirm the image server sends a matching CORS header; wait for images or configure a suitable proxy. |
SecurityError from toDataURL |
A cross-origin image tainted the canvas. | Make the resource CORS-accessible or avoid including it. allowTaint does not make the canvas readable. |
| Cross-origin iframe content is absent | Browser same-origin policy prevents access to its document. | It cannot be reconstructed by html2canvas; use a browser-level capture path if the frame must be included. |
| Long page is clipped | Viewport dimensions or browser canvas limits do not accommodate the element. | Match windowWidth and windowHeight to scroll dimensions; reduce scale or crop into smaller sections. |
| Styles differ from the page | DOM reconstruction does not reproduce every CSS feature or the browser’s final pixels. | Check supported rendering behavior, simplify export styles in onclone, or use native browser screenshot capture. |
| Capture is very slow or crashes | Large dimensions, high device pixel ratio, many images, or lengthy image waits. | Reduce scale and capture area, tune imageTimeout, and avoid rendering unnecessary content. |
| Import or declaration errors | Package/import mismatch, stale install, or project module configuration. | Install @html2canvas/html2canvas, use the default import, and verify the app’s TypeScript and bundler module settings. |
9. Performance, reliability, and cost
html2canvas runs on the client and uses browser memory to build a bitmap. Output cost in memory grows with pixel area: a larger element, higher scale, and high device pixel ratio all increase work. Capture only what the user needs, avoid repeated captures during rapid UI updates, and consider lowering scale for previews. Large canvases can hit browser limits, so split very long content or export smaller regions when necessary.
Reliability depends on the state of the browser page and resources: fonts and images need time to load, layout must be stable, and cross-origin permissions must be correct. Catch promise rejections, expose a retry or error message, and test representative pages in the browsers your application supports. Since rendering reconstructs DOM and styles, treat visual differences as a possible limitation rather than assuming identical pixels across browsers.
The library has no per-capture API charge, but the browser work consumes the visitor’s CPU and memory and the result is constrained by client-side security rules. For URL-based captures, server workflows, scheduled jobs, or bulk screenshots, a screenshot API moves capture out of the page’s DOM execution context. Compare the operational requirements: client-side privacy and direct element access versus server rendering, remote-resource handling, and service pricing.
10. Or skip the browser setup
If you need an image of a URL without wiring html2canvas into that page, ScreenshotNeo is a website screenshot API and MCP server. Its one-call API returns a screenshot or PDF; see the ScreenshotNeo API documentation for request options and setup.
curl -G "https://api.screenshotneo.com/v1/shot" -d access_key=YOUR_API_KEY --data-urlencode url=https://stripe.com -o shot.webpimport requests
r = requests.get(
"https://api.screenshotneo.com/v1/shot",
params={"access_key": "YOUR_API_KEY", "url": "https://stripe.com"},
timeout=90,
)
open("shot.webp", "wb").write(r.content)const q = new URLSearchParams({ access_key: 'YOUR_API_KEY', url: 'https://stripe.com' });
const res = await fetch(`https://api.screenshotneo.com/v1/shot?${q}`);
if (!res.ok) throw new Error(`Screenshot request failed: ${res.status}`);
await Bun.write('shot.webp', res);With ScreenshotNeo, cookie banners are accepted and removed before capture, and known newsletter popups and chat widgets are removed; each cleanup step can be turned off. Bot checks, blank pages, timeouts, failed loads, and cache hits cost nothing, with response headers indicating the page verdict and billing status. An MCP server provides take_screenshot, get_page_info, and capture_pdf tools for Claude, Cursor, and other MCP clients. The free plan includes 1,000 screenshots a month with no card; paid plans start at $5 for 3,000. Sign up for 1,000 free screenshots a month, no card required.
11. FAQ
Do I need @types/html2canvas?
No separate declarations package is needed for the scoped @html2canvas/html2canvas package; it includes TypeScript declarations.
Can html2canvas run in Node.js?
No. It depends on browser DOM and canvas APIs. Use it in a browser or choose a server-side browser capture approach for Node workflows.
Does a successful Promise mean the image will match the page exactly?
No. The Promise resolving means a canvas was produced. DOM reconstruction can differ from the browser’s final pixels, and some CSS or cross-origin resources may not render as expected.
Can I use the result as a PNG?
Yes, if the canvas is readable: call canvas.toDataURL('image/png') or use canvas.toBlob for a Blob-based download. A canvas tainted by a cross-origin resource cannot be exported this way.


