Why html2canvas Captures Only the Visible Part of a Div and How to Fix It
Fix html2canvas screenshots that stop at the visible viewport. Learn the right dimensions, scroll-container workarounds, canvas limits, and reliable alternatives.
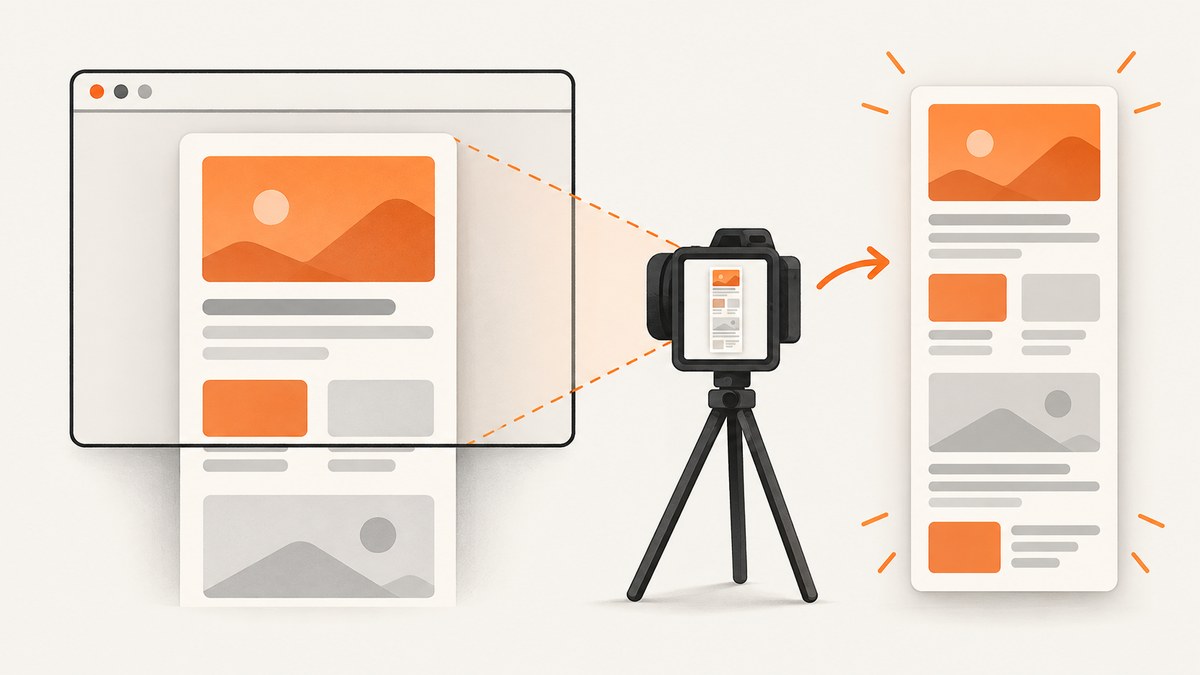
Short answer: html2canvas renders a DOM element inside a configured rendering window. If that window is only viewport-sized, set windowWidth and windowHeight to the target element’s scrollWidth and scrollHeight. If the element itself, or a child inside it, has overflow: auto or overflow: scroll, changing the window may not remove that internal clipping. In that case, temporarily use a capture layout that exposes the content, then render it.
This guide explains why a div can be much larger than the image produced by html2canvas, provides runnable JavaScript, and covers nested scroll containers, responsive layouts, canvas limits, cross-origin images, performance, and alternatives.
What “only the visible part” means
There are two commonly confused layouts:
| Layout | What is clipped | First remedy |
|---|---|---|
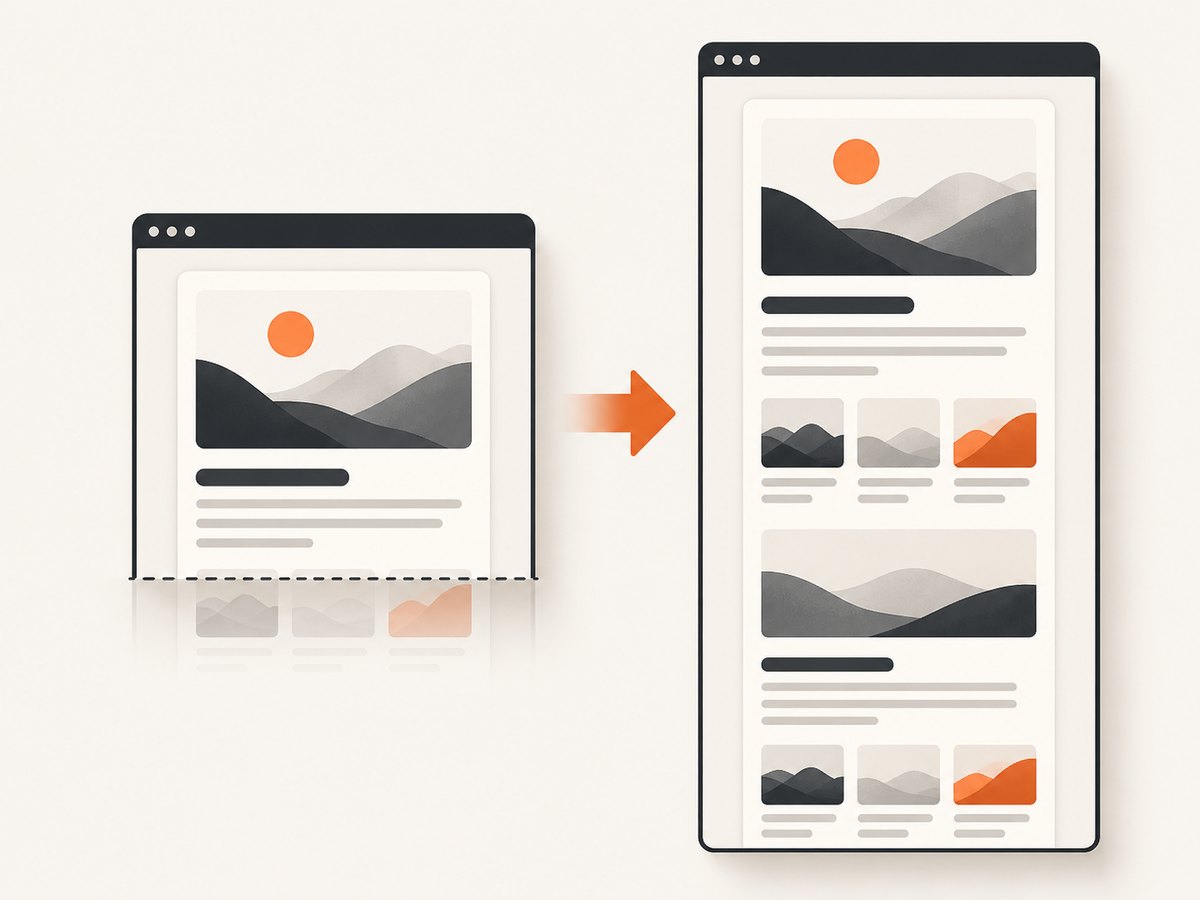
| The target is taller or wider than the browser viewport | The rendering window is too small | Match windowWidth/windowHeight to the target’s scroll dimensions |
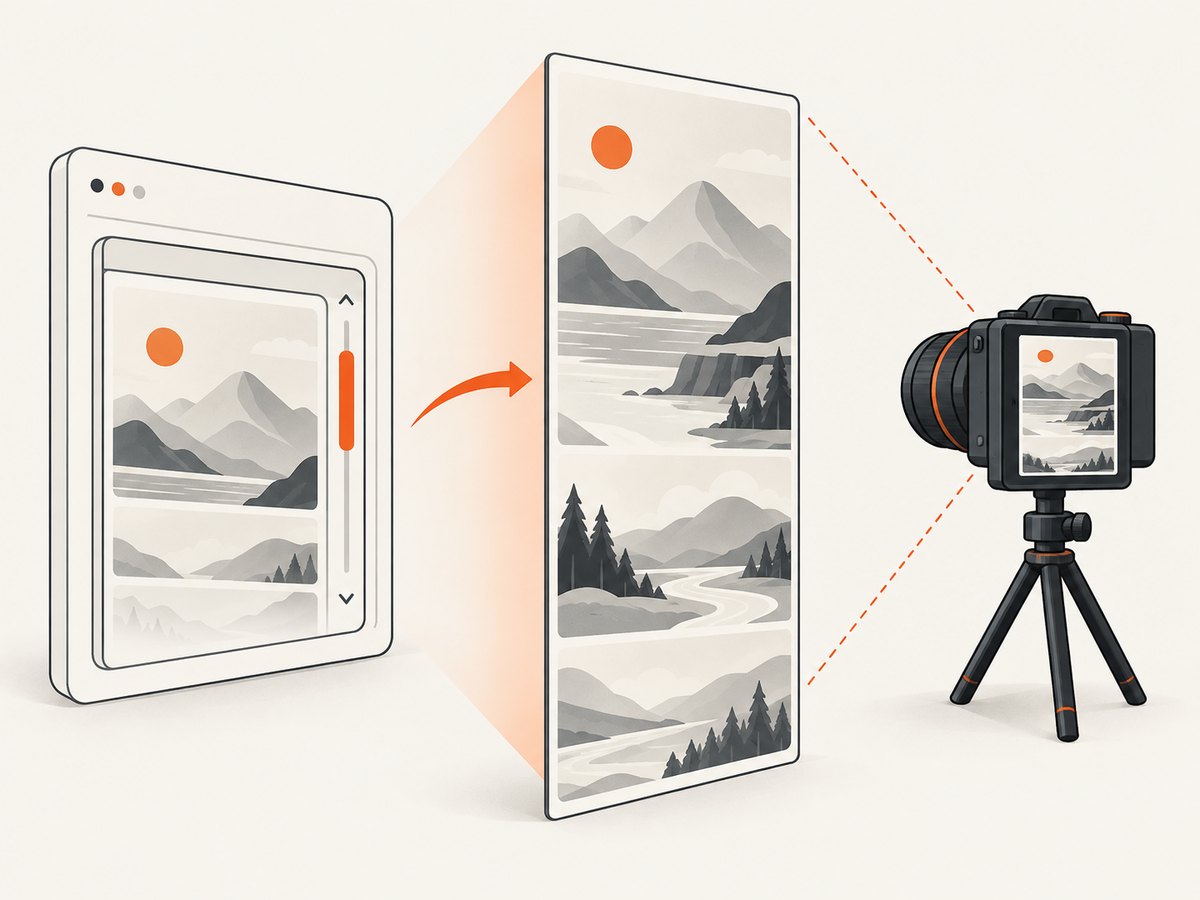
| The target or a descendant has its own scroll box | CSS overflow clips content inside a fixed-height or fixed-width box | Expose the content in a capture-only layout; inspect the scroll container |
html2canvas reconstructs a page from the DOM and supported CSS. It is not the browser’s native “save this tab as an image” operation. Every CSS property must be implemented individually, so unsupported styling, cross-origin images, and browser canvas limits can produce missing or blank areas even after dimensions are corrected. See the project’s FAQ and configuration reference for the documented behavior.
Fix a normal oversized div
Start by measuring the exact element passed to html2canvas. Do not measure a wrapper, the document, or the viewport unless that is what you intend to capture.
<script type="module">
  import html2canvas from "https://cdn.jsdelivr.net/npm/html2canvas@1.4.1/+esm";

  const element = document.querySelector("#capture");
  if (!element) throw new Error("#capture was not found");

  const canvas = await html2canvas(element, {
    windowWidth: element.scrollWidth,
    windowHeight: element.scrollHeight,
    // Keep the output dimensions tied to the element unless you have
    // a deliberate resize or scale requirement.
    width: element.scrollWidth,
    height: element.scrollHeight,
    backgroundColor: "#ffffff",
    useCORS: true,
  });

  const link = document.createElement("a");
  link.download = "capture.png";
  link.href = canvas.toDataURL("image/png");
  link.click();
</script>
The critical distinction is:
windowWidthandwindowHeightdescribe the virtual window used while rendering. They can change media-query results.widthandheightdescribe the canvas output dimensions. They do not, by themselves, remove clipping caused by a scrollable child.
The official FAQ recommends the window-dimension approach when an element is cut off or the canvas is empty. For a vertically long element, inspect scrollHeight; for horizontal overflow, inspect scrollWidth. Use both for a two-dimensional canvas.
Keep the on-screen responsive layout
Increasing the virtual window can activate a different media query. A card that is two columns at 1,400 pixels may become one column at 700 pixels, and the resulting screenshot can legitimately differ from what the user saw. If visual fidelity to the current viewport matters, record the viewport width first and decide whether the goal is:
- the complete element at a desktop layout, or
- the complete element while preserving the current responsive breakpoint.
const element = document.querySelector("#capture");
const viewportWidth = window.innerWidth;
const viewportHeight = window.innerHeight;

const canvas = await html2canvas(element, {
  windowWidth: viewportWidth,
  windowHeight: Math.max(viewportHeight, element.scrollHeight),
  width: element.scrollWidth,
  height: element.scrollHeight,
});
Test both approaches with your page’s breakpoints. There is no universal setting that preserves a viewport breakpoint and simultaneously makes every nested scroll box unbounded.
Fix a div with its own scrollable overflow
Consider this markup:
<div id="capture">
  <h1>Report</h1>
  <div class="results">Many rows...</div>
</div>

<style>
.results {
  height: 320px;
  overflow-y: auto;
}
</style>
The parent may have a large scrollHeight, while .results remains a 320-pixel viewport. html2canvas can faithfully reproduce that clipping. A historical issue documents a scrollable child that stayed clipped despite window and scroll options; treat this as a layout problem, not a missing magic option.
Capture-only layout
Before capture, clone the content or temporarily remove the child constraint. Restore the original styles in a finally block so an exception cannot leave the application altered.
async function captureExpanded(selector) {
  const target = document.querySelector(selector);
  if (!target) throw new Error(`Missing ${selector}`);

  const scrollBoxes = [...target.querySelectorAll("*")].filter((node) => {
    const style = getComputedStyle(node);
    return ["auto", "scroll", "hidden"].includes(style.overflowY) ||
           ["auto", "scroll", "hidden"].includes(style.overflowX);
  });

  const previous = scrollBoxes.map((node) => ({
    node,
    height: node.style.height,
    maxHeight: node.style.maxHeight,
    overflow: node.style.overflow,
    overflowY: node.style.overflowY,
    overflowX: node.style.overflowX,
  }));

  try {
    for (const { node } of previous) {
      node.style.height = "auto";
      node.style.maxHeight = "none";
      node.style.overflow = "visible";
      node.style.overflowY = "visible";
      node.style.overflowX = "visible";
    }

    // Force layout after changing constraints.
    await new Promise(requestAnimationFrame);
    const canvas = await html2canvas(target, {
      windowWidth: target.scrollWidth,
      windowHeight: target.scrollHeight,
      width: target.scrollWidth,
      height: target.scrollHeight,
      useCORS: true,
    });
    return canvas;
  } finally {
    for (const item of previous) {
      item.node.style.height = item.height;
      item.node.style.maxHeight = item.maxHeight;
      item.node.style.overflow = item.overflow;
      item.node.style.overflowY = item.overflowY;
      item.node.style.overflowX = item.overflowX;
    }
  }
}

const canvas = await captureExpanded("#capture");
document.body.append(canvas);
This is a starting pattern, not a guarantee for every component. Virtualized lists may only create rows currently near the viewport; expanding CSS cannot capture rows that do not exist in the DOM. Components that depend on sticky positioning, transforms, or JavaScript measurements may also need a dedicated print or export view.
Options that matter
| Option or check | Use | Limit |
|---|---|---|
windowWidth/windowHeight |
Give the renderer a window matching the element’s scroll dimensions | Can change media queries and increase canvas size |
width/height |
Set output canvas dimensions | Does not expand a nested overflow box |
scale |
Increase or reduce pixel density | Higher values multiply memory and canvas area |
useCORS: true |
Allow images whose servers send suitable CORS headers | Cannot override a server that denies cross-origin access |
backgroundColor |
Choose a solid background | Use null only when transparent output is wanted and supported by the rest of your pipeline |
ignoreElements |
Exclude controls, animations, or unstable widgets | Ignored nodes will not appear in the image |
Canvas limits and large pages
Very large canvases can become blank or partially rendered without a useful JavaScript exception. The FAQ gives rough, platform-dependent guidance: Chrome/Chromium and desktop Safari are about 32,767 pixels per dimension with Chrome-like area limits around 268 million pixels; Firefox is about 32,767 pixels and roughly 472 million pixels; iOS Safari is lower and depends on device memory. These are not specifications or guarantees.
Before rendering, calculate the area and choose a strategy:
const width = element.scrollWidth;
const height = element.scrollHeight;
const scale = window.devicePixelRatio;
const pixels = width * height * scale * scale;

if (width > 30000 || height > 30000 || pixels > 200_000_000) {
  throw new Error("Capture is too large; split it into sections or lower scale");
}
For long reports, capture sections separately and stitch them server-side, or provide a paginated export. Lowering scale reduces memory but also reduces text sharpness. Measure on the devices where the feature runs; mobile Safari has less headroom than a desktop browser.
Images, fonts, and unsupported CSS
- Cross-origin images: the image host must send an appropriate
Access-Control-Allow-Originheader.useCORSonly requests CORS loading; it cannot grant permission. - Missing fonts: wait for
document.fonts.readybefore capture so fallback fonts do not change wrapping. - Lazy images: scroll or otherwise trigger lazy loading, then wait for each image’s
decode()promise. - Unsupported CSS: html2canvas does not implement all CSS properties. Filters, complex blend modes, and some generated content may differ from the browser.
- Animations: pause them or add a capture class. Otherwise two captures can differ frame by frame.
await document.fonts.ready;
for (const image of document.images) {
  if (!image.complete) {
    await new Promise((resolve) => {
      image.addEventListener("load", resolve, { once: true });
      image.addEventListener("error", resolve, { once: true });
    });
  }
  if (image.decode) await image.decode().catch(() => {});
}
Reliable capture checklist
- Select the exact element and log
scrollWidth,scrollHeight,clientWidth, andclientHeight. - Wait for fonts, images, data rendering, and lazy content.
- Decide whether the screenshot should use the current breakpoint or a full desktop layout.
- Set window dimensions from the target’s scroll dimensions.
- Inspect every descendant with overflow rules; expand capture-only scroll boxes.
- Estimate canvas area and lower scale or split the capture if it is large.
- Check CORS response headers for every external image.
- Restore temporary styles in
finally. - Compare output on desktop and iOS Safari if those are supported environments.
Troubleshooting common failures
| Symptom | Likely cause | Fix |
|---|---|---|
| Image ends at the viewport bottom | Rendering window is viewport-sized | Use target scrollWidth/scrollHeight for windowWidth/windowHeight |
| Scrollable table still stops at its box | Descendant has overflow: auto |
Expand that descendant in a capture-only layout |
| Blank canvas | Canvas exceeds browser limits, or a resource failed | Log dimensions, reduce scale, split the page, and inspect image loading |
| Layout changes in the screenshot | New window dimensions triggered media queries | Use the desired breakpoint width explicitly and accept the corresponding layout |
| Images missing | Cross-origin image without CORS permission | Serve with CORS headers, proxy it from your origin, or replace the asset |
| Text wraps differently | Fonts were not ready or the virtual width changed | Await document.fonts.ready and choose a stable window width |
| Rows are absent | Virtualized list never rendered them | Use an export mode that renders all rows before capture |
| Capture is slow or crashes mobile tabs | Large pixel area, high scale, or many images | Capture sections, reduce scale, and release canvas references after encoding |
Performance, reliability, and cost
html2canvas runs in the browser, so CPU, memory, device pixel ratio, image count, and CSS complexity determine runtime. A full-page, 3x capture can require many times the memory of a 1x viewport capture. Avoid capturing on every scroll event; debounce requests and cache the resulting image. For user-triggered exports, show progress while fonts, images, and data settle.
For repeatable documents, a dedicated print stylesheet or server-side browser capture can be more predictable than modifying an interactive layout. Native browser extension capture APIs are appropriate when the requirement is a browser tab rather than an arbitrary DOM node; the html2canvas FAQ points extension authors toward browser APIs for that case.
Or skip the browser setup
ScreenshotNeo provides a website screenshot API and MCP server. One request returns PNG, JPEG, WebP, or PDF, so you do not need to manage a browser page, canvas limits, or cross-origin image loading in your application.
Use the API endpoint documented at https://screenshotneo.com/docs/:
curl -G "https://api.screenshotneo.com/v1/shot" -d access_key=YOUR_API_KEY --data-urlencode url=https://stripe.com -o shot.webpimport requests
r = requests.get("https://api.screenshotneo.com/v1/shot", params={"access_key": "YOUR_API_KEY", "url": "https://stripe.com"}, timeout=90)
open("shot.webp", "wb").write(r.content)const q = new URLSearchParams({ access_key: 'YOUR_API_KEY', url: 'https://stripe.com' });
const res = await fetch(`https://api.screenshotneo.com/v1/shot?${q}`);
const buffer = Buffer.from(await res.arrayBuffer());
require('node:fs').writeFileSync('shot.webp', buffer);ScreenshotNeo accepts options for full-page capture with lazy images loaded, a CSS element selector, dark mode, device presets or custom viewports, retina scale, custom CSS and JavaScript, click and wait actions, hidden selectors, blocked ads or resource types, custom headers and cookies, user agent, timezone, geolocation, transparent backgrounds, resizing, caching with a chosen TTL, signed image links, asynchronous jobs with signed webhooks, bulk capture for up to 100 URLs, PDF page settings, usage data, and an OpenAPI specification. Parameter names used by other screenshot APIs also work, which helps when migrating.
Cookie and consent banners, newsletter popups, and chat widgets are accepted or removed before capture, with each step configurable. Bot checks and CAPTCHAs, blank pages, timeouts, failed loads, and cache hits are not billed; response headers identify the page verdict and whether it was billed. The MCP server exposes take_screenshot, get_page_info, and capture_pdf for Claude, Cursor, and other MCP clients.
The Free plan includes 1,000 screenshots each month with no card. Paid plans start at $5 for 3,000 shots; yearly billing gives two months free. Create a free ScreenshotNeo account and try the API with no card.
FAQ
Does scrollHeight always produce a full screenshot?
No. It fixes a window that is too small, but a nested overflow container, virtualized content, unsupported CSS, CORS failure, or canvas limit can still remove content.
Should I set both window and output dimensions?
For a full element, setting both to measured scroll dimensions makes the intent explicit. The window controls rendering context; output dimensions control the canvas.
Why does a larger window change my design?
Media queries use the rendering window. A different width can select another responsive breakpoint, so choose the width that represents the layout you want to export.
Can html2canvas capture a virtualized list?
Only the rows present in the DOM can be reconstructed. Render all rows in an export view first, or use a document-oriented export path.
When should I use a native browser screenshot?
Use a browser or extension capture API when you need the rendered tab itself. Use html2canvas when you need a DOM element and can control its layout and resources.


