How to Improve PDF Resolution and DPI with PDFKit
Learn what PDFKit can change, how to size images for print, and why better source pixels or vector artwork matter more than a DPI switch.
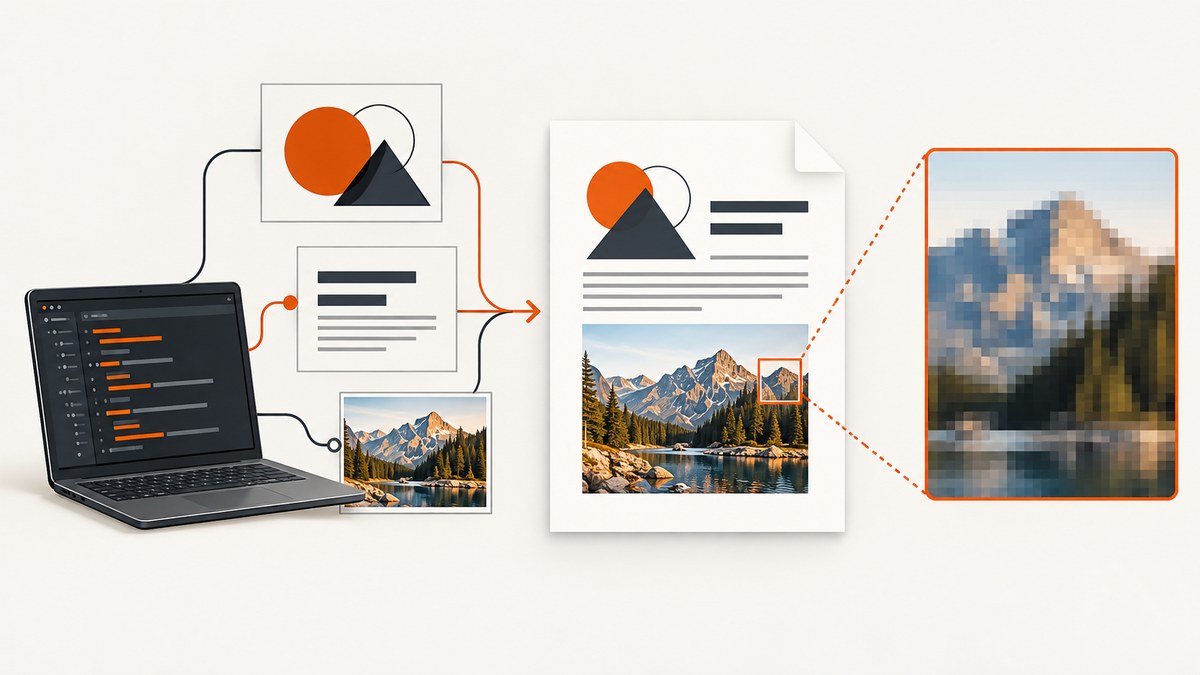
Direct answer: PDFKit does not have a universal “set DPI” switch that adds detail to a blurry image. It controls page geometry and how JPEG or PNG pixels are placed. For a sharper PDF, start with a higher-detail source image, place it at a smaller physical size, or draw text and line art with PDFKit’s vector and text APIs. Use page size and userUnit to correct physical dimensions, but do not expect those settings to create missing raster detail.
A PDF page can contain three different kinds of content:
- Raster images: JPEG and PNG files with a fixed number of pixels.
- Vector artwork: paths and shapes that PDF viewers can scale without the same pixel limit.
- Text: PDFKit text objects rendered from fonts, generally remaining sharp when zoomed or printed.
Those layers explain most “low DPI” problems. Diagnose the layer first, then change the setting that controls it.
What PDFKit actually controls
PDFKit accepts JPEG and PNG images from a file path, buffer, or base64 data URI. The image API lets you use its default dimensions, set a width or height, apply a proportional scale, or fit/cover a box. Setting both width and height stretches the image to those dimensions. See the official Images in PDFKit guide.
For example, this call preserves the image’s aspect ratio while setting a width:
doc.image('photo.jpg', { width: 360 });That changes the rendered size, not the number of pixels inside photo.jpg. Enlarging a 600 × 400 image to fill a large page spreads the same pixels over more physical area, so edges and small details can look soft.
Page dimensions are a separate concern. PDFKit’s getting-started documentation uses points, with 72 points per inch, and supports named or explicit page sizes. Its paper-size documentation describes userUnit for scaling the physical size of a page without changing the coordinate system. Read the Getting Started guide and Paper Sizes guide when you need exact geometry.
Measure the source image before changing code
For a raster image, the useful estimate is effective pixels per inch (PPI) at its placed size:
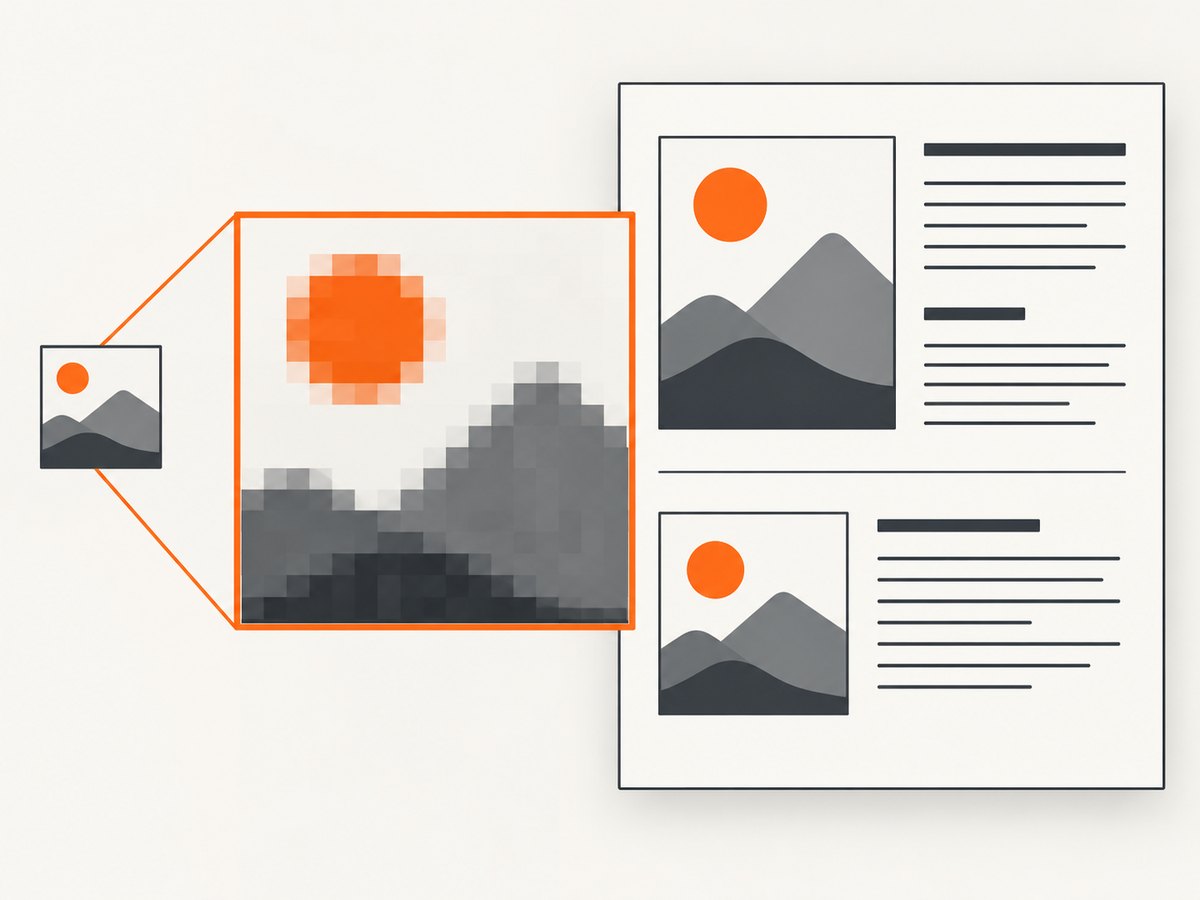
effective PPI = source pixels ÷ placed size in inchesA 2400-pixel-wide image placed 8 inches wide has an effective horizontal density of 300 pixels per inch. The same file placed 16 inches wide has 150 pixels per inch. PDFKit does not need a metadata DPI tag to perform this calculation; the pixels and the physical placement determine the visible detail.
- Read the source dimensions, such as 1600 × 1000 pixels.
- Convert the intended width from points to inches:
inches = points / 72. - Divide each pixel dimension by its corresponding physical dimension.
- If the result looks soft in print, obtain a larger source or reduce its placed size.
Do not crop or upscale before checking the original. A thumbnail downloaded from a content-management system may be the real cause of the problem, even when the original asset is sharp.
A complete PDFKit example with controlled image placement
Install PDFKit in a Node.js project:
npm install pdfkitThe following program creates a letter-size PDF, draws vector lines and text, and places a PNG at a known width. It also demonstrates proportional scaling, a fixed box, and a cover crop. Run it with node make-pdf.js.
const fs = require('node:fs');
const PDFDocument = require('pdfkit');

const doc = new PDFDocument({
  size: 'LETTER',       // 612 × 792 points; PDFKit uses 72 points per inch
  margin: 54,
  // userUnit: 1         // change physical scaling only when you have a specific need
});

doc.pipe(fs.createWriteStream('output.pdf'));

// Vector line art stays mathematically defined when the page is enlarged.
doc.save()
  .lineWidth(2)
  .strokeColor('#1f2937')
  .moveTo(54, 100)
  .lineTo(558, 100)
  .stroke()
  .restore();

doc.fontSize(24).fillColor('#111827').text('Image quality example', 54, 120);
doc.fontSize(11).fillColor('#374151').text(
  'The image below is scaled by placement size. Its source pixels are unchanged.',
  54, 154, { width: 504 }
);

// Proportional width: height is calculated from the source aspect ratio.
doc.image('photo.jpg', { x: 54, y: 200, width: 300 });

// Fit preserves the complete image inside a box; empty space may remain.
doc.image('photo.jpg', {
  fit: [200, 120],
  align: 'center',
  valign: 'center'
});

// Cover fills a box and crops overflow; it does not add detail.
doc.image('photo.jpg', {
  x: 54,
  y: 540,
  cover: [504, 180],
  align: 'center',
  valign: 'center'
});

doc.end();
Use a buffer or data URI when the image is already in memory:
const imageBuffer = fs.readFileSync('photo.jpg');
doc.image(imageBuffer, { width: 300 });

const dataUri = 'data:image/png;base64,...';
doc.image(dataUri, { width: 240 });
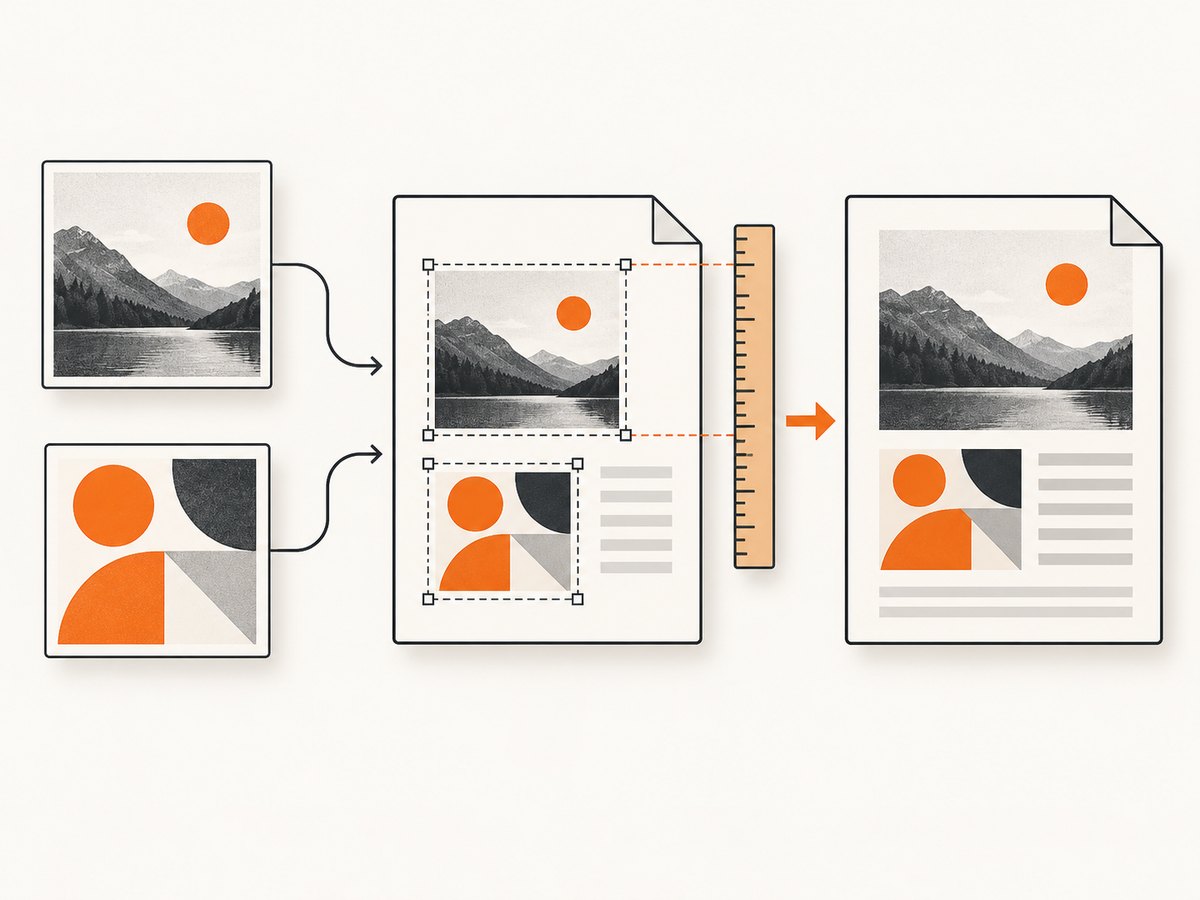
The documented image options include width, height, scale, fit, and cover. Choose one sizing strategy per placement and keep the aspect ratio unless intentional stretching is required.
Choose the right sizing option
| Option | Behavior | Use it when | Resolution consequence |
|---|---|---|---|
| Default | Uses PDFKit’s default image dimensions | You already know the source’s natural size is appropriate | Neither adds nor removes source detail |
width or height |
Sets one dimension and preserves the ratio | You need a predictable physical size | Larger placement lowers effective PPI |
scale |
Multiplies the rendered dimensions | You want a relative size adjustment | Scaling above 1 enlarges existing pixels |
fit |
Fits the complete image inside a box | You must show the whole image in a bounded area | May leave unused space; detail is unchanged |
cover |
Fills a box and crops overflow | You need a full-bleed panel or banner | Cropping removes content but does not increase detail |
When both width and height are supplied, PDFKit stretches the image to those dimensions. That can make circles look oval and text in a screenshot look distorted. Prefer one dimension or a fit/cover box unless distortion is deliberate.
Use vectors and text for content that must stay sharp
Logos, diagrams, rules, icons, and labels are usually better represented as PDFKit drawing commands or text than as a screenshot pasted into a PDF. PDFKit’s official project description lists vector graphics and text, and its Vector Graphics guide documents paths and shapes.
// A scalable icon made from paths, not a low-resolution bitmap.
doc.save()
  .fillColor('#2563eb')
  .roundedRect(54, 420, 48, 48, 8)
  .fill()
  .fillColor('#ffffff')
  .circle(78, 444, 10)
  .fill()
  .restore();

doc.font('Helvetica-Bold')
  .fontSize(14)
  .fillColor('#111827')
  .text('Vector label', 114, 437);
Converting an existing blurry bitmap into paths does not restore information that was never captured. Recreate the artwork from source geometry when possible, or request the original vector file.
Page size, margins, and userUnit
Use page settings to fix physical layout:
const doc = new PDFDocument({
  size: [612, 792], // explicit points: 8.5 × 11 inches
  margins: { top: 36, bottom: 36, left: 36, right: 36 }
});
Changing from A4 to Letter, reducing margins, or selecting landscape changes where objects fit. It does not increase pixels in an embedded JPEG or PNG. The userUnit setting can change the physical interpretation of the coordinate system for specialized workflows; treat it as page geometry, not an image-enhancement control. Verify the result in a PDF viewer and on the target printer.
When a PDF looks blurry: a diagnostic checklist
- Inspect the original dimensions. Confirm you did not load a thumbnail or compressed preview.
- Calculate effective PPI. Compare source pixels with the intended physical size.
- Check placement options. Look for an unexpectedly large
width,height,scale, or cover box. - Check for stretching. Supplying both width and height can distort content.
- Separate viewer zoom from output quality. Some viewers show a temporary low-quality preview while rendering a page.
- Print a crop at final size. On-screen zoom is not a reliable substitute for a physical proof.
- Replace raster line art with vectors. Rebuild charts, borders, and labels with paths and text.
Troubleshooting common PDFKit errors
| Symptom | Likely cause | Fix |
|---|---|---|
| “Cannot open image” or a missing image | Wrong path, permissions, or unsupported/invalid bytes | Log the resolved path, check fs.existsSync, and pass a valid JPEG/PNG buffer or data URI. |
| Image is blurry when printed | Too few source pixels for the placed physical size | Use a higher-resolution source or reduce the placement width. |
| Image is stretched | Both width and height force a non-proportional rectangle | Set one dimension, or use fit or cover. |
| Image is clipped | The image extends beyond the page or a cover box crops it | Measure the available content box and use fit when the entire image must remain visible. |
| Text or a logo is soft | It was rasterized before PDFKit received it | Use PDFKit text and vector paths, or obtain the original vector asset. |
| Page is the wrong physical size | Incorrect points, named size, orientation, or margins | Check the 72-points-per-inch conversion and set page geometry explicitly. |
| Large files or slow generation | Oversized source images and many embedded assets | Resize images to their actual output dimensions before embedding, reuse assets, and avoid needless copies. |
Performance, reliability, and output-size considerations
PDFKit writes a stream, so pipe the document to a file or HTTP response and call doc.end() exactly once. Keep source images close to their intended display size: a camera original that will appear as a small thumbnail increases memory and PDF size without improving visible detail. JPEG is often smaller for photographs; PNG is useful for transparency, screenshots, and flat graphics. Choose based on the source rather than assuming one format is always sharper.
For repeatable output, pin the PDFKit version in your project, validate that every image exists before constructing the document, and record page size, placement dimensions, and source dimensions in logs. If you generate PDFs in a worker, enforce a timeout and a maximum input size so one unusually large asset cannot exhaust memory. These are operational safeguards; they do not change the underlying resolution model.
Or skip the browser setup
If your real task is capturing a web page as an image or PDF, ScreenshotNeo provides a single request instead of maintaining a browser. It accepts cookie and consent banners like a visitor, then removes more than 60 known consent platforms, newsletter popups, and chat widgets before capture; each step can be disabled. Bot checks, blank pages, timeouts, failed loads, and cache hits are not billed, and the response identifies the result with X-Page-Verdict and X-Billed headers. It also offers full-page capture with lazy images loaded, element selectors, dark mode, device presets, custom viewports, retina scale, PDF paper sizes and margins, custom CSS/JavaScript, clicks, waits, request blocking, headers, cookies, user agents, authorization, timezone, geolocation, transparent backgrounds, resizing, TTL caching, signed links, asynchronous jobs with signed webhooks, bulk capture for 100 URLs, a usage API, and an OpenAPI specification.
See the ScreenshotNeo API documentation for the current parameters. The same parameter names used by many screenshot APIs are accepted, which can simplify migration.
cURL
curl -G "https://api.screenshotneo.com/v1/shot" -d access_key=YOUR_API_KEY --data-urlencode url=https://stripe.com -o shot.webpPython
import requests
r = requests.get(
    "https://api.screenshotneo.com/v1/shot",
    params={"access_key": "YOUR_API_KEY", "url": "https://stripe.com"},
    timeout=90,
)
r.raise_for_status()
open("shot.webp", "wb").write(r.content)
Node.js
const q = new URLSearchParams({ access_key: 'YOUR_API_KEY', url: 'https://stripe.com' });
const res = await fetch(`https://api.screenshotneo.com/v1/shot?${q}`);
if (!res.ok) throw new Error(`Screenshot failed: ${res.status}`);
const fs = require('node:fs');
fs.writeFileSync('shot.webp', Buffer.from(await res.arrayBuffer()));
ScreenshotNeo also includes an MCP server with take_screenshot, get_page_info, and capture_pdf tools for Claude, Cursor, and other MCP clients. The free plan includes 1,000 screenshots per month with no card; paid plans start at $5 for 3,000. Create a free ScreenshotNeo account and try the request with your own URL.
FAQ
Can I set a PDF DPI value in PDFKit?
PDFKit documents image sizing and page units rather than a universal DPI enhancement setting. Set the image’s physical placement and provide enough source pixels for that size.
Is 300 DPI required for every PDF?
No universal target is established by the PDFKit documentation. Requirements depend on the image content, physical output size, viewing distance, and printer or workflow.
Does userUnit improve image sharpness?
No. It changes page physical scaling and coordinate interpretation; it does not add pixels to a raster image.
Why does vector text look sharper than a screenshot of text?
PDFKit stores generated text and vector paths as drawing instructions. A screenshot stores them as pixels, which have a fixed resolution.
Can PDFKit convert a low-resolution image into a sharp one?
It can resize or crop the image, but scaling cannot recover detail absent from the source. Replace the source or recreate the artwork as vectors.