How to Improve Screenshot Quality in Windows
Make Windows screenshots sharper and easier to read by choosing the right capture mode, display resolution, scaling, and HDR settings.
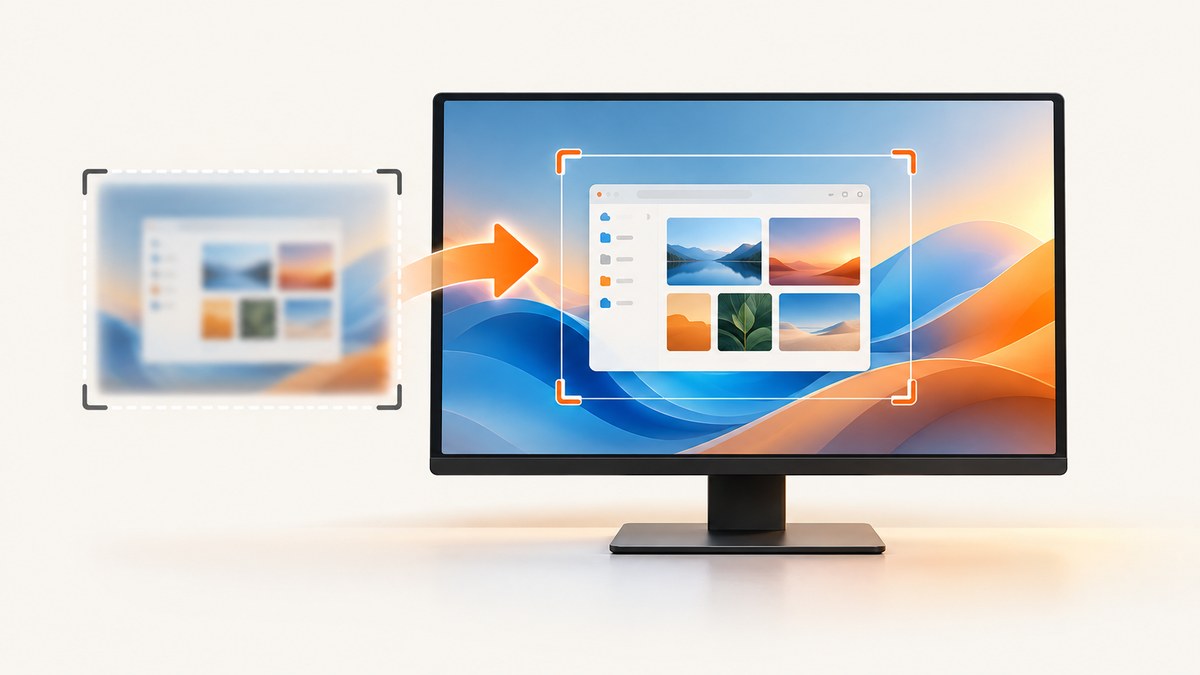
The fastest way to improve a Windows screenshot is to capture only what you need with Snipping Tool, then verify that the selected display is using its recommended resolution and scale. If the image still looks wrong, treat color and brightness as a separate HDR problem. There is no single Windows setting that makes every screenshot sharper.
1. Capture the right area with Snipping Tool
Open the Snipping Tool overlay with Windows + Shift + S. Choose the mode that matches the result you need:
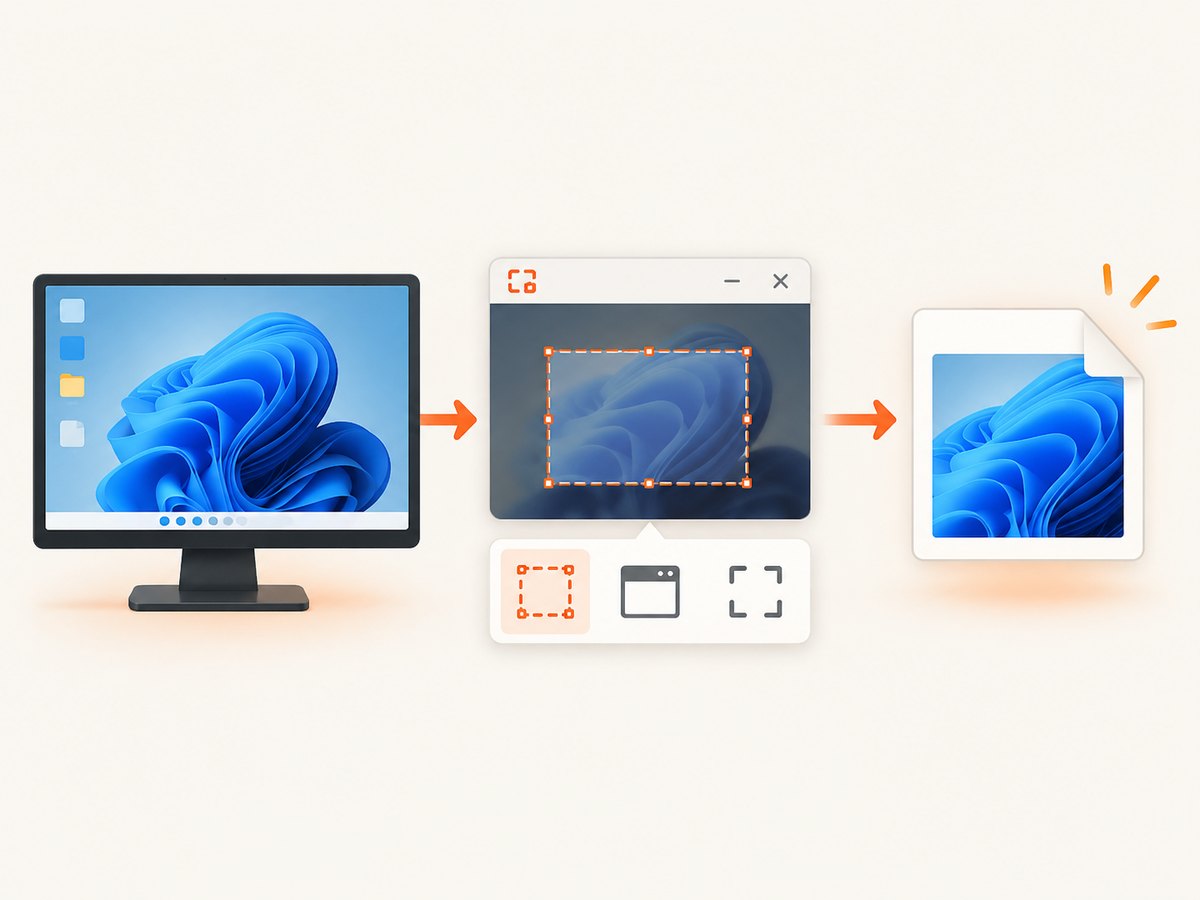
| Mode | Use it when | Quality benefit |
|---|---|---|
| Rectangular snip | You need a precise region | Removes unrelated desktop content and reduces later cropping |
| Freeform snip | The subject has an irregular shape | Keeps the capture focused on the subject |
| Window snip | You want one application window | Avoids taskbars, other windows and desktop clutter |
| Full-screen snip | You need the whole monitor | Preserves the complete screen context |
After the capture, Windows copies it into Snipping Tool, where you can edit, save and share it. Press Ctrl + S to save. You can also open See more > Settings in Snipping Tool to change automatic saving and the default Screenshots folder. See Microsoft’s Snipping Tool guide for the current controls.
Use Print Screen when the clipboard is enough
Print Screen captures the full display to the clipboard. Paste it into an editor or document, then save it in a lossless format when possible. If you need a file immediately, Snipping Tool gives you a clearer save workflow and lets you select the capture scope first.
2. Fix blurry text by checking resolution and scale
A screenshot records the pixels Windows is displaying. If Windows is rendering the desktop below the monitor’s native resolution, text can look soft before you capture it. Microsoft notes that lower-than-native resolutions can make text less sharp and may create a small, centered, black-edged or stretched image.
- Open Settings > System > Display.
- If more than one monitor is connected, select the display that contains the content you will capture.
- Under Display resolution, choose the value marked Recommended.
- Under Scale, use the recommended percentage first. Scaling changes the size of interface elements; resolution changes the available pixels.
- Sign out or restart an affected application if text remains soft after changing display settings.
Do not use a lower resolution to make interface controls larger if your goal is a sharper screenshot. Increase scale while keeping the recommended resolution instead. If the recommended option is missing or the resolution changed unexpectedly, check Windows Update for a graphics-driver update. Microsoft’s resolution and scaling guidance explains the display behavior.
3. Match the capture method to the content
- Documentation or a bug report: use a rectangular or window snip, include the smallest useful context, and keep text at its displayed size.
- A design review: use window or full-screen capture when surrounding layout matters.
- A single dialog: use a rectangular snip and avoid resizing it after capture.
- Long web pages: a desktop screenshot only captures what is rendered on screen. Use a browser’s full-page capture or a screenshot API when you need content below the fold.
Capture at the source size whenever possible. Enlarging a saved bitmap later can make pixels bigger, but it cannot recreate detail that was not captured.
4. Handle HDR as a color and tonal issue
HDR affects brightness, contrast and color handling on compatible displays. It is not a universal sharpness switch. If a screenshot looks washed out, too dark or strangely saturated, check HDR on the display where the content was captured and on the display where you are reviewing it.
- Open Settings > System > Display and select the relevant monitor.
- Open HDR and confirm whether the display supports HDR video, games and apps.
- For an external HDR display on Windows 11, use Microsoft’s Windows HDR Calibration app when the display and graphics hardware meet its requirements.
- For a compatible built-in display, use HDR > Display calibration for HDR video. Microsoft documents this path for Windows 10 and Windows 11 in its built-in HDR calibration guide.
Calibration changes how HDR content appears on that display. It does not add pixels to a screenshot or guarantee that every viewer’s monitor will show identical colors. If you are preparing images for broad distribution, check the result on an SDR display too.
5. Save and export without avoidable quality loss
- Use PNG for text, diagrams, software interfaces and screenshots with flat colors.
- Use JPEG when file size matters more than crisp text and some compression is acceptable.
- Use WebP when your publishing system supports it and you want a smaller web image.
- Do not repeatedly open and resave a JPEG; each lossy export can introduce more artifacts.
- Keep the original capture before annotating or resizing it.
When sending a screenshot in a ticket or chat, check whether the service recompresses images. If it does, attach the original file or provide a download link for pixel-critical evidence.
6. A repeatable Windows screenshot workflow
- Select the monitor containing the target content.
- Set Display resolution to Recommended and keep an appropriate scale.
- Close popups, notifications and unrelated windows.
- Press Windows + Shift + S.
- Choose rectangular, freeform, window or full-screen capture.
- Review the image at 100% zoom in Snipping Tool or an image viewer.
- Save with Ctrl + S as PNG when text clarity matters.
- Record the display resolution and HDR state if the screenshot is part of a bug report.
7. Troubleshooting common screenshot-quality problems
| Symptom | Likely cause | Fix |
|---|---|---|
| Text is blurry everywhere | The display is below its native or recommended resolution | Choose the selected monitor’s recommended resolution in Display settings. |
| Only one app looks blurry | Per-app DPI scaling or an app that has not restarted after a display change | Close and reopen the app; verify Windows scale and the app’s own zoom setting. |
| The screenshot is too small | You captured a region at its displayed size or used a lower resolution | Capture the needed window at recommended resolution; crop rather than stretching. |
| Black borders or a stretched image | A non-native resolution or aspect ratio is active | Return to the recommended resolution and check the monitor’s aspect-ratio mode. |
| Colors look washed out or too dark | HDR state or calibration differs between displays | Check HDR settings and calibrate a compatible display; compare with an SDR screen. |
| The screenshot includes notifications or banners | The capture included more of the desktop than necessary | Use a rectangular or window snip after dismissing transient UI. |
| Nothing is saved | The capture is still only in the clipboard or Snipping Tool | Open the Snipping Tool result and press Ctrl + S; review automatic-save settings. |
| Snipping Tool options are missing | Some newer features have limited hardware availability | Use the basic capture modes. Microsoft identifies Perfect Screenshot and Color picker as Copilot+ PC features. |
8. Performance, reliability and sharing notes
- Performance: region and window captures involve fewer pixels than full-screen captures and are easier to upload and review.
- Reliability: a saved file is safer than relying on the clipboard, which can be replaced by another copy operation.
- Reproducibility: document the monitor, resolution, scale, HDR state and capture mode when screenshots support a defect report.
- Privacy: inspect the image for account names, notifications, tokens, personal messages and browser tabs before sharing.
- Windows versions: the basic Snipping Tool and display guidance covers Windows 10 and Windows 11, but Microsoft says Windows 10 support ended on October 14, 2025. Check your organization’s support policy before standardizing a workflow.
Or skip the browser setup
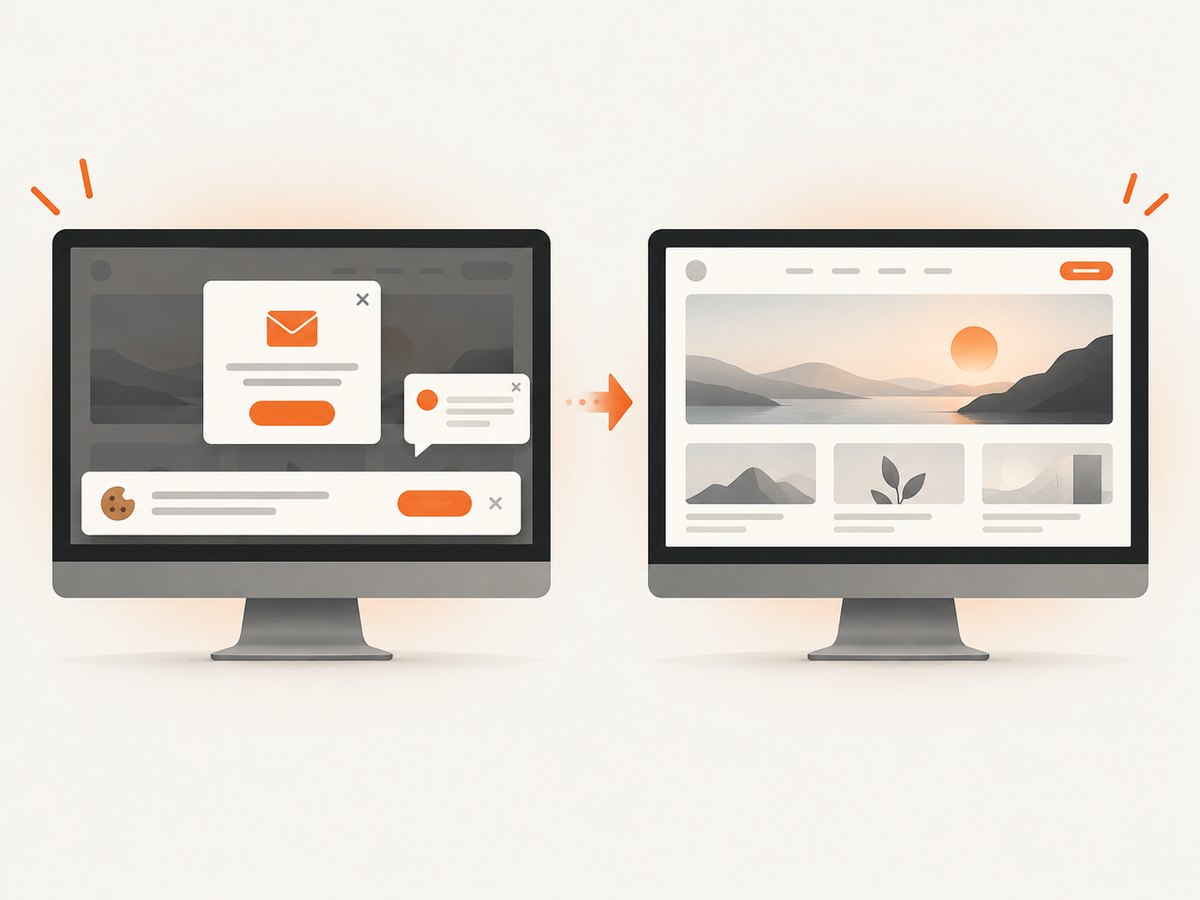
For automated website captures, ScreenshotNeo returns a PNG, JPEG, WebP or PDF from one GET request. It accepts cookie and consent banners like a visitor, then removes more than 60 known consent platforms plus newsletter popups and chat widgets before the capture. Bot checks, blank pages, timeouts, failed loads and cache hits are not billed, and response headers identify the page verdict and billing result.
See the ScreenshotNeo API documentation for all options.
curl -G "https://api.screenshotneo.com/v1/shot" -d access_key=YOUR_API_KEY --data-urlencode url=https://stripe.com -o shot.webpimport requests
r = requests.get("https://api.screenshotneo.com/v1/shot", params={"access_key": "YOUR_API_KEY", "url": "https://stripe.com"}, timeout=90)
open("shot.webp", "wb").write(r.content)const q = new URLSearchParams({ access_key: 'YOUR_API_KEY', url: 'https://stripe.com' });
const res = await fetch(`https://api.screenshotneo.com/v1/shot?${q}`);You can choose full-page or element captures, dark mode, device presets, viewport and retina scale, custom CSS and JavaScript, waits, blocked resources, headers, cookies, geolocation, caching, signed links, PDFs, async jobs, webhooks and bulk capture. ScreenshotNeo also provides an MCP server with take_screenshot, get_page_info and capture_pdf for Claude, Cursor and other MCP clients.
The Free plan includes 1,000 screenshots per month with no card. Paid plans start at $5 for 3,000 shots, and every feature is available on every plan. Create a free ScreenshotNeo account.
FAQ
Does changing Windows scale increase screenshot resolution?
No. Scale changes the size of interface elements. Keep the display at its recommended resolution for the available pixels, then choose a scale that makes the interface readable.
Should I always turn HDR on?
No. HDR requires compatible hardware and affects color and tonal appearance. Enable and calibrate it when your content and display support it, then verify the result on the screens used by your audience.
Which Snipping Tool mode gives the sharpest image?
No mode universally produces sharper pixels. The best mode is the smallest scope that contains the information you need, captured while the display is at its recommended resolution.
Can Windows make an old blurry screenshot crisp?
It can improve the conditions for a new capture, but enlarging an existing bitmap cannot restore detail that was never recorded.
When should I use an automated screenshot API?
Use one when you need repeatable captures of web pages, full-page output, scheduled jobs, clean pages without consent UI, or screenshots generated in a server or CI environment.


