How to Improve Website Screenshot Quality
Make website screenshots sharper and more consistent with the right viewport, DPR, rendering workflow, formats, and responsive delivery.
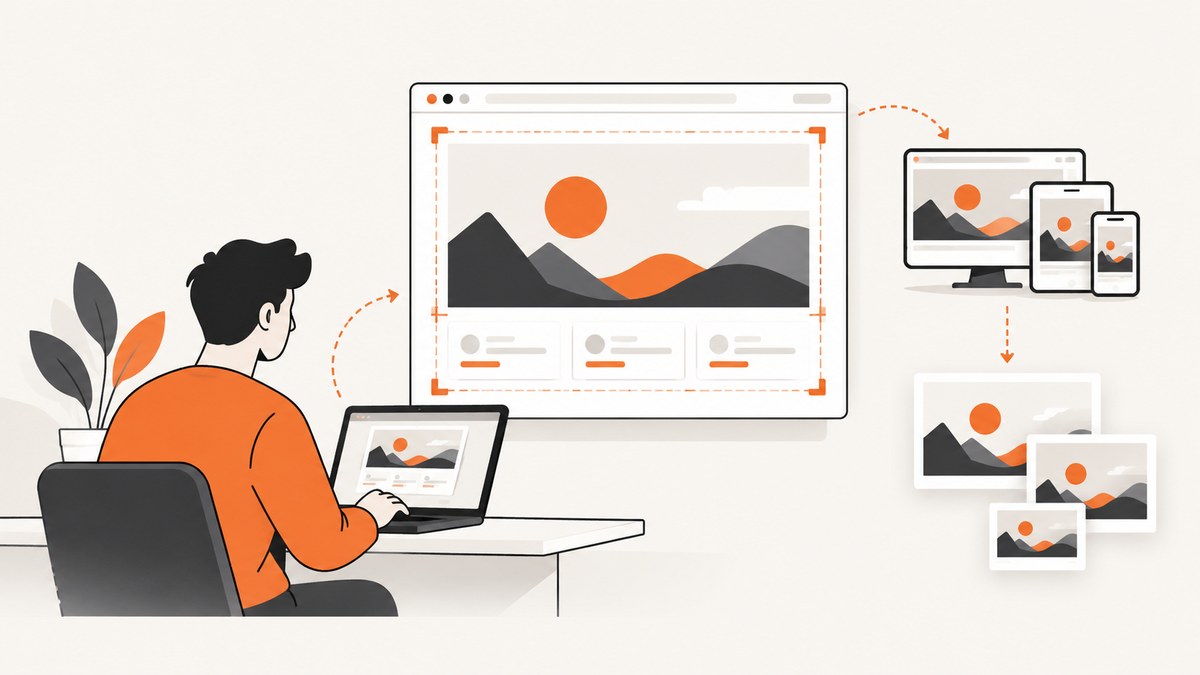
A high-quality website screenshot starts before you press Capture. Set the intended viewport and device pixel ratio (DPR), let fonts and images finish loading, remove transient overlays, and preserve the original pixels through export and publication. For a complete document, use full-page capture and check that lazy-loaded sections and sticky elements rendered correctly.
This guide explains how to produce sharp screenshots for documentation, portfolios, bug reports, product pages, and social posts. It covers Chrome and Firefox workflows, automation, responsive publishing, formats, troubleshooting, and a hosted option when you do not want to maintain browser capture code.
1. Define what “quality” means for your screenshot
Quality is more than apparent sharpness. Before capturing, write down the output you need:
- Scope: a visible viewport, one element, or the complete document.
- Target dimensions: the width and height at which readers will see the image.
- Browser state: browser family, operating system, zoom, theme, locale, and signed-in state.
- DPR: the device pixel ratio that determines how many physical pixels are produced for each CSS pixel.
- Format: PNG for crisp interface text and flat colors; JPEG or WebP when smaller files matter and the content is photographic or mixed.
A screenshot that is technically large can still look poor if it was captured at the wrong viewport, enlarged after capture, compressed too aggressively, or taken while the page was still changing.
2. Choose the viewport and DPR before capture
Capture at the dimensions where the image will be used. If a documentation column is 900 CSS pixels wide, capture around that width instead of taking a 320-pixel mobile screenshot and enlarging it. For dense displays, a DPR of 2 can preserve small text and controls, but it also doubles each dimension and increases the file size.
| Use case | Starting viewport | DPR guidance |
|---|---|---|
| Desktop documentation | Match the content column, commonly 1,000–1,400 CSS px | 1 or 2; inspect text at final size |
| Mobile documentation | Use the actual CSS width of the target phone layout | 2 is useful for small controls |
| Hero image or presentation | Match the largest planned display | Use enough pixels to avoid enlargement |
| Long technical reference | Use a stable desktop width and full-page capture | Prefer a practical height and verify export limits |
Keep the viewport, zoom, and DPR identical across a screenshot set. A different operating-system font rasterizer or browser zoom can make otherwise identical pages look inconsistent.
3. Stabilize the page before taking the screenshot
Most blurry or incomplete captures are timing problems. Use this checklist:
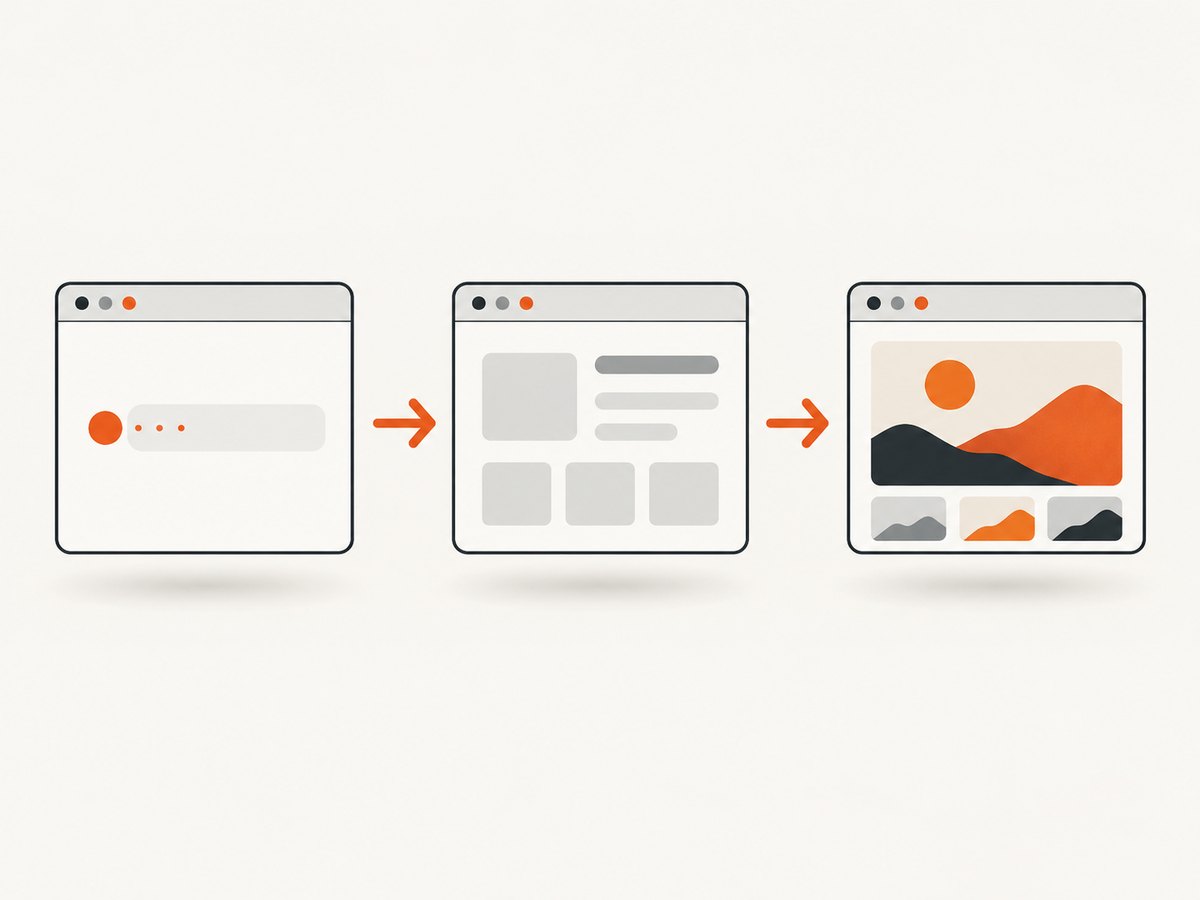
- Wait for web fonts. A fallback font can reflow text after the screenshot begins.
- Wait for images, including images loaded only after scrolling.
- Wait for client-side data and charts to finish rendering.
- Disable CSS animations, blinking carets, carousels, and video when they are not part of the subject.
- Hide cookie banners, chat bubbles, newsletter prompts, focus rings, and other transient UI unless you are documenting them.
- Set a stable light or dark theme, locale, timezone, and account state.
- Scroll through the page once if lazy sections load on intersection.
- Close browser extensions that inject badges or toolbars.
For repeatable automation, wait for a meaningful selector such as the main article, then wait for fonts and network activity. A fixed delay alone is less reliable because fast and slow pages need different amounts of time.
4. Capture a sharp screenshot in Chrome DevTools
Chrome DevTools Device Mode lets you set a device preset or custom viewport. The camera menu provides a viewport capture and a full-size capture for content outside the viewport. Chrome documents these commands in its Device Mode screenshot guide.
Visible viewport
- Open the page in Chrome and press
Ctrl+Shift+I(Windows/Linux) orCmd+Option+I(macOS). - Toggle Device Toolbar and enter the target width, height, and DPR/device preset.
- Set zoom to 100% and choose the intended color scheme.
- Open the DevTools command menu or camera menu and choose Capture screenshot.
- Open the output at 100% and check text edges, images, and overlays.
Full document
Use Capture full size screenshot when the entire document is required. Check the result for duplicated sticky headers, blank lazy-loaded sections, and unusually tall output. Full-page capture is a document screenshot, not a guarantee that every application widget supports being stitched vertically.
5. Capture a full-page screenshot in Firefox
Firefox DevTools has a screenshot icon that can take a full-page screenshot of the current page. Mozilla also provides a Web Console :screenshot helper, which is useful when you need a repeatable command. See the Firefox Web Console helper documentation for the supported options.
:screenshot --fullpage --dpr 2 --delay 1000 page.pngThe delay gives late content time to render; it does not replace waiting for a specific selector or confirming that fonts and images are ready. Use a lower DPR when the resulting dimensions exceed the limits of your image editor or publishing system.
6. Use the right image format and export settings
| Format | Best for | Watch for |
|---|---|---|
| PNG | UI text, diagrams, flat colors, transparency | Larger files for photographs and gradients |
| JPEG | Photos and mixed content where broad compatibility matters | Ringing, blockiness, and text blur at low quality |
| WebP | Smaller modern web delivery for mixed content | Inspect small text and browser fallback needs |
| AVIF | Very efficient modern delivery | Use a fallback when older clients must be supported |
PNG ignores JPEG/WebP quality controls in Chrome, while JPEG and WebP expose quality-size trade-offs. Export from the original capture rather than repeatedly recompressing derivatives. Never enlarge a small screenshot to fill a large slot.
7. Publish screenshots responsively
Keep a large source and provide candidates for the widths your layout actually uses. The browser can then select a suitable resource instead of downloading a huge image on a narrow screen.
<img
  src="/images/dashboard-1200.webp"
  srcset="
    /images/dashboard-480.webp 480w,
    /images/dashboard-800.webp 800w,
    /images/dashboard-1200.webp 1200w,
    /images/dashboard-2000.webp 2000w"
  sizes="(max-width: 700px) 100vw, 900px"
  width="1200"
  height="750"
  alt="Analytics dashboard showing weekly traffic by channel">
Use width and height attributes to reserve layout space and reduce layout shift. Use <picture> when you need AVIF or WebP sources, a PNG/JPEG fallback, or alternate crops at different breakpoints.
8. Automate quality checks with a browser script
For repeatable captures, automation should set the viewport, wait for rendering, disable motion, and verify the output dimensions. The following Playwright example captures a full page after fonts settle.
import { chromium } from 'playwright';

const browser = await chromium.launch();
const page = await browser.newPage({
  viewport: { width: 1280, height: 800 },
  deviceScaleFactor: 2,
  colorScheme: 'light'
});

await page.goto('https://example.com', { waitUntil: 'networkidle' });
await page.evaluate(() => document.fonts.ready);
await page.addStyleTag({ content: `
  *, *::before, *::after {
    animation: none !important;
    transition: none !important;
    caret-color: transparent !important;
  }
` });
await page.screenshot({ path: 'page.png', fullPage: true });
await browser.close();
In production, replace networkidle with a page-specific readiness condition where possible. Some sites keep analytics or streaming connections open, so network idle may never be reached.
9. ScreenshotNeo: hosted capture without browser setup
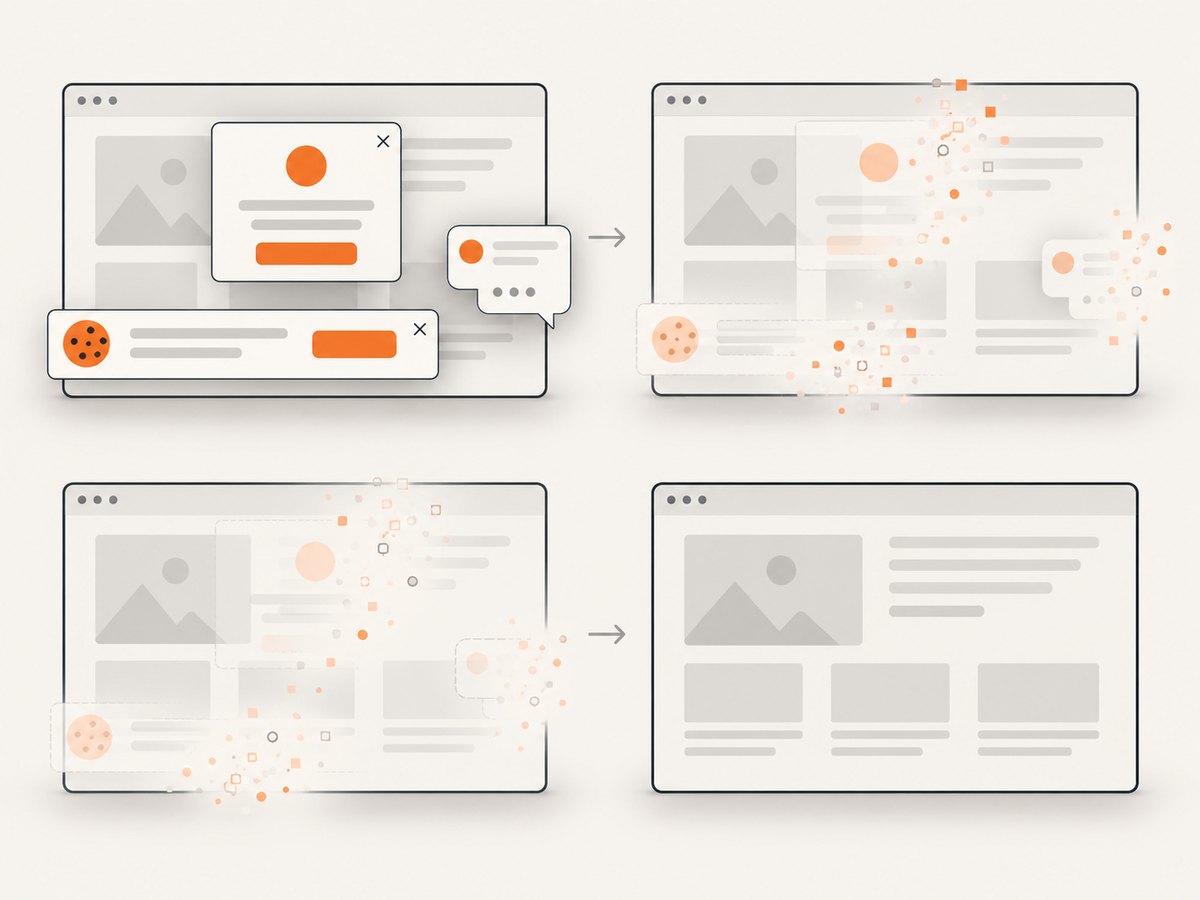
If you need consistent captures from a service, ScreenshotNeo is a website screenshot API and MCP server. It accepts one GET request and returns PNG, JPEG, WebP, or PDF. Cookie and consent banners are accepted and 60+ known consent platforms, newsletter popups, and chat widgets are removed before capture; each step can be turned off. Bot checks, CAPTCHAs, blank pages, timeouts, failed loads, and cache hits are not billed, and response headers identify the page verdict and billing result.
Or skip the browser setup
See the ScreenshotNeo documentation for the complete parameter reference. These calls are runnable after replacing YOUR_API_KEY and the target URL.
curl -G "https://api.screenshotneo.com/v1/shot" -d access_key=YOUR_API_KEY --data-urlencode url=https://stripe.com -o shot.webpimport requests
r = requests.get("https://api.screenshotneo.com/v1/shot", params={"access_key": "YOUR_API_KEY", "url": "https://stripe.com"}, timeout=90)
open("shot.webp", "wb").write(r.content)const q = new URLSearchParams({ access_key: 'YOUR_API_KEY', url: 'https://stripe.com' });
const res = await fetch(`https://api.screenshotneo.com/v1/shot?${q}`);Relevant options include full-page capture with lazy images loaded, CSS-selector element capture, dark mode, 12 device presets or any viewport, retina scale, PDF paper size/margins/landscape/page ranges, HTML/CSS to image, custom CSS and JavaScript, pre-capture clicks, hidden selectors, waits for a selector/delay/network idle, blocking ads/trackers/requests/resource types, custom headers/cookies/user agent/Authorization, timezone and geolocation, transparent backgrounds, resizing, chosen cache TTL, signed links, asynchronous jobs with signed webhooks, bulk capture of 100 URLs per call, a usage API, and an OpenAPI specification. Parameter names used by other screenshot APIs also work, which helps when switching.
ScreenshotNeo also provides an MCP server with take_screenshot, get_page_info, and capture_pdf for Claude, Cursor, and other MCP clients. One thousand screenshots per month are free with no card; paid plans start at $5 for 3,000 shots. Create a free ScreenshotNeo account.
10. Troubleshooting blurry or incomplete screenshots
| Symptom | Likely cause | Fix |
|---|---|---|
| Small text looks soft | Low DPR, browser zoom, or enlargement after export | Capture at the target viewport with DPR 2 when practical; avoid upscaling. |
| Fonts change in the image | Screenshot started before web fonts loaded | Wait for document.fonts.ready and the page’s ready selector. |
| Lower sections are blank | Lazy loading requires scrolling | Scroll through the document or use a capture method that loads lazy images. |
| Header appears repeatedly | Sticky or fixed positioning during full-page stitching | Hide the sticky element for capture or use an element/document strategy that handles it. |
| Cookie banner covers content | Consent UI was not dismissed | Accept or hide it before capture; record the choice for reproducibility. |
| Different screenshots vary | Theme, OS, locale, data, or animation changed | Pin browser state, operating system, viewport, theme, timezone, and test data. |
| Text has JPEG halos | Compression quality is too low | Use PNG or WebP, raise quality, and inspect at 100%. |
| Automation never finishes | Open connections prevent network idle | Wait for a specific selector and a bounded delay instead of global idle. |
11. Performance, reliability, privacy, and cost
- Performance: Lower DPR and smaller viewports reduce pixels and transfer size. Full-page captures cost more memory than viewport captures, especially on long pages.
- Reliability: Selector-based readiness checks are more repeatable than arbitrary sleeps. Pin versions of browsers and fonts for visual regression work.
- Cost: Local DevTools and browser automation have no API capture fee, but require runtime maintenance. A hosted API trades that setup for request charges and plan limits. Cache stable pages when policy allows.
- Privacy: Do not send private pages or credentials to a service unless its access model fits your requirements. For protected pages, use controlled headers, cookies, or an isolated local browser.
- Validation: Check pixel dimensions, file size, 100% sharpness, final rendered size, contrast, and alt text. Run Lighthouse and accessibility checks for published pages.
12. A repeatable quality checklist
- Target scope, viewport, browser, OS, zoom, theme, and DPR are recorded.
- Fonts, images, lazy content, and client-side data are ready.
- Animations and transient overlays are disabled or intentionally included.
- The capture is large enough for the largest planned display.
- PNG, JPEG, WebP, or AVIF was selected for the actual content.
- The original is preserved and derivatives are exported from it.
srcset,sizes,picture, dimensions, and useful alt text are provided where needed.- The result was inspected at 100% and at its final rendered size.
FAQ
Is a higher DPR always better?
No. Higher DPR preserves detail but increases dimensions, memory use, and transfer size. Choose the highest practical value for the final display and inspect the result.
Should I use PNG for every website screenshot?
No. PNG is a strong default for UI text and flat colors. WebP or JPEG can be better for photographic or mixed pages when you verify that text remains clean.
Why is my full-page screenshot taller than expected?
Long pages, expanded accordions, injected widgets, and unbounded elements can increase document height. Capture after the page reaches its intended state and inspect for hidden or duplicated content.
How do I keep desktop and mobile screenshots consistent?
Use fixed viewport presets, DPR, browser versions, OS rendering, theme, locale, timezone, and test data. Store these settings beside each capture.
What should alt text say?
Describe the information the screenshot conveys, not every decorative pixel. Keep it concise and useful to someone who cannot see the image.


