How to Improve wkhtmltoimage Output Quality
Fix blurry, cropped, or incomplete wkhtmltoimage captures by tuning viewport width, zoom, image quality, and page readiness.
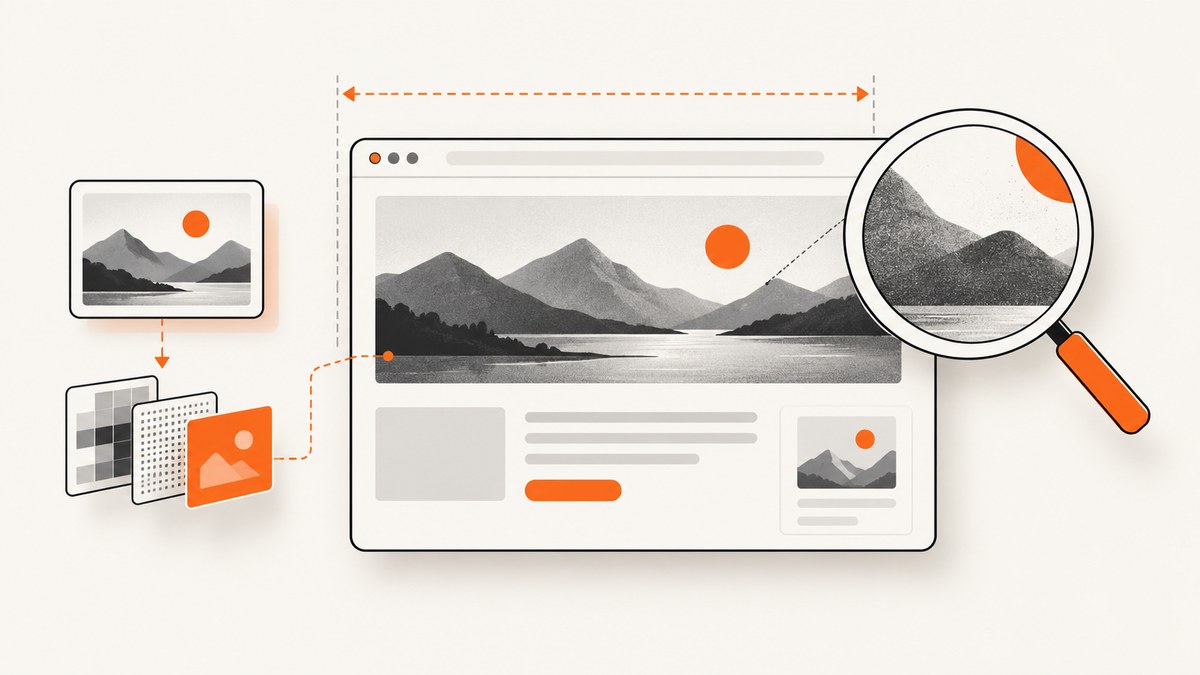
wkhtmltoimage output quality depends on several separate settings, not one universal resolution switch. Set --width for the capture viewport, use --zoom to change rendered scale, and use --quality for lossy image encoding. Then make sure images, backgrounds, and JavaScript-driven content are ready before capture.
Start with a fixed viewport and explicit output format. For example:
wkhtmltoimage \
  --width 1440 \
  --disable-smart-width \
  --zoom 1.25 \
  --javascript-delay 1200 \
  --quality 95 \
  https://example.com page.jpg
The numbers are starting points, not universal best settings. Measure the resulting pixel dimensions and inspect the target page; its layout and content determine the right values. The ScreenshotNeo documentation covers the hosted alternative later in this guide.
1. Understand what “quality” means
A screenshot can look poor for different reasons, and each reason has a different control. JPEG compression can blur fine detail; an unsuitable viewport can produce the wrong layout; a small rendered scale can make the result look soft; and a capture made before the page finishes rendering can omit images or dynamic content.
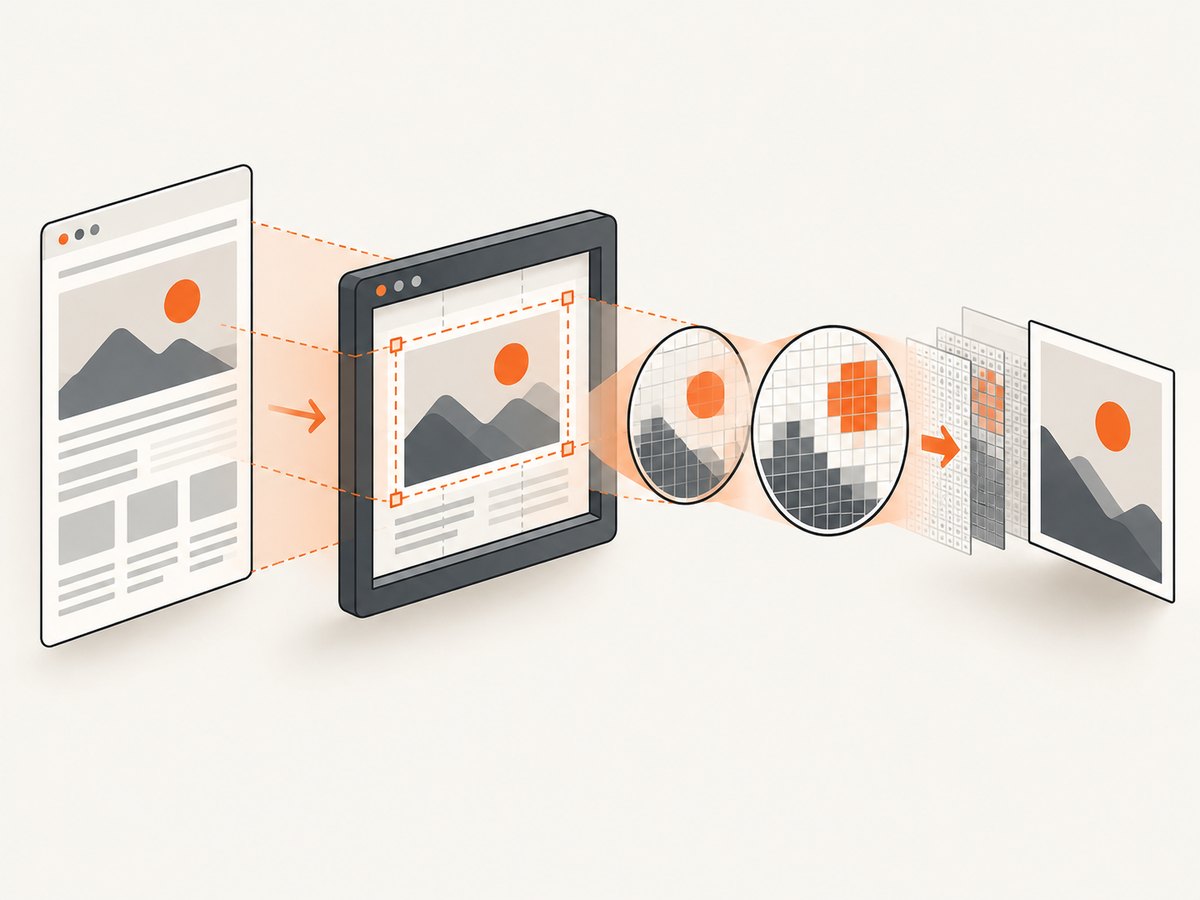
| Symptom | Likely cause | First setting to inspect |
|---|---|---|
| Blurry text or image detail in JPEG | Lossy encoding quality is too low | --quality |
| Page looks too narrow, wide, or rearranged | Capture viewport differs from intended CSS layout width | --width and --disable-smart-width |
| Everything is small or lacks pixel detail | Rendered scale is too low for the intended output | --zoom |
| Images, charts, or app content are missing | Resources or JavaScript have not completed | --images, JavaScript delay, readiness signal |
| Background colors or decorative areas are absent | Background rendering is disabled or page CSS differs | Background setting or user stylesheet |
For repeatable results, compare captures using the same URL, viewport, output format, and readiness condition. Check the actual file dimensions and file size as well as visual appearance. There is no documented benchmark that establishes one setting combination as best for every page.
2. Set the capture width before tuning anything else
--width <int> is a guide for the screen width used to render the page. It affects responsive CSS, text wrapping, column layout, and therefore the entire image. Choose the width that matches the layout you want to capture, such as a desktop layout or a narrower mobile layout.
# Render at a fixed desktop viewport width
wkhtmltoimage --width 1440 https://example.com desktop.png

# Render at a narrower viewport to trigger responsive rules
wkhtmltoimage --width 390 https://example.com mobile.png
Smart width can expand the capture to fit unbreakable content. If you need a strict width, add --disable-smart-width. When a page still overflows, inspect the page CSS for long URLs, wide tables, fixed-width elements, or other content that cannot wrap. The source definitions describe smart width as extending the width to fit unbreakable content; the exact behavior depends on the page.
wkhtmltoimage \
  --width 1280 \
  --disable-smart-width \
  https://example.com fixed-width.png
Do not use zoom to compensate for a viewport that is simply wrong. First make the page adopt the intended layout width; then adjust rendered scale if the output needs more pixels.
3. Choose format and encoder quality
The documented --quality <int> setting ranges from 0 to 100. It controls image output quality for formats that support a quality value. It is especially relevant for lossy output such as JPEG. A higher value generally trades a larger file for less compression damage; it cannot restore detail that was never rendered.
# JPEG with an explicit encoder quality
wkhtmltoimage --quality 95 https://example.com page.jpg

# PNG for an image that should avoid lossy JPEG compression
wkhtmltoimage https://example.com page.png
The library reference lists jpg, png, bmp, and svg output formats. Choose based on downstream use: JPEG is often useful when file size matters and some loss is acceptable; PNG is a sensible choice when sharp text and lossless output matter. Confirm the behavior of the installed toolchain and any consuming software, especially for formats beyond JPEG and PNG.
If JPEG text looks soft, compare a high quality setting with PNG at the same viewport and zoom. If both look soft, investigate scale, source content, or rendering instead of raising encoder quality again.
4. Use zoom to change rendered scale
--zoom <float> changes the rendered scale. The library setting is load.zoomFactor. Increase zoom when the page needs larger rendered pixels, then check the output dimensions. Zoom affects effective rendered size, so it can also affect the final width and height and should be tuned after viewport width.
# Render at a larger scale, then inspect output dimensions
wkhtmltoimage --width 1200 --zoom 1.5 https://example.com larger.png
There is no single zoom factor that guarantees a particular final pixel size for every page and invocation. Make a capture, inspect its dimensions, and adjust zoom in measured increments. If the page becomes too large or the composition changes unexpectedly, return to the intended viewport and test a smaller zoom adjustment.
“Smart shrinking” is often suggested as a fix, but the libwkhtmltox reference says intelligent shrinking has no effect for wkhtmltoimage. For image output, use width and zoom controls instead.
5. Make images, backgrounds, and CSS render
Missing visual elements are often loading or CSS issues rather than image-quality problems. Image loading is enabled by default in the documented CLI, but verify that it has not been disabled. In library settings, web.loadImages controls image loading and web.background controls page backgrounds.
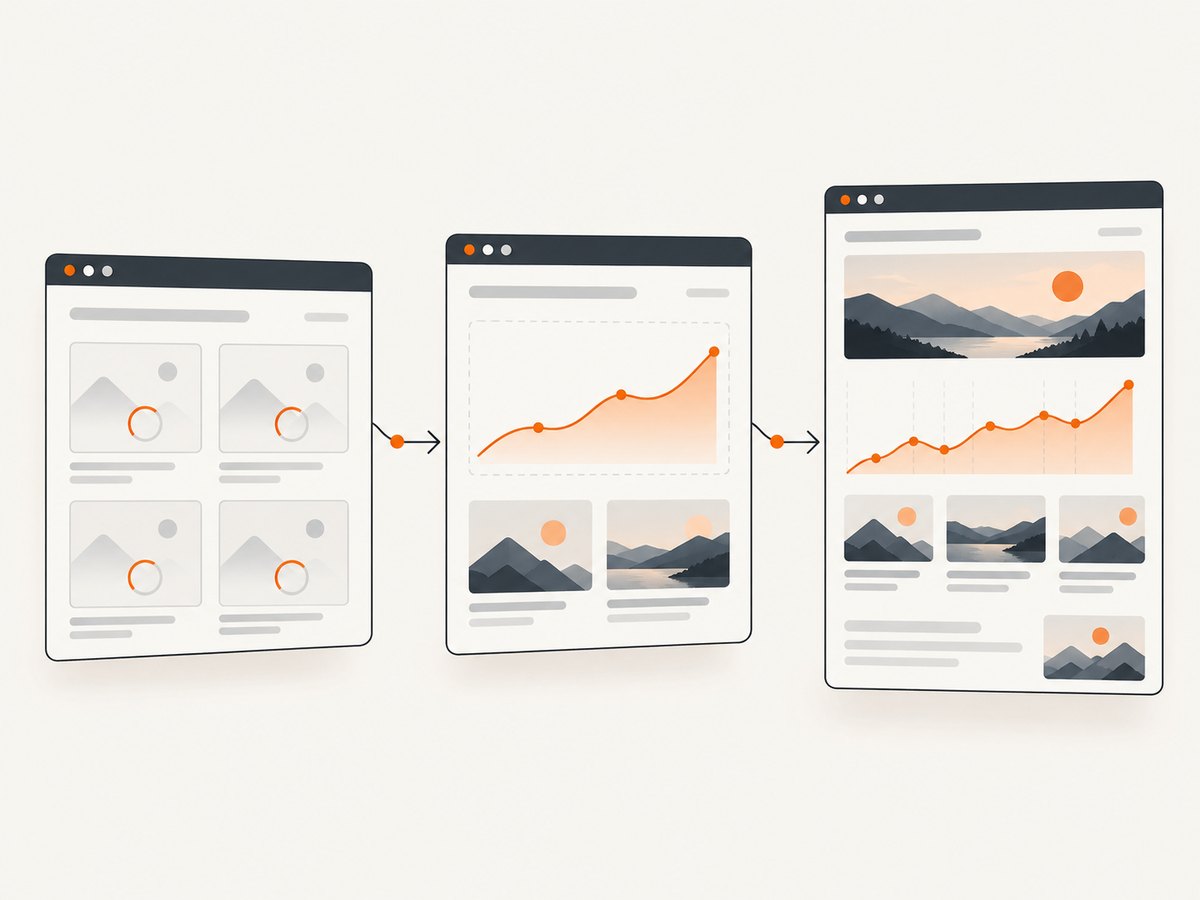
A user stylesheet can make capture-specific corrections without changing the live site. For example, it can hide an element that obscures the content or adjust a layout that is unsuitable for a fixed capture viewport. The library setting is web.userStyleSheet.
# Example: load a capture-specific stylesheet
wkhtmltoimage \
  --user-style-sheet /path/to/capture.css \
  https://example.com page.png
Use a stylesheet path that exists on the machine running the command. Check that the CSS rules target the page’s actual selectors and do not unintentionally hide content. If images remain absent, check whether the image URLs can be reached from the capture environment and whether the page requires authentication or a session.
6. Wait for JavaScript-driven content
JavaScript is enabled by default in the documented CLI. A page may still need more time after initial load to fetch data, hydrate a client-side application, or draw a chart. --javascript-delay waits after page load; the library setting is load.jsdelay.
# Give a client-rendered page additional time
wkhtmltoimage \
  --javascript-delay 1500 \
  https://example.com app.png
A fixed delay is simple, but it may be unnecessarily long on quick pages and too short on slow ones. If the page can expose a readiness state, --window-status can wait until that state is set:
# The page must set window.status to "render-ready"
wkhtmltoimage \
  --window-status render-ready \
  https://example.com app-ready.png
This only works when the page defines the specified readiness signal. For a page you control, set it after the content needed for the screenshot is ready. For a page you do not control, use a delay and verify that it is sufficient under the network conditions where the command runs.
7. A repeatable tuning workflow
- Choose the target layout. Decide the viewport width and whether you need a desktop, tablet, or mobile composition.
- Fix width behavior. Set
--width; add--disable-smart-widthif the output must stay at that width. Fix unbreakable page content when it overflows. - Confirm content completeness. Ensure images and backgrounds are enabled. Add a JavaScript delay or a page readiness signal for dynamic content.
- Set the output format. Use JPEG with an explicit quality when lossy compression is acceptable; compare with PNG when sharp detail matters.
- Adjust rendered scale. Change zoom gradually and check final dimensions after each capture.
- Compare like with like. Hold URL, width, format, and readiness behavior constant while changing one setting at a time.
- Record the working command. Keep the options with the capture job so later runs use the same conditions.
For a baseline, use a fixed width, explicit format, and a page readiness strategy. Then change only the setting connected to the observed defect. This makes it easier to tell whether a change improved sharpness, layout fidelity, completeness, or only file size.
8. Troubleshooting common problems
| Problem | Cause to check | Fix |
|---|---|---|
| JPEG remains blurry at high quality | Low rendered scale, small source assets, or a viewport-triggered layout | Check dimensions; tune --zoom after setting the correct width; compare PNG. |
| Output is wider than requested | Smart width expanding for unbreakable content | Use --disable-smart-width; correct long strings or wide elements in CSS. |
| Mobile layout does not appear | Capture width is still large enough to trigger desktop breakpoints | Set a narrower --width and capture again. |
| Charts or app data are missing | Capture occurs before asynchronous JavaScript completes | Increase --javascript-delay or wait for an application-defined --window-status. |
| Images are missing | Image loading disabled, URLs unreachable, or capture occurs too early | Enable image loading, check resource access, and wait for the page to finish loading. |
| Backgrounds are absent | Background rendering is disabled or the page omits the background in its CSS | Enable web.background; inspect page styles or add a user stylesheet. |
| Increasing quality makes files much larger | Higher-quality lossy encoding uses more data | Choose an acceptable quality by comparing detail and file size; use PNG only when its lossless behavior is useful. |
| Readiness wait never completes | The page never sets the requested status string | Verify the page’s signal spelling and that it is set after required content is ready; use a delay if you cannot control the page. |
9. Performance, reliability, and cost considerations
Higher zoom and larger capture widths can increase output dimensions and the amount of image data to encode. Higher JPEG quality can also increase file size. These choices affect storage, transfer, and downstream processing; select settings against the dimensions and clarity the consuming application actually needs.
Waiting longer improves the chance that delayed content is present, but adds capture time. A readiness signal can avoid a fixed wait when the page supports one. Repeatability depends on using stable viewport and readiness settings, and pages with changing content or network-dependent resources may still vary between runs.
The dossier does not provide performance benchmarks for wkhtmltoimage settings. Measure your own target pages, output dimensions, file size, and completion time. For a production pipeline, keep the selected options with each job and handle failed or incomplete loads explicitly.
10. Or skip the browser setup
If you need screenshots from code without managing a local rendering command, ScreenshotNeo is a website screenshot API and MCP server. One GET request returns an image or PDF. A basic cURL request is:
curl -G "https://api.screenshotneo.com/v1/shot" \
  -d access_key=YOUR_API_KEY \
  --data-urlencode url=https://stripe.com \
  -o shot.webp
Python:
import requests

r = requests.get(
    "https://api.screenshotneo.com/v1/shot",
    params={"access_key": "YOUR_API_KEY", "url": "https://stripe.com"},
    timeout=90,
)
open("shot.webp", "wb").write(r.content)
Node.js:
const q = new URLSearchParams({
  access_key: 'YOUR_API_KEY',
  url: 'https://stripe.com'
});
const res = await fetch(`https://api.screenshotneo.com/v1/shot?${q}`);
ScreenshotNeo removes cookie banners, popups, and chat widgets before the shot. Bot checks, blank pages, and failed loads are never billed. Its MCP server lets AI agents take screenshots, and the free plan includes 1,000 screenshots a month with no card; paid plans start at $5 for 3,000. See the API documentation for options and setup, then sign up for 1,000 free screenshots a month with no card.
11. Frequently asked questions
Does raising --quality increase screenshot resolution?
No. It changes image encoding quality. Use width and zoom to affect rendered layout and scale, then inspect the output dimensions.
Should I use PNG or JPEG for text-heavy pages?
Compare both at the same viewport and scale. PNG avoids lossy JPEG compression, while JPEG may be suitable when smaller output is more important.
Is smart shrinking the right option for wkhtmltoimage?
The libwkhtmltox reference says intelligent shrinking has no effect for wkhtmltoimage. Tune width and zoom for image output.
How long should the JavaScript delay be?
There is no universal value. Use the shortest delay that reliably includes required content on your target pages, or use a page-defined readiness signal when available.


