How to Increase Image Resolution
Learn how pixel dimensions, print size, and resampling work, then choose a practical way to enlarge an image for screens or print.
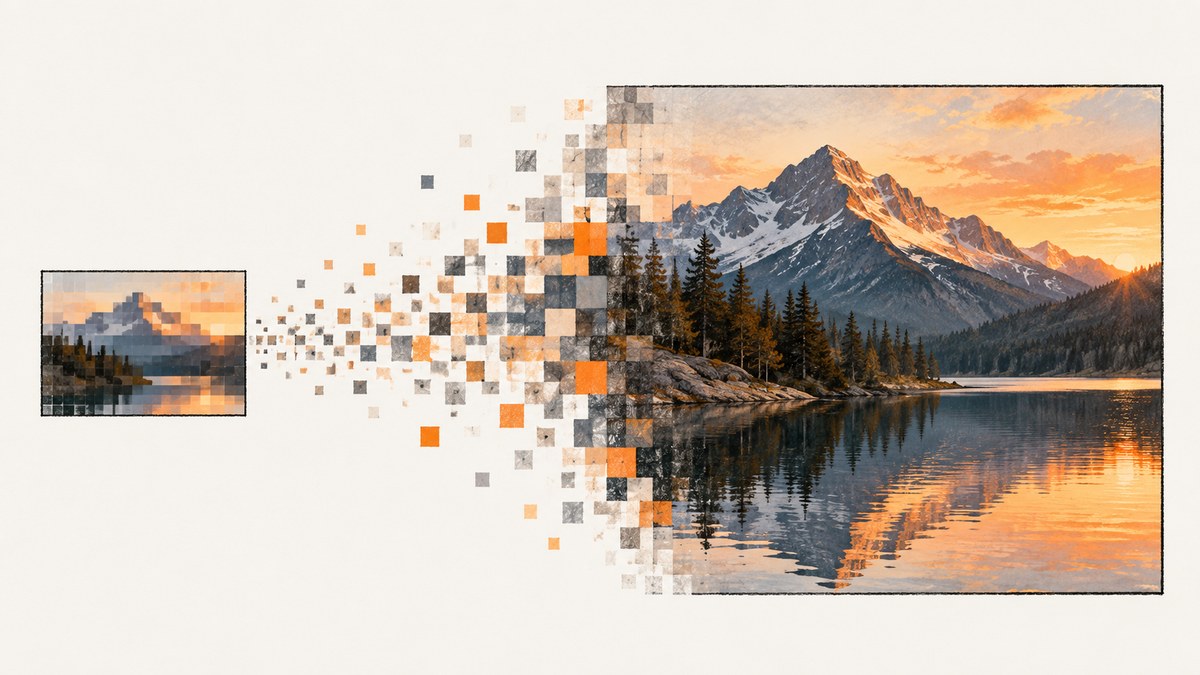
To increase an image’s resolution, first decide whether you need more pixels or a different print size. Pixel dimensions are the image’s actual width and height in pixels. Print size and pixels per inch (PPI) describe how those pixels map onto paper. In Photoshop, use Image Size: leave resampling off to change the print-size relationship without creating pixels, or turn it on to change pixel dimensions. For a larger image, resampling or an AI-assisted upscale can produce a larger file, but neither guarantees that newly added detail is faithful to the original.
This guide explains how to choose the right route, enlarge in Photoshop, check the result, handle common problems, and decide when another workflow makes sense.
1. Check what “higher resolution” means for your image
Before editing, identify the output you need. A web image may need a particular pixel width. A print needs enough pixels for its physical dimensions and the viewing distance. A file can report a high PPI value and still contain very few pixels: metadata does not restore detail that was never captured.
| What you need | What to check | What to do |
|---|---|---|
| Larger dimensions on a screen | Pixel width and height | Resample to the required pixel dimensions, then inspect the enlarged result. |
| A particular print size | Pixel dimensions, intended paper size, and output PPI | Set the physical dimensions and decide whether the existing pixels are sufficient. Resample only if you need to change pixel count. |
| More convincing detail | Source quality, subject, and enlargement factor | Compare standard resampling with an AI-assisted option. Treat generated details as plausible additions, not recovered facts. |
| A sharper-looking photo | Focus, motion blur, noise, and compression artifacts | Address the source problem first where possible. Upscaling alone cannot reliably fix blur or missing subject detail. |
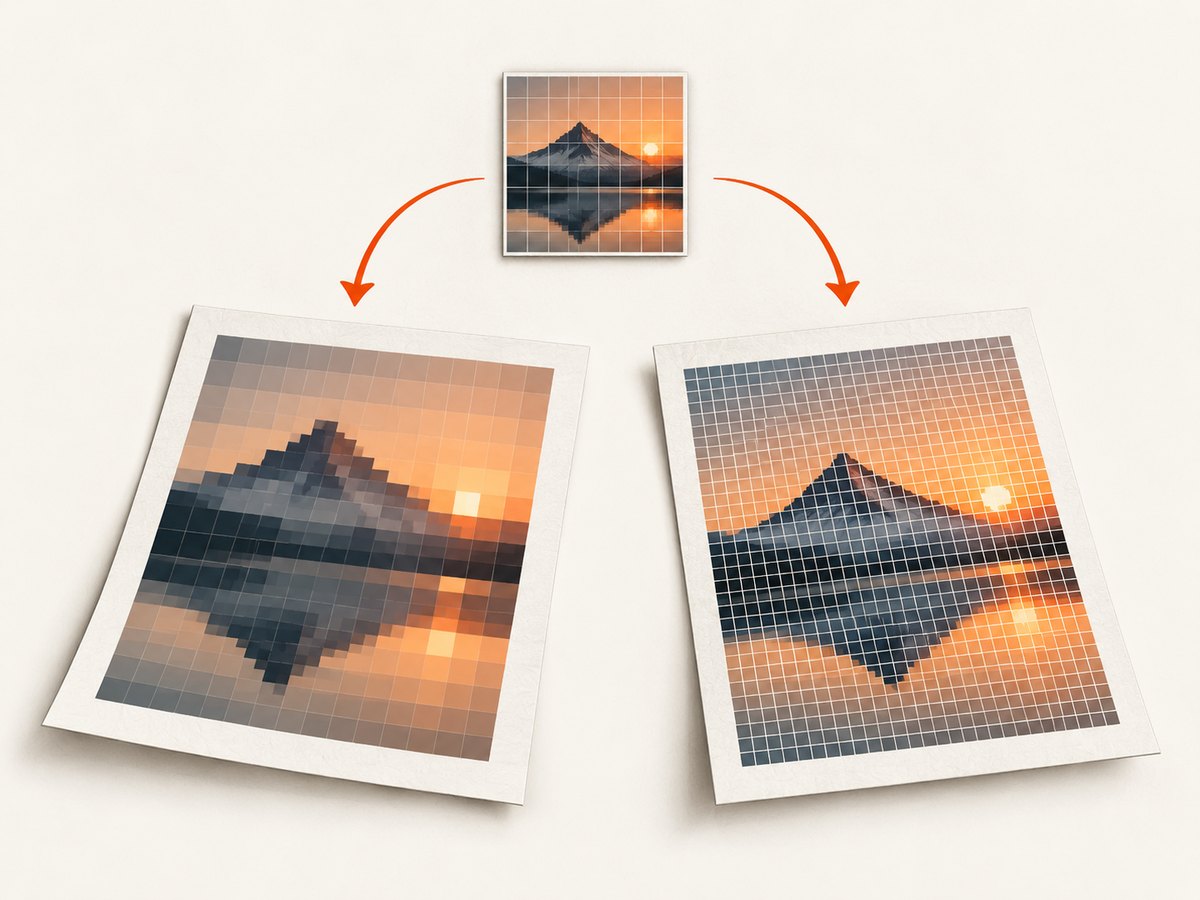
Photoshop’s Image Size controls distinguish pixel dimensions, physical dimensions, resolution, and resampling. With resampling off, changing print dimensions changes the PPI relationship while holding pixel count. With resampling on, changing values adjusts pixel dimensions. See Adobe’s Image Size, resolution, and resampling documentation.
2. Enlarge an image with Photoshop Image Size
Standard resampling is useful when you need a specific output size and want Photoshop to interpolate pixels between the existing ones. It changes the pixel count, not the information originally captured.
- Open the original image in Photoshop and save a copy or duplicate the document.
- Choose Image > Image Size.
- Read the current pixel width and height. Note the current physical dimensions and resolution if the image is intended for print.
- Enable Resample if you want to add pixels. Keep the proportions linked unless you intentionally want to distort the image.
- Enter the target width and height in pixels, or set the intended print dimensions and resolution. Check the resulting pixel dimensions before applying.
- Choose the available resampling method appropriate to the version and task. The dialog’s options can vary by Photoshop version; use its previews and inspect the output at actual use size.
- Apply the change, then compare the result with the original at 100% zoom and at the size people will actually view or print it.
- Save a new copy in a format suited to the destination. Keep a layered or lossless working copy if you may need to revise it.
There is no universal enlargement factor that guarantees good results. A small, sharp image with simple shapes may tolerate enlargement better than a noisy, compressed, or motion-blurred photograph. If edges look soft, halos appear, or texture looks unnatural, reduce the enlargement or try a different method rather than assuming that a higher pixel count fixed the source.
3. Choose an AI-assisted upscale when interpolation is not enough
Generative upscaling uses a model to synthesize or refine visual detail while enlarging. This can make an image look more detailed, but the added texture is an interpretation. Be cautious with evidence-sensitive images, product details, documents, faces, or anything where a plausible invented feature could mislead someone.
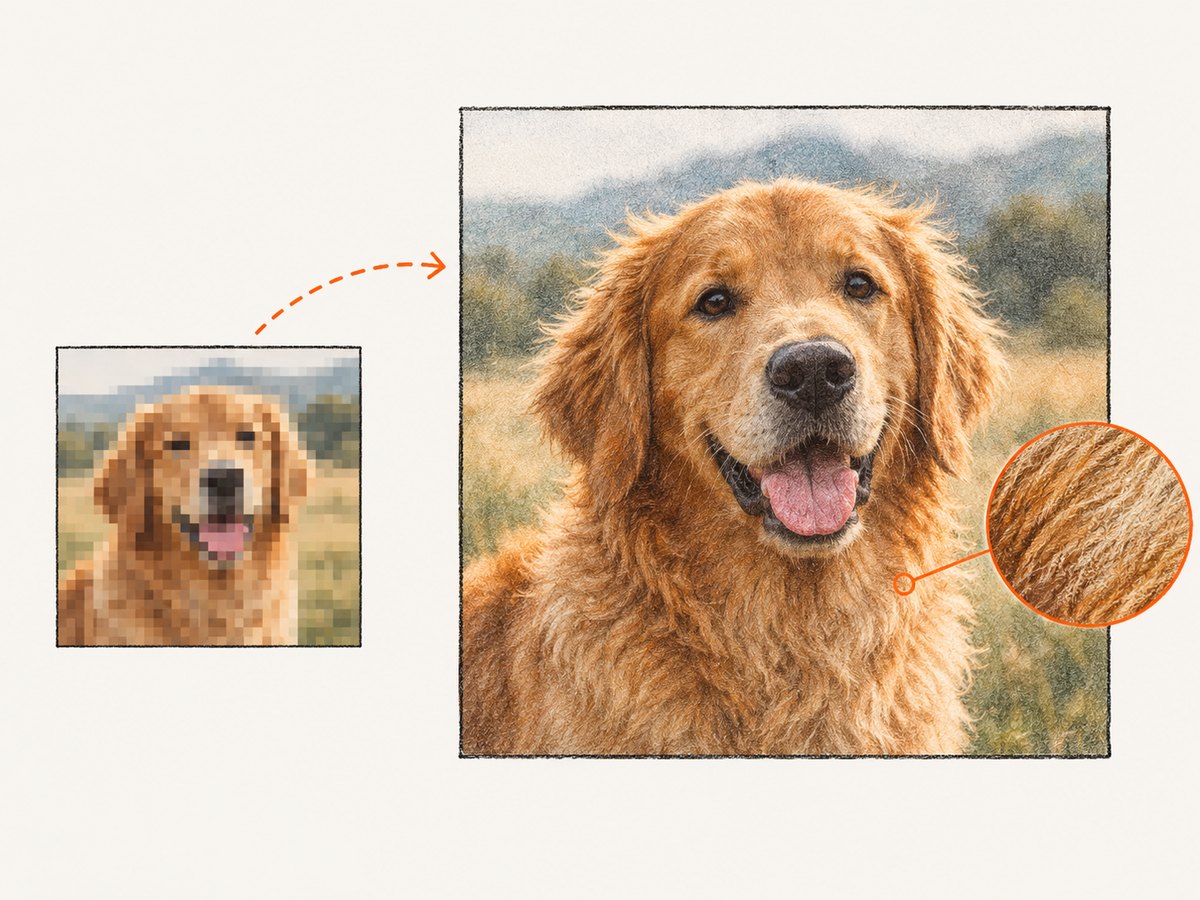
Adobe’s current Photoshop help describes Image > Generative Upscale as an option to create a new document at 2x or 4x scale. Its documented model choices have different stated purposes and limits: Firefly Upscaler is described for restoring low-resolution images, up to 6144 × 6144 pixels; Topaz Gigapixel is described for preserving existing detail, up to 56 megapixels and available to premium subscribers; Topaz Bloom is described for adding creative detail, up to 9 megapixels and available to premium subscribers. These are vendor descriptions and limits, not independent quality comparisons, and may change. Check Adobe’s Generative Upscale instructions for current availability and steps.
- Open the image and choose Image > Generative Upscale.
- Select 2x or 4x, then choose a model that fits the intended result and its documented constraints.
- Review any subscription, output-size, or model availability requirement shown in the product.
- Generate the new document and inspect faces, fine edges, repeated patterns, text, and small objects for invented or malformed details.
- Keep the original alongside the result. Use the enlarged version only where its interpretation is acceptable.
For a Lightroom workflow, Adobe documents Generative Upscale and AI Sharpen as enhancement features. Check the current product version, platform, region, and plan because availability can vary. The Lightroom generative AI help describes those features.
4. Prepare the file for its actual destination
For a screen or web page
Start with the pixel dimensions the layout needs. A larger source may help a crop or a high-density display, but the delivered file should still match the use case. Export in an appropriate format and check the saved dimensions; changing a display-size field in a web page does not enlarge the source pixels. If you are capturing a web page rather than editing its underlying image, ScreenshotNeo is a website screenshot API and MCP server for developers. Its screenshot output is a separate capture workflow, described below.
For print
Start from the physical size and inspect the pixel dimensions available at that size. Increasing the print width while holding pixel count lowers the effective PPI; resampling can add output pixels, but it cannot guarantee equivalent real-world detail. Ask the printer or publisher for its delivery specifications when they provide them, and make a proof at the intended size if appearance matters.
For evidence-sensitive or archival images
Keep the original unchanged and label any upscaled or AI-enhanced copy. Do not present synthesized details as though they were present in the source. Prefer non-generative resizing when preserving pixel provenance is important, and document the processing steps for later review.
5. Practical quality checks
- Check dimensions: confirm pixel width and height in the saved file, not just the editor’s canvas display size.
- Check proportions: make sure the aspect ratio stayed intact unless cropping or distortion was intentional.
- Inspect at multiple scales: look at 100% for artifacts and at final display or print size for overall legibility.
- Look for specific failures: jagged diagonals, soft edges, halos, smeared textures, repeated patterns, unnatural skin, or altered text.
- Compare against the source: toggle between original and enlarged versions. A more detailed appearance is not proof that the new details are accurate.
- Check the export: lossy compression can add new artifacts. Retain a high-quality master and export a destination copy.
6. Common problems and fixes
| Problem | Likely cause | What to try |
|---|---|---|
| PPI changes but pixel dimensions do not | Resample is off, so the print-size relationship changed without changing pixel count. | Enable Resample only if you need more pixels, then enter a target dimension and inspect the result. |
| The print is larger but looks softer | The same pixel count is spread over a larger physical area, or interpolation has softened edges. | Recheck the intended print size, use a suitable source, and make a proof. Avoid relying on the PPI field alone. |
| The image looks sharp in the editor but blurry in the exported file | The export may have been resized or compressed, or the image was viewed at a different scale. | Check the actual exported pixel dimensions and format settings; compare at the final use size. |
| AI upscale changes a face, lettering, or product detail | The model generated a plausible interpretation where source information was missing. | Use standard resampling, reduce the scale, or reject the generated result for accuracy-sensitive use. |
| The model or scale is unavailable | Feature support, plan, platform, region, or output constraints may differ. | Check the current Adobe help and in-product eligibility details; use Image Size or another available workflow. |
| The upscale introduces noise, halos, or strange texture | Source artifacts were enlarged or the chosen method overemphasized edges and texture. | Start from the cleanest source, try a lower scale or another method, and inspect before sharpening further. |
| Image dimensions are unexpectedly distorted | Width and height were changed independently or proportions were unlinked. | Restore the original aspect ratio or crop deliberately before resizing. |
| The output is too large to upload or store | Pixel count and file format affect file size; 4x dimensions imply 16x as many pixels as the original before compression effects. | Use the smallest dimensions that meet the destination requirement and export a delivery copy in a suitable format. |
7. Performance, reliability, and cost
Upscaling cost and processing time depend on the software, model, input size, output size, and available hardware or subscription. The research sources do not establish a general speed benchmark or universal quality winner, so compare using copies of your own representative images. Try the intended output size, review artifacts, and check current product terms before committing a batch.
Keep originals, use a small pilot batch before processing many files, and record which method and settings produced each output. For repeatable work, standardize target dimensions and export settings. If a result matters, preserve the editable source and inspect the final saved file rather than relying only on an in-app preview.
Or skip the browser setup
ScreenshotNeo is for capturing web pages, rather than enlarging an existing image file. One GET request returns a screenshot in PNG, JPEG, or WebP, or a PDF. Its documented options include full-page capture with lazy images loaded, element capture, viewport and device presets, retina scale, custom CSS and JavaScript, wait conditions, request blocking, and caching. See the ScreenshotNeo site and API documentation.
curl -G "https://api.screenshotneo.com/v1/shot" -d access_key=YOUR_API_KEY --data-urlencode url=https://stripe.com -o shot.webpimport requests
r = requests.get("https://api.screenshotneo.com/v1/shot", params={"access_key": "YOUR_API_KEY", "url": "https://stripe.com"}, timeout=90)
open("shot.webp", "wb").write(r.content)const q = new URLSearchParams({ access_key: 'YOUR_API_KEY', url: 'https://stripe.com' });
const res = await fetch(`https://api.screenshotneo.com/v1/shot?${q}`);ScreenshotNeo accepts cookie and consent banners before capture and removes more than 60 known consent platforms, newsletter popups, and chat widgets; each step can be turned off. Bot checks, blank pages, timeouts, failed loads, and cache hits are not billed, and response headers identify the page verdict and billing status. Its MCP server gives AI agents tools named take_screenshot, get_page_info, and capture_pdf. The free plan includes 1,000 screenshots per month with no card; paid plans start at $5 for 3,000 shots. Sign up for 1,000 free screenshots a month, with no card required.
8. Frequently asked questions
Can I increase resolution without changing image dimensions?
You can change the PPI metadata or print-size relationship without resampling, but that does not increase pixel dimensions or add image detail.
Does a 4x upscale mean four times the detail?
No. Adobe describes some enhancement outputs in terms of scale or pixel count. More pixels do not guarantee a matching increase in faithful visual information.
Should I use AI upscaling for text in a screenshot?
Use caution. A generative model may alter lettering. If exact text matters, retain the original capture or recreate the asset from a reliable source instead of treating generated pixels as evidence.
Which route should I try first?
Set the target output dimensions, make a copy, and compare standard resampling with an AI-assisted option if its generated detail is acceptable for the use. Judge the saved result at its final viewing size.


