How to Initialize and Use html2canvas
Install html2canvas, render a DOM element to a canvas, export it, and troubleshoot CORS, sizing, options, and browser limits.
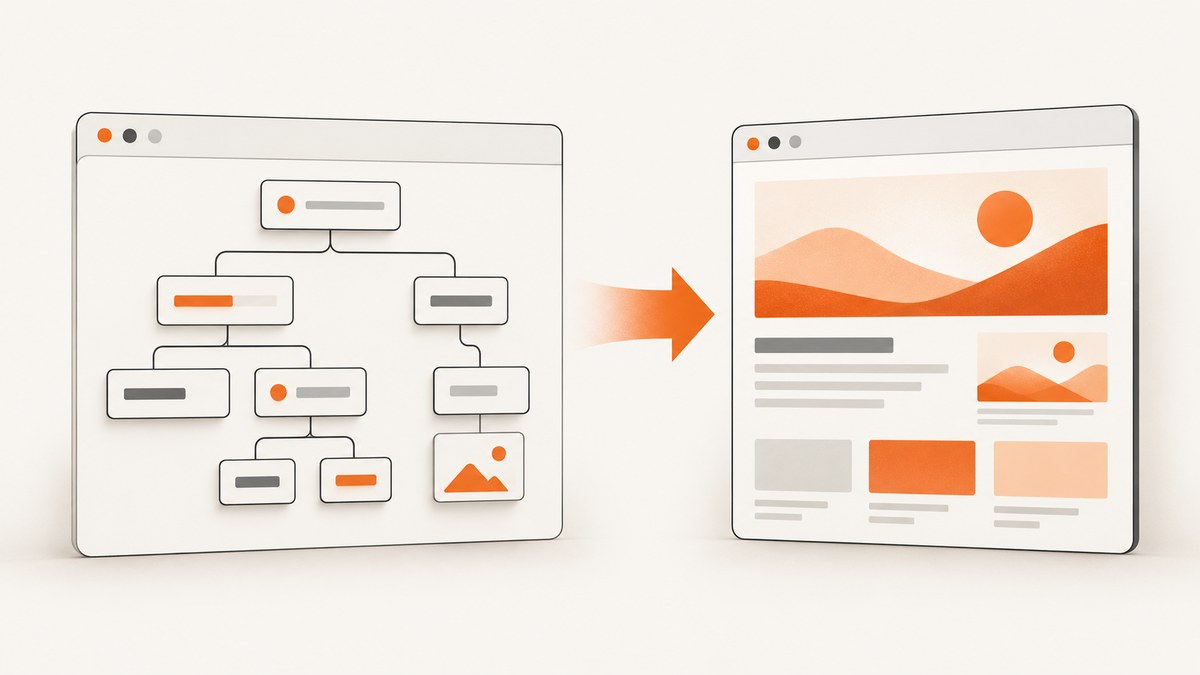
Direct answer: install html2canvas, import its default export, select a DOM element, and await html2canvas(element, options). The promise resolves to an HTML <canvas>. You can append that canvas to the page or export it as PNG, JPEG, or another format supported by the Canvas API.
npm install html2canvasimport html2canvas from 'html2canvas';
const element = document.querySelector('#capture');
if (!element) throw new Error('Capture element not found');
const canvas = await html2canvas(element);
document.body.appendChild(canvas);The examples below use the browser because html2canvas reads the DOM and browser APIs. It is not a Node.js screenshot library.
1. Install and initialize html2canvas
Using npm
Install the package in your project:
npm install html2canvasThen import the default export in an ES module:
import html2canvas from 'html2canvas';Minimal HTML and JavaScript example
<!doctype html>
<html lang="en">
  <head>
    <meta charset="utf-8">
    <title>html2canvas example</title>
    <style>
      #capture {
        width: 640px;
        padding: 32px;
        color: #172033;
        background: white;
        border: 1px solid #d7dce5;
        border-radius: 12px;
        font-family: system-ui, sans-serif;
      }
    </style>
  </head>
  <body>
    <section id="capture">
      <h1>Export this card</h1>
      <p>html2canvas renders this element into a canvas.</p>
    </section>
    <script type="module" src="/main.js"></script>
  </body>
</html>
import html2canvas from 'html2canvas';
const element = document.querySelector('#capture');
if (!element) throw new Error('Capture element not found');
const canvas = await html2canvas(element);
document.body.appendChild(canvas);The official getting-started guide also documents Promise chaining and other package or CDN installation approaches. Check that page for the current distribution details when setting up a new project.
2. Export the returned canvas
Download a PNG
const element = document.querySelector('#capture');
if (!element) throw new Error('Capture element not found');

const canvas = await html2canvas(element);
const link = document.createElement('a');
link.download = 'capture.png';
link.href = canvas.toDataURL('image/png');
link.click();
Get a Blob for uploads
const canvas = await html2canvas(document.querySelector('#capture'));

const blob = await new Promise((resolve, reject) => {
  canvas.toBlob(result => result ? resolve(result) : reject(new Error('Could not create image blob')), 'image/png');
});

const form = new FormData();
form.append('file', blob, 'capture.png');
await fetch('/upload', { method: 'POST', body: form });
JPEG or WebP output
const canvas = await html2canvas(document.querySelector('#capture'), {
  backgroundColor: '#ffffff'
});

const jpegDataUrl = canvas.toDataURL('image/jpeg', 0.9);
const webpDataUrl = canvas.toDataURL('image/webp', 0.9);
Large canvases consume significant memory. Prefer toBlob() for uploads and avoid keeping multiple data URLs in memory.
3. Capture one element, a crop, or the full page
Capture a specific element
const card = document.querySelector('.invoice-card');
if (!card) throw new Error('Invoice card not found');
const canvas = await html2canvas(card);
Crop a region
The x, y, width, and height options define the rendered region. Coordinates are relative to the document.
const canvas = await html2canvas(document.body, {
  x: 100,
  y: 200,
  width: 800,
  height: 500
});
Render a long element
For content extending beyond the viewport, set the rendering window to the element’s scroll dimensions. This can prevent output from being cut off when browser canvas limits are not exceeded.
const element = document.querySelector('#long-report');
if (!element) throw new Error('Report not found');

const canvas = await html2canvas(element, {
  windowWidth: element.scrollWidth,
  windowHeight: element.scrollHeight
});
4. Options you will commonly need
| Option | Purpose | Example |
|---|---|---|
scale |
Controls output density. The default is window.devicePixelRatio. |
scale: 2 |
backgroundColor |
Sets the canvas background. Use null for transparency. |
backgroundColor: null |
x, y, width, height |
Chooses a crop region. | width: 1200 |
useCORS |
Attempts to load cross-origin images with CORS. | useCORS: true |
proxy |
Specifies a proxy for resources that cannot be loaded directly. | proxy: '/image-proxy' |
ignoreElements |
Returns true for nodes that should be omitted. | ignoreElements: el => el.matches('.no-export') |
data-html2canvas-ignore |
Declaratively excludes an element. | <aside data-html2canvas-ignore> |
windowWidth, windowHeight |
Controls the viewport used while rendering and therefore media queries. | windowWidth: 1440 |
onclone |
Modifies the cloned document used for capture without changing the live page. | onclone: doc => { ... } |
These settings are described in the official configuration reference.
High-resolution output
const canvas = await html2canvas(element, {
  scale: 2,
  backgroundColor: '#ffffff'
});
Increasing scale increases pixel dimensions and memory use. Use the lowest value that meets your output requirement.
Transparent background
const canvas = await html2canvas(element, {
  backgroundColor: null
});
Hide controls during capture
const canvas = await html2canvas(document.body, {
  ignoreElements: element => element.matches('.toolbar, .cookie-banner')
});
You can also mark permanent exclusions directly in HTML:
<div data-html2canvas-ignore>Visible in the app, absent from exports</div>Change only the cloned document
const canvas = await html2canvas(element, {
  onclone: clonedDocument => {
    const banner = clonedDocument.querySelector('.temporary-banner');
    banner?.remove();
  }
});
5. Cross-origin images, fonts, and iframes
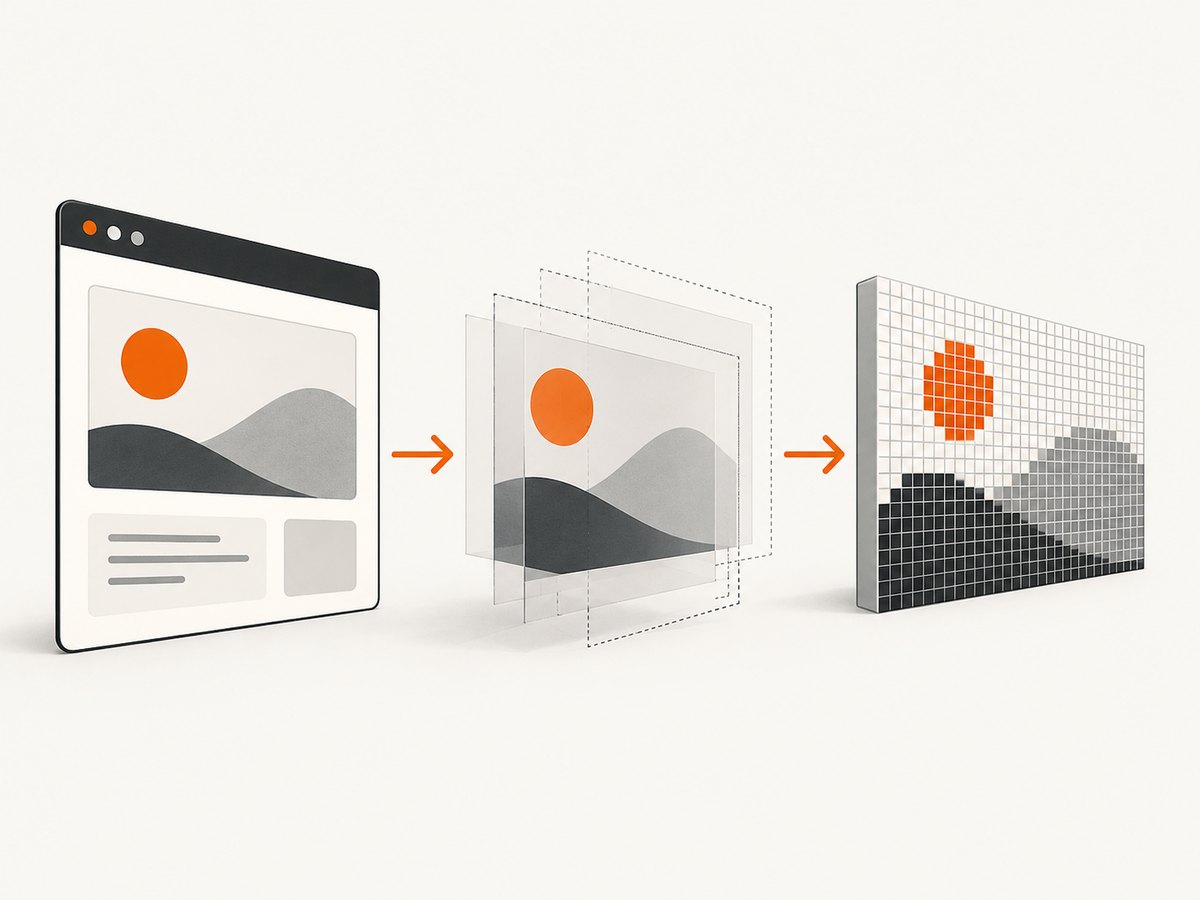
html2canvas reconstructs an image by reading the DOM and resources that browser security permits. It does not capture native browser pixels. As a result, unsupported CSS or inaccessible resources can differ from what a user sees. See the project’s documentation for the rendering model.
Cross-origin images
Direct loading requires the image server to send suitable CORS headers. useCORS: true requests that mode, but it cannot grant permission that the server does not provide.
const canvas = await html2canvas(element, {
  useCORS: true
});
If the remote server does not allow CORS, configure an appropriate server-side proxy and pass its URL with proxy. Do not expose an open proxy that forwards arbitrary URLs without access controls.
Cross-origin iframes
A cross-origin iframe’s document is inaccessible to JavaScript in the parent page, so html2canvas cannot render its contents. Capture the iframe application from within its own origin or use a browser-based screenshot service.
6. A complete reusable capture helper
import html2canvas from 'html2canvas';

export async function captureElement(selector, {
  filename = 'capture.png',
  scale = window.devicePixelRatio,
  transparent = false
} = {}) {
  const element = document.querySelector(selector);
  if (!element) throw new Error(`No element matched ${selector}`);

  const canvas = await html2canvas(element, {
    scale,
    backgroundColor: transparent ? null : '#ffffff',
    useCORS: true,
    ignoreElements: node => node.matches('[data-no-export]')
  });

  const blob = await new Promise((resolve, reject) => {
    canvas.toBlob(blobResult => {
      if (blobResult) resolve(blobResult);
      else reject(new Error('Canvas could not be encoded'));
    }, 'image/png');
  });

  const url = URL.createObjectURL(blob);
  const link = document.createElement('a');
  link.href = url;
  link.download = filename;
  link.click();
  URL.revokeObjectURL(url);

  return canvas;
}

// Example:
await captureElement('#capture', { filename: 'report.png', scale: 2 });
7. Troubleshooting
| Symptom | Likely cause | Fix |
|---|---|---|
Cannot find module 'html2canvas' |
The package is not installed or the import is outside a bundler/module context. | Run npm install html2canvas and use an ES module import. |
| Blank or missing images | Cross-origin resources lack CORS permission. | Enable server CORS, use useCORS, or configure a suitable proxy. |
SecurityError when exporting |
A tainted canvas contains an image loaded without permitted CORS. | Fix image CORS before calling toDataURL or toBlob. |
| Iframe content is absent | The iframe is cross-origin. | Capture inside the iframe’s origin or use a browser screenshot service. |
| Output is cut off | The rendering viewport or capture dimensions are too small. | Set windowWidth/windowHeight to the element’s scroll dimensions and check crop options. |
| Canvas is empty or truncated | The browser’s maximum canvas dimensions or memory limit was exceeded. | Reduce scale, split the page into sections, or capture a smaller region. |
| Fonts or CSS differ | The resource was not loaded yet, or the style is unsupported by html2canvas. | Wait for fonts and images before capture and verify the CSS is supported by the library. |
| Capture changes the live page | Preparation code modified the original DOM. | Move temporary changes into onclone, which receives the cloned document. |
The official FAQ covers browser canvas limits, cross-origin restrictions, and viewport sizing.
8. Timing and reliability checklist
- Call html2canvas after the target element is mounted.
- Wait for images to finish loading before capture.
- Wait for web fonts if typography matters.
- Use a fixed viewport and explicit dimensions for repeatable exports.
- Keep
scaleand capture regions as small as quality allows. - Handle rejected promises and encoding failures in production code.
- Test long pages and large retina captures on the browsers your users run.
await Promise.all(
  [...document.images]
    .filter(image => !image.complete)
    .map(image => new Promise(resolve => {
      image.addEventListener('load', resolve, { once: true });
      image.addEventListener('error', resolve, { once: true });
    }))
);

await document.fonts?.ready;
const canvas = await html2canvas(document.querySelector('#capture'));
9. When html2canvas is the wrong tool
html2canvas is useful when the page and assets are under your control and a DOM reconstruction is acceptable. Choose another approach when you need a native browser-pixel screenshot, cross-origin iframe capture, server-side execution, or consistent rendering without shipping browser code to the user.
Or skip the browser setup
If you need a screenshot of a URL instead of a canvas reconstructed inside your page, ScreenshotNeo provides a single HTTP request that returns PNG, JPEG, WebP, or PDF. Read the ScreenshotNeo API documentation for the full option set.
curl -G "https://api.screenshotneo.com/v1/shot" -d access_key=YOUR_API_KEY --data-urlencode url=https://stripe.com -o shot.webpimport requests
r = requests.get(
"https://api.screenshotneo.com/v1/shot",
params={"access_key": "YOUR_API_KEY", "url": "https://stripe.com"},
timeout=90,
)
r.raise_for_status()
open("shot.webp", "wb").write(r.content)const q = new URLSearchParams({ access_key: 'YOUR_API_KEY', url: 'https://stripe.com' });
const res = await fetch(`https://api.screenshotneo.com/v1/shot?${q}`);
if (!res.ok) throw new Error(`Screenshot failed: ${res.status}`);
const bytes = Buffer.from(await res.arrayBuffer());
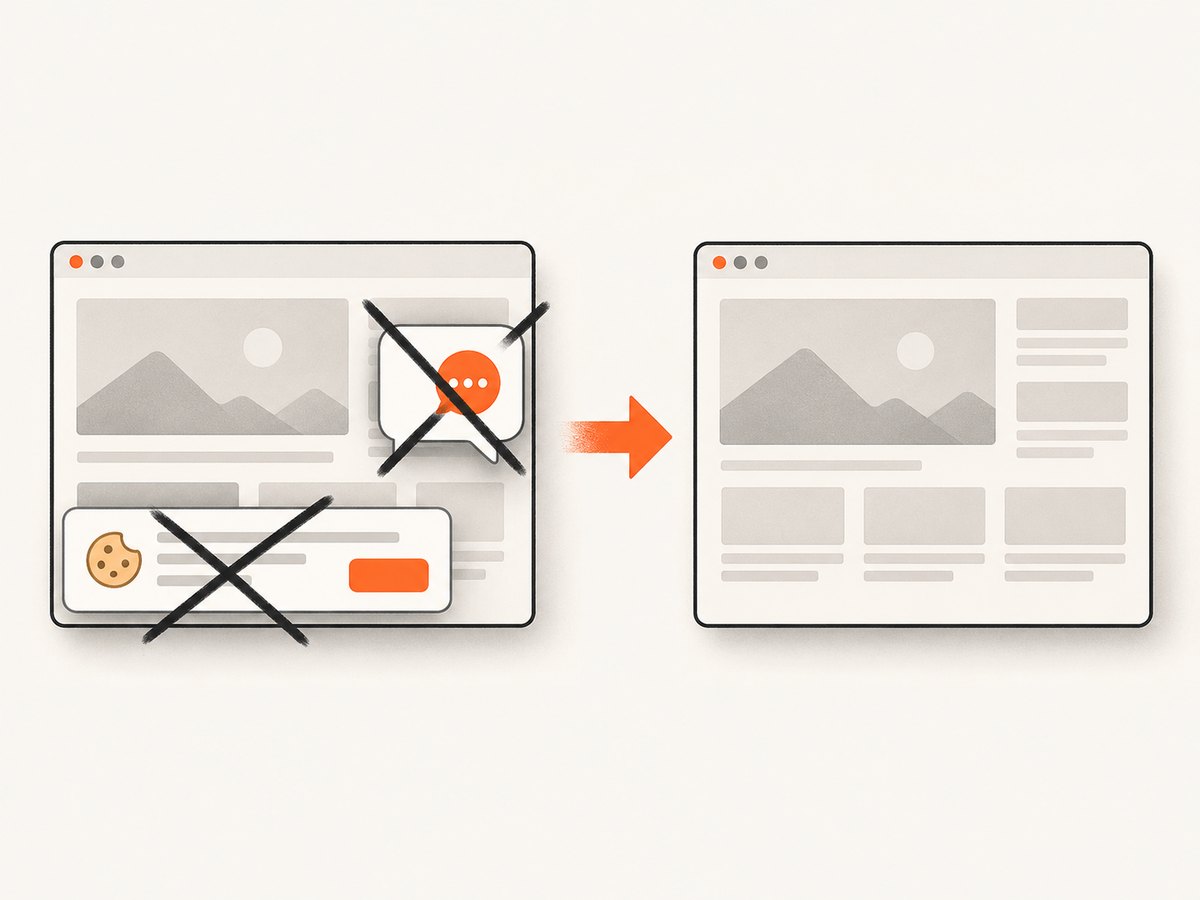
require('fs').writeFileSync('shot.webp', bytes);Cookie and consent banners are accepted and removed before capture, along with more than 60 known consent platforms, newsletter popups, and chat widgets. Bot checks, blank pages, failed loads, timeouts, and cache hits are not billed; response headers identify the page verdict and billing status. ScreenshotNeo also provides an MCP server for AI agents, including Claude and Cursor, with take_screenshot, get_page_info, and capture_pdf tools. The free plan includes 1,000 screenshots each month with no card, and paid plans start at $5 for 3,000 shots. Create a free ScreenshotNeo account.
FAQ
Does html2canvas save a screenshot file automatically?
No. It returns a canvas. Convert it with toDataURL() or toBlob(), then download or upload the result.
Can I run html2canvas in Node.js?
The library depends on browser DOM and rendering APIs and is intended for modern evergreen browsers, including Chromium-based browsers, Firefox, and Safari.
Why is my result different from the visible page?
html2canvas rebuilds the image from readable DOM and supported styles rather than copying browser pixels. Unsupported CSS, delayed resources, and cross-origin assets can change the result.
How do I make a transparent PNG?
Pass backgroundColor: null, then export the canvas as PNG.
Should I increase scale?
Increase it when you need sharper output, but watch canvas dimensions and memory. The default follows window.devicePixelRatio.


