Inject Custom CSS into a Webpage
Learn how to test CSS in DevTools, save site-specific overrides, inject styles with a browser extension, and troubleshoot rules that do not apply.

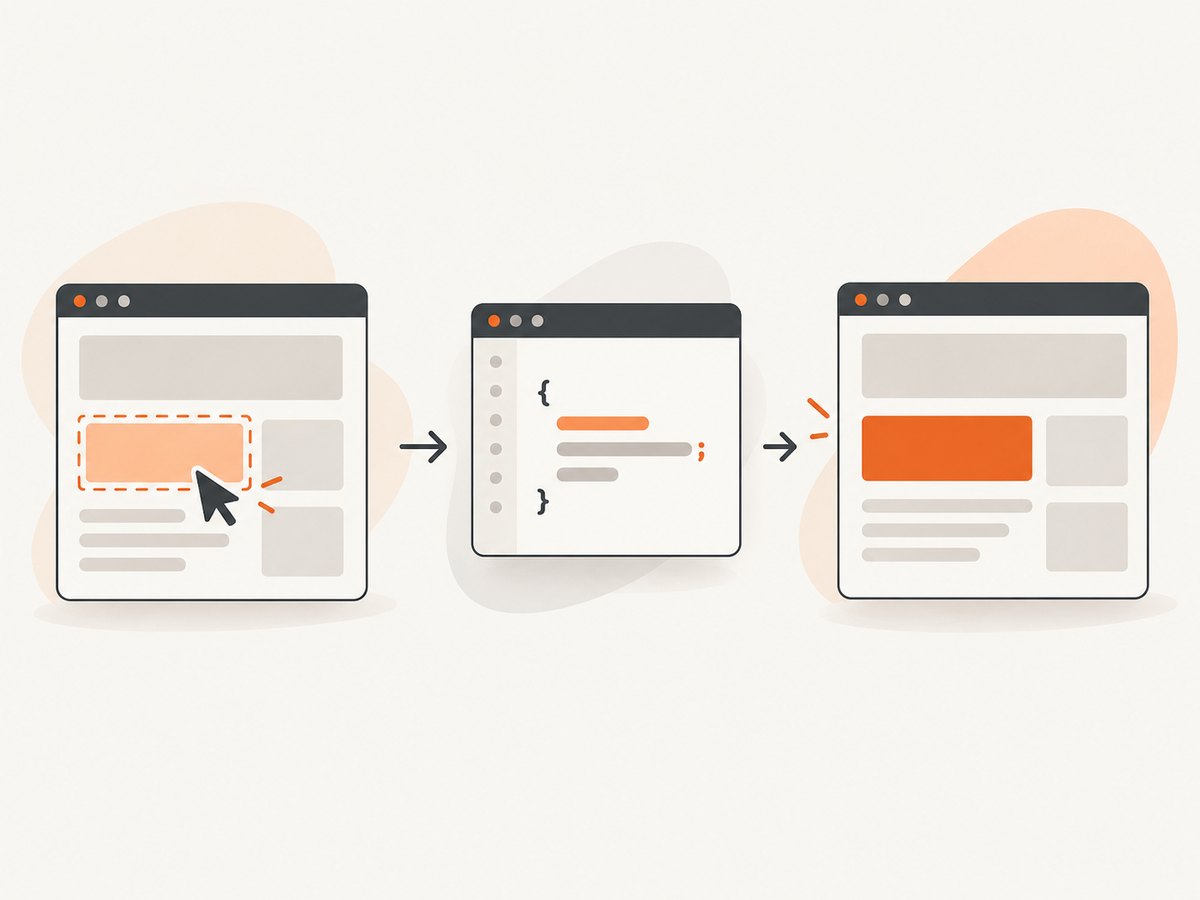
To inject custom CSS into a webpage, use browser developer tools for a quick experiment, add the rule to the site’s stylesheet if you control the site, or save a personal override with a user-style extension such as Stylus. For an automated screenshot workflow, you can also send custom CSS with a ScreenshotNeo capture request.
1. Try CSS temporarily in browser developer tools
DevTools is the fastest way to see whether a selector and declaration produce the result you want. These edits are for experimentation; save the final rule somewhere persistent if you want it after a reload.
Chrome
- Open the page, then open DevTools (usually
F12orCtrl+Shift+I; on macOS,Cmd+Option+I). - Choose the element picker and click the element you want to change.
- In the Styles pane, add a declaration to an existing rule or create a new rule. For example, to increase a heading’s size, add
font-size: 2rem;. - Adjust the value and observe the rendered page. When the result is right, copy the declaration and selector to the place where it should live permanently.
Chrome DevTools supports live CSS inspection and editing. Its diagnostics can help identify invalid, overridden, or inactive declarations when a change appears to do nothing. See the Chrome DevTools CSS guide and CSS issue diagnostics.
Firefox
Open Firefox Developer Tools and use the Inspector to select an element and edit its rules. To edit a stylesheet directly, open the Style Editor, change the CSS, and view the update on the page. Firefox documents this live workflow in its Style Editor guide.
Start with a small, specific rule
/* Example experiment: make one component easier to scan */
.product-card__title {
  font-size: 1.25rem;
  line-height: 1.3;
}
Use the element inspector to confirm the selector matches the intended element. Prefer a stable class or attribute over a selector that depends on an element’s position, such as div:nth-child(4). A positional selector can silently target something else after the page structure changes.
2. Make the change persist
Choose the storage location based on who should see the change:
| Goal | Where to put the CSS | What to expect |
|---|---|---|
| Experiment, then discard | Browser DevTools | Fast feedback; copy the final rule out if you need it later. |
| Change a site you maintain for all visitors | The project’s stylesheet or styling system | The change ships with the site and should be reviewed with the rest of its code. |
| Change how a site looks for you | A user-style manager, such as Stylus | The override is associated with selected sites and applies in your browser. |
| Build your own injection workflow | A browser extension using the scripting API | Flexible, but the extension needs appropriate access to the pages it modifies. |
For a site you control
Put the rule in the stylesheet or component styling system the site already uses. Keep the selector scoped to the component, check the result at the supported viewport sizes, and follow the project’s normal review and deployment process. CSS changes presentation; they do not, by themselves, alter server-side data or application behavior.
For a personal site override
A user-style manager lets you save CSS for pages you visit without changing the website’s source files. Stylus supports creating and managing personalized stylesheets; its documentation describes the UserCSS flow in Writing UserCSS. The Stylus Chrome Web Store listing describes its page access requirement. Review an extension’s requested permissions and install software you trust.
After saving an override, reload the page and confirm it applies on the intended site and page paths. Revisit it when the website changes: renamed classes or a redesigned component can make a once-useful selector stop matching.
For developers building an extension
Chrome’s chrome.scripting API supports injecting CSS into webpages. The extension must be configured with the required permissions and access to the target tab or site. Consult the current Chrome scripting API reference for supported methods and permission details before implementing an injector. Keep injection limited to the sites and elements the user expects; extension page access is security-sensitive.
3. Debug CSS that does not apply
When a rule has no visible effect, work down this checklist before reaching for !important:
- Check the match. Select the element in the inspector and verify that your selector matches it. Check spelling, capitalization, and whether the element exists at the time your CSS runs.
- Check the declaration. Look for syntax errors, missing semicolons, invalid values, or properties that do not apply to that element.
- Check the cascade. Another rule may have greater specificity, appear later, or use
!important. DevTools can show overridden or inactive declarations; inspect the winning rule and its source. - Check the browsing context. The element may be inside an iframe, which has a separate document, or inside a component with encapsulated styles. Inspect the actual target context; a rule on the outer document may not reach it.
- Check persistence. If the edit vanishes after refresh, it was only a DevTools experiment. Save it in the site project or a user-style manager.
- Check for site changes. A redesign may change the class names or structure your selector depends on. Inspect the current page again and update the rule.
Use !important only when you understand which competing declaration it must override and why. Adding it reflexively makes future debugging harder and may still fail when the rule does not match, the target is in another context, or the declaration is invalid.
4. Capture a page with custom CSS
For a one-off visual check, DevTools is enough. If you need a repeatable screenshot with a stylesheet applied before capture, an API can combine the CSS and screenshot request. ScreenshotNeo is a website screenshot API and MCP server from Yorker Media. Its site describes the service, and the API documentation covers request options.
Or skip the browser setup
Send a URL and custom CSS in one request. This Node.js example is runnable in a modern Node environment with built-in fetch; replace the key, target URL, and CSS. Check the API documentation for the current custom CSS parameter name and response options.
const q = new URLSearchParams({
  access_key: 'YOUR_API_KEY',
  url: 'https://stripe.com',
  css: 'body { background: #f4f1ea; }'
});
const res = await fetch(`https://api.screenshotneo.com/v1/shot?${q}`);
if (!res.ok) throw new Error(`Screenshot request failed: ${res.status}`);
const image = Buffer.from(await res.arrayBuffer());
await import('node:fs/promises').then(fs => fs.writeFile('shot.webp', image));
Equivalent request shape using cURL:
curl -G "https://api.screenshotneo.com/v1/shot" \
  -d access_key=YOUR_API_KEY \
  --data-urlencode url=https://stripe.com \
  --data-urlencode css='body { background: #f4f1ea; }' \
  -o shot.webp
Python example with requests:
import requests

r = requests.get(
    "https://api.screenshotneo.com/v1/shot",
    params={
        "access_key": "YOUR_API_KEY",
        "url": "https://stripe.com",
        "css": "body { background: #f4f1ea; }",
    },
    timeout=90,
)
r.raise_for_status()
with open("shot.webp", "wb") as f:
    f.write(r.content)
These examples use the supplied ScreenshotNeo endpoint and request pattern; see ScreenshotNeo docs for accepted parameters and options. ScreenshotNeo also supports full-page capture with lazy images loaded, element capture by CSS selector, dark mode, device presets or custom viewports, retina scale, custom JavaScript, click-before-capture, selector or network-idle waits, hiding selectors, request and resource blocking, custom headers/cookies/user agent/Authorization, timezone and geolocation, transparent backgrounds, resizing, caching with a chosen TTL, signed image links, async jobs with signed webhooks, bulk capture of up to 100 URLs per call, a usage API, and an OpenAPI spec. It returns PNG, JPEG, WebP, or PDF. Parameter names used by other screenshot APIs also work to ease migration.
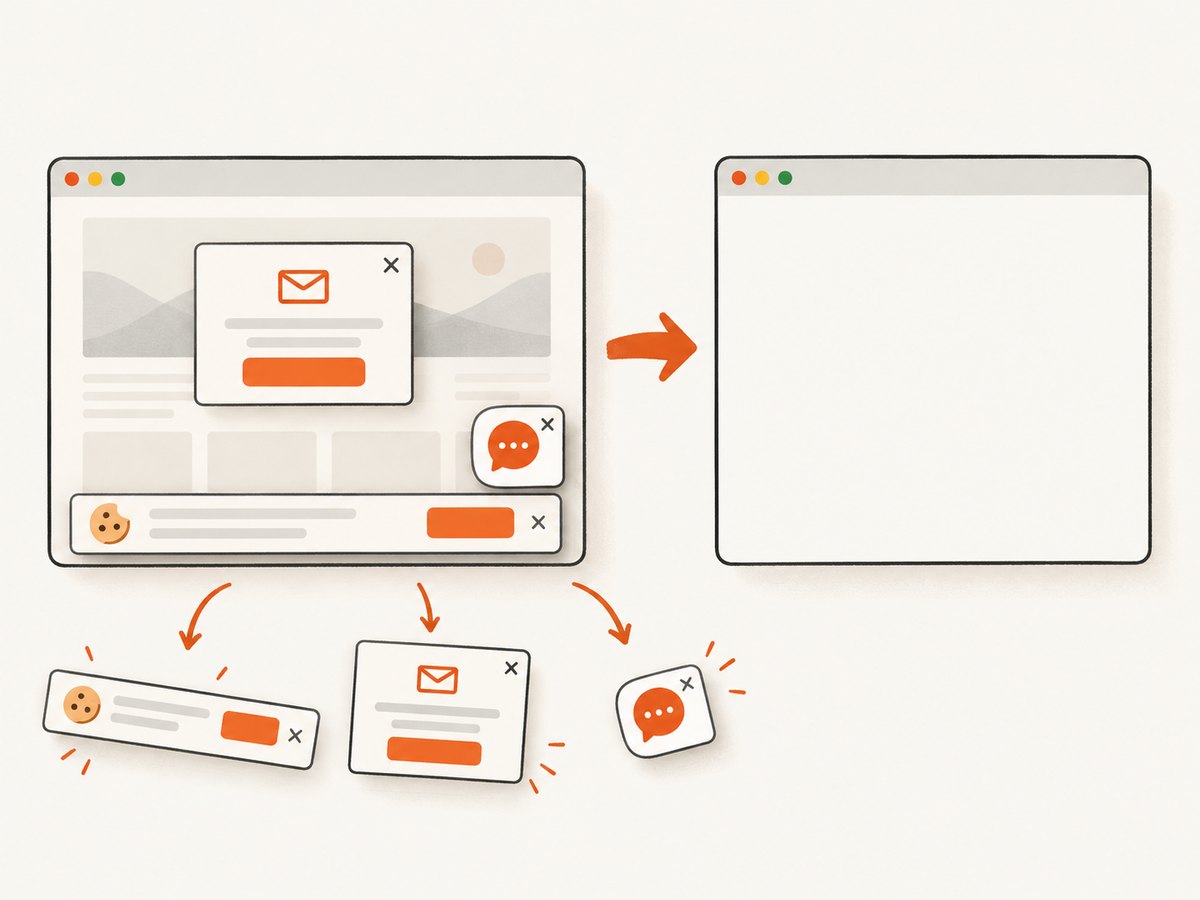
Clean shots are billed: ScreenshotNeo accepts cookie and consent banners like a visitor and removes more than 60 known consent platforms, newsletter popups, and chat widgets before capture; each of these steps can be turned off. Bot checks or CAPTCHAs, blank pages, timeouts, failed loads, and cache hits cost nothing. Responses identify page verdict and billing through X-Page-Verdict and X-Billed headers. An MCP server exposes take_screenshot, get_page_info, and capture_pdf to Claude, Cursor, and other MCP clients.
The Free plan includes 1,000 screenshots per month with no card. Paid plans start at $5 for 3,000 shots; higher plans are Growth $15 for 15,000, Pro $39 for 60,000, Scale $99 for 250,000, and Business $249 for 1,000,000. Yearly billing gives two months free, and every feature is on every plan. For occasional CSS review, start with the free allocation; for recurring capture, estimate successful clean shots and use the response billing headers and usage API to track consumption.
Cookie banners, popups, and chat widgets are removed before the shot; bot checks, blank pages, and failed loads are never billed; an MCP server lets AI agents take screenshots; and 1,000 screenshots a month are free with no card, with paid plans starting at $5 for 3,000. Sign up free and get 1,000 screenshots a month with no card.
5. Performance, reliability, and cost considerations
- Keep rules narrow. A small override aimed at a stable component is easier to debug and less likely to cause unrelated layout changes.
- Wait for the right page state. Dynamic sites can load content after the initial document. For automated captures, choose a selector wait, delay, or network-idle condition suited to the page; a fixed delay may waste time or still be too short.
- Account for context. CSS may not cross iframe or encapsulation boundaries. Verify the intended element is visible to the capture context.
- Expect remote variation. Fonts, images, and scripts can load differently depending on network and site behavior. A failed or challenged page is not evidence that the CSS itself is wrong.
- Control repeat work. Cache captures when the URL and styling inputs are stable and a fresh result is not required; choose a TTL consistent with how quickly the page should reflect changes.
- Track usage by result. ScreenshotNeo reports whether a page was clean and whether it was billed in response headers. This helps distinguish a CSS issue from an unsuccessful page load and makes cost accounting more explicit.
Frequently asked questions
Can I inject CSS into any website?
You can change how a page appears in your own browser with DevTools or an appropriately configured user-style extension. You cannot change the website for its other visitors unless you control and update its code.
Will DevTools remember my CSS after I close the page?
Treat DevTools edits as temporary. Put a change in the site’s stylesheet or save a site-specific user style when it needs to persist.
Does custom CSS change page behavior or data?
CSS changes presentation. It does not by itself change server-side data or application behavior.
Why does a selector stop working later?
The site may have changed its markup or class names. Inspect the updated page and revise the selector to match a stable element hook.


