How to Insert a Screenshot into Google Docs
Insert a saved screenshot into Google Docs from your computer or Android, then resize, wrap, position, and troubleshoot it.
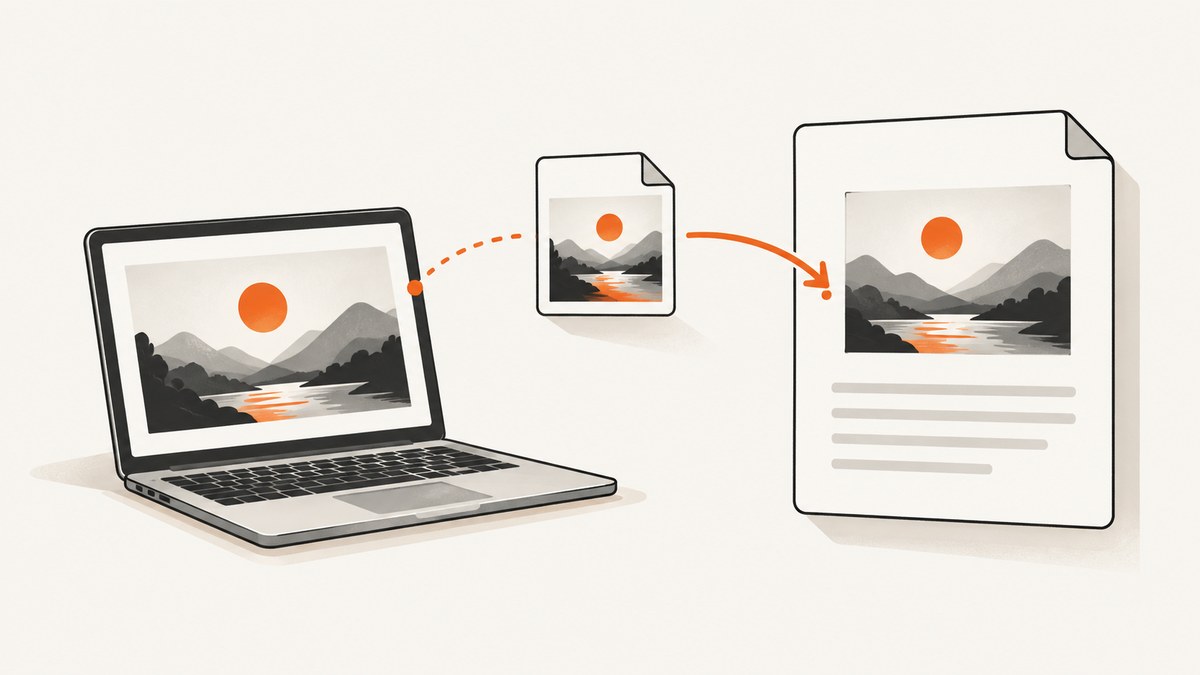
Quick answer: Open your document, choose Insert > Image > Upload from computer, select the screenshot, and insert it. You can also choose an image from Drive or Google Photos, use a URL or camera source, drag an image into the document, or copy and paste it. After insertion, select the image to resize it or choose a layout such as In line, Wrap text, or Break text.
This guide covers the complete workflow on a computer and Android, layout and positioning choices, image quality, troubleshooting, and an automated way to create screenshots before inserting them. Google’s documented instructions are the source for the menu names and supported insertion routes.
Insert a saved screenshot on a computer
- Open Google Docs and open the document you want to edit.
- Click where the screenshot should appear.
- Choose Insert > Image.
- Select Upload from computer.
- Choose the screenshot file and complete the open or insert action.
The image appears at the cursor location. This is the most predictable route when your screenshot is saved as a PNG, JPEG, or another image file on your computer. Google documents the same Insert > Image menu for other sources, including Drive & Photos, camera, and URL. See Google’s official computer instructions for the current source list.
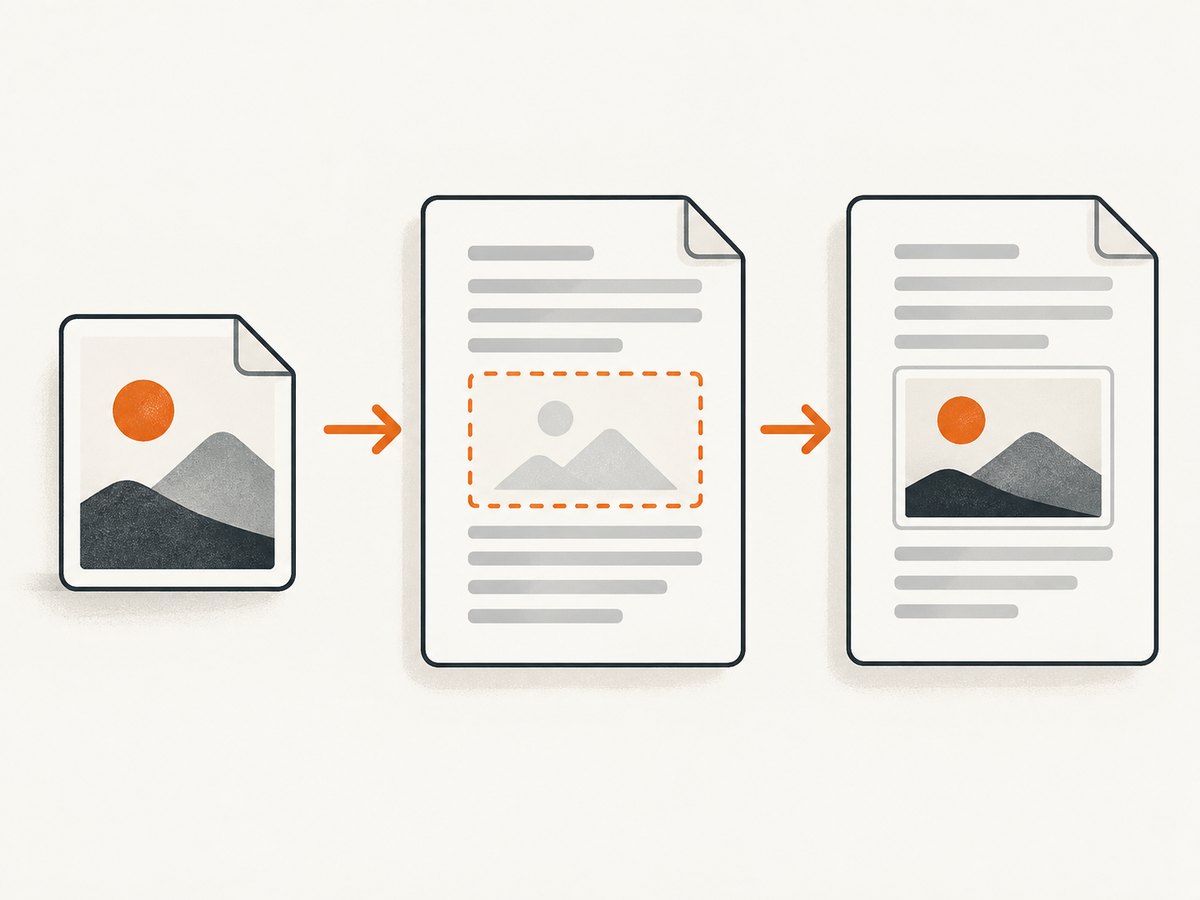
Choose the right source
| Where the screenshot is | Google Docs option | When to use it |
|---|---|---|
| Downloads or another local folder | Upload from computer | The normal choice for a saved screenshot. |
| Google Drive or Google Photos | Drive & Photos | Useful when the file is already synced or shared. |
| A web-hosted image | URL | Use when you have a direct image URL and permission to use it. |
| A connected camera | Camera | Capture or select an image from a camera source. |
Alternative computer methods
Drag and drop
Open the folder containing the screenshot, then drag the image onto the open document. Drop it where you want it placed. This is convenient for one-off files, but the upload menu is easier to repeat in a written procedure or team checklist.
Copy and paste
Copy the screenshot from an image viewer, file manager, browser, or screenshot utility, place the cursor in Google Docs, and paste it. On Windows or ChromeOS, Google documents Ctrl+C and Ctrl+V; on macOS, use Command+C and Command+V. Browser access to the system clipboard can be restricted, so paste may fail even when the image is valid. If that happens, save the screenshot as a file and use Insert > Image > Upload from computer. Google’s clipboard guidance is available in its copy and paste help.
Insert a screenshot on Android
- Open the document in the Google Docs Android app.
- Tap Insert.
- Tap Image.
- Choose where to get the image.
- Tap the photo or screenshot to insert it.
The Android help page describes inserting an existing image. Screenshot capture controls vary by phone manufacturer and Android version, so capture the screen first using your device’s normal screenshot command, then follow the insertion steps. If the image does not appear in the picker, check that the Docs app has permission to access photos and files.
Resize, crop, and rotate the screenshot
Click or tap the inserted image to select it. Drag a corner handle to change its size while preserving its proportions. Drag a side handle only when you intentionally want to change the proportions. For precise adjustments, open Image options. Depending on the document format and current editor features, Image options can expose size, rotation, recoloring, transparency, brightness, and contrast controls.
Keep text legible: a screenshot that contains small code or interface labels may become unreadable when reduced to fit a narrow page. In that case, crop irrelevant margins before insertion, use a wider page layout, or place the image on its own page with a short explanation.
Choose a layout and position
With the image selected, choose a layout control from the toolbar. Google Docs provides these choices:
| Layout | How it behaves | Good use |
|---|---|---|
| In line | The image behaves like a character in the paragraph. | Stable instructions, reports, and captions. |
| Wrap text | Text flows around the image. | Small screenshots beside explanatory text. |
| Break text | Text stays above and below the image. | Large screenshots that should have clear separation. |
| Behind text | The image sits behind document text. | Watermark-style backgrounds; use carefully for readability. |
| In front of text | The image floats above the text. | Annotations or overlays that must remain visible. |
For Wrap text or Break text, Google Docs also provides controls to move the image with text or keep it fixed on the page when the document uses Pages format. Text wrapping and position controls are unavailable in pageless documents. If those controls are missing, switch the document to Pages format from the document’s page setup options, then select the image again.
Keep screenshots readable in long documents
- Use In line for numbered procedures so the screenshot stays attached to the relevant paragraph.
- Use Break text for wide browser captures that need a full line of space.
- Add a short caption immediately before or after the image.
- Use consistent widths for a sequence of screenshots.
- Check the document at 100% zoom before publishing or exporting to PDF.
Automate screenshot creation before insertion
Google Docs handles insertion; it does not provide the browser automation needed to capture a web page. You can create the image with a local browser tool or an API, save it, and then upload the resulting file through the steps above. For repeatable documentation, automation avoids manually opening every page and keeps output dimensions consistent.
Or skip the browser setup
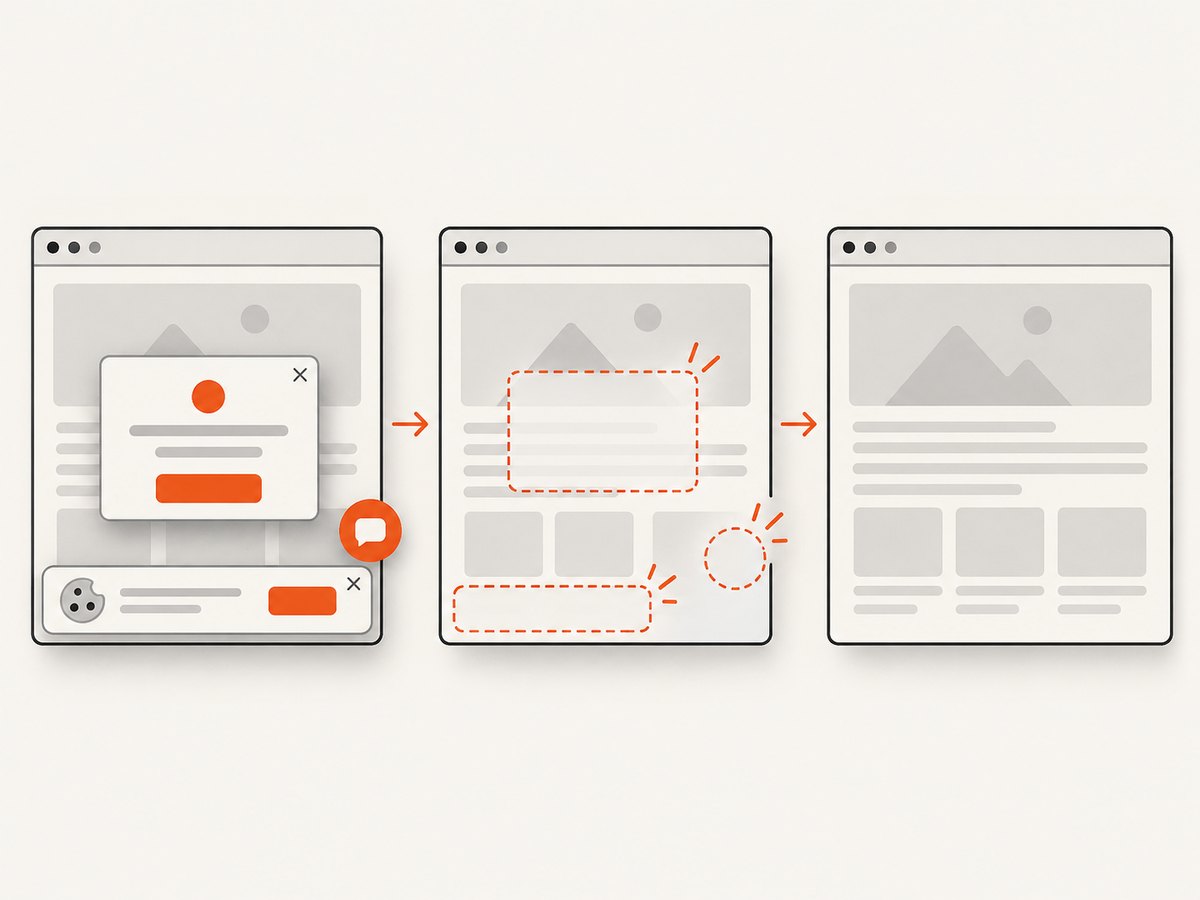
ScreenshotNeo returns a PNG, JPEG, WebP, or PDF from one GET request. Its capture process accepts cookie and consent banners like a visitor, then removes more than 60 known consent platforms, newsletter popups, and chat widgets; each cleanup step can be turned off. Bot checks or CAPTCHAs, blank pages, timeouts, failed loads, and cache hits are not billed, and response headers identify the page verdict and whether the request was billed.
See the ScreenshotNeo API documentation for all parameters. This cURL example writes a WebP file that you can upload to Google Docs:
curl -G "https://api.screenshotneo.com/v1/shot" -d access_key=YOUR_API_KEY --data-urlencode url=https://stripe.com -o shot.webpPython:
import requests

r = requests.get(
    "https://api.screenshotneo.com/v1/shot",
    params={"access_key": "YOUR_API_KEY", "url": "https://stripe.com"},
    timeout=90,
)
r.raise_for_status()
open("shot.webp", "wb").write(r.content)
Node.js:
const q = new URLSearchParams({ access_key: 'YOUR_API_KEY', url: 'https://stripe.com' });
const res = await fetch(`https://api.screenshotneo.com/v1/shot?${q}`);
if (!res.ok) throw new Error(`Screenshot failed: ${res.status}`);
const fs = await import('node:fs/promises');
await fs.writeFile('shot.webp', Buffer.from(await res.arrayBuffer()));
Once the file is saved, use Insert > Image > Upload from computer. ScreenshotNeo also supports full-page captures with lazy images loaded, CSS-selector element captures, dark mode, device presets, custom viewports, retina scale, custom CSS and JavaScript, clicks, waits, blocked resources, headers, cookies, user agents, authorization, timezone, geolocation, transparent backgrounds, resizing, chosen cache TTLs, signed links, asynchronous jobs with signed webhooks, bulk capture of up to 100 URLs per call, a usage API, and an OpenAPI specification. Its MCP server provides take_screenshot, get_page_info, and capture_pdf tools for Claude, Cursor, and other MCP clients.
There are 1,000 free screenshots each month with no card. Paid plans start at $5 for 3,000 shots; yearly billing gives two months free, and every feature is included on every plan. Create a free ScreenshotNeo account and generate the image you can place in Docs.
Troubleshooting
The image will not upload
Confirm that the file opens locally and that you selected Upload from computer. A damaged or partially downloaded file can fail. Save the screenshot again as PNG or JPEG and retry. If the upload picker is empty, check browser or operating-system file permissions.
Copy and paste does nothing
The browser may restrict clipboard access, or the source application may have copied a file reference instead of pixel data. Use the keyboard shortcut documented by Google, or save the screenshot and upload it through the Insert menu.
The screenshot looks blurry
The image may have been captured at a low resolution or enlarged beyond its native size. Insert the original file, reduce its displayed width, or recapture at a larger viewport or retina scale. Avoid repeatedly copying an image through applications that recompress it.
Text wrapping controls are missing
Those controls are unavailable in pageless documents. Switch to Pages format, select the image again, and choose Wrap text or Break text.
The image moves unexpectedly
Choose In line for predictable paragraph behavior. If you need a floating image, use Pages format and set whether it moves with text or stays fixed on the page. Keep captions in the same layout strategy as their screenshots.
The automated capture is blank or contains a popup
For any browser automation service, check the target URL, wait for required content, and confirm that the page is reachable without an interactive login. With ScreenshotNeo, cookie banners, newsletter popups, and chat widgets are removed before the shot; bot checks, blank pages, timeouts, and failed loads are reported through the response and are not billed.
Performance, reliability, and cost considerations
- Document performance: Large screenshots increase document size and can make scrolling slower. Resize images to the width readers need before inserting them.
- Visual reliability: Keep the original capture files separately so you can replace an image without losing quality. Use stable layouts and captions in long documents.
- Automation reliability: Set an explicit timeout, wait for important selectors or network idle, and use caching when the page does not change frequently. For many URLs, bulk capture and asynchronous jobs reduce manual work.
- Cost control: ScreenshotNeo bills only clean shots; cache hits, failed loads, blank pages, timeouts, and bot checks are not billed. Choose a cache TTL and review usage through its usage API.
FAQ
Can I insert a screenshot from a website?
Yes. Use Insert > Image > URL when you have a direct image URL, or download the image and use Upload from computer. Dragging an image from a website is another documented computer workflow.
Which layout should I use for a tutorial?
Use In line when the screenshot belongs to a specific step. Use Break text for a wide image that should stand on its own. Use Wrap text only when the image is small enough to leave comfortable reading space.
Can I insert screenshots in pageless mode?
Yes, but text wrapping and position controls are unavailable there. Switch to Pages format when you need those controls.
Can Android insert an image from Drive?
The Android flow is Insert, Image, choose where to get the image, then tap a photo. The available picker sources depend on the app and device.
What should I do if a screenshot contains sensitive information?
Crop or redact it before uploading, and check sharing permissions on both the Google Doc and any Drive file used as the source.


