How to Install Chrome Headless Shell
Install Chrome Headless Shell with Chrome for Testing, choose the right Headless mode, pin a version for CI, and troubleshoot common setup issues.

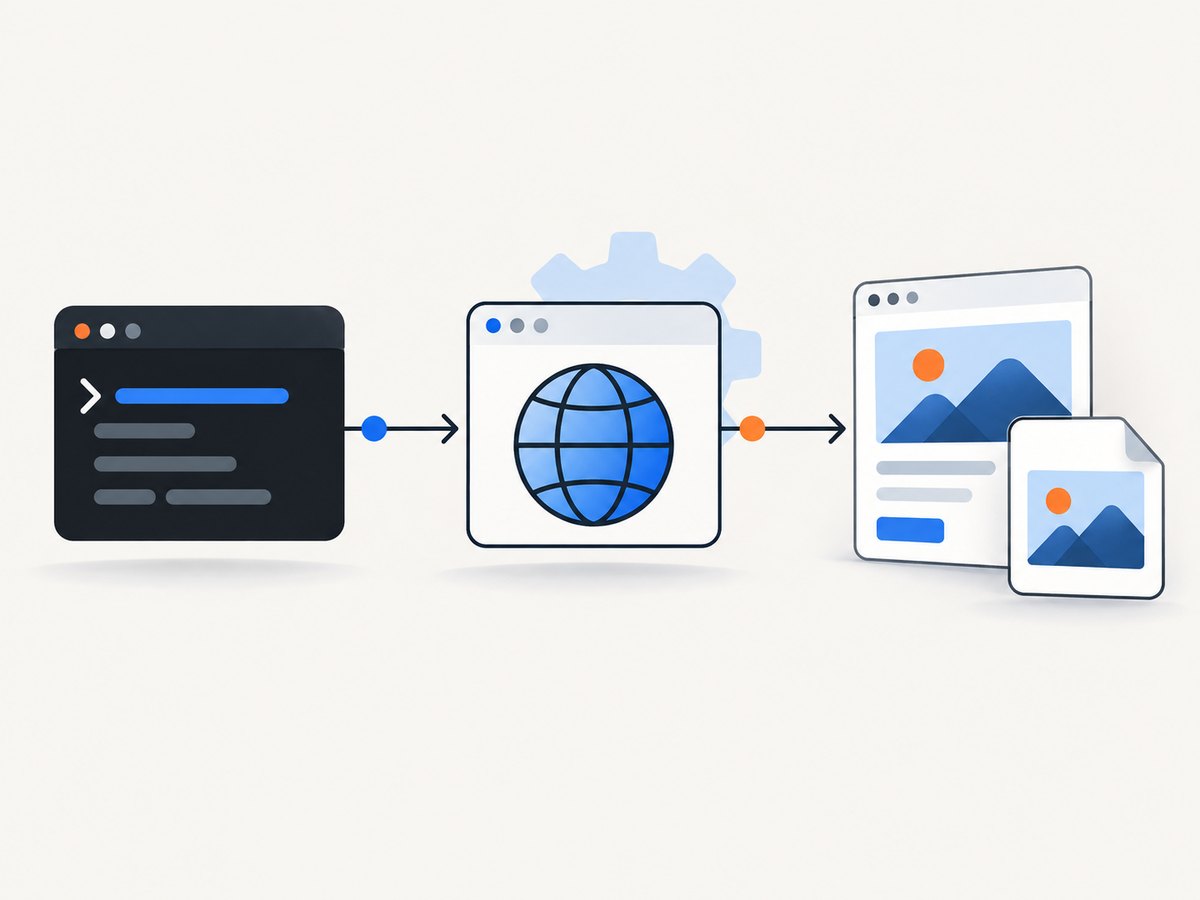
Install Chrome Headless Shell with Chrome for Testing’s @puppeteer/browsers command-line utility. For the latest available Stable-channel build, run:
npx @puppeteer/browsers install chrome-headless-shell@stableTo install a specific version, replace stable with its version number:
npx @puppeteer/browsers install chrome-headless-shell@120.0.6098.0The version above is an example from the official documentation, not a guarantee that it is the latest or still available. Check the Chrome for Testing availability dashboard for a current release, version, and target platform before pinning it. The dashboard and Chrome for Testing’s JSON endpoints publish available builds for Stable, Beta, Dev, and Canary. The official materials reviewed do not establish a complete current operating-system and CPU architecture matrix, so verify your specific target there.
First decide which Chrome Headless implementation your task needs. The standalone chrome-headless-shell is the former separate Headless implementation. Modern --headless runs the real Chrome browser without showing its windows. Since Chrome 132.0.6793.0, the former implementation is available only as the standalone shell binary. The shell has a lighter dependency profile, including no X11/Wayland or D-Bus requirement; unified Headless is more authentic and feature-rich, and is a better fit for high-fidelity end-to-end or extension testing. These are workload differences, not a promise of a particular speedup. See Chrome’s Headless Shell documentation and Headless mode documentation.
1. Check your version and platform
Open the Chrome for Testing dashboard and confirm that the channel or exact version you want has an artifact for your operating system and CPU architecture. For scripts and automated workflows, the Chrome for Testing JSON endpoints expose the latest version for each release channel. Consult the dashboard and its linked API information rather than assuming an artifact exists for every platform.
Choose between these approaches:
- Stable channel: Use
chrome-headless-shell@stablewhen you want the latest available Stable build and do not need a fixed browser version. - Exact version: Use
chrome-headless-shell@VERSIONwhen repeated runs need to use the same browser build, such as in a CI workflow. - Other release channels: Chrome for Testing publishes channel information for Beta, Dev, and Canary as well. Confirm the current artifact and version in its dashboard or JSON endpoints before installing.
Chrome for Testing is designed to let teams fetch and pin browser versions so repeated test runs can use consistent environments. A channel label is convenient for following a moving release; an exact version is more suitable when you need to reproduce a previous run.
2. Install the standalone shell
Run the documented command from a terminal with Node.js and npm available, since npx invokes the @puppeteer/browsers package:
npx @puppeteer/browsers install chrome-headless-shell@stableThe installer selects the latest available Stable-channel shell build. To pin a version, use the same command and substitute a version that the dashboard shows for your platform:
npx @puppeteer/browsers install chrome-headless-shell@VERSIONFor example, the official documentation illustrates the versioned form as:
npx @puppeteer/browsers install chrome-headless-shell@120.0.6098.0That exact version is illustrative. Check current availability before using it. Keep the chosen version in your setup documentation or build configuration so teammates and CI jobs install the same browser. The installer output should tell you whether it completed; if it fails, use the error and platform checks in the troubleshooting section below.
3. Use the shell with Puppeteer
If Puppeteer is your automation library, select the shell explicitly with headless: 'shell'. The current Chrome documentation uses headless: true for unified Headless. Puppeteer normally downloads a compatible Chrome for Testing browser automatically, so a separate manual installation is often unnecessary. Install the standalone shell yourself when you specifically want to manage its version or download separately.
Install Puppeteer in a project:
npm install puppeteerSave the following as capture.cjs and run it with node capture.cjs. The example launches Puppeteer in shell mode, opens a page, and writes a screenshot:
const puppeteer = require('puppeteer');

(async () => {
  const browser = await puppeteer.launch({ headless: 'shell' });
  try {
    const page = await browser.newPage();
    await page.goto('https://example.com', { waitUntil: 'networkidle0' });
    await page.screenshot({ path: 'shot.png', fullPage: true });
  } finally {
    await browser.close();
  }
})();
This uses Puppeteer’s normal browser resolution. If you have installed a shell separately and want to point Puppeteer at that executable, set executablePath to the actual path reported by your installation process or environment. Do not guess the install directory: it can vary by package setup and configuration.
const puppeteer = require('puppeteer');

(async () => {
  const browser = await puppeteer.launch({
    headless: 'shell',
    executablePath: process.env.CHROME_HEADLESS_SHELL_PATH,
  });
  try {
    const page = await browser.newPage();
    await page.goto('https://example.com', { waitUntil: 'networkidle0' });
    await page.screenshot({ path: 'shot.png', fullPage: true });
  } finally {
    await browser.close();
  }
})();
Set CHROME_HEADLESS_SHELL_PATH to the executable path for your environment before running this variant. If it is unset or points to a missing or incompatible file, launch will fail. When Puppeteer manages its compatible browser download for you, omit executablePath.
4. Choose shell mode or unified Headless
| Choice | How to select it in Puppeteer | Fit described by Chrome |
|---|---|---|
| Standalone Headless Shell | headless: 'shell' |
Lighter wrapper with fewer dependencies; can suit screenshot automation and scraping. |
| Unified Chrome Headless | headless: true |
More authentic and feature-rich; suited to high-accuracy end-to-end app and browser-extension testing. |
Choose based on what the job needs. If your automation depends on behavior that should match the full Chrome browser, or tests extensions, use unified Headless. If your workload suits the lighter shell wrapper, use the standalone binary. Chrome’s documentation does not claim a universal performance advantage for either mode, so do not choose based on an assumed benchmark.
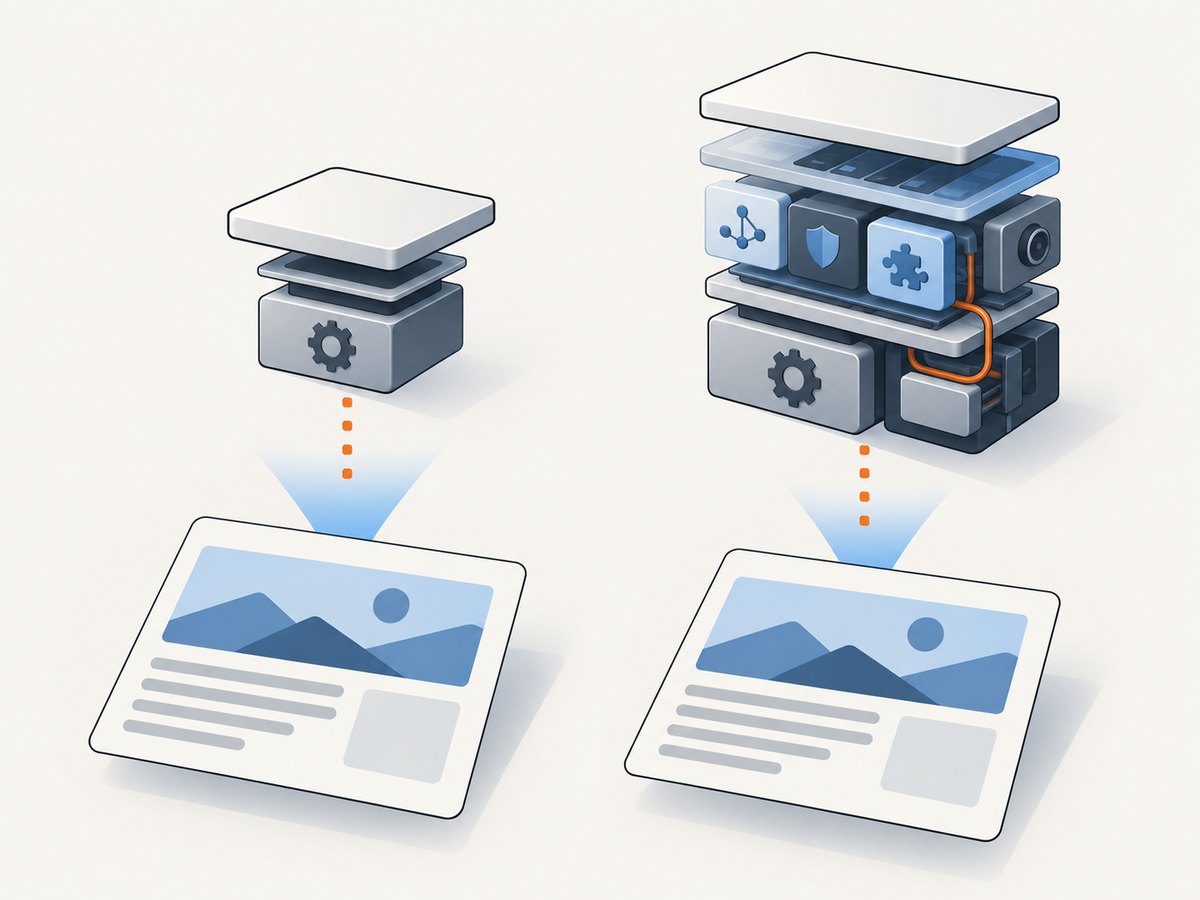
The command-line flag --headless and Puppeteer’s headless: true refer to modern unified Headless. The value headless: 'shell' is Puppeteer’s selector for the standalone shell. The naming is easy to confuse because both run without browser windows; check the mode value when confirming which browser your script launches.
5. Make installs repeatable in CI
For a repeatable pipeline, select an exact shell version that is available for the runner’s platform and use it consistently across environments. Chrome for Testing’s purpose includes fetching and pinning browser versions for consistent test environments. Record the version next to your automation dependencies and update it deliberately when you want to move to another build.
- Identify the CI runner’s operating system and CPU architecture.
- Check the Chrome for Testing dashboard or JSON endpoints for an available shell build for that target.
- Install it with
npx @puppeteer/browsers install chrome-headless-shell@VERSION. - Configure Puppeteer to use
headless: 'shell'. If using a separately installed executable, configure its actual path. - Keep the version and relevant install configuration with the project’s CI setup so future runs can reproduce the browser selection.
If you want Puppeteer to choose and download a compatible Chrome for Testing binary automatically, use its default browser management and avoid setting an unrelated executable path. This is a practical option for projects that do not need a manually managed shell installation. Check the Chrome automation overview for current guidance.
6. Troubleshoot installation and launch problems
| Symptom | Likely cause | What to do |
|---|---|---|
| No matching build or download fails for the selected target | The channel/version or platform artifact may not be available for that operating system and CPU architecture. | Check the Chrome for Testing dashboard for the specific target. Try an available version or channel shown there; do not assume a different platform’s download will run. |
| The pinned version cannot be installed | The example or chosen version is unavailable for the target or is not the intended current build. | Verify the exact version in the availability dashboard or JSON endpoints. Substitute a version listed for the target. |
npx is not recognized |
Node.js/npm is unavailable in the shell environment or is not on its executable path. | Make Node.js and npm available to the user or CI job running the installer, then rerun the documented command. |
| Puppeteer reports that its executable is missing | A configured executablePath points to the wrong location, or the shell was not installed where expected. |
Use the path produced or configured in your environment. If you do not need manual browser management, remove executablePath and let Puppeteer manage its compatible download. |
| Puppeteer launches a different Headless mode than expected | The script uses headless: true instead of headless: 'shell', or its configuration is not the one being executed. |
Set headless: 'shell' for the standalone shell. Use headless: true for unified Headless. |
| The installed browser starts locally but not on a CI runner | The runner may use a different platform or architecture, or a different version/path from the local machine. | Check artifact availability for the runner’s target and confirm the installed version and executable path match the CI configuration. |
| A page’s rendering differs from expectations | The selected mode, browser version, or page readiness condition can affect what the automation captures. | Confirm whether you intended shell or unified Headless, pin the version when reproducing results, and wait for an appropriate page condition before capturing. |
The official sources reviewed do not provide a complete dependency recipe for every Linux distribution, nor a current exhaustive platform matrix. For missing-library or environment-specific errors, check the artifact’s platform requirements and the documentation for your operating system rather than applying guessed package names or container flags.
7. Performance, reliability, and cost considerations
The shell’s lighter dependency profile can simplify environments where a display server is not needed. That is a footprint distinction, not a measured throughput or launch-time claim. Actual capture time also depends on the page, network, browser work, and the readiness condition your script waits for. Select the mode for fidelity and environment needs, then measure your own workload if throughput matters.
Pinning a browser version helps make test runs more consistent and makes failures easier to reproduce. It also means you own browser updates: move the pin when you intend to adopt a newer build, and check its availability for every runner target. Following stable avoids choosing a fixed version manually, but the browser build can change over time.
Chrome Headless Shell is software distributed through Chrome for Testing. The cited materials do not provide a price for using the browser binary. For operational planning, include the resources used by your own automation environment and any separate infrastructure or services your workflow depends on; do not infer a browser-service price from the install command.
Or skip the browser setup
If your goal is to get a website screenshot rather than manage a browser installation, ScreenshotNeo is a website screenshot API and MCP server for developers. One GET request returns an image or PDF, and the API documentation covers its options.
curl -G "https://api.screenshotneo.com/v1/shot" \
  -d access_key=YOUR_API_KEY \
  --data-urlencode url=https://stripe.com \
  -o shot.webp
ScreenshotNeo accepts cookie and consent banners like a visitor and removes more than 60 known consent platforms, newsletter popups, and chat widgets before capture; each step can be turned off. Bot checks, CAPTCHAs, blank pages, timeouts, failed loads, and cache hits cost nothing, and response headers report the page verdict and whether the shot was billed. Its MCP server gives AI agents tools for taking screenshots, getting page information, and capturing PDFs. The free plan includes 1,000 screenshots a month with no card; paid plans start at $5 for 3,000 shots.
Sign up for 1,000 free screenshots a month, with no card required.
FAQ
Is Chrome Headless Shell the same as Chrome’s --headless mode?
No. Modern --headless runs unified Chrome without displaying its windows. Headless Shell is the former separate implementation, distributed as a standalone binary.
Do I need to install the shell separately to use Puppeteer?
Usually not. Puppeteer automatically downloads a compatible Chrome for Testing browser by default. Manually install the shell when you need to manage that binary separately or specifically select it.
Which Puppeteer value selects the shell?
Use headless: 'shell'. Use headless: true for unified Chrome Headless.
Can I use the sample version as the latest stable release?
No. 120.0.6098.0 is an example version from the official documentation. Check Chrome for Testing for a current build and target-platform availability.
Does installing the shell guarantee that every page can be captured?
No. Installation provides the browser binary; your automation still needs to launch it successfully, load the target page, and choose suitable capture timing for that page.


