How to Install a mitmproxy Certificate on Chrome and Chromium
Route Chrome through mitmproxy, install its local CA from mitm.it, verify HTTPS traffic, and fix trust, proxy, and pinning errors.
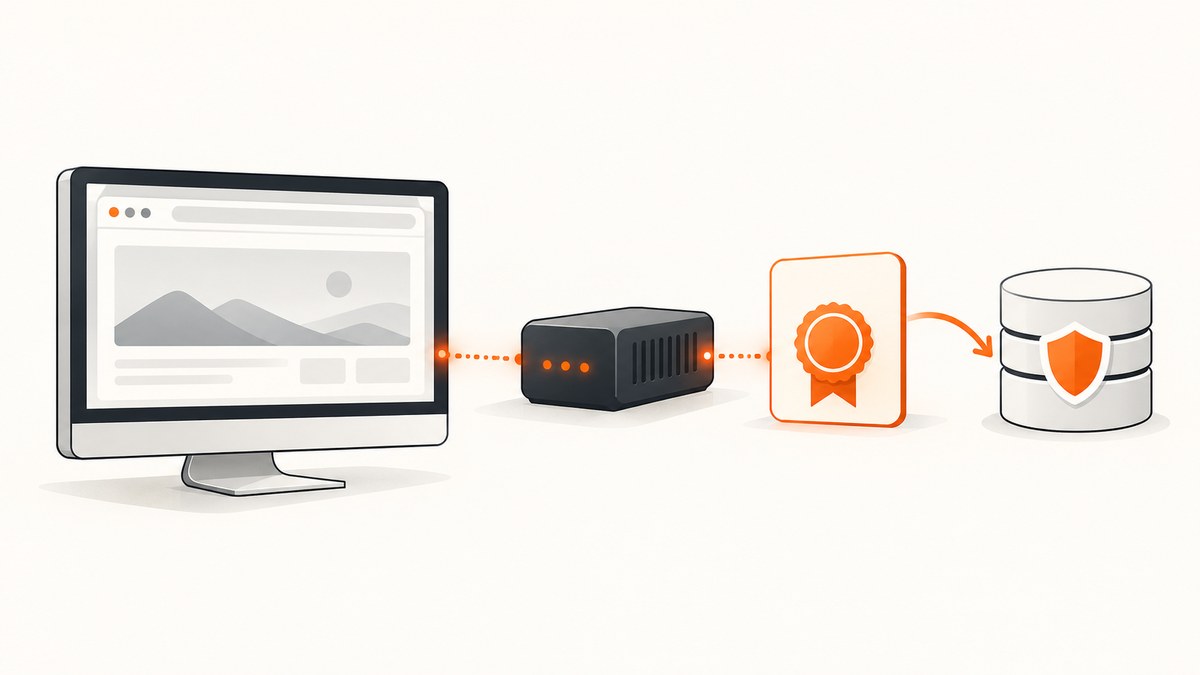
Direct answer: Start mitmproxy, route Chrome or Chromium through its listener (the default is localhost:8080), then open http://mitm.it in that proxied browser. Download and install the public mitmproxy CA certificate for your operating system, trust it in the certificate store used by your browser, restart Chrome if needed, and verify by loading an HTTPS site while watching the flow list. The CA is generated locally on first run, is unique to that mitmproxy installation, and must be treated as a sensitive private trust anchor.
This guide covers desktop Chrome, Chromium distributions, and managed ChromeOS. It also explains why mitm.it may fail, how to distinguish a proxy problem from certificate pinning, which generated file to install, and how to remove the trust when your test is over. Use interception only on systems and traffic you are authorized to inspect. A trusted interception CA can validate certificates for intercepted HTTPS connections, so install only the CA created by your own mitmproxy instance. Google describes installing a root certificate as a privacy- and security-sensitive operation.
1. What mitmproxy’s certificate does
For an HTTPS request, mitmproxy sits between the browser and the destination. It dynamically creates a certificate for the requested host and signs it with its own certificate authority (CA). Chrome will accept that replacement certificate only when the mitmproxy CA is trusted by the certificate store used by that Chrome or Chromium build. Without that trust, the browser shows a certificate warning and the intercepted connection cannot complete normally.
On first start, mitmproxy creates a CA under ~/.mitmproxy by default. The CA is generated for that installation; it is not a shared, universal mitmproxy certificate. The mitmproxy certificates documentation lists the generated files:
| File | Purpose | Use it for |
|---|---|---|
mitmproxy-ca.pem |
Certificate plus private key | Keep private; do not distribute as an ordinary CA file |
mitmproxy-ca-cert.pem |
Public CA certificate in PEM format | Most non-Windows platforms |
mitmproxy-ca-cert.p12 |
Certificate bundle format | Windows |
mitmproxy-ca-cert.cer |
The same public certificate with a commonly expected extension | Some Android workflows |
Install the public certificate appropriate to the platform. Never upload or share mitmproxy-ca.pem; it contains the private key that can sign interception certificates.
2. Start mitmproxy and confirm the listener
- Install mitmproxy using the method appropriate for your operating system.
- Start it from a terminal:
mitmproxyThe default HTTP proxy listener is localhost:8080. The first run creates the CA directory and files. Leave mitmproxy running while you configure Chrome. The official getting started guide describes the same local workflow and uses an HTTPS site for verification.
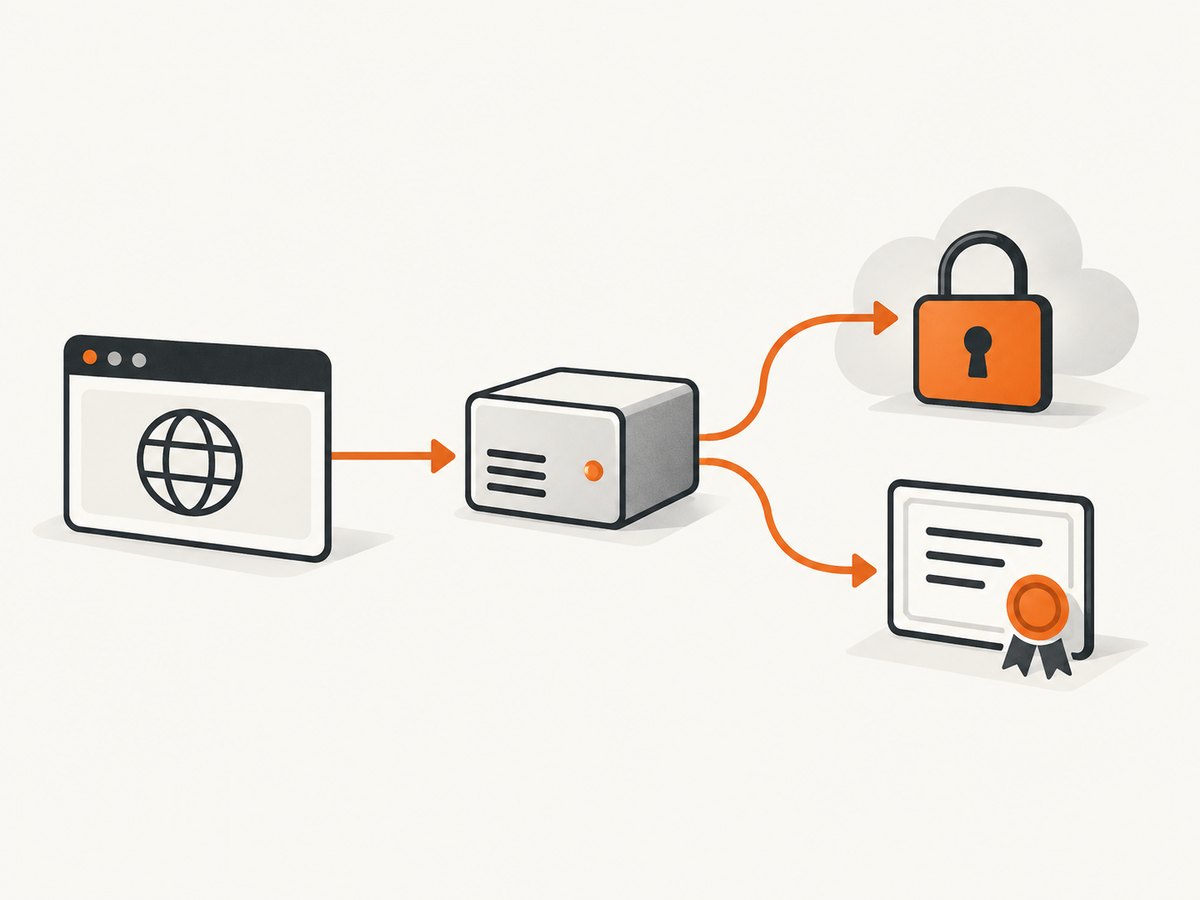
If the browser runs on another computer or phone, do not enter localhost as the proxy host. On that device, localhost refers to the device itself. Enter the reachable address of the computer running mitmproxy and port 8080, and make sure local firewall rules allow the connection.
3. Configure Chrome or Chromium to use the proxy
Configure the operating system or managed browser policy so HTTP and HTTPS traffic uses the mitmproxy listener. A desktop browser normally inherits the computer’s proxy settings. Chromium packaging differs by operating system, so the exact controls can vary.
Local desktop setup
- Set the system HTTP and HTTPS proxy to host
localhost, port8080. - Launch or restart Chrome/Chromium after changing the proxy if the existing process does not pick up the setting.
- With mitmproxy still running, open
http://mitm.it.
The mitm.it page is useful only from the proxied client. If you open it in a browser that bypasses mitmproxy, it cannot provide the onboarding instructions for that client.
Another device
Use the proxy host’s LAN or otherwise reachable address, for example an address assigned to the machine running mitmproxy, with port 8080. Do not guess the address or expose the listener beyond the network you control. First prove that the device can reach the listener, then open http://mitm.it from that same device.
4. Install the CA from mitm.it
- In the browser that is already using mitmproxy, visit
http://mitm.it. - Choose the tile for the actual operating system and follow the displayed installation instructions.
- Install the public CA certificate, not the private-key bundle.
- Complete the operating-system or browser trust prompt.
- Restart Chrome or Chromium if the browser does not immediately recognize the new trust.
mitmproxy calls this the easiest installation route because the page detects the client platform. The exact certificate UI differs between Linux distributions, Chrome builds, and certificate backends. Follow the platform-specific directions shown by mitm.it and the current Chrome documentation rather than assuming that an import dialog has the same name everywhere.
5. Desktop Chrome and Chromium trust stores
For desktop Chrome, Google documents certificate management at Settings > Privacy and security > Security > Manage certificates. Chrome can use custom roots from certificates trusted by the computer’s operating system. The precise behavior depends on the operating system, Chrome version, and whether the browser is managed. See Google’s Chrome safety and security guidance and its Chrome policy documentation.
Linux
Linux Chrome and Chromium builds may use different system certificate databases or packaging-specific integration. Import the public PEM certificate using the workflow supplied by mitm.it for your distribution, then restart the browser. If the browser still warns, confirm that you imported the CA into the trust store that this build actually reads; importing it into an unrelated application store will not help.
Managed Chrome
Enterprise administrators can deploy certificate authorities through Chrome management policies. The policy route is useful when many enrolled browsers need the same test CA, but it increases the blast radius of a trusted interception key. Limit deployment to authorized test devices and remove the policy when the test ends.
6. ChromeOS is a separate workflow
Do not treat ChromeOS like desktop Chrome. On managed ChromeOS devices, an administrator can upload a PEM, CRT, or CER CA file in the Google Admin console and deploy it to enrolled devices. Google’s HTTPS certificate authority instructions describe importing under Authorities and selecting the applicable trust settings. The ChromeOS certificate-manager documentation covers related certificate administration.
Use the public mitmproxy CA file generated for your test environment. Confirm that the administrator selected trust for the intended network uses, then open http://mitm.it or an HTTPS test destination from the enrolled device after proxy configuration.
7. Verify that HTTPS interception works
- Keep mitmproxy running and make sure the browser still points to its listener.
- Open an HTTPS destination, such as
https://mitmproxy.org. - Look for the request in mitmproxy’s flow list.
- Inspect the browser address bar for a normal trusted connection with no certificate warning.
A successful flow proves both halves of the setup: the browser is reaching the proxy, and it trusts the CA that signs mitmproxy’s generated site certificate. If the flow appears but the browser warns, focus on certificate trust. If no flow appears, focus on proxy routing or bypass rules.
8. Troubleshooting common failures
| Symptom | Likely cause | Fix |
|---|---|---|
mitm.it is unreachable |
The browser is not using mitmproxy, or the host/port is wrong | Set the proxy to the mitmproxy host and 8080. For another device, replace localhost with the proxy host’s reachable address. |
| The flow list is empty | Proxy bypass, wrong listener, firewall, or an application that ignores system proxy settings | Check the proxy settings and reachability. For clients that bypass operating-system proxies, consider mitmproxy’s WireGuard, Local Capture, or transparent modes described in its proxy modes documentation. |
| HTTPS certificate warning remains | The CA is missing, untrusted, or installed in a store this Chrome build does not use | Install the platform-specific public CA, verify the operating-system trust settings, and restart Chrome/Chromium. |
| Only one application or host fails | Certificate pinning | Some applications reject mitmproxy’s dynamically generated certificate even when the CA is trusted. Exclude that host from interception if its contents are not needed. Intercepting pinned traffic may require modifying the application. |
| The wrong certificate file was selected | mitmproxy-ca.pem includes a private key |
Use mitmproxy-ca-cert.pem, .p12, or .cer as appropriate for the platform. |
| Works in one Chromium build but not another | Different packaging or certificate backends | Repeat the import using that build’s platform instructions and verify which system trust store it reads. |
Proxy bypass and pinning are different
A bypass problem means the request never reaches mitmproxy. A pinning problem means it reaches the interception point but the client rejects the replacement certificate. Installing the CA fixes neither a bypass rule nor pinning by itself. Diagnose in that order: confirm a flow, then confirm trust, then investigate application-specific pinning.
9. Remove the CA after testing
When the authorized capture task is complete, remove the mitmproxy CA from the operating-system or ChromeOS trust store, undo the proxy setting, and remove any managed policy deployment. Keep the private-key-containing file protected or delete the test profile according to your organization’s retention rules. Removing trust prevents later traffic from being intercepted by that CA if the proxy is accidentally enabled again.
10. Automating a verification request
You can verify the proxy path with a normal HTTPS client configured to use the same proxy. The exact command-line flags depend on the client you use; the important checks are that the request goes to the mitmproxy listener and that the client trusts the mitmproxy CA. For browser debugging, the flow list remains the authoritative signal that Chrome traffic is actually passing through mitmproxy.
# Start the local proxy, then configure Chrome to use localhost:8080
mitmproxy

# In the proxied browser, open:
# http://mitm.it
# Then verify an HTTPS destination such as:
# https://mitmproxy.org
11. Or skip the browser setup
If your goal is a clean website image or PDF rather than inspecting live requests, ScreenshotNeo removes the local browser and CA setup. Its API accepts one GET request and returns a PNG, JPEG, WebP, or PDF. Before capture it accepts cookie or consent banners and removes more than 60 known consent platforms, newsletter popups, and chat widgets; each step can be turned off. Bot checks, CAPTCHAs, blank pages, timeouts, failed loads, and cache hits cost nothing, and response headers identify the page verdict and whether it was billed.

See the ScreenshotNeo API documentation for all options, including full-page capture with lazy images, CSS element capture, device presets, custom viewport and retina scale, custom CSS and JavaScript, clicks, waits, request blocking, headers, cookies, user agents, authorization, timezone, geolocation, transparent backgrounds, resizing, caching, signed links, asynchronous jobs, webhooks, bulk capture, usage, and the OpenAPI specification.
cURL
curl -G "https://api.screenshotneo.com/v1/shot" -d access_key=YOUR_API_KEY --data-urlencode url=https://stripe.com -o shot.webpPython
import requests

r = requests.get(
    "https://api.screenshotneo.com/v1/shot",
    params={"access_key": "YOUR_API_KEY", "url": "https://stripe.com"},
    timeout=90,
)
r.raise_for_status()
open("shot.webp", "wb").write(r.content)
Node.js
const q = new URLSearchParams({ access_key: 'YOUR_API_KEY', url: 'https://stripe.com' });
const res = await fetch(`https://api.screenshotneo.com/v1/shot?${q}`);
if (!res.ok) throw new Error(`Screenshot failed: ${res.status}`);
const data = Buffer.from(await res.arrayBuffer());
require('fs').writeFileSync('shot.webp', data);
ScreenshotNeo has an MCP server with take_screenshot, get_page_info, and capture_pdf tools for Claude, Cursor, and other MCP clients. The Free plan includes 1,000 shots each month with no card; paid plans start at $5 for 3,000 shots. Create a free ScreenshotNeo account to try the API.
12. Performance, reliability, and security notes
- Keep the proxy path short: A local browser and local mitmproxy avoid network hops. A remote device adds addressability, firewall, and latency variables.
- Expect site-specific behavior: Certificate pinning, proxy bypass, service workers, and managed policies can change what is observable.
- Protect the CA: Anyone who obtains the private key in
mitmproxy-ca.pemcould create certificates trusted by clients where that CA is installed. - Use a dedicated profile: A separate Chrome profile or test device limits accidental interception of unrelated accounts and data.
- Remove trust promptly: Undo proxy settings and delete the CA trust entry when the task ends.
- For repeatable screenshots: ScreenshotNeo supports waits, selector capture, resource blocking, caching with a chosen TTL, async jobs, signed webhooks, and bulk capture, so a scripted capture pipeline does not need a persistent interactive browser.
FAQ
Is the mitmproxy CA the same on every computer?
No. It is generated locally on first start and is unique to that mitmproxy installation.
Can I install the private PEM file in Chrome?
Do not treat mitmproxy-ca.pem as a normal public certificate. It contains the private key. Use the public platform-appropriate certificate file.
Why does Chrome still warn after I installed the CA?
The build may read a different trust store, the browser may need a restart, or the request may be bypassing mitmproxy. Confirm the flow first, then verify the trust store.
Does installing a CA make every application interceptable?
No. Applications can ignore system proxy settings or use certificate pinning. Those require a different proxy mode, host exclusion, or application-specific changes.
Can I use ChromeOS instructions on desktop Linux?
No. ChromeOS has managed certificate-manager workflows. Desktop Linux relies on the distribution and browser build’s trust integration.
What should I use when I only need an image or PDF?
Use ScreenshotNeo’s API or MCP server to avoid configuring a browser proxy and local interception CA. It returns screenshots or PDFs and provides controls for waits, selectors, devices, and output settings.


