The Correct Way to Install Node.js in 2026
Install Node.js correctly on Windows, macOS, or Linux: choose LTS, match your architecture, verify npm, and use a version manager when needed.
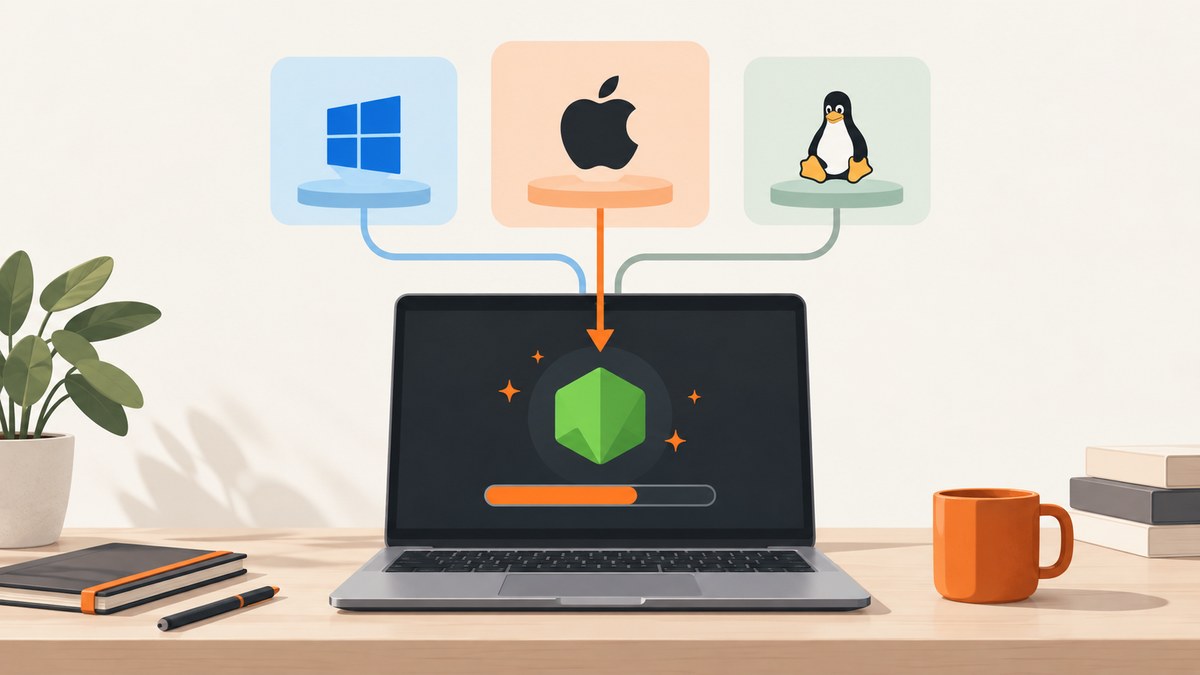
For most developers, the correct way to install Node.js in 2026 is to download the current LTS release from the official Node.js download page, choose the installer that matches your operating system and processor, then open a new terminal and verify node -v and npm -v. Use a version manager when you regularly switch Node versions between projects. Choose the Current release only when a project explicitly requires the newest release line.
Node.js includes npm in the official installation. You do not install npm separately. The safest source is the official Node.js download page; it publishes the supported release channels, installers, binaries, and current instructions.
Which Node.js release should you install?
Node.js publishes more than one release line. The practical choice is:
| Release line | Use it when | Default recommendation |
|---|---|---|
| LTS | You want a stable runtime for normal application development, production work, or learning. | Choose this for nearly every standard setup. |
| Current | You specifically need the newest Node.js features or a project documents that requirement. | Use only with a clear reason. |
The download page showed v24.21.0 and v22.23.2 as LTS and v26.10.0 as Current when this article was researched on September 30, 2026. These numbers change as Node.js releases progress. Treat them as a dated snapshot and use the live page to select the version available when you install.
If a project’s package.json, README, CI configuration, or deployment platform specifies a major version, follow that requirement even when it differs from the newest LTS. A project’s compatibility policy is more important than installing the newest number.
Choose a direct installer or a version manager
There are two sensible installation paths.
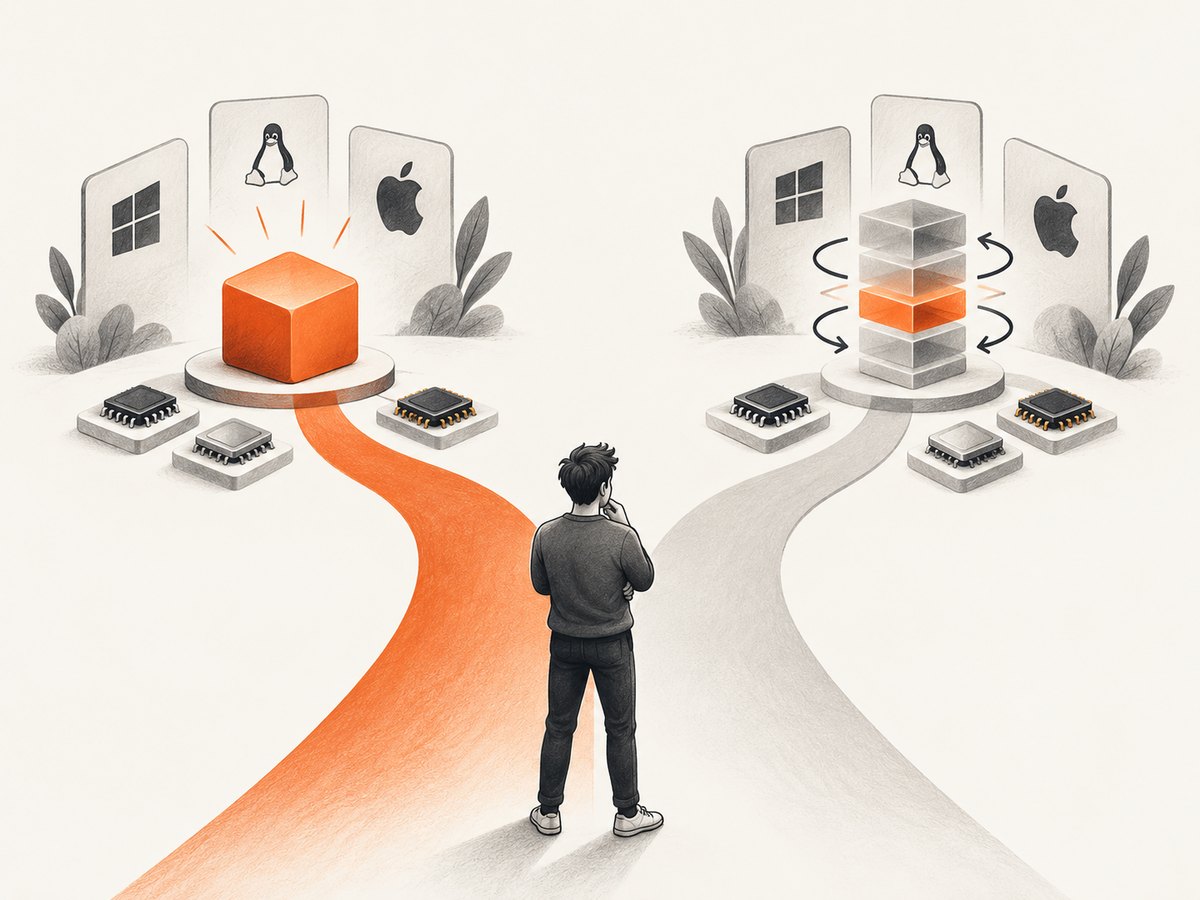
Use the official installer for one primary Node version
Download the installer for your operating system and processor architecture from Node.js. This is the simplest route when you expect one Node version to serve your projects. The installer configures Node.js and npm for the system, so a newly opened terminal can find both commands.
Use a version manager for multiple projects
A version manager keeps several Node.js versions available and lets you select one per project or shell. This is useful when an older application requires one major version while a new application targets another. The official download page provides a version-manager flow for Linux using nvm. Follow that page’s current instructions for your shell and operating system rather than copying an old third-party script.
Do not confuse a version manager with npm. npm is the package manager bundled with Node.js. A version manager controls which Node runtime and bundled npm version your shell uses.
Install Node.js on Windows
- Open the official Node.js download page.
- Select the current LTS release.
- Choose the Windows installer that matches your processor. The archive shows that Windows packages can be provided for x64, x86, and ARM64; availability depends on the release.
- Run the downloaded installer and keep the default options unless your organization’s setup requires a different location.
- Close any existing Command Prompt, PowerShell, or Windows Terminal windows. Open a new one so it receives the updated PATH.
- Verify the installation:
node -v
npm -v
Both commands should print a version. If Windows says that node or npm is not recognized, open another new terminal first. If the error continues, inspect the install location and PATH entries before reinstalling.
Install Node.js on macOS
- Visit the official download page and select the current LTS release.
- Choose the macOS package matching your processor: Apple silicon uses ARM64, while Intel Macs use x64. The archive lists both package types for releases that support them.
- Run the installer package.
- Open a fresh Terminal window.
- Check Node.js and npm:
node -v
npm -v
If you are maintaining multiple projects with different requirements, use the version-manager instructions published on the official page for your shell instead of installing several system packages manually.
Install Node.js on Linux
For a one-version setup, download the official Linux binary or package appropriate for your distribution and processor from Node.js. The archive lists prebuilt binaries for platforms including Linux x64, ARMv7, ARM64, ppc64le, and s390x, although the exact choices vary by release.
For projects that need version switching, use the Linux nvm route documented on the official download page. The page gives the current installation flow, shell-loading step, Node installation step, and verification commands. Because shell setup changes over time, use the live instructions rather than an unverified copied script.
After completing either route, start a new shell and run:
node -v
npm -v
If your distribution’s package manager provides an old Node.js version, compare it with the current official LTS before using it. A distribution package can have a different update schedule from the Node.js release page.
Match the package to your processor architecture
A correct installer must match both the operating system and architecture. Common labels are:
- x64: 64-bit Intel or AMD processors.
- ARM64: 64-bit ARM processors, including Apple silicon and many modern ARM systems.
- x86: older 32-bit Windows systems.
- Linux-specific builds: ARMv7, ppc64le, and s390x may appear in the archive for supported releases.
When in doubt, check your system’s About panel or architecture command, then select the matching file on the download page. Do not assume that an x64 installer is correct for an ARM machine just because the operating system name matches.
Verify a direct download
The Node.js archive provides signed SHASUMS files and links to official verification instructions. If you download a standalone binary or archive directly, use those instructions to verify file integrity before extracting or installing it. The exact commands depend on your operating system and the release file, so use the instructions published with that archive entry.
Installers are convenient; checksum verification is particularly useful for scripted, mirrored, or manual binary downloads. Use official release files and avoid installation scripts that are not maintained by the Node.js project. The official page explicitly warns about third-party installation scripts.
Confirm that Node.js can run a real program
Version output confirms that your shell can find the executables. A tiny program confirms that Node can execute JavaScript and that npm can create a project.
mkdir node-check
cd node-check
npm init -y
Create hello.js:
const os = require('node:os');

console.log('Node is running');
console.log(`Version: ${process.version}`);
console.log(`Platform: ${process.platform}`);
console.log(`Architecture: ${process.arch}`);
console.log(`CPUs visible: ${os.cpus().length}`);
Run it:
node hello.jsThis uses only Node’s built-in modules, so it does not require a network connection or an npm dependency.
Use a project-specific Node version
When a project needs a particular major version, record that requirement where the team will see it. A package.json can declare an engines range, and a version-manager configuration can make the expected runtime obvious. The exact configuration depends on the version manager and project policy. The key practice is to select the project’s required version before running its install or build commands.
With a version manager, switch versions in the manager’s documented way, then verify the active selection:
node -v
npm -v
Run these checks after changing shells, opening a new terminal, or switching projects. A terminal can retain an older PATH or manager selection.
Troubleshooting Node.js installation
| Symptom | Likely cause | Fix |
|---|---|---|
node is not recognized |
The terminal was open before installation, or Node is missing from PATH. | Open a new terminal. If it still fails, inspect PATH and the install location, then repair or reinstall using the official package. |
npm is not recognized but node works |
The installation is incomplete or PATH points to a different Node copy. | Check which executable is being used, remove conflicting old entries, and repair the official installation. |
| The version is older than expected | A distribution package, old installer, or version manager selection is taking precedence. | Run the shell’s command-location tool, then select the intended version or adjust PATH according to the manager’s documentation. |
| Installer will not run | Wrong architecture, corrupted download, or operating-system policy. | Download the matching official package again and consult the archive’s signed checksum instructions for direct files. |
| A project rejects your Node version | The project specifies a different major version. | Read its documented requirement and use a version manager when you need to switch between projects. |
| Global package permissions fail on Linux or macOS | The shell is trying to write to a protected system directory. | Prefer a user-managed Node installation or version manager. Avoid changing permissions broadly just to force a global npm install. |
| Shell changes do not persist | The version manager’s initialization was not added to the shell startup configuration. | Follow the current official version-manager instructions for your shell, then open a new terminal. |
Performance, reliability, and maintenance
- Choose LTS for predictable maintenance: it is the normal baseline for application development. Current can introduce changes sooner and should be a deliberate choice.
- Keep one source of truth: document the required major version in the project and CI configuration so local and automated environments agree.
- Use a version manager when switching is frequent: it avoids repeatedly uninstalling and reinstalling system packages.
- Keep installers and binaries official: use nodejs.org and the archive’s verification guidance.
- Do not mix competing installations casually: a system package, direct installer, and version manager can leave several Node executables on PATH. Diagnose command resolution before changing anything.
- Recheck after upgrades: run
node -v,npm -v, and a small program after changing versions.
Node.js itself has no separate license fee. Your practical costs are storage, download time, maintenance, and any infrastructure used to run your applications. npm package installation can add network and disk usage, but the runtime installation is simply a download from the official project.
Or skip the browser setup
If your goal is to capture a web page while building a Node.js tool, ScreenshotNeo removes the need to configure Playwright or Puppeteer. It accepts one GET request and returns a PNG, JPEG, WebP, or PDF. Cookie and consent banners, newsletter popups, and chat widgets are removed before capture; bot checks, blank pages, failed loads, timeouts, and cache hits are not billed. Responses identify the page result with X-Page-Verdict and billing with X-Billed.
See the ScreenshotNeo API documentation for the complete option list. The service supports full-page capture with lazy images, CSS-selector element capture, dark mode, device presets, custom viewports, retina scale, PDF settings, custom CSS and JavaScript, clicks, waits, request blocking, headers, cookies, user agents, authorization, timezone, geolocation, transparent backgrounds, resizing, configurable caching, signed image links, asynchronous jobs with signed webhooks, bulk capture for up to 100 URLs, usage data, and an OpenAPI specification.
Node.js
const q = new URLSearchParams({ access_key: 'YOUR_API_KEY', url: 'https://stripe.com' });
const res = await fetch(`https://api.screenshotneo.com/v1/shot?${q}`);
const data = Buffer.from(await res.arrayBuffer());
await import('node:fs/promises').then(fs => fs.writeFile('shot.webp', data));
cURL
curl -G "https://api.screenshotneo.com/v1/shot" -d access_key=YOUR_API_KEY --data-urlencode url=https://stripe.com -o shot.webpPython
import requests
r = requests.get("https://api.screenshotneo.com/v1/shot", params={"access_key": "YOUR_API_KEY", "url": "https://stripe.com"}, timeout=90)
open("shot.webp", "wb").write(r.content)
ScreenshotNeo has 1,000 screenshots per month free with no card. Paid plans start at $5 for 3,000 shots, and every feature is available on every plan. Its MCP server gives Claude, Cursor, and other MCP clients the tools take_screenshot, get_page_info, and capture_pdf. Create a free ScreenshotNeo account to start.
FAQ
Should beginners install Current?
Usually no. Install LTS unless your project or a feature requirement specifically calls for Current.
Can I install npm separately?
No. npm is bundled with the official Node.js installation.
Do I need a version manager?
Only when you need to switch Node versions. A direct official installer is simpler for a one-version setup.
Why did my version change between terminals?
Different shells can load different PATH entries or version-manager selections. Open a fresh terminal and check node -v, then inspect command resolution.
Where should I get old Node.js versions?
Use the official Node.js archive, which provides dated release assets and architecture-specific files.


