How to Install PostgreSQL on Ubuntu, CentOS, and Windows
Install PostgreSQL on Ubuntu, CentOS-family Linux, or Windows with version-aware steps, verification commands, and fixes for common setup errors.

To install PostgreSQL, first identify your operating system release and architecture, then choose the package source that supports it. On Ubuntu, the distribution package is the simplest route; use the PostgreSQL-maintained Apt repository when you need a different supported major version. On RPM-based systems, installing the server is only the first step: initialize its database and enable and start the service. On Windows, use the installer linked from PostgreSQL’s download page for a standard installation.
This guide covers the common commands, how to check which version you installed, and what to do when setup fails. One important naming detail: the PostgreSQL project’s current RPM instructions list RHEL, Rocky Linux, AlmaLinux, and Fedora, but do not explicitly list CentOS. Confirm whether you mean CentOS Stream and which major release before using an RPM command.
1. Identify your operating system and architecture
Package names and supported PostgreSQL versions depend on the OS release and CPU architecture. Before installing, record those details. On Linux, run:

cat /etc/os-release
uname -m
On Windows, open Settings → System → About to check the Windows edition and system type. Also decide whether you need the default stable PostgreSQL release available for your OS, or a particular major version for compatibility with an application. PostgreSQL’s downloads hub distinguishes stable releases from beta, release candidate, and development builds; those pre-release builds are intended for testing and evaluation, not production.
Use the distribution’s package route when its version meets your needs. Consider the PostgreSQL-maintained repository if you require another supported version or want the project’s package stream. Check the current platform matrix before choosing: supported releases and architectures can change.
2. Install PostgreSQL on Ubuntu
Use Ubuntu’s package repository
Ubuntu includes PostgreSQL in its package repositories. Update package metadata and install the distribution-selected package:
sudo apt update
sudo apt install postgresql
This installs the PostgreSQL package selected for your Ubuntu release; the command does not request a particular major version. This is usually the most direct option if you do not have a version requirement. The PostgreSQL project’s Ubuntu download page explains this package route and the alternative Apt repository: PostgreSQL Linux downloads for Ubuntu.
Check what was installed and whether the service is running:
psql --version
systemctl status postgresql
The psql output reports the client version. It is a useful first check, but if multiple PostgreSQL versions or clusters are installed, verify the server version too after connecting.
Use the PostgreSQL Apt repository for a specific version
If Ubuntu’s package is not the major version you need, use the PostgreSQL Apt repository, after checking that it supports your Ubuntu release and architecture. The project provides an automated setup script. Install its helper package, then run the script:
sudo apt install -y postgresql-common
sudo /usr/share/postgresql-common/pgdg/apt.postgresql.org.sh
Refresh package metadata and install the versioned server package. This example installs PostgreSQL 18; change the major version to one supported for your OS:
sudo apt update
sudo apt install postgresql-18
The versioned client package is separate:
sudo apt install postgresql-client-18The repository page currently lists Ubuntu 26.10 (“stonking”), 26.04 (“resolute”), 24.04 (“noble”), and 22.04 (“jammy”). Its architecture availability varies: amd64 is listed, while arm64 and ppc64el are listed for LTS releases. Confirm the current list and your architecture on the official Apt repository instructions before copying the commands. The setup script configures the repository; the explicit package command determines which major version you install.
Connect locally
Ubuntu commonly configures local administrative access for the operating-system account named postgres. Try:
sudo -u postgres psqlAt the psql prompt, inspect the server version and leave the client:
SELECT version();
\q
For application access, create a database role and database appropriate to the application rather than putting database administrator credentials into application configuration. For example, as the PostgreSQL administrator:
sudo -u postgres createuser --interactive
sudo -u postgres createdb myapp
The interactive role command asks whether the role should have elevated privileges. Grant only the access your application needs.
3. Install PostgreSQL on CentOS and related RPM systems
Confirm the exact distribution first. The PostgreSQL project’s current Linux download page covers RHEL, Rocky Linux, AlmaLinux, and Fedora. It does not explicitly name CentOS. CentOS Stream’s package availability and instructions can differ by release, so identify the variant and check the relevant vendor and PostgreSQL pages rather than assuming a command for RHEL applies unchanged.
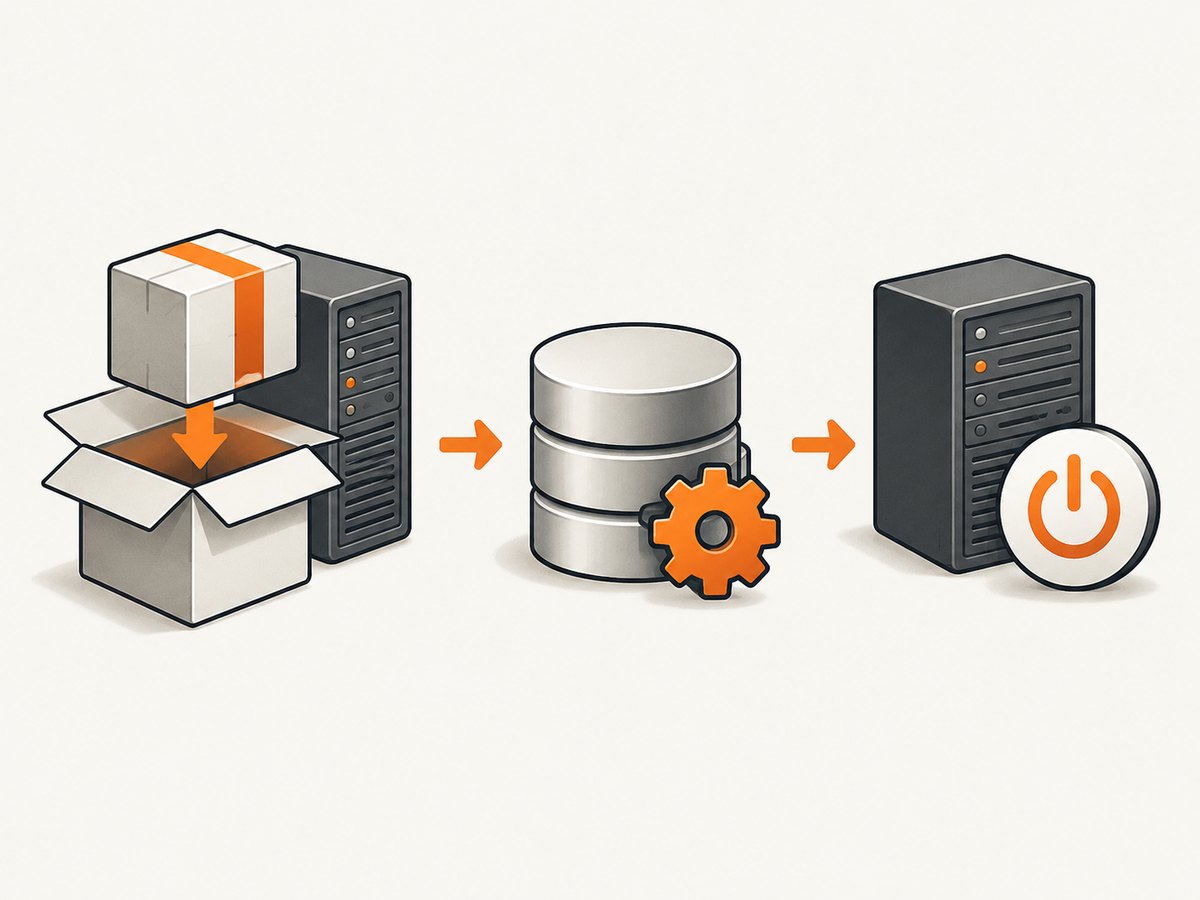
On the listed RHEL-family and Fedora systems, the distribution-package installation command is:
sudo dnf install postgresql-serverThe package name alone does not tell you which major version will be installed. The distribution’s release determines the available version. The current PostgreSQL page lists RHEL, Rocky Linux, and AlmaLinux 10 with PostgreSQL 16; release 9 with 16, 15, and 13 through modules; and release 8 with 15, 13, 12, 10, and 9.6 through modules. Fedora 44 and 43 list PostgreSQL 18. Check the live Red Hat family download instructions and your distribution’s documentation before selecting a version.
Initialize the database and start the service
On RHEL, Rocky Linux, and AlmaLinux 8, 9, and 10, and Fedora 43 and later, PostgreSQL’s instructions require initialization and service startup after installation:
sudo postgresql-setup --initdb
sudo systemctl enable postgresql.service
sudo systemctl start postgresql.service
Initialization creates the database cluster the server uses. Enabling the service configures it to start at boot; starting it launches it now. These are separate operations, so do not treat a successful package install as proof that the database is ready. For a different release, validate its setup utility and service name before running these commands.
Check service state and the client version:
sudo systemctl status postgresql.service
psql --version
Connect as the operating-system PostgreSQL account, if present:
sudo -u postgres psqlThen run SELECT version(); inside psql to confirm the server version. Exit with \q.
When to use the PostgreSQL Yum repository
Use the PostgreSQL-maintained Yum repository when the version supplied by the distribution does not fit your requirement. Its setup flow asks you to select the distribution, release, architecture, and PostgreSQL version, then provides the corresponding repository setup instructions. The supported list includes RHEL, Rocky Linux, AlmaLinux, and Fedora; check the generated instructions for your exact target. PostgreSQL notes that Fedora has a shorter support cycle and is not recommended for server deployments.
Do not combine packages from unrelated repositories casually. Decide which package stream you intend to use, follow its installation instructions, and verify the resulting server version. Mixing package sources or changing major versions without a migration plan can leave applications connecting to the wrong server or data directory.
4. Install PostgreSQL on Windows
The PostgreSQL Windows download page links to an installer hosted by EDB; it is not hosted on PostgreSQL community servers. The installer includes the PostgreSQL server, pgAdmin, and StackBuilder, and offers graphical and silent installation modes. For a typical workstation or server, use the interactive installer:
- Open the official PostgreSQL Windows downloads page.
- Follow its link to the EDB installer and choose a stable PostgreSQL version supported on your Windows release.
- Run the installer and select the components you need. Set the data directory and port, and choose a password for the database superuser when prompted.
- Complete setup, then use the installed command-line tools or pgAdmin to connect to the server.
Keep the administrator password available in your team’s approved secret store. Avoid putting it in shell history, source code, or a shared script. If an application needs database access, create a separate role for it and grant only the required database privileges.
Windows compatibility and alternative binaries
The EDB page’s current tested 64-bit matrix lists PostgreSQL 18 on Windows Server 2025 and 2022; versions 17 and 16 on Windows Server 2022 and 2019; and versions 15, 14, and 13 on Windows Server 2019 and 2016. The page says comparable Windows versions, including desktop releases, may generally work. Treat that as the installer page’s tested matrix, not a guarantee for every edition or machine; check the current Windows installer page for your target.
For advanced users bundling PostgreSQL into another application installer, the Windows page also offers a ZIP archive of binaries. That is a different use case from a normal database installation: you take responsibility for how the binaries are packaged and run. Choose the interactive or silent installer if you want the standard installation experience and included tools.
Verify a Windows installation
Open Command Prompt or PowerShell and check the client executable:
psql --versionIf Windows cannot find psql, use the SQL Shell shortcut installed with PostgreSQL, or open a shell where the PostgreSQL bin directory is on PATH. Connect with the account, host, and port chosen during installation. The default local host is commonly localhost, but use the port you selected if it differs from the installer’s setting. Once connected, run:
SELECT version();5. Connect from an application and verify the server
Across operating systems, a client connection needs a host, port, database name, username, and authentication method. Local command-line access may use operating-system authentication; a remote or application connection may use password authentication and require server and firewall configuration. Do not expose the database port publicly unless your deployment requires it and access is restricted.
After connecting with psql, these commands help establish what the session is using:
SELECT version();
\conninfo
For an application, use its PostgreSQL driver and configure the connection settings through environment-specific configuration or a secret manager. Keep development and production credentials separate. A successful psql --version only confirms a client binary is available; the SQL query confirms which server answered the connection.
6. Common installation problems
| Symptom | Likely cause | What to do |
|---|---|---|
Unable to locate package postgresql on Ubuntu |
APT metadata is stale, or package sources are unavailable. | Run sudo apt update, check network and repository configuration, then retry. For a versioned PGDG package, follow the repository setup steps and confirm the Ubuntu release is supported. |
postgresql-18 cannot be found |
The PGDG repository was not configured, does not support the OS/architecture, or metadata has not been refreshed. | Check the live Apt support matrix and architecture, rerun the documented setup if needed, and run sudo apt update before installing. |
| RPM package installs but no server accepts connections | The database cluster was not initialized or the service was not started. | For the documented RHEL-family/Fedora releases, run postgresql-setup --initdb, then enable and start postgresql.service. Confirm the right utility for other releases. |
postgresql-setup or service unit is missing |
The instructions may not match the distribution or release, or a different package stream is installed. | Check /etc/os-release, installed package names, and the vendor’s release-specific PostgreSQL guidance. Do not assume CentOS Stream maps directly to another distribution’s steps. |
| Connection refused | The server is stopped, listening on a different port, or not reachable at the selected host. | Check service state, host and port, then inspect the server logs using the OS’s service tools. On RPM systems, sudo systemctl status postgresql.service is a useful first check. |
| Authentication failed | The username, password, database, or configured authentication method does not match. | Confirm the account and database, reset credentials through an administrator if necessary, and inspect PostgreSQL’s authentication configuration before changing it. |
Windows says psql is not recognized |
The PostgreSQL command-line tools are not on PATH. |
Launch SQL Shell from the Start menu or invoke psql.exe from the PostgreSQL installation’s bin directory. Add that directory to PATH only if you want to use it from any shell. |
7. Performance, reliability, and cost considerations
PostgreSQL itself is open-source software, and the installation routes above do not require a paid license. Your operational costs come from the machine, storage, backups, monitoring, and maintenance you choose. The simplest package route reduces repository setup work, while a separately maintained version stream gives you a different version choice and introduces another source to keep track of.
For reliability, use a supported stable release, plan backups before storing important data, and test restore procedures. Keep the package stream and major version consistent with your application requirements. Major-version changes need deliberate migration planning; installing a newer server package does not by itself migrate an existing database cluster.
Performance depends on workload, memory, storage, query patterns, and configuration. A successful install uses default settings that are suitable for getting started, not necessarily tuned for production. Measure the actual workload before changing database parameters, and avoid increasing resource settings beyond what the host can support.
8. A developer’s installation checklist
- Record the OS release and CPU architecture.
- Choose the distro package or PostgreSQL-maintained repository based on the required major version.
- Verify that the chosen source supports that release and architecture.
- Install the server package; on RPM systems, initialize the cluster and enable and start the service.
- Check both client and server versions, and confirm the connection host, port, database, and role.
- Before production use, configure access appropriately and establish a backup and restore process.
Or skip the browser setup
If you are installing PostgreSQL because a workflow needs to capture web pages for debugging or documentation, ScreenshotNeo provides a website screenshot API and MCP server. A single request returns an image or PDF. See the ScreenshotNeo API documentation.
curl -G "https://api.screenshotneo.com/v1/shot" -d access_key=YOUR_API_KEY --data-urlencode url=https://stripe.com -o shot.webpimport requests
r = requests.get("https://api.screenshotneo.com/v1/shot", params={"access_key": "YOUR_API_KEY", "url": "https://stripe.com"}, timeout=90)
open("shot.webp", "wb").write(r.content)const q = new URLSearchParams({ access_key: 'YOUR_API_KEY', url: 'https://stripe.com' });
const res = await fetch(`https://api.screenshotneo.com/v1/shot?${q}`);Cookie banners, popups, and chat widgets are removed before the shot. Bot checks, blank pages, and failed loads are never billed. An MCP server lets AI agents take screenshots, and 1,000 screenshots a month are free with no card; paid plans start at $5 for 3,000. Sign up for ScreenshotNeo’s free 1,000 screenshots a month.
FAQ
Which installation route should I choose on Ubuntu?
Use Ubuntu’s package when its selected version fits your needs. Choose the PostgreSQL Apt repository when you need another supported major version.
Does the PostgreSQL project publish CentOS-specific commands?
The current RPM download page names RHEL, Rocky Linux, AlmaLinux, and Fedora, but not CentOS. Confirm whether your system is CentOS Stream and check instructions for that precise release.
Can I use a Windows ZIP instead of the installer?
The ZIP is offered for advanced users who want to bundle PostgreSQL binaries into another application. The EDB-hosted installer is the standard option and includes the server, pgAdmin, and StackBuilder.
How can I tell whether the server or only the client is installed?
psql --version checks the client. Connect to the database and run SELECT version(); to identify the server that responds.


