How to Install Puppeteer on Windows
Install Puppeteer on Windows, fix missing Chrome errors, use an existing browser, configure cache paths, and capture screenshots reliably.
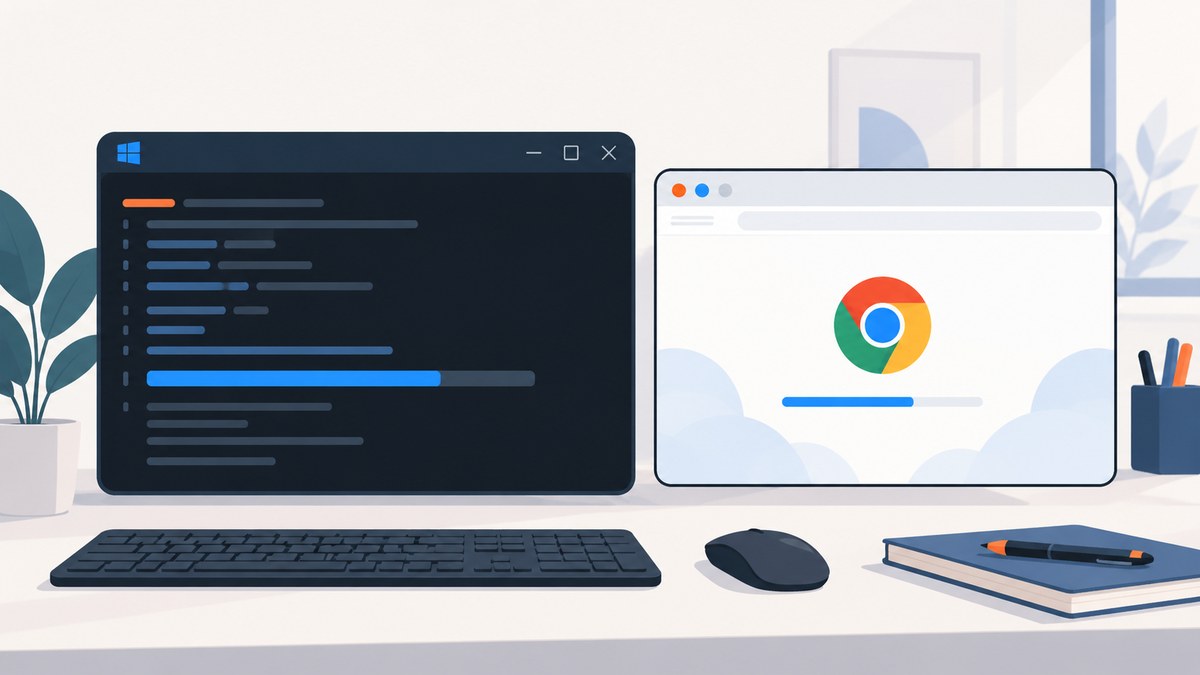
Direct answer: Open a terminal in your Windows project directory and run npm i puppeteer. Puppeteer normally downloads a compatible Chrome for Testing browser during installation. Then create a Node.js script, call puppeteer.launch(), and run it with Node. If the browser download was skipped, repair the installation with npx puppeteer browsers install.
This guide covers a clean installation, project setup, browser choices, existing Chrome installations, cache locations, permissions, common Windows failures, and production considerations.
1. Check the Windows prerequisites
Puppeteer is a Node.js library, so install Node.js before installing Puppeteer.
- Install a current Node.js release from the official Node.js website.
- Open PowerShell, Windows Terminal, or Command Prompt.
- Confirm that both Node.js and npm are available:
node --version
npm --version
If either command is not recognized, close and reopen the terminal after installing Node.js. If it still fails, check that the Node.js installation directory is on your Windows PATH.
2. Install Puppeteer in a project
Create a directory for the project, enter it, initialize a package file, and install the end-user Puppeteer package.
mkdir puppeteer-windows-demo
cd puppeteer-windows-demo
npm init -y
npm i puppeteer
When you install Puppeteer, it automatically downloads a recent version of Chrome for Testing. The download is managed by Puppeteer and is placed in its browser cache. The exact download size and installation time depend on your network connection and the browser revision selected by your installed Puppeteer version.
After installation, your directory normally contains package.json, package-lock.json, and node_modules. The browser itself is stored in Puppeteer’s cache rather than inside your project.
3. Run a first Windows script
Create a file named capture.js:

const puppeteer = require('puppeteer');

(async () => {
  const browser = await puppeteer.launch({
    headless: true
  });

  try {
    const page = await browser.newPage();
    await page.goto('https://example.com', {
      waitUntil: 'networkidle2',
      timeout: 30_000
    });
    await page.screenshot({
      path: 'example.png',
      fullPage: true
    });
    console.log('Saved example.png');
  } finally {
    await browser.close();
  }
})();
Run it with:
node capture.jsThe script starts the downloaded browser, opens a page, waits for network activity to settle, saves a full-page PNG, and closes the browser even if navigation or capture fails. The try/finally pattern prevents orphaned browser processes.
4. Use ES modules instead of CommonJS
If your project uses import, either set "type": "module" in package.json or use the .mjs extension.
import puppeteer from 'puppeteer';

const browser = await puppeteer.launch({ headless: true });
try {
  const page = await browser.newPage();
  await page.goto('https://example.com', { waitUntil: 'domcontentloaded' });
  await page.screenshot({ path: 'example.png' });
} finally {
  await browser.close();
}
For a package-level setup, add this to package.json:
{
  "type": "module",
  "scripts": {
    "capture": "node capture.js"
  }
}
5. Choose between puppeteer and puppeteer-core
| Package | Browser management | When to choose it | Launch requirement |
|---|---|---|---|
puppeteer |
Puppeteer downloads and manages a compatible Chrome for Testing browser. | New projects and scripts that should work after npm installation. | puppeteer.launch() normally finds the downloaded browser. |
puppeteer-core |
You manage Chrome or Chromium. | Existing browser installations, controlled images, or an organization-managed browser. | Provide executablePath or a standard channel. |
puppeteer-core does not download Chrome. Installing it and then calling launch() without a browser location commonly produces a browser-not-found error.
6. Use an existing Chrome installation
Use puppeteer-core when your project intentionally supplies its own browser. You can point to the executable directly:
const puppeteer = require('puppeteer-core');

(async () => {
  const browser = await puppeteer.launch({
    headless: true,
    executablePath: 'C:\\Program Files\\Google\\Chrome\\Application\\chrome.exe'
  });

  try {
    const page = await browser.newPage();
    await page.goto('https://example.com', { waitUntil: 'domcontentloaded' });
    console.log(await page.title());
  } finally {
    await browser.close();
  }
})();
Windows installations can differ between per-machine and per-user setups. Locate the actual executable rather than assuming a path. Common locations include Google Chrome’s Program Files directory and the user’s local application directory.
If the browser is installed in a standard location supported by your Puppeteer version, you can use a channel:
const browser = await puppeteer.launch({
  channel: 'chrome',
  headless: true
});
Chrome for Testing can also be installed separately with:
npx @puppeteer/browsers install chrome@stableUse one browser-management strategy per project. Mixing a downloaded browser, a system Chrome, and an unmanaged cache makes upgrades harder to diagnose.
7. Repair a missing Chrome download
A successful npm i puppeteer does not always mean a browser was downloaded. Modern package managers, CI systems, and security policies can block dependency install scripts.
From the project directory, run:
npx puppeteer browsers installThen rerun your script:
node capture.jsIf the command cannot download the browser, inspect your package manager’s script policy and network restrictions. The install script must be allowed to run, and the Windows account executing Node must be able to write to Puppeteer’s cache directory.
8. Configure the Puppeteer browser cache
Puppeteer stores downloaded browsers in a cache directory by default. Set PUPPETEER_CACHE_DIR when the default location is unsuitable, such as a build agent with a dedicated tool cache or a machine with a small system drive.
set PUPPETEER_CACHE_DIR=D:\\puppeteer-cache
npm i puppeteer
npx puppeteer browsers install
In PowerShell, set the variable for the current session with:
$env:PUPPETEER_CACHE_DIR = 'D:\puppeteer-cache'
npx puppeteer browsers install
Puppeteer can also be configured with a configuration file and a cacheDirectory value. After changing browser-download configuration, reinstall or run the browser installation command so the binary is placed in the new location.
Verify that:
- The directory exists or can be created.
- The account running Node has read, write, and execute access.
- Antivirus or endpoint security software is not quarantining the downloaded browser.
- Your CI job uses the same cache path when installing and running Puppeteer.
9. Capture full pages, elements, and reliable output
Full-page screenshot
await page.screenshot({
  path: 'full-page.png',
  fullPage: true,
  type: 'png'
});
Capture one element
const card = await page.$('.pricing-card');
if (!card) throw new Error('pricing card was not found');
await card.screenshot({ path: 'pricing-card.png' });
Set a viewport and device scale
await page.setViewport({
  width: 1440,
  height: 900,
  deviceScaleFactor: 2,
  isMobile: false,
  hasTouch: false
});
Wait for application content
await page.goto('https://example.com/dashboard', {
  waitUntil: 'domcontentloaded',
  timeout: 45_000
});
await page.waitForSelector('[data-ready="true"]', { timeout: 20_000 });
await page.screenshot({ path: 'dashboard.png', fullPage: true });
networkidle2 is useful for pages that finish loading network requests, but it can delay forever on applications with polling, analytics, WebSockets, or advertisements. Prefer a known readiness selector when the page has one. A fixed delay can help with animations, but selector-based waits are usually more deterministic.
Hide an obstructing element before capture
await page.addStyleTag({
  content: '.cookie-banner, .chat-widget { display: none !important; }'
});
Use this only when you control the page or have permission to alter the capture. For pages you do not control, a screenshot service that handles consent banners and overlays before capture can reduce this maintenance.
10. Windows launch problems and fixes
| Symptom | Likely cause | Fix |
|---|---|---|
| Chrome executable not found | Install scripts were blocked, the cache is empty, or puppeteer-core has no path. |
Run npx puppeteer browsers install, permit install scripts, or provide executablePath/channel. |
| Installation completes unusually quickly | The browser download was skipped. | Run the browser installation command and inspect package-manager script settings. |
| Access denied or sandbox permissions | An older Puppeteer version, restricted folder, or Windows permissions issue. | Upgrade when possible; confirm the cache directory permissions. For documented older-version cases, apply the Puppeteer icacls permissions procedure to the downloaded Chrome directory. |
| Chrome policy prevents launch | Organization policy enforces extensions or other browser settings. | Review the policy with your administrator. Puppeteer documents the enableExtensions: true launch option for policy-related extension restrictions. |
| Navigation timeout | The page is slow, blocked, or continuously active. | Increase the timeout, use domcontentloaded, wait for a specific selector, and log the URL being captured. |
| Blank or incomplete screenshot | Capture occurred before client-side rendering or lazy content finished. | Wait for a readiness selector, scroll to trigger lazy loading, or wait briefly for animations before capture. |
| Works locally but fails in CI | Different cache path, account permissions, network access, or browser availability. | Install the browser in CI, persist the configured cache, and run installation and capture under the same Windows account. |
11. A production-ready capture wrapper
This example adds an explicit timeout, viewport, readiness check, and guaranteed cleanup.
const puppeteer = require('puppeteer');

async function capture(url, outputPath) {
  const browser = await puppeteer.launch({
    headless: true,
    protocolTimeout: 60_000
  });

  try {
    const page = await browser.newPage();
    await page.setViewport({ width: 1366, height: 768, deviceScaleFactor: 1 });
    await page.goto(url, {
      waitUntil: 'domcontentloaded',
      timeout: 60_000
    });

    await page.evaluate(() => {
      window.scrollTo(0, document.body.scrollHeight);
      window.scrollTo(0, 0);
    });

    await page.screenshot({
      path: outputPath,
      fullPage: true,
      type: 'png'
    });
  } finally {
    await browser.close();
  }
}

capture('https://example.com', 'example.png')
  .catch(error => {
    console.error(error);
    process.exitCode = 1;
  });
For repeated jobs, reuse a browser process and create a fresh page for each URL. Close each page after capture, limit concurrency, and record the URL, wait condition, elapsed time, and error. This avoids launching a new Chrome process for every screenshot and makes failures diagnosable.
12. Performance, reliability, and cost considerations
- Startup cost: Launching Chrome is expensive compared with opening a new page. Reuse a browser for batches while isolating work in separate pages.
- Concurrency: More simultaneous pages consume more memory and CPU. Start with a small worker pool and increase it only after observing the machine under realistic pages.
- Waiting: Prefer a readiness selector over a long fixed delay. Avoid unconditional
networkidle2on pages with permanent background traffic. - Browser versions: Let
puppeteermanage its compatible browser unless you have a reason to pin and maintain your own executable. - Retries: Retry transient navigation failures with a limit and backoff. Do not blindly retry deterministic errors such as a missing selector or invalid executable path.
- Artifacts: Save screenshots and structured logs for failed jobs. A screenshot of an error page can otherwise look like a successful capture.
- Windows resources: Monitor memory, temporary disk space, file handles, and process counts. Clean up browsers and pages in every error path.
If browser installation, consent banners, bot checks, and infrastructure maintenance are the main work, a hosted screenshot API can be simpler.

Or skip the browser setup
ScreenshotNeo returns a PNG, JPEG, WebP, or PDF from one GET request. It accepts cookie and consent banners like a visitor, then removes more than 60 known consent platforms, newsletter popups, and chat widgets before the capture. Each step can be turned off.
Only clean shots are billed. Bot checks and CAPTCHAs, blank pages, timeouts, failed loads, and cache hits cost nothing, and the response identifies the result with X-Page-Verdict and X-Billed headers. ScreenshotNeo also provides an MCP server with take_screenshot, get_page_info, and capture_pdf tools for Claude, Cursor, and other MCP clients.
See the complete option list and request details in the ScreenshotNeo documentation.
cURL
curl -G "https://api.screenshotneo.com/v1/shot" -d access_key=YOUR_API_KEY --data-urlencode url=https://stripe.com -o shot.webpPython
import requests

r = requests.get(
    "https://api.screenshotneo.com/v1/shot",
    params={"access_key": "YOUR_API_KEY", "url": "https://stripe.com"},
    timeout=90,
)
r.raise_for_status()
open("shot.webp", "wb").write(r.content)
Node.js
const q = new URLSearchParams({ access_key: 'YOUR_API_KEY', url: 'https://stripe.com' });
const res = await fetch(`https://api.screenshotneo.com/v1/shot?${q}`);
if (!res.ok) throw new Error(`Screenshot failed: ${res.status}`);
const data = Buffer.from(await res.arrayBuffer());
require('fs').writeFileSync('shot.webp', data);
ScreenshotNeo includes full-page capture with lazy images loaded, CSS-selector element capture, dark mode, 12 device presets and custom viewports, retina scale, PDF paper sizes and page ranges, custom CSS and JavaScript, clicks, selector or network-idle waits, request and resource blocking, headers, cookies, user agents, authorization, timezone, geolocation, transparent backgrounds, image resizing, configurable caching, signed links, asynchronous jobs with signed webhooks, bulk capture for up to 100 URLs per call, a usage API, and an OpenAPI specification. Parameter names used by other screenshot APIs also work, which can simplify migration.
The Free plan includes 1,000 screenshots per month with no card. Paid plans start at $5 for 3,000 shots; yearly billing gives two months free, and every feature is included on every plan. Create a free ScreenshotNeo account.
13. Frequently asked questions
Does Puppeteer install Chrome on Windows?
The puppeteer package normally downloads a compatible Chrome for Testing browser. puppeteer-core does not.
Why does npm say Puppeteer installed but Chrome is missing?
An install-script policy may have prevented the browser download. Run npx puppeteer browsers install and check your package manager and network policies.
Can Puppeteer control my normal Chrome profile?
You can launch an existing Chrome executable with puppeteer-core, but automated jobs should use a dedicated profile and browser process rather than your personal daily profile.
Where should I put Chrome in a Windows CI image?
Either install the browser through Puppeteer’s command and persist its cache, or manage a known executable and pass its path explicitly. Keep installation and execution under the same account.
Should I use a fixed sleep before every screenshot?
No. A selector that indicates the page is ready is usually more reliable. Add a short delay only for known animation or rendering behavior.
When is a hosted screenshot API a better fit?
Use one when you want to avoid browser downloads, Windows permissions, consent overlays, bot-check failures, and browser-worker maintenance. ScreenshotNeo provides the request, capture, and billing verdict in one service.