How to Add a Full-Width PDF Image with Margins on the Remaining Content in iText 7 C#
Add an image at full usable width in iText 7 while keeping normal margins for the content that follows, with C# code and full-bleed guidance.
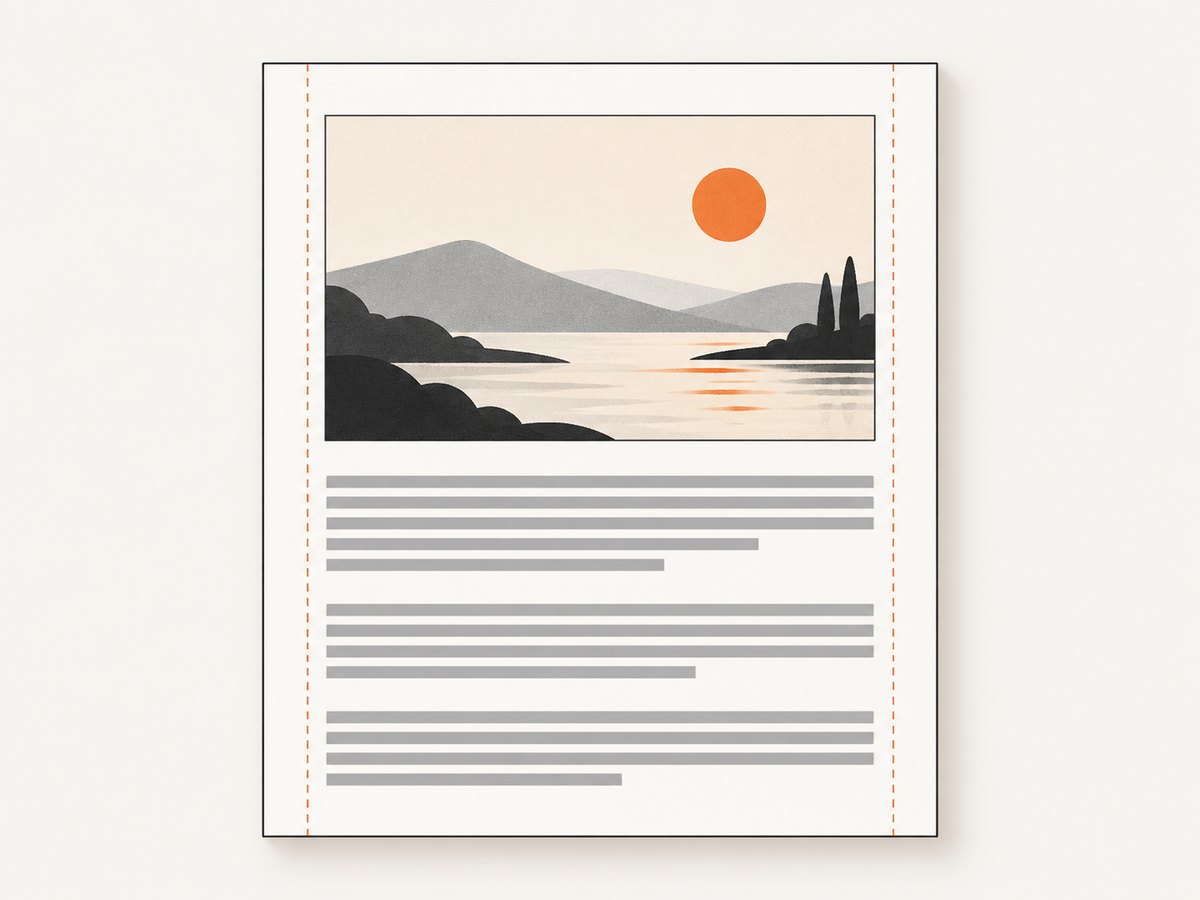
Direct answer: keep the normal margins on Document, add the image as a normal flowing Image element, and scale it to the document’s usable width. The usable width is the page width minus the document’s left and right margins. Later paragraphs then flow after the image and keep those same margins.
“Full-width” can mean two different layouts:
| Requirement | Implementation | What happens to following content? |
|---|---|---|
| Full usable width | Normal-flow image scaled to page width minus document margins | Automatically follows inside the same margins |
| Full page width / full bleed | Fixed positioning or a custom renderer sized to the physical page | You must coordinate vertical space yourself |
1. Full usable width with normal body margins
This is the usual solution when the image should be as wide as the body column and the remaining content should continue naturally. In iText, document margins define the content area; image margins only add spacing around the image element.
using iText.IO.Image;
using iText.Kernel.Geom;
using iText.Kernel.Pdf;
using iText.Layout;
using iText.Layout.Element;

string dest = "output.pdf";
string imagePath = "hero.png";

using var pdf = new PdfDocument(new PdfWriter(dest));
using var doc = new Document(pdf, PageSize.A4);

// Order: top, right, bottom, left. Values are points.
doc.SetMargins(36, 36, 36, 36);

Image image = new Image(ImageDataFactory.Create(imagePath));
float usableWidth = PageSize.A4.GetWidth()
                    - doc.GetLeftMargin()
                    - doc.GetRightMargin();

// ScaleToFit preserves the source aspect ratio.
image.ScaleToFit(usableWidth, 10000);

doc.Add(image);
doc.Add(new Paragraph("This paragraph follows the image and remains inside the document margins."));
doc.Add(new Paragraph("Additional flowing content is laid out normally on this and subsequent pages."));

doc.Close();
The 36-point values above are an explicit choice. iText examples document 36 user units as the default margin on each side when margins are not supplied. Always calculate from the margins your application actually sets instead of assuming the default.
Why this works
Document.SetMarginsestablishes the normal content rectangle.GetLeftMargin()andGetRightMargin()give the side insets used by the layout.- The image is added in normal flow, so the renderer reserves its height before placing the next element.
ScaleToFitlimits the image to the usable width while preserving its aspect ratio.
If your page is not A4, calculate from the actual page size. For a custom page, use the same formula with that page’s width:
PageSize page = new PageSize(612, 792); // example: 8.5 x 11 inches in points
using var pdf = new PdfDocument(new PdfWriter("custom.pdf"));
using var doc = new Document(pdf, page);
doc.SetMargins(48, 54, 48, 54);

float width = page.GetWidth() - doc.GetLeftMargin() - doc.GetRightMargin();
Image image = new Image(ImageDataFactory.Create("photo.jpg"));
image.ScaleToFit(width, float.MaxValue);
doc.Add(image);
doc.Add(new Paragraph("Body content keeps the 54-point side margins."));
doc.Close();
2. Add spacing around the image without changing body margins
Use image margins when you want a gap before or after the image. These margins belong to the image element; they do not redefine the page’s content area.
Image image = new Image(ImageDataFactory.Create("hero.png"));
float width = PageSize.A4.GetWidth() - doc.GetLeftMargin() - doc.GetRightMargin();
image.ScaleToFit(width, 10000);
image.SetMargins(0, 0, 18, 0); // bottom gap, in points

doc.Add(image);
doc.Add(new Paragraph("This paragraph starts after the image and its bottom spacing."));
Keep the document’s margins for ordinary text. Setting document margins to zero just to widen one image also moves paragraphs, headings and lists to the page edge.
3. Full page width or full bleed
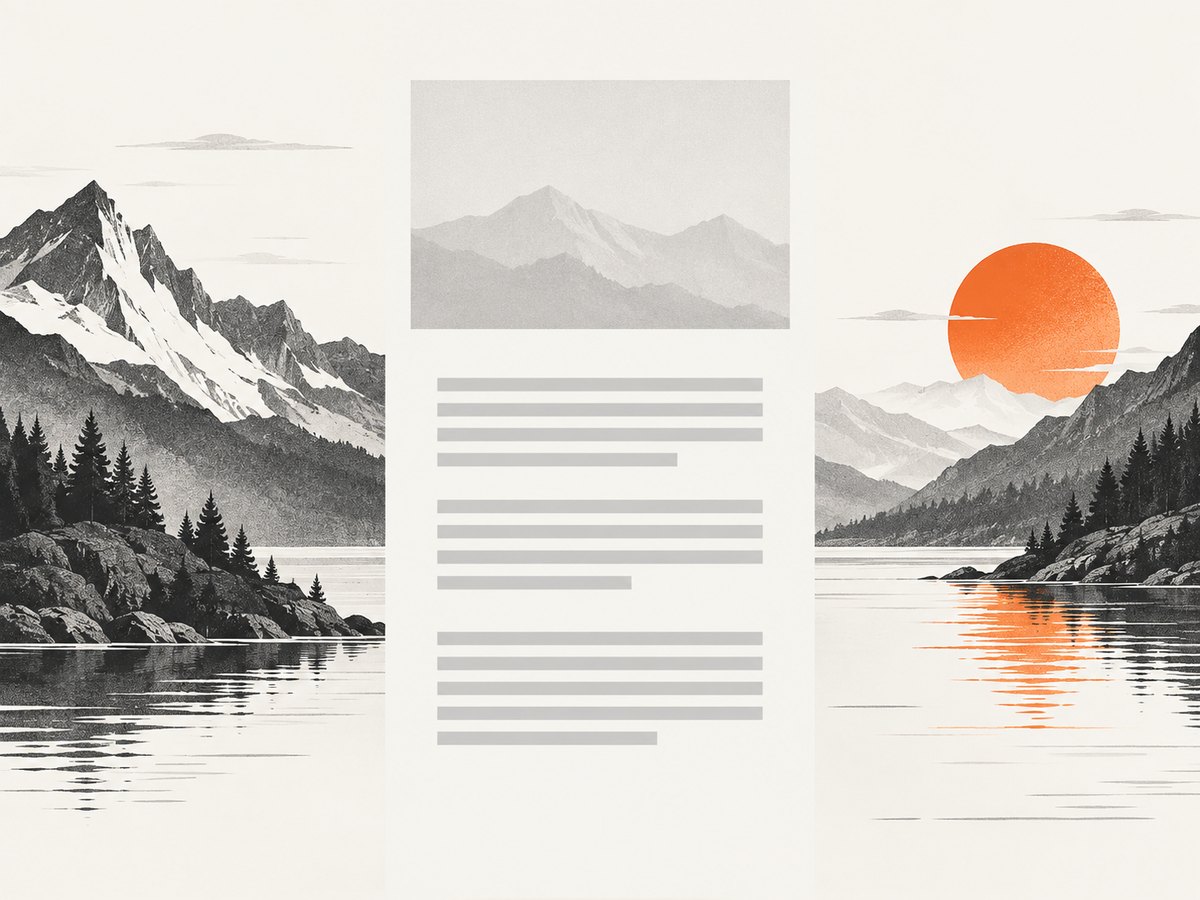
If the image must touch the physical left and right edges while the body text remains inset, it cannot be achieved by an ordinary image inside the document’s content area alone. The image must be positioned against the page coordinates.
using iText.IO.Image;
using iText.Kernel.Geom;
using iText.Kernel.Pdf;
using iText.Layout;
using iText.Layout.Element;

PageSize page = PageSize.A4;
using var pdf = new PdfDocument(new PdfWriter("bleed.pdf"));
using var doc = new Document(pdf, page);
doc.SetMargins(54, 54, 54, 54);

Image image = new Image(ImageDataFactory.Create("hero.jpg"));
image.ScaleToFit(page.GetWidth(), page.GetHeight());
image.SetFixedPosition(0, page.GetHeight() - image.GetImageScaledHeight());
doc.Add(image);

// Fixed positioning is absolute. Add body content with explicit coordination.
doc.Add(new Paragraph("Body text retains document margins, but the fixed image does not reserve normal flow space."));
doc.Close();
Fixed positioning changes the element to absolute placement. It does not automatically push later content down. You must calculate the image height, the starting Y coordinate and the remaining vertical space, then decide whether body content belongs below it, on another page or in a custom layout region.
For repeating headers, backgrounds or overlays, a page event or renderer customization is often a better fit than inserting a fixed element into normal flow. Validate the exact behavior against the iText 7 minor version used by your application.
4. Scaling choices and aspect ratio
| Method | Use it when | Aspect ratio |
|---|---|---|
ScaleToFit(width, height) |
You need a maximum box and want proportional scaling | Preserved |
ScaleAbsolute(width, height) |
The output must have exact dimensions and distortion is acceptable | Not preserved |
SetAutoScaleWidth |
You want automatic width behavior supported by your version | Check version behavior |
The .NET API documents SetAutoScaleHeight as currently bugged. Do not make it the basis of a production layout without checking your installed version and validating the resulting PDF. For predictable output, calculate the width and use ScaleToFit.
5. Images that span several pages
A very tall image can consume most or all of a page after width scaling. If it cannot fit in the remaining area, iText may move the element to the next page. If you require a specific page break, add an explicit AreaBreak before the image or choose a smaller maximum height. A fixed-position image will not participate in this automatic pagination.
using iText.Layout.Element;

// Start the wide image on a fresh page when the preceding content is variable.
doc.Add(new AreaBreak());
Image image = new Image(ImageDataFactory.Create("long-infographic.png"));
float width = PageSize.A4.GetWidth() - doc.GetLeftMargin() - doc.GetRightMargin();
image.ScaleToFit(width, PageSize.A4.GetHeight());
doc.Add(image);
doc.Add(new Paragraph("Content after the image continues in normal flow."));
6. Common errors and fixes
| Symptom | Likely cause | Fix |
|---|---|---|
| Image is narrower than expected | Left and right document margins reduce usable width | Calculate page width minus GetLeftMargin() and GetRightMargin(). |
| Text reaches the page edge | Document margins were set to zero | Restore body margins; change image sizing instead. |
| Image is stretched | ScaleAbsolute was used with a different aspect ratio |
Use ScaleToFit for proportional scaling. |
| Paragraph overlaps a full-bleed image | Fixed positioning does not reserve flow space | Compute the image height and place following content deliberately. |
| Image appears on a later page | Its scaled height does not fit in the remaining area | Insert an AreaBreak, reduce its maximum height or accept the automatic page break. |
| Margins seem inconsistent | Image margins and document margins are being treated as the same setting | Use document margins for the body and image margins only for local spacing. |
| Output is unexpectedly large | Source bitmap has excessive dimensions or compression | Resize or optimize the source before embedding; keep proportional scaling in the PDF. |
7. Performance, reliability and cost considerations
- Decode cost: large source images use more memory while being decoded. Resize oversized assets before creating
ImageData. - Layout predictability: normal flow is easier to paginate and maintain than absolute coordinates.
- Rendering cost: proportional scaling avoids distortion but does not necessarily reduce the embedded source bytes. Optimize the source when file size matters.
- Version checks: confirm method availability and behavior against the exact iText 7 .NET minor version in your project.
- Validation: inspect PDFs with portrait and landscape pages, narrow and wide source ratios, long images, transparent images and content near page boundaries.
8. A practical decision checklist
- Do you mean usable content width or physical page width?
- Should the following content flow automatically?
- Have you calculated width from the actual page and side margins?
- Does the image need proportional scaling?
- Could its height force a page break?
- If using fixed positioning, have you reserved space for the next element?
- Have you tested the exact iText version used in production?
9. Or skip the browser setup
If the image you need comes from a live webpage, you can capture it first with ScreenshotNeo and then place the resulting file in your iText document. Its API returns PNG, JPEG, WebP or PDF from one GET request, with options for full-page capture, element selection, device and viewport settings, custom CSS and JavaScript, waits, headers, cookies and more. See the ScreenshotNeo API documentation for the available parameters.
curl -G "https://api.screenshotneo.com/v1/shot" -d access_key=YOUR_API_KEY --data-urlencode url=https://stripe.com -o shot.webpimport requests
r = requests.get(
"https://api.screenshotneo.com/v1/shot",
params={"access_key": "YOUR_API_KEY", "url": "https://stripe.com"},
timeout=90,
)
r.raise_for_status()
open("shot.webp", "wb").write(r.content)const q = new URLSearchParams({ access_key: 'YOUR_API_KEY', url: 'https://stripe.com' });
const res = await fetch(`https://api.screenshotneo.com/v1/shot?${q}`);
if (!res.ok) throw new Error(`Screenshot failed: ${res.status}`);
const data = new Uint8Array(await res.arrayBuffer());
await Bun.write('shot.webp', data);Cookie banners, newsletter popups and chat widgets are removed before the shot. Bot checks, blank pages and failed loads are never billed, and the response identifies the page verdict and billing status in headers. An MCP server lets AI agents take screenshots. The free plan includes 1,000 screenshots a month with no card, and paid plans start at $5 for 3,000 shots. Create a free ScreenshotNeo account.
10. FAQ
Should I set the image width to the page width?
Only for full bleed. For a normal body layout, use page width minus the document’s left and right margins.
Do image margins change paragraph margins?
No. Image margins affect spacing around that image element. Document margins define the normal content area.
Is fixed positioning suitable for a hero image followed by text?
It can be, but you must reserve the image’s vertical space yourself. Normal flow is safer when later content should follow automatically.
Which scaling method avoids distortion?
ScaleToFit preserves the source aspect ratio. ScaleAbsolute forces dimensions and can distort the image.
Why does a 36-point margin appear in examples?
It is the documented default used in iText examples when margins are omitted. Set explicit margins when the layout matters.