How to Capture Website Screenshots with a JavaScript API
Capture a website with Playwright or Puppeteer, choose viewport or full-page output, and decide when a hosted screenshot API fits better.
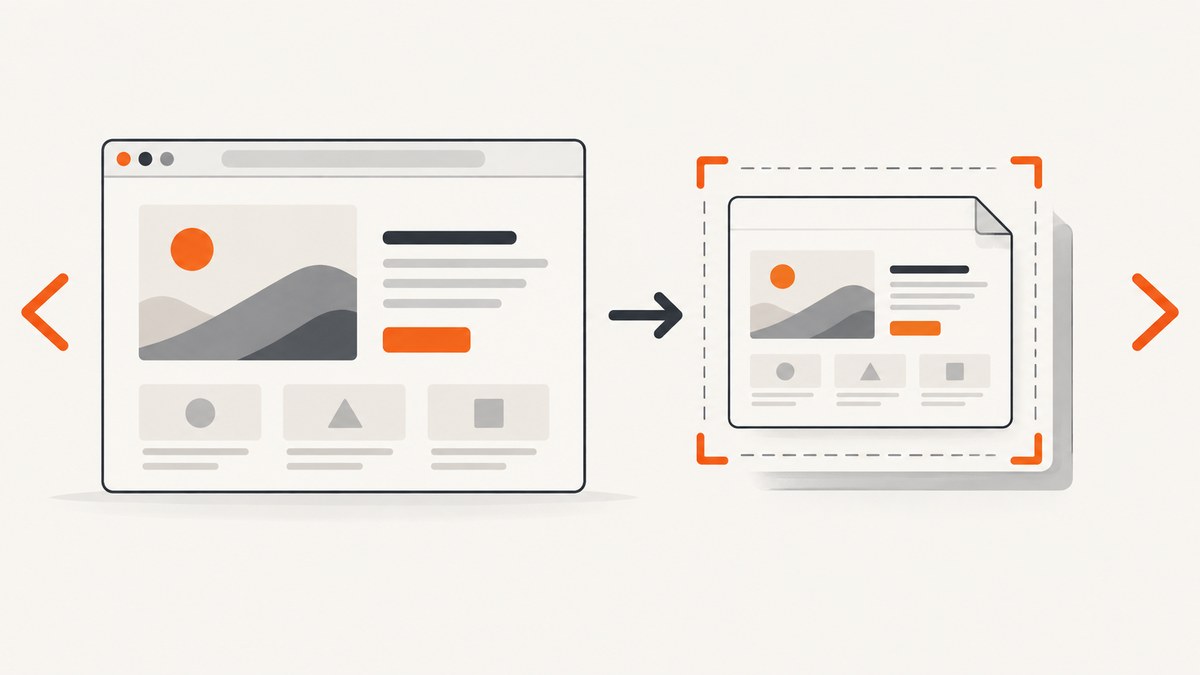
To capture a website screenshot with JavaScript, launch a browser with Playwright or Puppeteer, navigate to the URL, wait for the page state your task needs, then call the page screenshot method. For a visible-viewport screenshot in Playwright, the essential line is await page.screenshot({ path: 'screenshot.png' }). Set fullPage: true for the whole scrollable page. If you do not want to install and operate a browser runtime, use a hosted screenshot API over HTTP instead.
Use a local browser library when you need browser automation in the same process: interactions, assertions, or custom setup before capture. Use a hosted endpoint when you want to send a URL and receive image bytes. The options and authentication differ by provider, so treat each API’s documentation as its contract.
1. Capture a website with Playwright
Playwright’s Page API documents the screenshot method and its options. The following complete Node.js script opens Chromium, navigates to a URL, saves a viewport screenshot, and closes the browser even if capture fails.
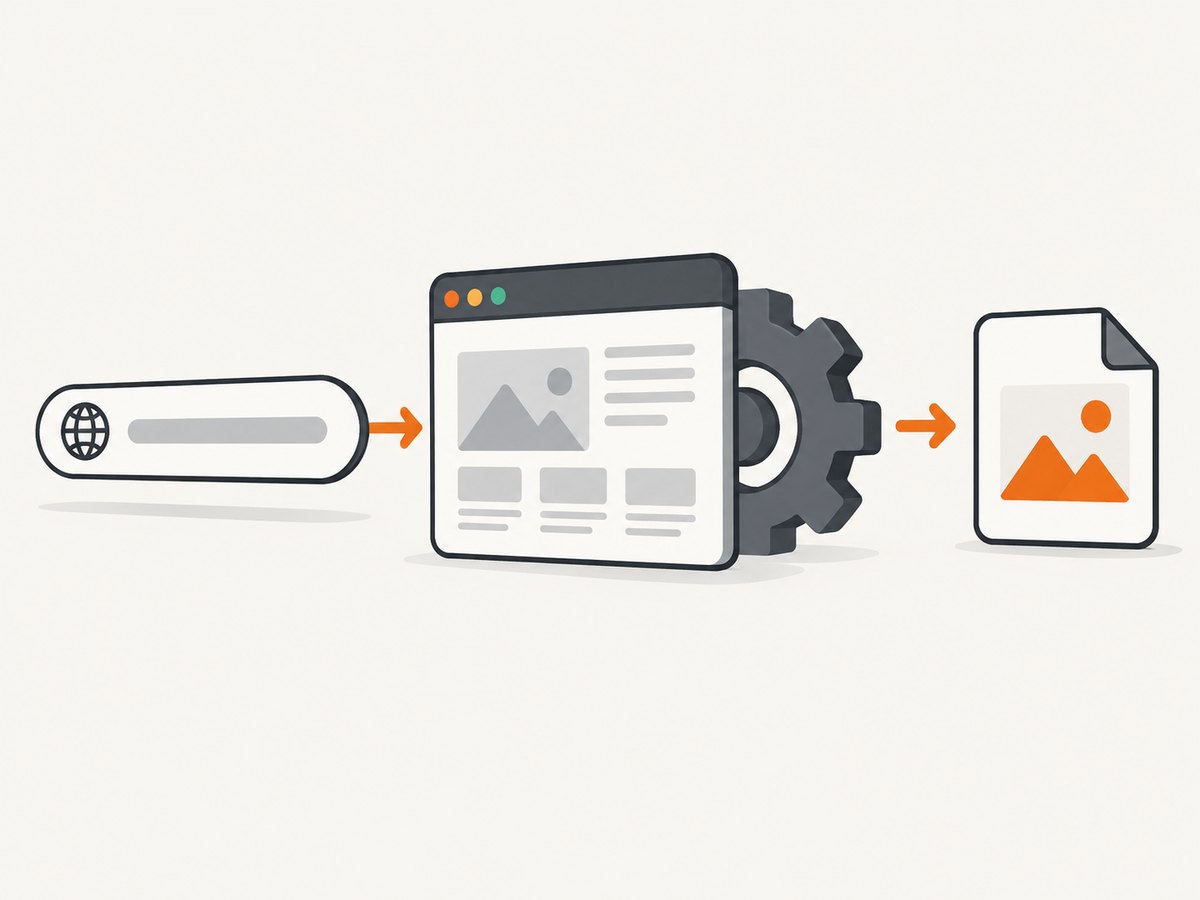
- Create a project and install Playwright.
- Save the script as
capture.mjs. - Run it with Node.js. If browser binaries are not installed yet, run the browser installation command shown below.
mkdir js-screenshot
cd js-screenshot
npm init -y
npm install playwright
npx playwright install chromium
// capture.mjs
import { chromium } from 'playwright';
const targetUrl = process.argv[2] ?? 'https://example.com';
const browser = await chromium.launch();
try {
const page = await browser.newPage({
viewport: { width: 1440, height: 900 },
deviceScaleFactor: 1,
});
const response = await page.goto(targetUrl, {
waitUntil: 'domcontentloaded',
timeout: 30_000,
});
if (!response || !response.ok()) {
throw new Error(`Navigation failed: ${response?.status() ?? 'no response'}`);
}
// Replace this with a locator wait if the page has a known ready element.
await page.screenshot({ path: 'screenshot.png' });
console.log('Saved screenshot.png');
} finally {
await browser.close();
}Run node capture.mjs https://example.com. The URL is a command-line argument, which makes the script reusable in a job or service. Do not assume that navigation reaching a particular event means every image, animation, or client-rendered component is visually ready. Choose a readiness condition for the site you capture.
Wait for the content you need
For a page that renders a chart or product card after navigation, wait for that component rather than adding an arbitrary long delay:
await page.goto(targetUrl, { waitUntil: 'domcontentloaded' });
await page.locator('[data-ready="true"]').waitFor({ state: 'visible' });
await page.screenshot({ path: 'ready.png' });
Use a selector that reflects the content relevant to your screenshot. If no stable selector exists, a short explicit delay can accommodate a known animation or delayed render, but fixed sleeps make captures slower and can still be too short or unnecessarily long. For test screenshots, wait for the application’s own stable state.
2. Choose viewport, full-page, or element capture
| Capture | Use it for | Playwright example |
|---|---|---|
| Viewport | A visible browser window, preview, or responsive layout check | page.screenshot({ path: 'view.png' }) |
| Full page | Documentation or a page overview from top to bottom | page.screenshot({ path: 'full.png', fullPage: true }) |
| Element | A specific card, chart, or component | page.locator('.card').screenshot({ path: 'card.png' }) |
| Clip | A fixed rectangle in the viewport | page.screenshot({ path: 'region.png', clip: { x: 0, y: 0, width: 640, height: 400 } }) |
Playwright’s fullPage: true captures the full scrollable page. Long pages can create very large images, and the browser may run out of memory while allocating them. Consider capturing a particular element, a viewport, or smaller page regions if the entire page is not needed. Lazy-loaded content may only appear after scrolling; full-page mode does not guarantee that every site’s lazy content has loaded. Where that matters, scroll through the page and wait for the images or content to load before capturing.
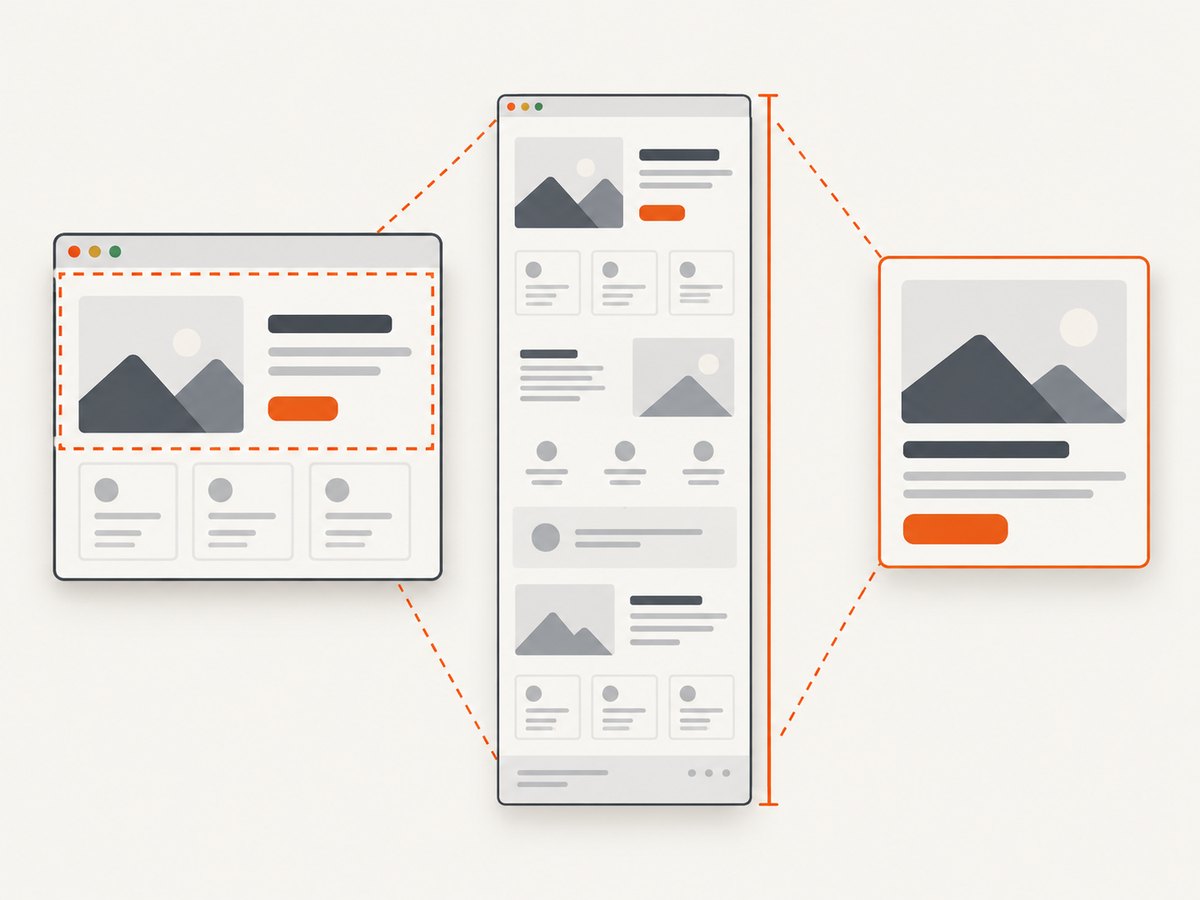
Element capture is useful when a page contains unrelated content around the component of interest. Confirm that the locator matches the intended element and that it is visible before capture. For screenshots that need only a region, clipping keeps the output focused; clipping coordinates are relative to the page viewport.
3. Set image type, dimensions, and output
Playwright’s screenshot options include a file path, image type, quality, full-page capture, and clipping. The defaults are suitable for a basic PNG. Use JPEG when smaller lossy output is appropriate; use its quality setting with JPEG. Check the API documentation for current constraints on each option. A screenshot can be returned as bytes instead of being saved directly:
const imageBytes = await page.screenshot({ type: 'jpeg', quality: 80 });
// For example, pass imageBytes to your storage client or response handler.
Viewport dimensions are configured on the page or browser context, separately from capture options. Device scale factor affects the pixel density of the image. A larger viewport or scale factor can increase the resulting image dimensions and memory requirements. Decide the target dimensions based on where the screenshot will be displayed or compared, then keep them consistent between runs.
To capture a dark appearance, set the browser context’s color scheme before navigating:
const context = await browser.newContext({
  viewport: { width: 1280, height: 800 },
  deviceScaleFactor: 2,
  colorScheme: 'dark',
});
const page = await context.newPage();
Use context configuration for settings that should be consistent across pages. For multiple screenshots, reuse a browser process and create a fresh page or isolated context as appropriate; close pages and contexts when finished so work does not accumulate.
4. Puppeteer alternative
Puppeteer offers a similar Page.screenshot() workflow. Its documentation says the method returns image bytes (Uint8Array) by default, or a base64 string when the matching encoding option is requested. Its screenshot options include a file path, image type, full-page mode, and quality. See the official Page.screenshot API and ScreenshotOptions reference for the current option behavior.
npm install puppeteer// capture-puppeteer.mjs
import puppeteer from 'puppeteer';
const targetUrl = process.argv[2] ?? 'https://example.com';
const browser = await puppeteer.launch();
try {
const page = await browser.newPage();
await page.setViewport({ width: 1440, height: 900 });
const response = await page.goto(targetUrl, {
waitUntil: 'domcontentloaded',
timeout: 30_000,
});
if (!response || !response.ok()) {
throw new Error(`Navigation failed: ${response?.status() ?? 'no response'}`);
}
await page.screenshot({ path: 'screenshot.png', fullPage: false });
} finally {
await browser.close();
}Run node capture-puppeteer.mjs https://example.com. If your next step needs an in-memory image instead, omit the path and use the returned bytes. Keep library-specific option names with the library you installed; Playwright and Puppeteer have similar concepts, but their APIs are not interchangeable.
5. Local browser or hosted screenshot API?
With a local library, your application manages the browser runtime and controls page interactions directly. This fits visual tests, workflows that click or authenticate, and tasks needing browser-side setup. It also means installing browser binaries, managing processes and memory, and handling navigation failures in your application.
A hosted screenshot API accepts an HTTP request and returns an image, while the provider manages rendering. Browserless documents a POST request to its /screenshot endpoint using a URL and optional screenshot settings, authenticated with an API token. Its documented options include full-page capture, viewport settings, image type, clipping, selector capture, and a scrollPage option for lazy content. See the Browserless Screenshot API documentation for its exact request shape. That request format is provider-specific; do not copy it as a universal screenshot API contract.
Compare the choices against your needs: who operates the browser, which browser options you need, whether you need bytes or a file, how credentials are protected, and the provider’s current quotas and service terms. The research here does not establish a measured speed, reliability, or cost comparison between local libraries and hosted services.
Or skip the browser setup
ScreenshotNeo is a website screenshot API and MCP server for developers. Send one GET request with a URL to receive an image or PDF; see the ScreenshotNeo API documentation for its options.
curl -G "https://api.screenshotneo.com/v1/shot" -d access_key=YOUR_API_KEY --data-urlencode url=https://stripe.com -o shot.webpimport requests
r = requests.get("https://api.screenshotneo.com/v1/shot", params={"access_key": "YOUR_API_KEY", "url": "https://stripe.com"}, timeout=90)
open("shot.webp", "wb").write(r.content)const q = new URLSearchParams({ access_key: 'YOUR_API_KEY', url: 'https://stripe.com' });
const res = await fetch(`https://api.screenshotneo.com/v1/shot?${q}`);- Cookie banners, newsletter popups, and chat widgets are removed before the shot; each step can be turned off.
- Bot checks, blank pages, timeouts, failed loads, and cache hits cost nothing. Response headers identify the page verdict and billing status.
- An MCP server lets Claude, Cursor, or another MCP client use screenshot tools, including
take_screenshot,get_page_info, andcapture_pdf. - 1,000 screenshots a month are free with no card. Paid plans start at $5 for 3,000 shots; every feature is on every plan.
Sign up free for 1,000 screenshots a month, no card required.
6. Reliability, performance, and cost
Browser capture cost is more than the screenshot call: include browser installation, memory, concurrent jobs, retries, and storage or transfer in your design. Full-page and high-resolution captures can produce large images and consume substantial memory. Capturing only the needed element or viewport can reduce unnecessary output. Close the browser in a finally block so errors do not leave processes running.
For reliability, distinguish navigation errors from capture errors. Check the navigation response status, use a meaningful readiness condition, and record the target URL and error when a job fails. Retry only failures that are plausibly transient, with a bounded retry policy; repeatedly retrying a deterministic selector error will not make the selector appear. If the screenshot is part of a test, preserve consistent browser dimensions, device scale, color scheme, and application state to avoid irrelevant visual differences.
Hosted APIs trade local browser operations for HTTP requests and provider-specific authentication, quotas, and terms. Store API keys on the server, never in a public webpage or source bundle. Set request timeouts, handle non-image error responses, and check provider billing and response headers before storing an output. Do not infer the result format solely from a filename extension.
7. Troubleshooting common screenshot problems
| Symptom | Likely cause | Fix |
|---|---|---|
| Browser executable missing | The package is installed but its browser binary is not. | Run the library’s browser installation command, such as npx playwright install chromium, in the runtime environment. |
| Screenshot is blank or incomplete | Capture ran before the page rendered, or a required element was delayed. | Wait for a page-specific locator or known state. Inspect navigation status and use a screenshot after the relevant content is visible. |
| Timeout during navigation | The site is slow, unreachable, or waiting for a load state that never arrives. | Choose a suitable navigation wait condition, set a timeout that matches the job, and distinguish navigation failure from readiness failure. |
| Full-page capture crashes or exhausts memory | The page is very long, or the output has too many pixels. | Use viewport, element, or region captures; lower viewport or scale dimensions; or split the work into smaller captures. |
| Lazy images are missing | The page loads images only as they approach the viewport. | Scroll through the page and wait for image completion before capture, or use a provider option designed to trigger lazy loading. |
| Cookie dialog or popup covers content | The site presents an overlay during capture. | Handle its consent flow or dismiss a known dialog before capture. For predictable overlays in Playwright, explicitly locate and dismiss them as part of the workflow. |
| Element screenshot fails | The selector does not match, matches a hidden element, or the component has not appeared. | Wait for the locator to be visible, confirm selector uniqueness, and check whether the content is inside a frame. |
| Image file contains an error message | An HTTP API returned an error body rather than an image. | Check status and response headers before saving bytes; verify the URL, API key, quota, and provider’s error format. |
8. Capture checklist
- Pick Playwright/Puppeteer for in-process browser control or a hosted endpoint for HTTP-based rendering.
- Set the URL, viewport, device scale, color scheme, and image type intentionally.
- Wait for the content that matters instead of assuming navigation alone guarantees visual readiness.
- Choose viewport, full-page, element, or clip capture based on the output’s purpose.
- Account for lazy content, overlays, page length, memory, and image size.
- Close local browser resources and protect hosted API credentials.
- Handle HTTP and browser errors before treating output bytes as an image.
FAQ
How do I take a screenshot of a website with JavaScript?
Launch a browser with Playwright or Puppeteer, navigate to the URL, then call page.screenshot(). For a basic Playwright script, save the screenshot with path.
How do I capture a full-page screenshot with Playwright?
Pass fullPage: true to page.screenshot(). Long pages can require substantial memory, so consider whether an element or viewport capture is sufficient.
How do I save a Puppeteer screenshot as a file?
Pass a file path, such as { path: 'screenshot.png' }, to page.screenshot(). Without a path, Puppeteer returns image bytes by default.
Should my app use Playwright, Puppeteer, or an API?
Use a browser library when you need direct browser interaction in your own runtime. Use a hosted API when an HTTP request and rendered image response better fit your application. Evaluate current provider terms and options for your use case.


