How to Take Screenshots and Render HTML/CSS with JetBrains IDEs
Preview HTML, apply CSS changes live, export source to HTML, and capture screenshots with IntelliJ IDEA and other JetBrains workflows.
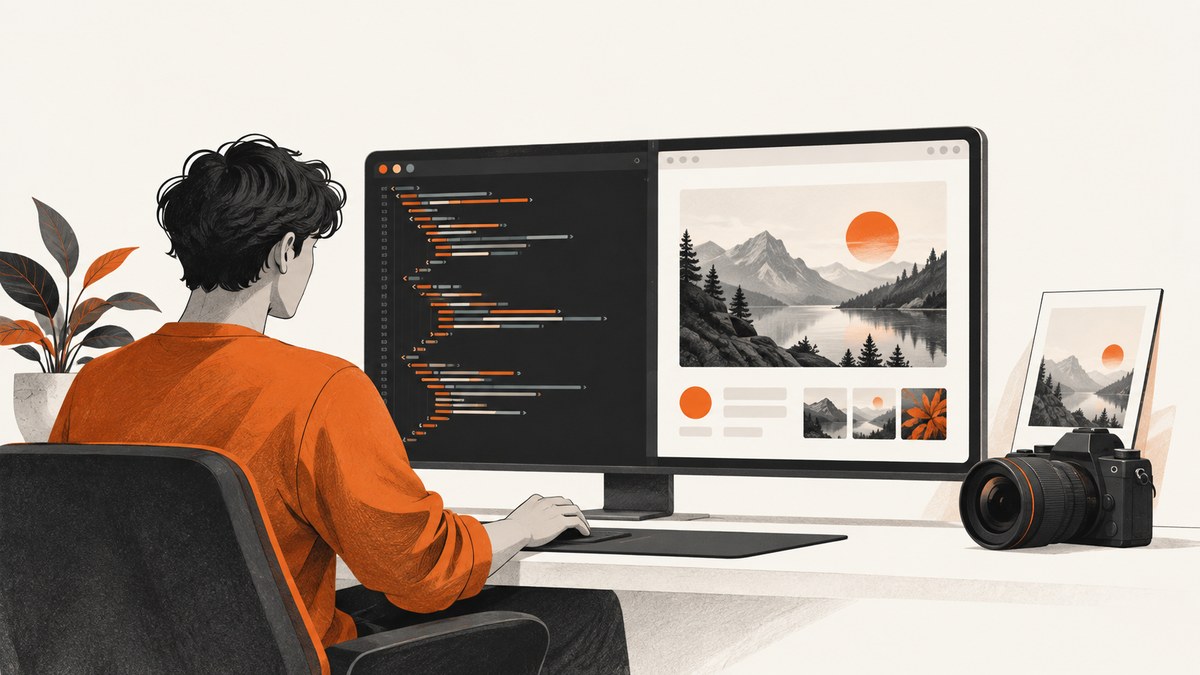
Direct answer: In IntelliJ IDEA, open your HTML file and choose View | Open in Browser. Select Built-in Preview to render the page in an editor tab, or choose a configured external browser. The built-in preview uses IntelliJ IDEA’s built-in web server, whose documented default port is 63342. Save your HTML, CSS or JavaScript file to trigger the default reload behavior. For CSS and JavaScript updates without a full page reload, use Live Edit while debugging. To capture pixels, use your operating system’s screenshot utility; IntelliJ IDEA’s Full Screen and Presentation modes change the IDE view but are not documented as screenshot commands.
Choose the JetBrains workflow that matches your goal
| Goal | Use | Output | Needs debugging? |
|---|---|---|---|
| See a running web page | View | Open in Browser | Interactive page in built-in preview or an external browser | No |
| See CSS or JavaScript changes quickly | Live Edit | Updates in a supported Chromium browser during debugging | Yes |
| Share formatted source code | File | Export | Files or Selection to HTML… | Static HTML with syntax highlighting | No |
| Capture what is visible | Your operating system’s screenshot utility | Image of the current screen | No |
| Preview Markdown | Markdown editor preview | Rendered Markdown pane | No |
JetBrains documents these as separate workflows. Rendering a web page, exporting source code, and taking a screenshot produce different results.
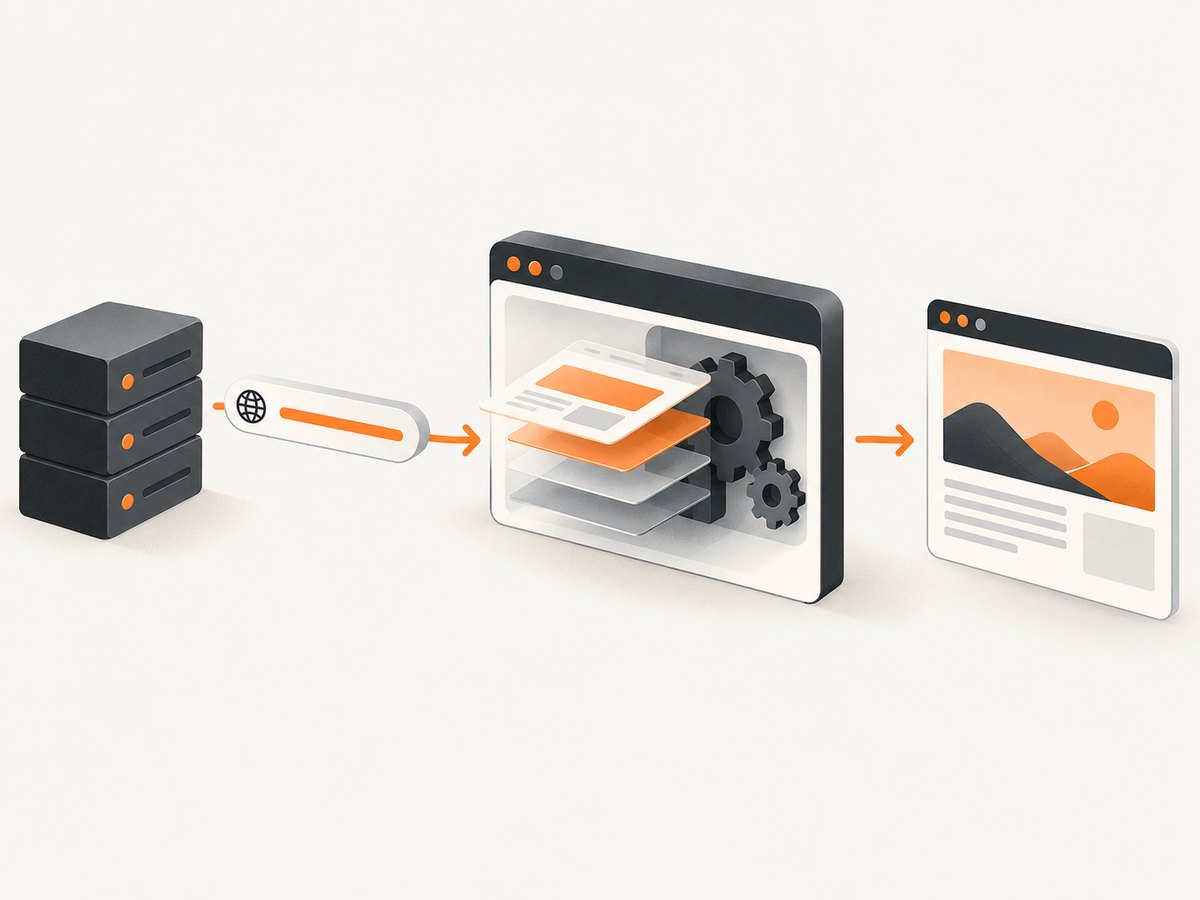
How to preview HTML in IntelliJ IDEA
- Open or create an
.htmlfile in your project. - Choose View | Open in Browser.
- Select Built-in Preview, or select a configured browser such as Chrome.
- Edit the page and save it. The preview normally reloads after a save.
The built-in option is convenient because IntelliJ IDEA’s web server is always running and does not require manual server configuration. Its default port is 63342. A typical local preview URL looks like this:
http://localhost:63342/your-project/index.htmlThe exact path depends on your project directory and file. If you configure a different server or upload the page to a manually configured default web server, automatic reload may not work.
Minimal HTML and CSS example
<!doctype html>
<html lang="en">
<head>
  <meta charset="utf-8">
  <meta name="viewport" content="width=device-width, initial-scale=1">
  <link rel="stylesheet" href="styles.css">
  <title>Preview test</title>
</head>
<body>
  <main class="card">
    <h1>JetBrains preview</h1>
    <p>Edit styles.css, save, and watch the preview reload.</p>
  </main>
</body>
</html>
:root {
color-scheme: light dark;
font-family: system-ui, sans-serif;
}
body {
margin: 0;
min-height: 100vh;
display: grid;
place-items: center;
background: #101827;
}
.card {
max-width: 36rem;
padding: 2rem;
border-radius: 1rem;
background: white;
color: #101827;
}For browser configuration and reload settings, open Settings | Tools | Web Browsers and Preview. Reload behavior can be set to On Change or Disabled. See the IntelliJ IDEA web application documentation and browser and preview settings.
How to see CSS changes live
Use Live Edit when you are debugging a page and want supported browser updates without a normal page reload. JetBrains documents Live Edit for HTML, CSS and JavaScript.
- Confirm that the JavaScript and TypeScript bundled plugin is enabled.
- Confirm that the JavaScript Debugger and Live Edit plugins are available.
- Open the page in a supported Chromium-based browser.
- Start a JavaScript debugging session.
- Edit and save HTML, CSS or JavaScript. Live Edit applies changes using its configured delay.
The documented default Live Edit update delay is 300 ms. JetBrains notes that the JavaScript Debugger and Live Edit plugins are available only with an IntelliJ IDEA Ultimate subscription. Plugin and edition availability can vary by product and version, so check your installation before standardizing this workflow. Read the Live Edit documentation.
When Live Edit is the wrong tool
- Use Built-in Preview when you only need a straightforward local render.
- Use an external browser when you need to test browser-specific behavior.
- Use a normal reload when application state must be reset.
- Use an OS screenshot utility when you need an image file.
How to export HTML from IntelliJ IDEA
If “render HTML” means turning source code into a shareable, formatted document, choose File | Export | Files or Selection to HTML…. The result is static HTML that preserves syntax highlighting, indentation and source structure. Depending on the dialog options, you can include line numbers, hyperlinks to classes, and an option to open the generated file in a browser.
- Select a file, folder or code range in the Project tool window or editor.
- Choose File | Export | Files or Selection to HTML….
- Choose the destination and options.
- Open the generated file in a browser if you need to inspect the static result.
This export does not run your application. It displays source code as a document. For an interactive application, use browser preview instead. See Export to HTML.
How to preview Markdown
Open a Markdown file and use the editor’s preview pane to see rendered Markdown as HTML. Markdown settings allow custom CSS rules or a custom stylesheet. This is intended for Markdown documents and is separate from previewing an HTML application. See Markdown support.
How to take a screenshot of your IDE or preview
IntelliJ IDEA’s official documentation describes Full Screen and Presentation viewing modes, but does not establish a general-purpose screenshot command. To capture the IDE, built-in preview or external browser, use the screenshot utility supplied by your operating system.
- Arrange the editor, preview or browser exactly as you want it captured.
- Choose the operating system’s window, region or full-screen capture mode.
- Save the image as PNG or another format supported by your system.
- Crop or annotate the result with your normal image tool if needed.
A screenshot records visible pixels. It does not prove that the page is responsive, interactive or accessible at other viewport sizes. For repeatable captures, record the URL, viewport, device scale, color scheme and page state alongside the image.
Reliable screenshot checklist
- Save HTML and CSS before capturing so the preview is current.
- Wait for fonts, images and asynchronous content to finish loading.
- Check both the built-in preview and at least one external browser when browser differences matter.
- Capture at a known viewport size and device scale.
- Hide unrelated editor panels and notifications.
- For long pages, use a full-page capture tool rather than stitching arbitrary screen regions.
Troubleshooting
The browser preview is blank or cannot connect
Confirm that the file is inside the opened project, that the path is correct, and that the built-in server is selected. Check whether the configured server port changed from 63342. Reopen the file with View | Open in Browser.
Changes do not reload
Open Settings | Tools | Web Browsers and Preview and check the reload mode. If it is Disabled, enable On Change. Automatic reload may not work when the page is served by a manually configured default web server.
Live Edit does nothing
Start a JavaScript debugging session, use a supported Chromium-based browser, and verify the required plugins and IntelliJ IDEA edition. Live Edit is not a replacement for opening the page in a browser.
The exported HTML does not behave like the application
That is expected. Export to HTML creates a static source listing. Use browser preview or an external browser to run the application.
The screenshot misses content below the fold
An operating-system screenshot captures only what is visible. Scroll and capture additional regions, or use a full-page screenshot service that renders the entire document.
Fonts or images differ between machines
Check that the assets load from stable paths, wait for network resources to finish, and capture with the same browser, viewport and device scale. Local files and remote resources can render differently across environments.
Performance, reliability and cost considerations
- Built-in Preview: fastest setup for local HTML because the IDE web server needs no manual configuration.
- Live Edit: reduces full reloads during debugging, but adds plugin, browser and edition requirements.
- External browsers: useful for cross-browser checks, but require each browser to be configured and available.
- OS screenshots: dependable for a visible region, but manual and limited to the current viewport.
- Export to HTML: predictable and static, but it cannot execute application code.
For repeatable automation, a screenshot API avoids maintaining a local browser session and can capture a URL at a defined viewport. Treat network-heavy pages, consent dialogs, bot checks and delayed JavaScript as separate failure cases and record the resulting status.
Or skip the browser setup
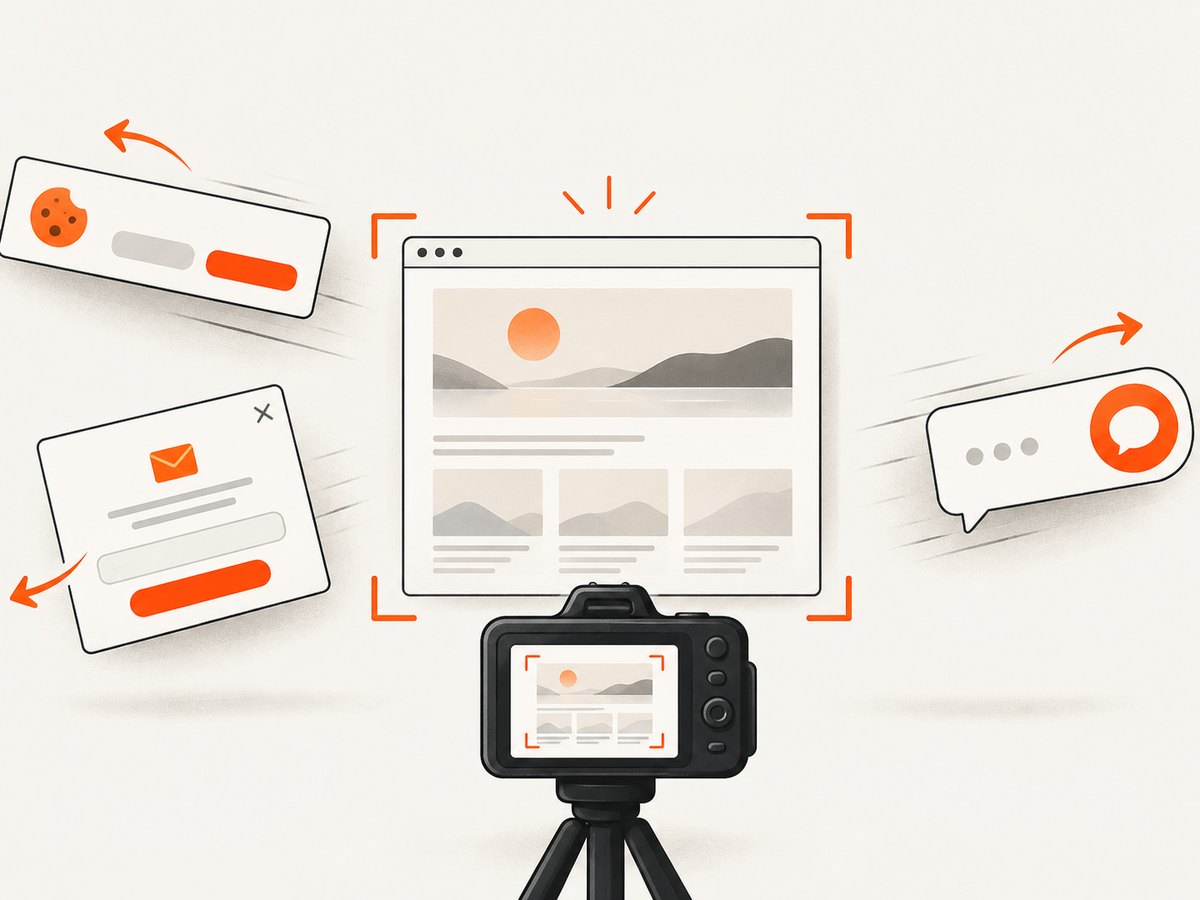
ScreenshotNeo provides a website screenshot API and MCP server. One request returns PNG, JPEG, WebP or PDF output. It accepts cookie and consent banners like a visitor, then removes more than 60 known consent platforms, newsletter popups and chat widgets before capture; each cleanup step can be turned off. Bot checks, CAPTCHAs, blank pages, timeouts, failed loads and cache hits are not billed, and response headers report the page verdict and billing state.
Use the ScreenshotNeo API documentation for options such as full-page capture, CSS-selector element capture, dark mode, device presets, custom viewports, retina scale, PDF page ranges, custom CSS and JavaScript, click actions, wait conditions, blocked resources, headers, cookies, user agents, authorization, timezone, geolocation, transparent backgrounds, resizing, caching, signed links, asynchronous jobs, webhooks, bulk capture and usage reporting.
curl -G "https://api.screenshotneo.com/v1/shot" \
  -d access_key=YOUR_API_KEY \
  --data-urlencode url=https://stripe.com \
  -o shot.webp
import requests
r = requests.get(
"https://api.screenshotneo.com/v1/shot",
params={"access_key": "YOUR_API_KEY", "url": "https://stripe.com"},
timeout=90,
)
r.raise_for_status()
open("shot.webp", "wb").write(r.content)const q = new URLSearchParams({
access_key: 'YOUR_API_KEY',
url: 'https://stripe.com'
});
const res = await fetch(`https://api.screenshotneo.com/v1/shot?${q}`);
if (!res.ok) throw new Error(`HTTP ${res.status}`);
const image = Buffer.from(await res.arrayBuffer());
await Bun.write('shot.webp', image);An MCP server also lets Claude, Cursor and other MCP clients call take_screenshot, get_page_info and capture_pdf. The Free plan includes 1,000 screenshots per month with no card; paid plans start at $5 for 3,000 screenshots. Create a free ScreenshotNeo account.
FAQ
Does IntelliJ IDEA have a built-in screenshot command?
The cited IntelliJ IDEA documentation describes viewing modes, not a general screenshot command. Use your operating system’s capture utility.
What port does Built-in Preview use?
The documented default is 63342, although browser settings can change the configured port.
Can Live Edit replace browser preview?
No. Live Edit is a debugging workflow with plugin, browser and edition requirements. Built-in Preview is the simpler rendering path.
Is Export to HTML an application build?
No. It creates a static, formatted representation of source code.
Can Markdown preview render my full web application?
No. Markdown preview is for Markdown documents and their stylesheet rules, not for running an HTML application.


