How to Launch an Android App and Capture a Screenshot
Run an Android app in the emulator or on a phone, then save a screenshot with Android Studio, ADB, device buttons, or automation.
Quick answer: In Android Studio, select an Android Virtual Device (AVD) from the target-device menu, click Run, wait for the app to open, then click Take Screenshot in the emulator toolbar and save the PNG. You can also capture from a connected phone in Android Studio’s Logcat window, press Power + Volume-down on many physical phones, or use ADB and the Android command-line tools.
Android Studio includes the Android Emulator, so you do not need a separate emulator installation. An AVD defines the virtual device model, Android version, screen size, and other settings. The emulator guide recommends a 64-bit Windows 10 or newer system, macOS 12 or newer, Linux or ChromeOS, 16 GB of RAM, and 16 GB of free disk space. These are recommendations, not a guarantee of identical performance on every computer. Read the Android Emulator requirements.
1. Prepare Android Studio and an AVD
Check the host computer
- Install a current Android Studio release and open the project.
- Confirm that hardware virtualization is enabled when your operating system and processor require it.
- Leave enough disk space for the Android SDK, system image, and emulator data. Android’s guide lists 16 GB of disk space and 16 GB of RAM as recommended starting points.
Create a virtual device
- Open Device Manager in Android Studio.
- Choose Create device.
- Select a hardware profile, such as a phone or tablet.
- Choose an Android system image and download it if prompted.
- Finish the wizard and start the AVD once so Android can complete its setup.
The first emulator launch can take about a minute. Later launches can be faster when Android uses a saved snapshot. Higher API levels and larger virtual screens generally need more CPU, memory, and storage.
2. Launch the app in the Android Emulator
- Open the project in Android Studio and wait for indexing and Gradle sync to finish.
- In the target-device menu in the toolbar, select the AVD you created.
- Click Run.
- Wait for the emulator to boot and for the app to install. Unlock the virtual device if its lock screen appears.
- Use the app normally, or open it from the emulator’s app launcher.
When you change code, click Run again or use Apply Changes when the change is supported. If the app is already installed but does not open, check the Run output and Logcat for the package name, installation errors, or a crash stack trace.
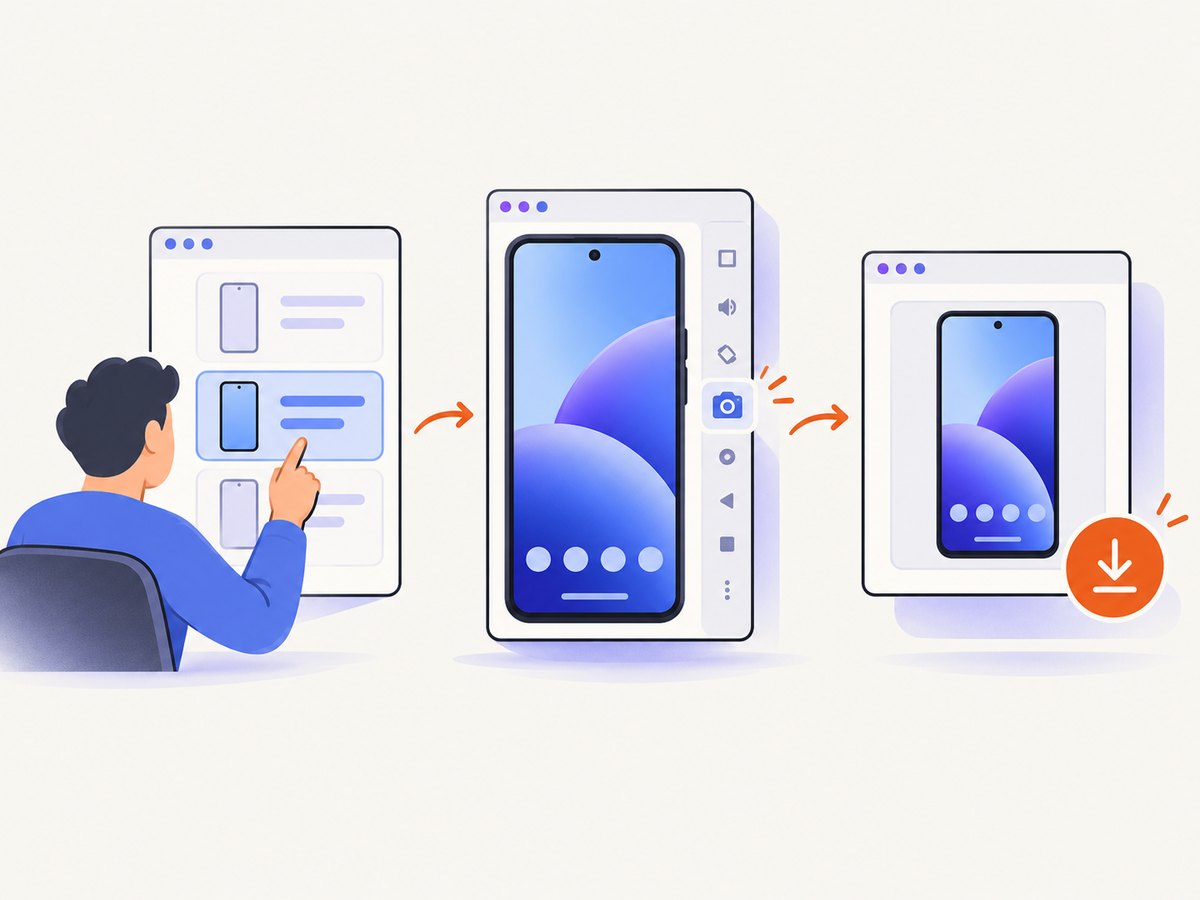
3. Capture and save an emulator screenshot
- Put the emulator on the exact screen you want to document or test.
- Click Take Screenshot in the emulator toolbar or window.
- Use the screenshot dialog to recapture the current frame, edit it, copy it, or save it.
- Choose a filename and location. The default filename is a timestamp-based PNG name, which you can change before saving.
This captures the emulator display, including the device frame only when you explicitly choose a framed presentation in the available editor. For repeatable test assets, keep the same AVD, orientation, API level, and app state before each capture.
4. Capture from Android Studio’s Screenshot Editor
Android Studio can capture an emulator or a connected physical device through the Screenshot Editor:
- Run the app on the emulator or phone.
- Open View > Tool Windows > Logcat.
- Select the target device and the running process.
- Click Screen Capture.
- In the Screenshot Editor, recapture if needed, rotate the image, optionally add a device frame, and save it to a chosen location.
For a physical phone, enable USB debugging and accept the computer-authorisation prompt on the device. Android’s Screenshot Editor documentation covers this workflow.
5. Use a physical Android device
Connect through Android Studio
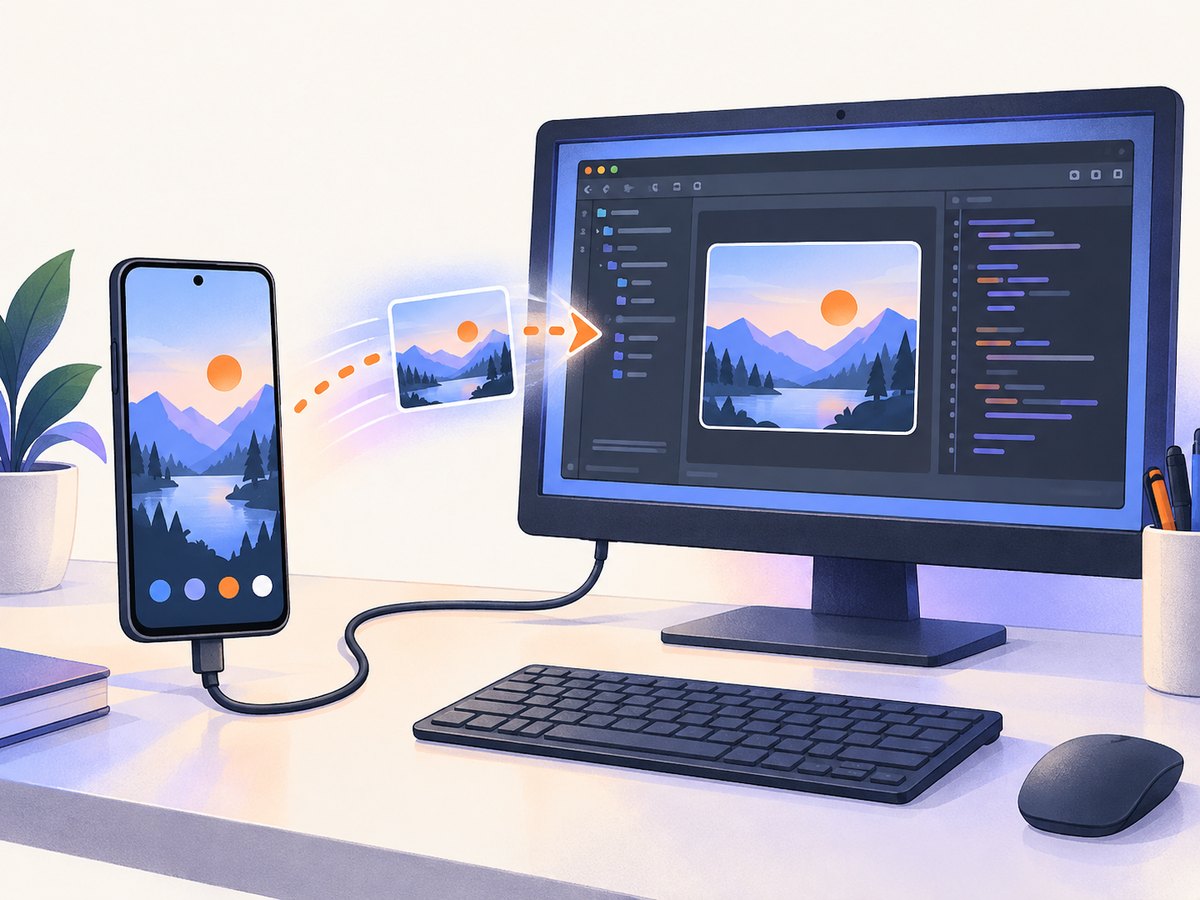
- On the phone, enable Developer options, then enable USB debugging.
- Connect the phone with a USB cable and accept the RSA debugging prompt.
- In a terminal, verify the connection:
adb devicesA device listed as device is ready. If it is listed as unauthorized, unlock the phone and accept the prompt. Select the phone in Android Studio’s target-device menu and click Run.
Use the device buttons
Many Android devices take a screenshot when you press Power and Volume-down together. The exact animation, notification, and storage location vary by manufacturer and Android version.
Android recommends testing on real hardware as well as the emulator before release because physical devices expose differences in Android versions, screen sizes, performance, sensors, and vendor software. See the Android hardware-device guide.
6. Capture with emulator and Android command-line tools
Emulator screenshot command
Android documents these emulator commands:
screenrecord screenshot [destination-directory]
adb emu screenrecord screenshot [destination-directory]
Run the command with the emulator selected or addressed through ADB, and replace the destination directory with a writable path. Check the generated file after the command completes.
Android CLI
The Android command-line tool can capture a PNG from a connected device or emulator:
android screen capture --output=screen.pngThe same command can annotate a capture with numbered UI-element boxes, which is useful when inspecting layouts or communicating a bug. See the Android screen capture command reference for the available annotation options.
Keep captures reproducible
- Set the same emulator orientation and resolution for every run.
- Reset app data or use a known fixture when login state and cached content affect the screen.
- Disable transient notifications and avoid capturing while a system dialog is visible.
- Use deterministic test data, timestamps, and network responses for visual regression suites.
- Record the API level, device profile, density, orientation, and app build alongside each image.
7. Choosing the right capture path
| Goal | Best path | Why |
|---|---|---|
| Fast UI iteration | Emulator toolbar | No cable; capture directly from the running AVD. |
| Capture a phone’s actual appearance | Physical device plus Screenshot Editor | Includes real hardware, vendor UI, and device-specific behavior. |
| Repeatable scripts | ADB or Android CLI | Commands can run in build and test automation. |
| Release confidence | Both emulator and physical devices | Covers API levels, screen sizes, and hardware differences. |
8. Troubleshooting
The AVD is missing from the target-device menu
Open Device Manager and confirm that the virtual device exists and has a downloaded system image. If the project requires a different API level, install that image from SDK Manager and create or update the AVD.
The emulator is very slow or will not boot
Close memory-heavy applications, use a smaller device profile, and verify that hardware acceleration or virtualization is available. A cold boot can take longer than a snapshot resume. If the computer cannot run the emulator smoothly, Android recommends considering a physical device.
Run fails during installation
Read the Run output and Logcat. Common causes include an incompatible min or target SDK, insufficient device storage, a signing or manifest error, or an existing app with a conflicting package state. Uninstall the old package from the test device and run again when appropriate.
The app opens and immediately closes
Filter Logcat by the app process and inspect the first fatal exception. Fix the reported resource, permission, or runtime error, then deploy again. A screenshot cannot be captured reliably until the app remains on the intended screen.
adb devices shows unauthorized or nothing
Unlock the phone, accept the USB-debugging prompt, try another cable or USB port, and restart the ADB server if necessary. On some operating systems, install the manufacturer’s USB driver. The phone must be set to a USB mode that permits debugging.
The screenshot is black, stale, or from the wrong screen
Wait until the app has finished rendering, dismiss system dialogs, and recapture. A stale image can result from capturing before navigation or an animation completes. For scripts, add an explicit wait for the target state rather than relying on a fixed short delay.
The saved image has the wrong orientation or dimensions
Lock the emulator or phone orientation before capture and verify the device profile’s resolution and density. Rotate in the Screenshot Editor only when you want a presentation image; rotation does not change the underlying layout behavior.
9. Performance, reliability, and storage notes
- Startup: The first AVD boot is slower because it creates data and completes setup. Snapshots can reduce later startup time.
- Memory: Leave headroom for Android Studio, Gradle, the emulator, and the app. Larger virtual screens and newer API images increase resource use.
- Reliability: Keep emulator images and Android Studio versions consistent in CI. Prefer a known snapshot or reset state so previous app data does not change the result.
- Network: A screen that depends on a remote API can differ when the service is slow or unavailable. Use fixtures or a controlled test backend for visual comparisons.
- Storage: PNG preserves detail but can be large. Keep only the captures needed for review and archive them with metadata such as API level and commit.
- Real-device coverage: Emulator results do not prove behavior on every phone. Include representative physical devices before shipping.
10. Or skip the browser setup
ScreenshotNeo is a website screenshot API, so it does not launch a native APK or replace an Android emulator. It is useful when the screen you need is a web page, a hosted Android web experience, a documentation page, or a web view’s URL that can be rendered in a browser. One GET request returns a PNG, JPEG, WebP, or PDF. See the ScreenshotNeo API documentation.
curl -G "https://api.screenshotneo.com/v1/shot" -d access_key=YOUR_API_KEY --data-urlencode url=https://example.com -o shot.webpimport requests
r = requests.get("https://api.screenshotneo.com/v1/shot", params={"access_key": "YOUR_API_KEY", "url": "https://example.com"}, timeout=90)
r.raise_for_status()
open("shot.webp", "wb").write(r.content)const fs = require('node:fs');
const q = new URLSearchParams({ access_key: 'YOUR_API_KEY', url: 'https://example.com' });
const res = await fetch(`https://api.screenshotneo.com/v1/shot?${q}`);
if (!res.ok) throw new Error(`HTTP ${res.status}`);
fs.writeFileSync('shot.webp', Buffer.from(await res.arrayBuffer()));Before capture, ScreenshotNeo can accept cookie or consent banners and remove more than 60 known consent platforms, newsletter popups, and chat widgets; each step can be turned off. Bot checks, blank pages, timeouts, failed loads, and cache hits are not billed, and the response identifies the result with X-Page-Verdict and X-Billed headers. Its MCP server provides take_screenshot, get_page_info, and capture_pdf tools for Claude, Cursor, and other MCP clients. The Free plan includes 1,000 screenshots per month without a card; paid plans start at $5 for 3,000.
Create a free ScreenshotNeo account to try the 1,000 monthly screenshots.
11. FAQ
Do I need a physical Android phone to take a screenshot?
No. Android Studio’s included emulator can launch the app and save a screenshot. A physical device is recommended for additional release testing.
Where does the emulator screenshot go?
The Screenshot dialog lets you choose the destination and filename. The default name is timestamp-based, and the image is saved as a PNG.
Can I capture an app before it finishes loading?
You can, but the result may be blank or incomplete. Wait for the target screen and its data to render, or make the script wait for a known UI state.
Can ADB capture a screenshot without Android Studio?
Yes. The emulator and Android command-line tools provide documented screenshot commands, and a connected device can be verified with adb devices.
Should screenshots in automated tests use an emulator or a phone?
Use an emulator for repeatable, broad API and screen coverage, then add physical devices for hardware-specific and release-confidence checks.


