How to Load Browser Extensions in a Headless Puppeteer Session
Load an unpacked Chrome extension in headless Puppeteer with enableExtensions, verify it runs, and troubleshoot launch and browser-mode issues.
To load an unpacked Chrome extension when Puppeteer launches headless Chrome, pass its directory in enableExtensions:
import puppeteer from 'puppeteer';
import path from 'node:path';

const pathToExtension = path.join(process.cwd(), 'my-extension');
const browser = await puppeteer.launch({
  headless: true,
  enableExtensions: [pathToExtension],
});

try {
  const page = await browser.newPage();
  await page.goto('https://example.com');
  // Check the effect the extension is expected to have on this page.
} finally {
  await browser.close();
}
The path must point to the unpacked extension directory accessible to the browser process. Use regular headless Chrome for this documented pattern. Puppeteer’s separate headless: 'shell' mode runs chrome-headless-shell, and the docs do not promise that every extension behavior works the same there. See the Puppeteer Chrome Extensions guide and LaunchOptions reference.
1. Prepare the extension directory
Puppeteer’s documented extension loading accepts unpacked extensions. Point it at the directory containing the extension files, including its manifest, rather than a ZIP archive. Resolve the path explicitly so it does not depend on which directory happens to be current when a CI job or script starts.
import path from 'node:path';

const pathToExtension = path.resolve('my-extension');
If your extension is stored somewhere else in the repository, build the path from the script location or pass an absolute path from your test configuration. The directory also needs to be mounted or copied into the environment where Chrome runs. A valid path on your laptop will not help if a container or remote runner does not contain that directory.
2. Load the extension at browser launch
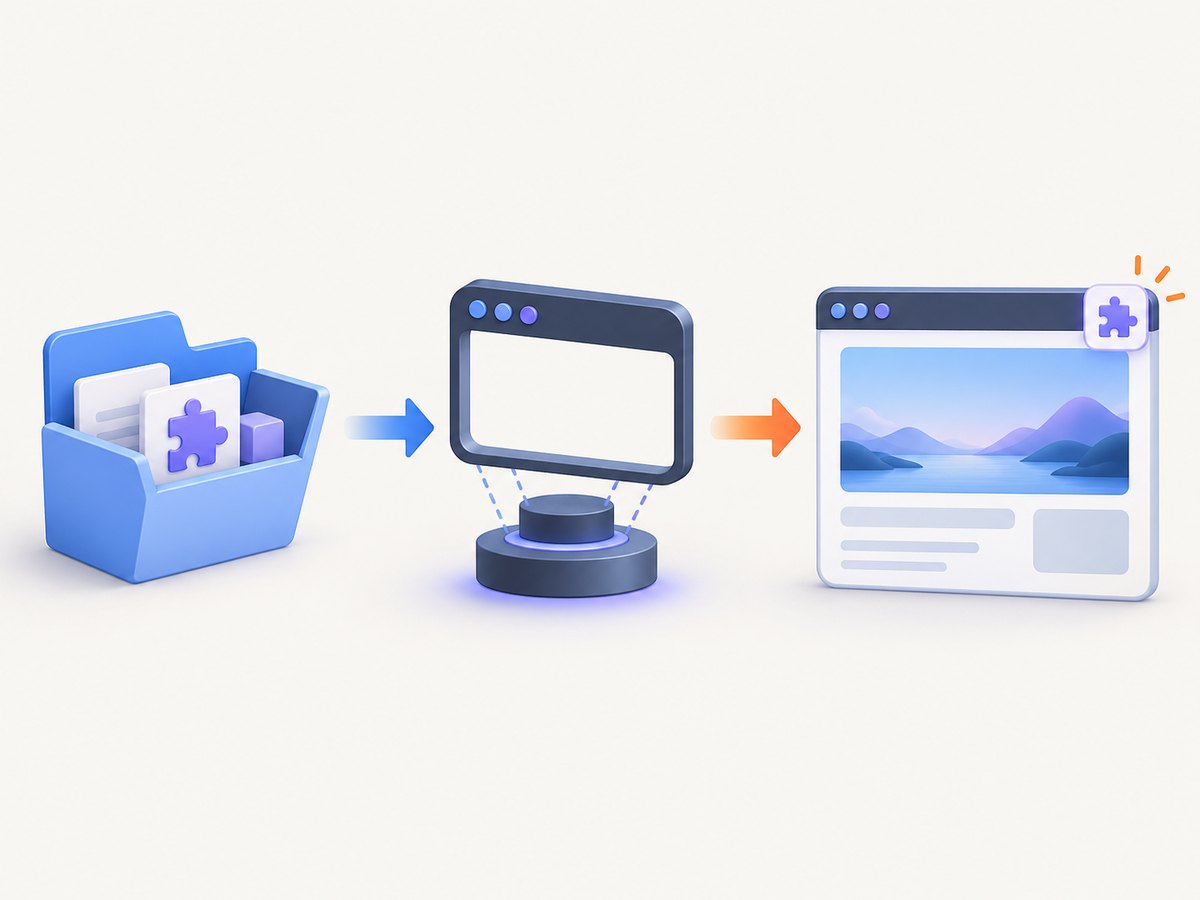
When the extension is known before Chrome starts, use the array form of enableExtensions. Puppeteer loads the supplied paths as unpacked extensions. The headless: true setting is explicit here for readability; Puppeteer documents it as the default.
import puppeteer from 'puppeteer';
import path from 'node:path';

const pathToExtension = path.resolve('my-extension');
const browser = await puppeteer.launch({
  headless: true,
  enableExtensions: [pathToExtension],
});

try {
  const page = await browser.newPage();
  await page.goto('https://example.com', { waitUntil: 'domcontentloaded' });
  console.log(await page.title());
} finally {
  await browser.close();
}
Use try/finally so a failed assertion or navigation does not leave a browser process behind. In a test suite, apply the same cleanup pattern in the test framework’s teardown hook. Keep the extension path in one variable so the launch configuration and any later inspection use the same directory.
3. Install an extension after launch
If your test selects or installs an extension only after starting the browser, enable extension support with the boolean form, then install the directory at runtime. The install call returns the extension ID; you can use that ID to inspect or remove the extension.
import puppeteer from 'puppeteer';
import path from 'node:path';

const pathToExtension = path.resolve('my-extension');
const browser = await puppeteer.launch({
  headless: true,
  enableExtensions: true,
});

try {
  const extensionId = await browser.installExtension(pathToExtension);
  const extensions = await browser.extensions();
  const extension = extensions.get(extensionId);
  console.log(extension?.name, extension?.version);

  const page = await browser.newPage();
  await page.goto('https://example.com');

  // If the test needs to remove it before browser shutdown:
  await browser.uninstallExtension(extensionId);
} finally {
  await browser.close();
}
The boolean form enables extension support by avoiding Puppeteer’s default arguments that disable extensions; it does not itself choose an extension directory. browser.installExtension() performs that runtime installation. Use launch-time loading when the test always needs the same extension; use runtime installation when the test chooses it dynamically or needs to inspect installation and cleanup behavior. See the Browser API.
4. Verify the behavior in the right extension context
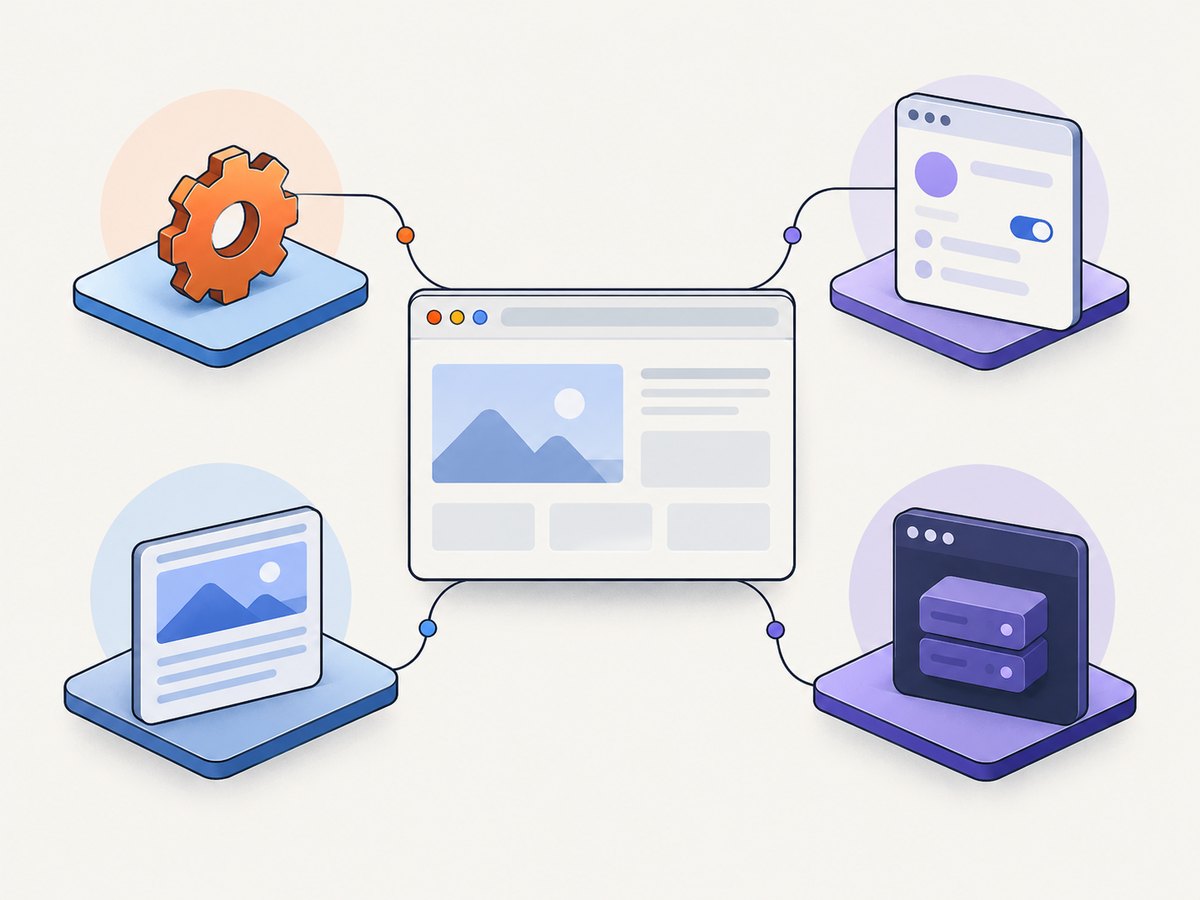
A browser that launched successfully does not prove that the extension ran. Pick a check that matches the extension architecture and the behavior under test. Puppeteer exposes extension targets and realms for these cases; the expected target can take a moment to appear, so wait for it rather than checking only once immediately after launch.
Manifest V3 service worker
For a Manifest V3 background service worker, wait for a target whose type is service_worker and whose URL identifies the extension worker. Then obtain its worker handle and check an observable result. Match the target using the actual extension ID or worker URL pattern for your test instead of accepting any service worker on the page.
Manifest V2 background page
For an extension using a Manifest V2 background page, wait for a target with type background_page, then obtain its page handle. If the extension is migrating between manifest versions, make the test’s expected background context explicit; otherwise a change in architecture can look like a launch failure.
Content scripts
Navigate a normal tab to a URL where the content script is configured to run, then verify its effect on the page. Puppeteer says content scripts are injected as normal. For direct inspection in the extension’s execution context, use page.extensionRealms() to locate the extension realm and evaluate there. A page DOM assertion is often a stronger integration check than merely finding the realm because it proves the user-visible change occurred.
Toolbar actions and popups
To exercise an action, use page.triggerExtensionAction(extension) or extension.triggerAction(page). If the action opens a popup, wait for the popup page target before interacting with it. This is distinct from testing a content script: an extension may load correctly while its popup is never opened by ordinary navigation.
These APIs are documented in the Chrome Extensions guide. Prefer assertions about the feature the extension is meant to provide over a generic assertion that Chrome has an extension target.
5. Choose the right headless mode
Puppeteer’s regular headless Chrome is the default mode and uses the Chrome for Testing browser code path that also supports headful operation. By contrast, headless: 'shell' selects chrome-headless-shell, a separate binary that the documentation says does not completely match regular Chrome. The extension-loading example documents Puppeteer extension support, but does not guarantee equivalent support in the shell.
Start with regular headless Chrome when testing an extension. If your deployment specifically uses the shell, run the extension test in that exact mode and verify each required behavior. To debug visually, set headless: false and reproduce the same launch configuration in a visible Chrome window. That helps distinguish extension logic problems from headless-mode or environment issues; it is a debugging option, not a required workaround.
References: Puppeteer headless modes and Supported browsers.
6. Launch configuration and environment checklist
- Extension path: use the unpacked directory and verify it exists in the browser’s runtime environment.
- Known before launch: use
enableExtensions: [pathToExtension]. - Chosen after launch: use
enableExtensions: true, thenbrowser.installExtension(pathToExtension). - Headless mode: use
headless: truefor regular headless Chrome; treat'shell'as a separate environment requiring validation. - Custom executable: Puppeteer guarantees compatibility with its bundled browser. If you provide
executablePath, specify the browser property as recommended by the API and validate the external build in the actual deployment. - Managed policies: organization policies may affect extension behavior. Test under the policy and account used in deployment.
- Default arguments: Puppeteer normally passes arguments that disable extensions. Use the documented
enableExtensionsoption instead of casually replacing all default arguments.
The LaunchOptions reference cautions that ignoreDefaultArgs should be used carefully. Changing the entire default argument set can affect more than extensions and make a previously working browser setup fragile. See the LaunchOptions API and Puppeteer troubleshooting.
7. Common errors and fixes
| Symptom | Likely cause | Fix |
|---|---|---|
| Chrome starts, but the extension is absent | Extension support was not enabled, or the path is wrong. | Pass the directory with enableExtensions: [path], or enable support with true before runtime installation. Resolve and check the directory in the runner. |
| Works locally but not in CI or a container | The extension directory is missing, mounted elsewhere, or inaccessible to the Chrome process. | Package or mount the unpacked directory into the job and use its runtime path. Log the resolved path and check that the manifest is present. |
| Extension target never appears | The code waits for the wrong target type or checks before the extension initializes. | For Manifest V3, wait for its service worker; for Manifest V2, wait for the background page. Match the expected extension URL and allow initialization time. |
| Extension exists but the page is unchanged | The content script may not match the navigated URL, or the test is checking the wrong context. | Navigate to a matching URL, wait for the relevant page state, and inspect the extension realm or assert the intended DOM effect. |
| Popup test times out | The action was not triggered or the test waits for a regular tab instead of the popup target. | Trigger the extension action using Puppeteer’s extension action API, then wait for the popup page target. |
Behavior differs with headless: 'shell' |
The shell is a distinct binary and is not documented as fully equivalent to regular Chrome. | Try regular headless Chrome. If shell mode is required, validate the exact extension behavior in that mode. |
| Custom Chrome ignores configuration | The external executable may differ from Puppeteer’s bundled browser or be affected by policy. | Set the browser property as documented alongside the executable path and test in the actual managed environment. |
8. Reliability, speed, and cost considerations
Extension startup is part of browser startup, so keep the extension directory stable and avoid reinstalling on every page when launch-time loading is sufficient. Reuse a browser within a test process when isolation requirements allow, while giving each test a fresh page or context as appropriate. Always close the browser in teardown, including after failed navigation or assertions.
For reliable results, assert the extension’s observable behavior and use explicit waits for navigation, targets, selectors, or popup creation. Avoid arbitrary sleeps as the only synchronization method: they can be too short on a busy runner and waste time on a fast one. Pin and validate the Puppeteer/browser combination used in CI, especially when using a custom executable or headless shell. The official compatibility guarantee is for Puppeteer’s bundled browser, so external builds need environment-specific verification.
There is no universal runtime or cost figure for this setup in the cited documentation. Actual time and infrastructure cost depend on browser startup frequency, page weight, the extension’s work, concurrency, and the runner. Measure your own workload, including cold starts and failure retries. If the task is simply to obtain screenshots of pages and does not require extension behavior, a browser installation and extension lifecycle may be unnecessary overhead.
Or skip the browser setup
If you need a clean website screenshot rather than an extension-specific browser test, ScreenshotNeo provides a website screenshot API and MCP server. One GET request returns an image or PDF; consult the API documentation for options and response details.
curl -G "https://api.screenshotneo.com/v1/shot" -d access_key=YOUR_API_KEY --data-urlencode url=https://stripe.com -o shot.webpimport requests
r = requests.get("https://api.screenshotneo.com/v1/shot", params={"access_key": "YOUR_API_KEY", "url": "https://stripe.com"}, timeout=90)
open("shot.webp", "wb").write(r.content)const q = new URLSearchParams({ access_key: 'YOUR_API_KEY', url: 'https://stripe.com' });
const res = await fetch(`https://api.screenshotneo.com/v1/shot?${q}`);ScreenshotNeo removes cookie banners, newsletter popups, and chat widgets before capture, with each step configurable. Bot checks, blank pages, timeouts, failed loads, and cache hits cost nothing; response headers report the page verdict and billing status. Its MCP server includes screenshot, page-info, and PDF tools for AI agents. The free plan includes 1,000 shots a month with no card; paid plans start at $5 for 3,000. This API captures pages; it is not a substitute for testing an extension’s background worker, content script, or popup.
Create a free ScreenshotNeo account for 1,000 screenshots a month, with no card required.
FAQ
Can I load more than one extension?
Yes. The launch-time option accepts a list of extension paths, so provide each unpacked directory in the array.
Does a successful launch mean the extension is working?
No. Verify the relevant behavior in its service worker, background page, content script realm, or popup, depending on what the extension implements.
Should I use the extension ID from a previous run?
For runtime installation, use the ID returned by that installation and inspect it through the current browser instance. Do not assume the test environment or installed extension state is identical across runs.
Can I use a packed extension file?
The documented method described here loads unpacked extension directories. Unpack the extension and pass the resulting directory path.


