How to Load a Vue.js and Vuetify App with Puppeteer
Load a Vue.js and Vuetify app reliably with Puppeteer by waiting for rendered UI or app data, not just the #app container. Includes runnable examples and fixes for blank pages and networkidle timeouts.
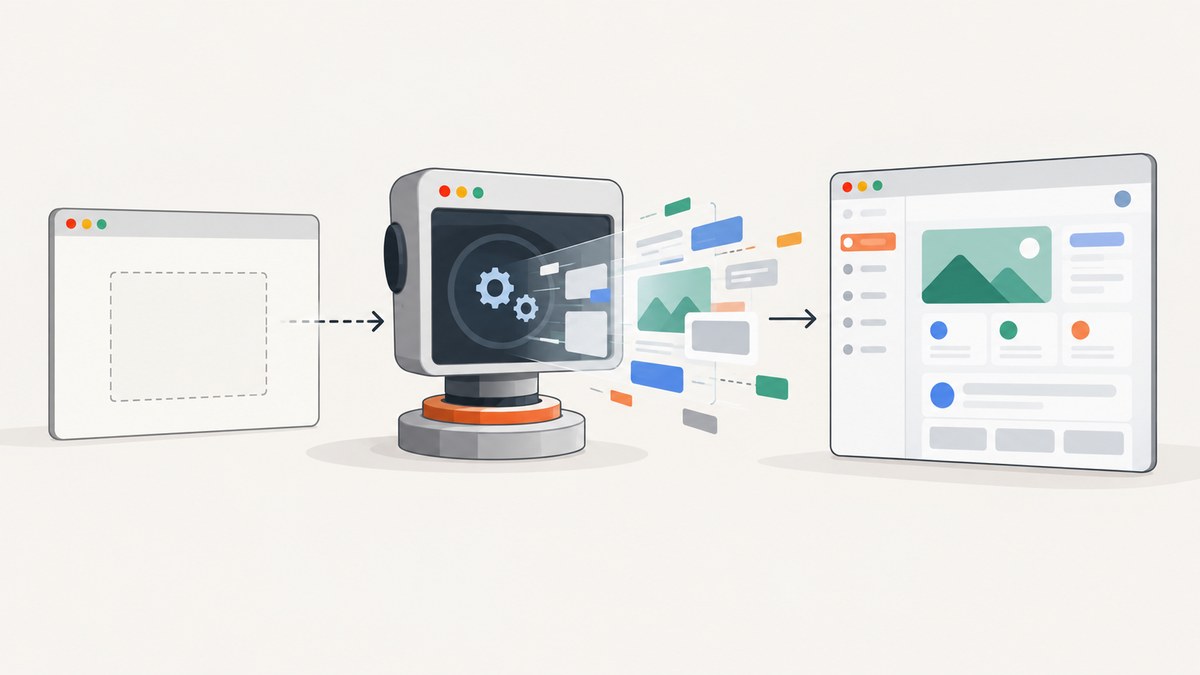
To load a Vue.js and Vuetify app with Puppeteer, navigate to its URL, then wait for something the app renders or for the data that drives that UI. Waiting only for #app is not enough: Vue can have the mount element in the HTML before its component tree has rendered. Use a stable Vuetify element, an application readiness flag, a relevant API response, or a loading overlay becoming hidden. Treat network idle as a final settling step, not the only proof of readiness.
This guide shows a complete Puppeteer script, how to choose a wait condition for a Vue single-page app (SPA), how to handle navigation and timeouts, and how to diagnose a blank or premature screenshot.
1. Install Puppeteer and confirm the browser runtime
Use a recent Node.js runtime and install Puppeteer in your project:
npm install puppeteerThe puppeteer package downloads a compatible Chrome during installation. If your package manager blocks install scripts, Puppeteer may install without the browser binary. Install the browser explicitly with:
npx puppeteer browsers installpuppeteer-core is the alternative package when you manage the browser separately; it does not download a browser. In that setup, pass the path to your Chrome executable when launching, and keep the browser version compatible with the Puppeteer version. See the official Puppeteer installation guide for runtime details.
Start the Vue app separately so that Puppeteer can reach it. For a Vite development server, the default local URL is commonly http://localhost:5173/; use the actual URL and port printed by your own server.
2. A complete Puppeteer example
Save this as capture.mjs, replace the URL and readiness selector with values from your app, then run node capture.mjs. The selector below is an example; inspect the rendered app and choose an element that only appears when the part you need is ready.
import puppeteer from 'puppeteer';

const url = 'http://localhost:5173/';
const readySelector = '#app .v-application';

const browser = await puppeteer.launch({
  headless: true,
});

try {
  const page = await browser.newPage();
  page.setDefaultNavigationTimeout(30_000);
  page.setDefaultTimeout(15_000);

  page.on('console', message => {
    console.log(`[browser:${message.type()}] ${message.text()}`);
  });
  page.on('pageerror', error => {
    console.error('[page error]', error);
  });

  const response = await page.goto(url, {
    waitUntil: 'domcontentloaded',
    timeout: 30_000,
  });

  console.log('URL:', page.url());
  console.log('HTTP status:', response?.status() ?? 'no main response');

  await page.waitForSelector(readySelector, {
    visible: true,
    timeout: 15_000,
  });

  // Optional: allow a short quiet period after the UI is present.
  await page.waitForNetworkIdle({
    idleTime: 500,
    timeout: 10_000,
  });

  await page.screenshot({
    path: 'vuetify.png',
    fullPage: true,
  });
} finally {
  await browser.close();
}
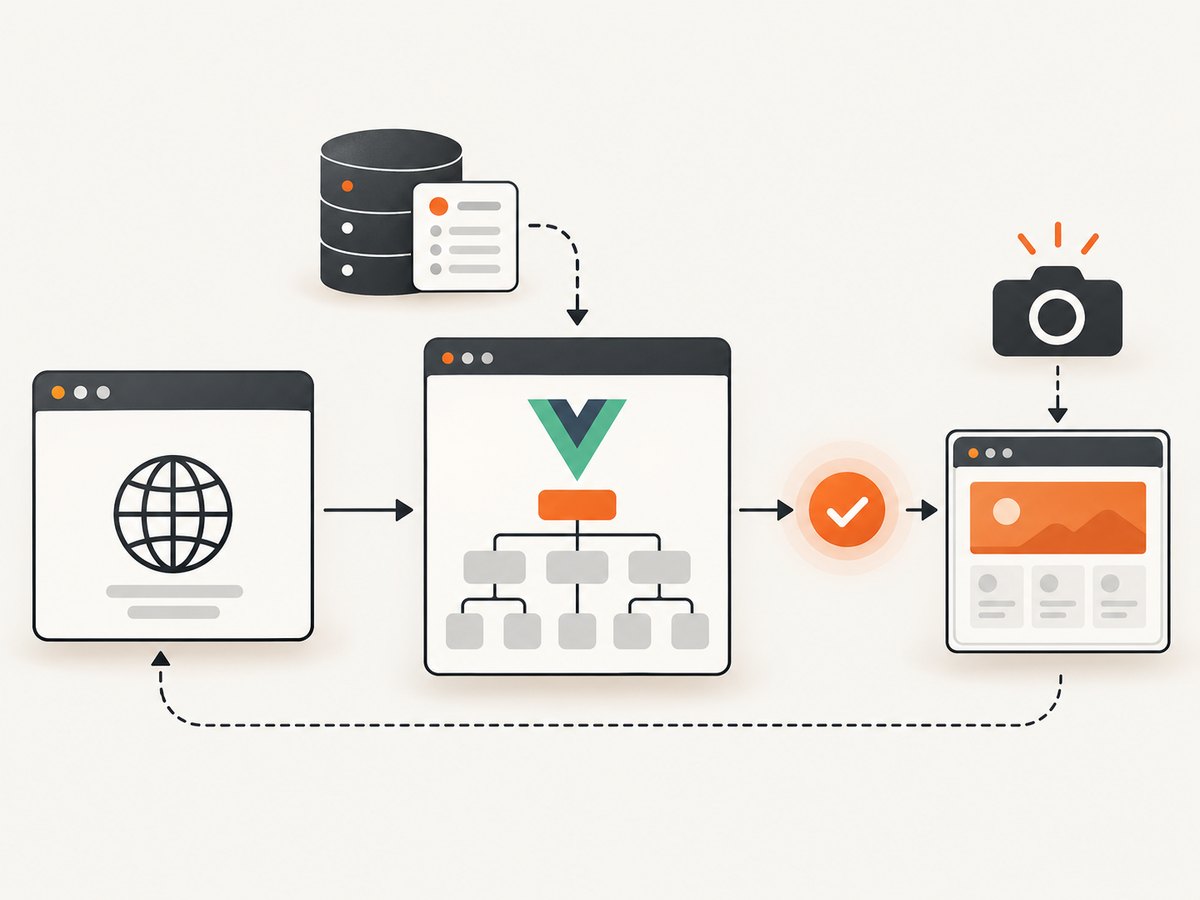
The essential sequence is goto, a meaningful readiness check, and then the capture. domcontentloaded gets past initial document parsing without claiming that the SPA has completed its API calls or rendered its components. The visible-selector wait establishes that an app element has appeared. Network idle adds a bounded quiet period for late-loading resources.
Vue’s createApp() creates an application instance, and app.mount() mounts it into the selected element. Vuetify is registered before the mount call, for example with createApp(App).use(vuetify).mount('#app'). This is why the mount container can exist before the rendered component tree. Refer to the Vue application API guide and Vuetify installation guide.
3. Pick the right readiness signal
There is no single wait condition that fits every Vue app. Choose the narrowest stable condition that proves the content you need is ready. Puppeteer documents selector, function, navigation, request, response, frame, and network-idle waits as separate tools in its page interactions guide.
| Wait strategy | Use it when | Watch for |
|---|---|---|
waitForSelector |
A toolbar, card, form, or app shell reliably indicates rendering. | Choose an element tied to the desired view, not a generic container that is always present. |
waitForFunction |
Readiness depends on a count, state attribute, or app-defined global. | Make the predicate finite and explicit; provide a timeout and a useful failure message in your script. |
waitForResponse |
A known API response supplies the data shown on the page. | Match the intended endpoint and, if needed, a successful status. Similar requests may occur more than once. |
| Hidden loading overlay | The app shows a loading mask while work is pending. | Check that the overlay selector is correct and that the app removes it on both success and error paths. |
waitForNetworkIdle |
The app UI is ready and you want a brief quiet period for resources. | Polling, analytics, streaming requests, or WebSockets can prevent idle. Bound the wait with a timeout. |
Wait for a Vuetify component
Use a selector visible in the target view, such as a specific card, heading, or toolbar. A broad selector like .v-application may only prove that the shell rendered; if the screenshot depends on loaded records, wait for a record row or a non-empty state as well.
await page.waitForSelector('[data-testid="orders-ready"]', {
  visible: true,
  timeout: 15_000,
});
Adding a stable data-testid to the component you control often makes a more robust automation contract than depending on deeply nested framework markup.
Wait for app state or a loading overlay
If your app exposes a readiness flag, it can make the contract clear. For example, set window.__APP_READY__ = true only after the route’s critical data and rendering work finish. Then:
await page.waitForFunction(() => window.__APP_READY__ === true, {
  timeout: 15_000,
});
For an app with a loading overlay, wait for it to disappear, then assert that the final view exists:
await page.waitForSelector('.loading-overlay', {
  hidden: true,
  timeout: 20_000,
});
await page.waitForSelector('[data-testid="dashboard"]', {
  visible: true,
});
A missing overlay can also be considered hidden immediately. Pairing that wait with the final view selector avoids capturing a page that never showed the expected content.
Wait for the API response that gates the screen
When a known request drives the view, arm the response wait before navigation so it cannot be missed. Adapt the URL predicate to the app’s actual API:
const dataResponse = page.waitForResponse(response =>
  response.url().includes('/api/dashboard') &&
  response.request().method() === 'GET' &&
  response.status() === 200,
  { timeout: 20_000 },
);

await page.goto('http://localhost:5173/', {
  waitUntil: 'domcontentloaded',
});
await dataResponse;
await page.waitForSelector('[data-testid="dashboard"]', {
  visible: true,
});
Waiting for the response confirms that the request completed; waiting for the view confirms Vue processed the resulting data. If the request is triggered only after navigation, this ordering lets Puppeteer observe it.
4. Handle Vue Router routes and real navigations
A Vue Router link usually changes the route while keeping the same document alive. In that case, waitForNavigation() is usually the wrong signal. Wait for a route-specific element or a URL change, then confirm the new view rendered:
await page.click('a[href="/reports"]');
await page.waitForFunction(() => location.pathname === '/reports');
await page.waitForSelector('[data-testid="reports-view"]', {
  visible: true,
});
If a click triggers a real document navigation, arm the navigation wait at the same time as the click to avoid a race:
await Promise.all([
  page.waitForNavigation({ waitUntil: 'domcontentloaded' }),
  page.click('a[href="/next"]'),
]);
await page.waitForSelector('[data-testid="next-view"]', {
  visible: true,
});
The Puppeteer Page API warns that awaiting the click and navigation promise in the wrong order can cause a race. Its Page API reference documents the navigation behavior. Once a real navigation completes, still wait for the app’s rendered state if the destination is also a SPA.
5. Configure screenshots for Vuetify layouts
Once the page is ready, choose capture dimensions and options to match your use case. For a full-page image:
await page.setViewport({
  width: 1440,
  height: 1000,
  deviceScaleFactor: 1,
});
await page.screenshot({
  path: 'dashboard.png',
  type: 'png',
  fullPage: true,
});
Set the viewport before navigation when responsive breakpoints affect which components render. A larger deviceScaleFactor produces a higher pixel density and larger output file. Use fullPage: true to capture the scrollable document; for a viewport-only capture, omit it or set it to false.
Other useful choices include JPEG with a quality setting for smaller photographic images, and element screenshots via a locator when you need a single card or chart rather than the whole page. For pages with lazy-loaded content, scrolling through the page before a full-page capture may be necessary to trigger image loading; wait for the relevant images or content afterward. Avoid assuming that the initial viewport contains all below-the-fold content.
6. Diagnose blank or premature captures
When a screenshot shows an empty #app, a loading skeleton, or half-rendered content, check the following in order:
- Confirm the destination. Log
page.url()and the response status returned bygoto(). A redirect, wrong port, or server error can look like a rendering failure. - Capture browser errors. Register
consoleandpageerrorlisteners before navigation. Look for missing modules, runtime exceptions, and rejected requests. - Check assets and APIs. Verify that JavaScript bundles, Vuetify styles, fonts, and data endpoints load successfully. Browser console errors and failed requests often reveal the first broken dependency.
- Wait for a rendered child. Replace
waitForSelector('#app')with a visible app-specific component or readiness predicate. - Account for loading state. Wait for the overlay or skeleton to disappear and for the final content to appear.
- Bound network idle. If polling or a WebSocket keeps activity alive, remove the network-idle wait or give it a short finite timeout after a stronger UI/data assertion.
- Inspect the gating request. Use
waitForRequest()orwaitForResponse()for the exact endpoint needed by the view.
For a quick visual diagnostic, capture a screenshot immediately after domcontentloaded as well as after the readiness wait. Comparing those images can show whether the app never rendered or the wait condition is wrong.
7. Timeouts, performance, and reliable runs
Set finite timeouts for navigation and readiness checks. A navigation timeout points toward server reachability or document loading; a selector timeout points toward the app state, selector, or data dependency. Keep these failures distinct in logs so a slow server is not confused with a broken component.
Launching a browser for every individual URL has startup cost. For a batch of pages, reuse one browser process and create a fresh page per independent capture, then close each page when finished. Limit concurrency to what the machine can handle: every page consumes browser memory and CPU, and heavy Vuetify screens can make aggressive parallelism slower or less reliable. Always close pages and the browser in a finally block.
For repeatable captures, control viewport size, device scale, route, test data, and animation state. If animations shift the page during capture, disable them in a test stylesheet or with page-injected CSS. Keep readiness tied to the content under test instead of adding arbitrary sleeps; fixed delays waste time on fast runs and still fail on slow ones.
Network idle is not a universal completion signal. Puppeteer describes waitForNetworkIdle() as waiting for the network to be idle and states that it waits at least the configured idle time. A page with continuous activity may never reach idle before the timeout, while a temporarily quiet app might still be waiting on deferred rendering. The API reference explains the method’s behavior.
8. Common errors and fixes
| Symptom | Likely cause | Fix |
|---|---|---|
net::ERR_CONNECTION_REFUSED |
The Vue dev server is stopped, bound to a different host, or using another port. | Start the server, use its printed URL, and ensure the browser process can reach that host. |
| Browser executable missing | Install scripts were blocked, or puppeteer-core was used without a managed browser. |
Run npx puppeteer browsers install, or configure the executable path for your installed Chrome. |
Timeout waiting for #app child |
The selector does not exist on this route, the app failed to mount, or the UI uses different markup. | Inspect the page DOM and console; choose a stable selector that matches the route and intended state. |
| Timeout waiting for network idle | Polling, analytics, sockets, or long-running requests keep the page active. | Wait for the relevant response and rendered UI, then omit network idle or use a bounded short settling period. |
| Wrong screen after clicking a Vue link | The script waited for document navigation, but Vue Router changed the view in place. | Wait for the route URL or route-specific rendered element. |
| Styles missing or layout unstyled | Vuetify CSS import or asset loading failed. | Confirm the app imports vuetify/styles and inspect network failures and console output. |
| Screenshot cuts off content | Capture used viewport dimensions, or lazy content had not loaded. | Use fullPage: true, trigger lazy loading, and wait for the content to appear before capture. |
9. Or skip the browser setup
If you need a website screenshot without managing Puppeteer, Chrome installation, navigation waits, and image output, ScreenshotNeo provides a screenshot API and MCP server. A single GET request accepts a URL and returns a PNG, JPEG, WebP, or PDF. See the ScreenshotNeo API documentation for request options.
curl -G "https://api.screenshotneo.com/v1/shot" \
  -d access_key=YOUR_API_KEY \
  --data-urlencode url=https://stripe.com \
  -o shot.webp
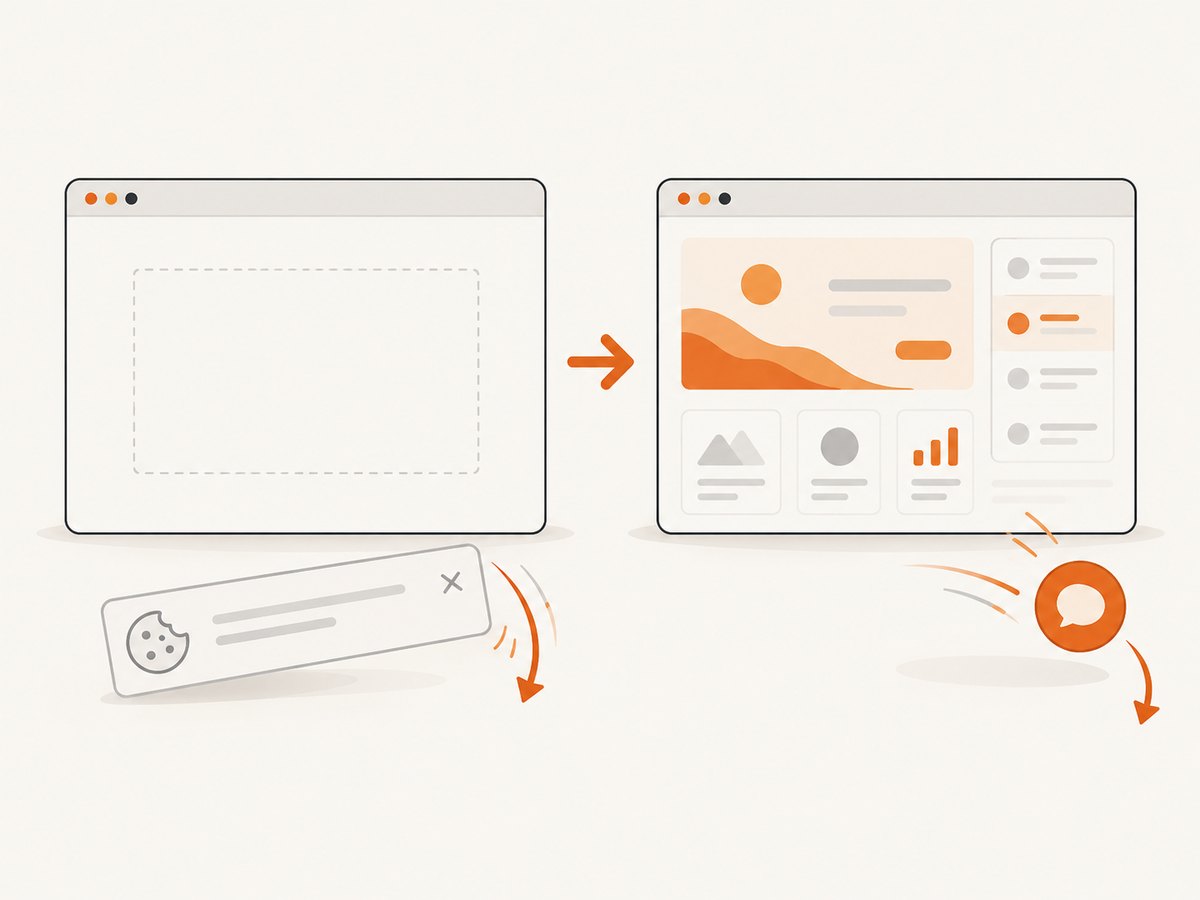
ScreenshotNeo accepts cookie and consent banners like a visitor and removes more than 60 known consent platforms, newsletter popups, and chat widgets before capture; each cleanup step can be turned off. Bot checks and CAPTCHAs, blank pages, timeouts, failed loads, and cache hits are not billed, and each response includes X-Page-Verdict and X-Billed headers. Its MCP server provides take_screenshot, get_page_info, and capture_pdf tools for Claude, Cursor, and other MCP clients.
The free plan includes 1,000 screenshots per month with no card. Paid plans start at $5 for 3,000 shots; every feature is available on every plan. Learn about ScreenshotNeo, then sign up free for 1,000 screenshots a month, with no card required.
10. FAQ
Why does Puppeteer see an empty #app?
The mount element is part of the initial document, while Vue renders its component tree when the app mounts. Wait for a child rendered by the route or an explicit readiness signal.
Should I always use networkidle0?
No. Continuous requests can prevent network idle, and network quiet alone does not prove that the UI is ready. Prefer a UI or data assertion, with a bounded idle wait only if useful.
Does Puppeteer require a visible Chrome window?
No. Puppeteer runs headless by default, which is suitable for automated captures. Use a visible browser during local debugging if seeing the browser helps diagnose the page.
Do Vue Router route changes trigger waitForNavigation()?
Usually not when the router updates the SPA in place. Wait for the new route’s URL or rendered content. Use navigation waits for actual document navigations.


