How to Make a Request to the Cloudflare API
Learn the complete Cloudflare API request workflow: tokens, permissions, curl, Python, Node.js, pagination, rate limits, errors, and security.

Cloudflare API requests use Version 4 HTTPS endpoints under https://api.cloudflare.com/client/v4/. For most integrations, authenticate with an API token in the Authorization: Bearer <API_TOKEN> header, then call the endpoint that matches your account, zone, or user scope. Cloudflare recommends API tokens over API keys because tokens support narrower permissions and resource scopes.
This guide shows the complete workflow for making requests with cURL, Python, and Node.js. It also covers endpoint discovery, token creation, request bodies, pagination, rate limits, retries, troubleshooting, and production security.
1. Find the right Cloudflare endpoint
Start with the Cloudflare API reference and identify the resource you need to read or change. Every endpoint schema defines its HTTP method, path parameters, query parameters, request body, required permissions, and response shape.
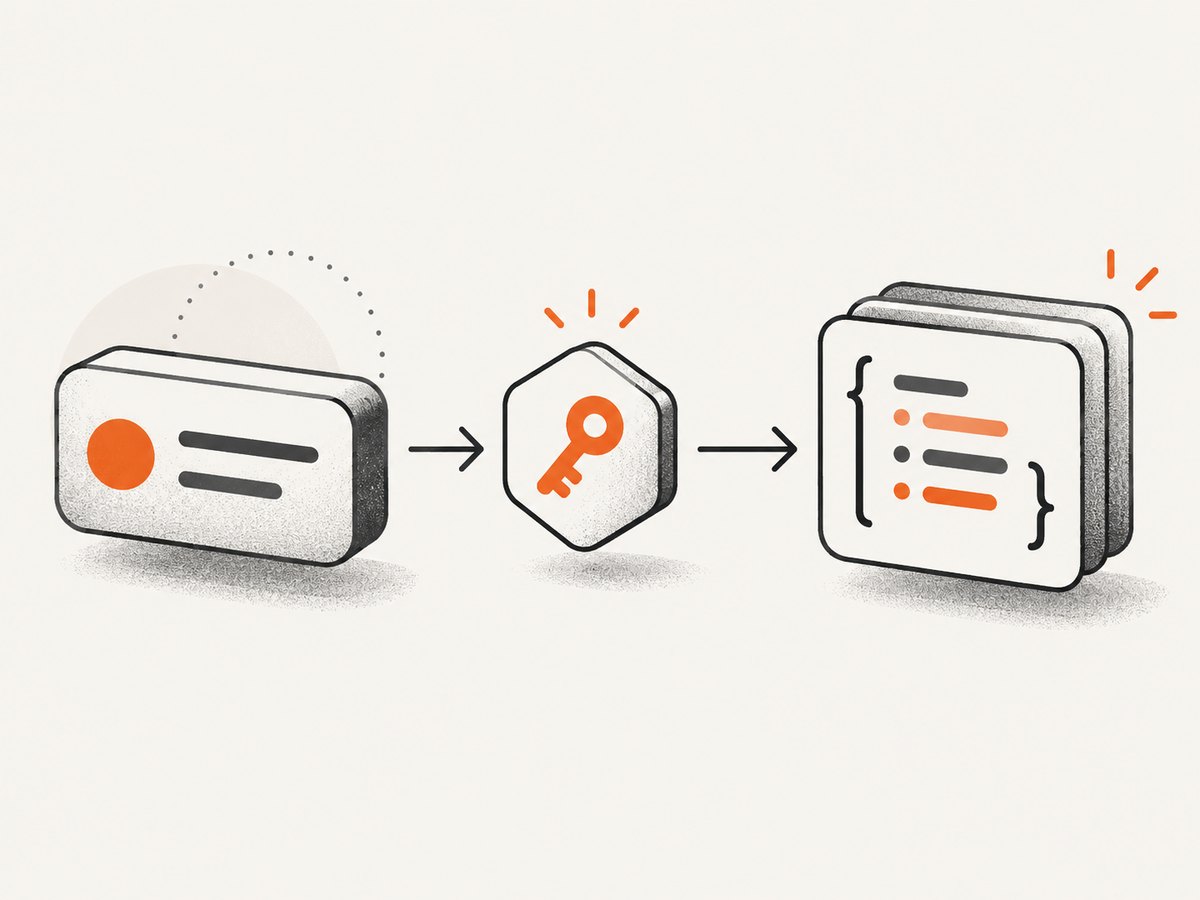
Confirm the scope before writing code:
- User scope: operations associated with your Cloudflare user.
- Account scope: operations that require an account ID.
- Zone scope: operations that require a zone ID.
- Resource scope: some endpoints target a specific site, service, or object beneath an account or zone.
For example, a zone request generally uses this structure:
https://api.cloudflare.com/client/v4/zones/{zone_id}Replace path placeholders with actual IDs from your Cloudflare dashboard or from an earlier API response. Do not guess whether an endpoint needs an account ID or zone ID; use the endpoint schema.
2. Create a narrowly scoped API token
In the Cloudflare dashboard, create a user token or account token when the endpoint supports it. Select the smallest permission group and resource scope that can complete the job. Cloudflare describes permission levels such as Read and Edit, with resource restrictions that limit which accounts or zones the token can access.
- Open the API token area in the Cloudflare dashboard.
- Choose a template or create a custom token.
- Add only the permission groups required by your endpoint.
- Restrict the token to the required account, zone, or resources.
- Optionally add client IP filtering and a token time to live.
- Copy the secret immediately and store it in a secret manager or protected environment variable.
The token secret is displayed only once. Never commit it to Git, place it in browser JavaScript, paste it into an issue, or include it in a URL. Cloudflare’s API overview says, “Whenever possible, use API tokens to interact with the Cloudflare API.”
3. Make your first request with cURL
Set credentials in your shell, then call the endpoint. The stable Version 4 base URL is documented in Cloudflare’s API request guide.
export CLOUDFLARE_API_TOKEN='replace-with-your-token'
export ZONE_ID='replace-with-your-zone-id'

curl "https://api.cloudflare.com/client/v4/zones/$ZONE_ID" \
  --header "Authorization: Bearer $CLOUDFLARE_API_TOKEN" \
  --header "Content-Type: application/json"
Format the JSON response with jq when it is installed:
curl -sS "https://api.cloudflare.com/client/v4/zones/$ZONE_ID" \
  -H "Authorization: Bearer $CLOUDFLARE_API_TOKEN" \
  -H "Content-Type: application/json" | jq
Use -sS to hide the progress meter while still showing transport errors. Add -i when you need to inspect HTTP headers, including rate-limit information.
4. Send query parameters and JSON bodies
Read the endpoint schema for the exact parameter names. Quote the complete URL whenever it contains query parameters. In shell scripts, use double quotes when the URL contains environment variables.
curl -G "https://api.cloudflare.com/client/v4/zones" \
  -H "Authorization: Bearer $CLOUDFLARE_API_TOKEN" \
  --data-urlencode "name=example.com" \
  --data-urlencode "page=1" \
  --data-urlencode "per_page=20"
For a write operation, use the HTTP method and JSON fields required by that endpoint:
curl "https://api.cloudflare.com/client/v4/zones/$ZONE_ID/example-resource" \
  --request PATCH \
  --header "Authorization: Bearer $CLOUDFLARE_API_TOKEN" \
  --header "Content-Type: application/json" \
  --data '{"enabled":true}'
The path and body above are illustrative. Replace them with the real operation and fields from the endpoint schema before sending a change.
5. Make a request in Python
The following uses the commonly available requests package and checks both transport and API-level errors.
import os
import requests

TOKEN = os.environ["CLOUDFLARE_API_TOKEN"]
ZONE_ID = os.environ["ZONE_ID"]
url = f"https://api.cloudflare.com/client/v4/zones/{ZONE_ID}"
headers = {
    "Authorization": f"Bearer {TOKEN}",
    "Content-Type": "application/json",
}

response = requests.get(url, headers=headers, timeout=30)
response.raise_for_status()
data = response.json()

if not data.get("success"):
    raise RuntimeError(data.get("errors"))

print(data["result"])
For a JSON body, pass json=payload instead of manually serializing it:
payload = {"enabled": True}
response = requests.patch(url, headers=headers, json=payload, timeout=30)
response.raise_for_status()
print(response.json())
6. Make a request in Node.js
Modern Node.js versions include fetch. Keep the token on the server and read it from environment variables.
const token = process.env.CLOUDFLARE_API_TOKEN;
const zoneId = process.env.ZONE_ID;

const res = await fetch(`https://api.cloudflare.com/client/v4/zones/${zoneId}`, {
  headers: {
    Authorization: `Bearer ${token}`,
    'Content-Type': 'application/json'
  }
});

if (!res.ok) {
  throw new Error(`Cloudflare HTTP ${res.status}: ${await res.text()}`);
}

const data = await res.json();
if (!data.success) {
  throw new Error(JSON.stringify(data.errors));
}

console.log(data.result);
For a write request, include method and a serialized body:
const payload = { enabled: true };
const res = await fetch(`https://api.cloudflare.com/client/v4/zones/${zoneId}/example-resource`, {
  method: 'PATCH',
  headers: {
    Authorization: `Bearer ${token}`,
    'Content-Type': 'application/json'
  },
  body: JSON.stringify(payload)
});
7. Validate the response envelope
Cloudflare responses commonly include success, errors, messages, and result. A successful HTTP status does not remove the need to inspect the envelope, especially in shared helper code.
{
  "success": true,
  "errors": [],
  "messages": [],
  "result": {}
}
Log request IDs, status codes, and sanitized error details. Do not log the Authorization header or the token value.
8. Paginate large result sets
Cloudflare’s general API guide documents page and per_page, with order and direction available for endpoints that support them. The endpoint’s result_info object tells you which pagination fields apply.
curl -G "https://api.cloudflare.com/client/v4/zones" \
  -H "Authorization: Bearer $CLOUDFLARE_API_TOKEN" \
  --data-urlencode "page=2" \
  --data-urlencode "per_page=50"
Do not automatically request huge pages. Cloudflare notes that excessively large page sizes may time out. A robust loop reads page, total_pages, or the endpoint-specific result metadata and stops when the final page is reached.
9. Handle rate limits and retries
Cloudflare’s rate-limit reference currently lists a Client API limit of 1,200 requests per five-minute period per user or account token and 200 requests per second per IP. Exceeding the global limit produces HTTP 429 responses and blocks API calls for the next five minutes. These limits can change, so check the live rate-limits documentation before publishing or tuning a production client.

Inspect Ratelimit, Ratelimit-Policy, and retry-after headers. On 429, wait for the server-provided duration, then retry with exponential backoff and jitter. Do not retry every error: malformed requests, missing permissions, and invalid identifiers require a code or configuration fix.
async function fetchWithBackoff(url, options, attempts = 5) {
  for (let attempt = 0; attempt < attempts; attempt++) {
    const response = await fetch(url, options);
    if (response.status !== 429 || attempt === attempts - 1) return response;

    const retryAfter = Number(response.headers.get('retry-after'));
    const delay = Number.isFinite(retryAfter)
      ? retryAfter * 1000
      : Math.min(30_000, 500 * 2 ** attempt) + Math.random() * 250;
    await new Promise(resolve => setTimeout(resolve, delay));
  }
}
10. Troubleshooting common errors
| Symptom | Likely cause | Fix |
|---|---|---|
| 401 or token rejected | Expired, revoked, malformed, or incorrectly formatted token. | Use Authorization: Bearer TOKEN, verify the token, and create a replacement if necessary. |
| 403 forbidden | The token lacks the endpoint’s permission, resource scope, or caller role. | Compare the endpoint schema with token permissions and account or zone scope. |
| 404 not found | Wrong path, account ID, zone ID, or resource identifier. | Copy IDs from the dashboard or a successful API response and check the API version. |
| 400 validation error | Missing field, invalid enum, wrong method, or malformed JSON. | Read the endpoint schema and inspect the returned errors array. |
| 429 too many requests | A per-user, per-account, or per-IP limit was exceeded. | Honor retry-after, reduce concurrency, paginate sensibly, and add backoff. |
| Shell variables are literal | The URL was enclosed in single quotes. | Use double quotes around URLs containing $ZONE_ID or other variables. |
| Request hangs or times out | Oversized page, network issue, or slow endpoint. | Use a client timeout, smaller pages, and bounded retries. |
Cloudflare provides a token verification endpoint at /user/tokens/verify. Use it to confirm that a token is active, then review permission groups, resource restrictions, Bearer syntax, and your account role.
11. Security and reliability checklist
- Use an API token instead of an API key whenever the endpoint supports it.
- Grant the minimum permission and resource scope.
- Set an expiration time and client IP restrictions where practical.
- Store secrets in a secret manager or environment injection system.
- Rotate tokens before expiration and after suspected exposure.
- Set connect and read timeouts in every client.
- Retry only transient failures, especially 429 and selected 5xx responses.
- Use idempotency-aware designs for write operations; avoid blindly repeating non-idempotent changes.
- Record status, endpoint, latency, and request correlation data without secrets.
- Check pagination metadata instead of assuming a single response contains every result.
12. Choosing cURL, an SDK, or Terraform
| Tool | Best fit | Credential approach |
|---|---|---|
| cURL | One-off diagnostics, shell scripts, and learning an endpoint. | Environment variables or a protected CI secret. |
| First-party SDK | Application integrations that need typed helpers, pagination, and retries. | Server-side secret configuration. |
| Terraform | Infrastructure managed declaratively and reviewed through plans. | Terraform variables or a CI secret store. |
Cloudflare’s request guide links to Go, TypeScript, Python, and Terraform options. Library versions and generated APIs change, so consult the current API reference before pinning dependencies.
Or skip the browser setup
If your workflow also needs screenshots of Cloudflare dashboards, documentation, or deployed pages, ScreenshotNeo provides a single website screenshot API request. See the ScreenshotNeo documentation for all options.
curl -G "https://api.screenshotneo.com/v1/shot" -d access_key=YOUR_API_KEY --data-urlencode url=https://stripe.com -o shot.webpimport requests
r = requests.get("https://api.screenshotneo.com/v1/shot", params={"access_key": "YOUR_API_KEY", "url": "https://stripe.com"}, timeout=90)
open("shot.webp", "wb").write(r.content)const q = new URLSearchParams({ access_key: 'YOUR_API_KEY', url: 'https://stripe.com' }); const res = await fetch(`https://api.screenshotneo.com/v1/shot?${q}`);Cookie banners, newsletter popups, and chat widgets are removed before the shot. Bot checks, blank pages, timeouts, failed loads, and cache hits are never billed, and response headers identify the page verdict and billing status. An MCP server lets Claude, Cursor, and other MCP clients take screenshots. The Free plan includes 1,000 screenshots per month with no card; paid plans start at $5 for 3,000 shots. Sign up for ScreenshotNeo.
FAQ
What is the Cloudflare API base URL?
Use https://api.cloudflare.com/client/v4/ for Version 4 HTTPS endpoints.
Should I use an API key or token?
Prefer a scoped API token whenever the endpoint supports it. API tokens provide finer permission and resource controls.
Where do I find a zone ID?
Use the Cloudflare dashboard or an API response that returns the zone. Confirm that the zone belongs to the account scope selected for your token.
Can I call Cloudflare directly from browser code?
Do not expose a reusable API token in frontend JavaScript. Proxy requests through a trusted backend or serverless function that keeps the credential private.
How many API tokens can I create?
The current rate-limit reference lists up to 50 user API tokens per user and 500 account API tokens per account. Verify the live documentation before relying on these limits.
What changed with Service Keys?
Cloudflare’s deprecation notice says Service Key authentication was deprecated on March 19, 2026, and scheduled for removal on September 30, 2026, with API Tokens named as the replacement. Check the live notice before changing production authentication.


