How to Make Python Screenshot Capture Faster
Speed up Python screenshots by measuring each stage, capturing smaller regions, reusing MSS, and removing expensive copies and matching work.
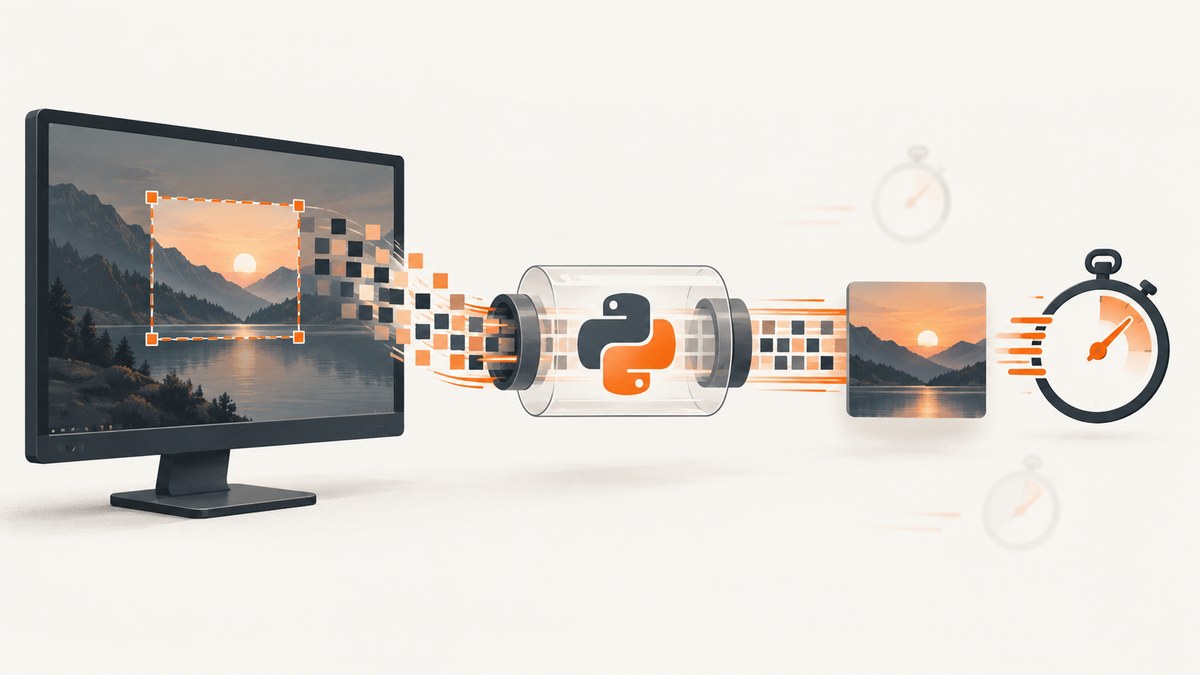
To make Python screenshot capture faster, first measure capture, conversion, image matching, and saving separately. Then reduce the pixels you capture, reuse a persistent MSS instance in loops, avoid unnecessary format conversions, and narrow PyAutoGUI image searches with region. The fastest choice depends on your operating system, display backend, output format, and what happens after the screenshot.
1. Measure the slow stage before changing code
A complete loop can hide the real bottleneck. A screenshot call may be reasonable while template matching, PNG encoding, disk I/O, or later computer-vision work dominates. Use a monotonic clock and record each stage independently.
from time import perf_counter
from pathlib import Path
import statistics
import pyautogui

REGION = (100, 100, 800, 600)
ITERATIONS = 30

capture_times = []
save_times = []

# Warm up the capture backend before collecting timings.
pyautogui.screenshot(region=REGION)

for index in range(ITERATIONS):
    start = perf_counter()
    image = pyautogui.screenshot(region=REGION)
    capture_times.append(perf_counter() - start)

    start = perf_counter()
    image.save(Path("/tmp") / f"shot-{index:03d}.png")
    save_times.append(perf_counter() - start)

print(f"capture median: {statistics.median(capture_times) * 1000:.1f} ms")
print(f"save median:    {statistics.median(save_times) * 1000:.1f} ms")
print(f"capture p95:    {sorted(capture_times)[int(len(capture_times) * .95) - 1] * 1000:.1f} ms")
Warm up first, collect multiple iterations, and compare the same region, image format, and processing path. A single fastest result is not a reliable estimate. Report medians and a high percentile so occasional stalls are visible.
2. Capture only the region you need
Full-screen capture moves and processes every pixel on every iteration. If the target is a panel, button, chart, or application window, pass a bounding box.
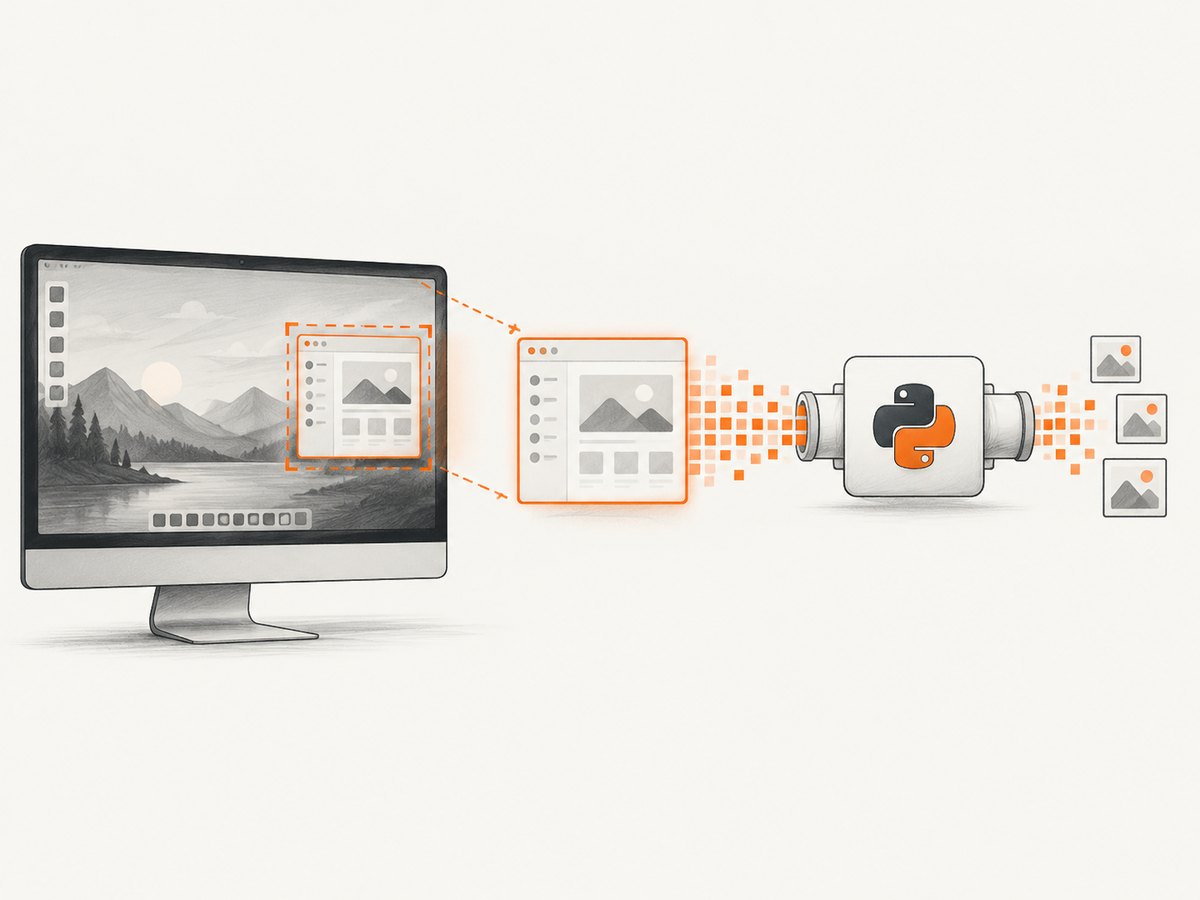
PyAutoGUI
import pyautogui

# (left, top, width, height)
image = pyautogui.screenshot(region=(120, 80, 900, 500))
image.save("panel.png")
PyAutoGUI documents a roughly 100 ms screenshot example at 1920×1080, while its image-location functions can take one or two seconds at that resolution. Those are documentation examples, not a promise for your machine. Restricting the region reduces both capture work and search work. PyAutoGUI screenshot documentation and locate-function documentation describe these APIs.
Pillow ImageGrab
from PIL import ImageGrab

image = ImageGrab.grab(bbox=(120, 80, 1020, 580))
image.save("panel.png")
bbox uses screen coordinates. On macOS Retina displays, Pillow can return 2× dimensions by default; scale_down=True can request 1× dimensions where supported. On Linux, Pillow may use gnome-screenshot, grim, or spectacle if its default X11 capture cannot return an image. See the Pillow ImageGrab API reference.
MSS
from mss import MSS

with MSS() as sct:
    monitor = {"left": 120, "top": 80, "width": 900, "height": 500}
    shot = sct.grab(monitor)
    print(shot.size)
MSS accepts a monitor description or a region. Check coordinate origins on multi-monitor systems: displays can have negative coordinates, scaling factors, or a primary monitor that is not at (0, 0).
3. Reuse MSS in repeated capture loops
Create the MSS object once and keep it alive. Opening a new context for every frame adds object and backend setup work and uses more memory than the documented repeated-capture pattern.
from mss import MSS

region = {"left": 120, "top": 80, "width": 900, "height": 500}

with MSS() as sct:
    for _ in range(100):
        shot = sct.grab(region)
        # Process shot before requesting the next frame.
Do not assume a particular frame rate. Measure your target region and processing workload on the operating system where the code runs.
4. Avoid unnecessary copies and conversions
MSS exposes a direct pixel buffer and integrations for Pillow, NumPy, and OpenCV. Its array representation is BGRA, while many consumers expect RGB or BGR without alpha. Every conversion can allocate memory and copy the frame.
from mss import MSS
import numpy as np

region = {"left": 120, "top": 80, "width": 900, "height": 500}

with MSS() as sct:
    shot = sct.grab(region)
    # One NumPy view/copy path, chosen explicitly for your consumer.
    bgra = np.asarray(shot)
    bgr = bgra[:, :, :3]
    # Pass bgr to code that expects BGR, or convert deliberately to RGB.
Profile the representation your next step actually accepts. If your analyzer can consume BGRA, avoid creating a Pillow image and then another array. MSS documents direct buffer access for Python 3.12 or later on supported GNU/Linux platforms; treat that as a narrower optimization rather than a cross-platform guarantee.
5. Stop PyAutoGUI matching from scanning the whole display
If the slow operation is locateOnScreen, locateCenterOnScreen, or a related call, optimize the search rather than only the screenshot.
import pyautogui

button = pyautogui.locateCenterOnScreen(
    "button.png",
    region=(120, 80, 900, 500),
    grayscale=True,
    confidence=0.90,
)

if button is None:
raise RuntimeError("button not found")regionlimits the search area and is usually the first change to try.grayscale=Trueis documented as giving about a 30%-ish speedup, but it can increase false positives. Validate matches against your own screenshots.confidencerequires the OpenCV dependency and changes matching behavior; tune it with representative images.
Keep the capture region and matching region consistent. A smaller screenshot does not help if a later function still searches the full screen.
6. Choose between PyAutoGUI, MSS, and Pillow
| Option | Best fit | Speed considerations | Important edge cases |
|---|---|---|---|
| PyAutoGUI | Desktop automation plus simple screenshots and image locating | Use region for capture and matching; locating can dominate capture time |
Coordinate layouts, OpenCV confidence matching, and grayscale false positives |
| MSS | Repeated low-latency capture feeding NumPy/OpenCV or custom processing | Reuse one object; avoid needless BGRA conversions | Backend availability, X11 shared memory, monitor coordinates, pixel order |
| Pillow ImageGrab | Small scripts that already use Pillow images | Use bbox; account for Retina scaling and Linux fallback utilities |
Returned dimensions can differ by platform and display scaling |
MSS 10.2.0 reports 9.48 ms per screenshot versus 46.2 ms for 10.1.0 in its own 1,000-iteration Debian testing, X11, 4K test. That is project-reported, environment-specific evidence, not a cross-platform promise. The project says XShm shared-memory capture is used by default when available and falls back to XGetImage when it is not. Read the Python-MSS documentation for current backend details.
7. Account for operating-system and display behavior
- Linux/X11: MSS performance depends on X server configuration and shared-memory availability. Remote SSH displays may lack XShm and use the fallback path.
- macOS Retina: confirm whether your API returns logical or 2× physical dimensions before fixing coordinates.
- Multiple monitors: inspect monitor rectangles instead of assuming the primary display starts at zero.
- Wayland and sandboxed desktops: permissions and capture backends can change behavior; measure the actual backend in deployment.
- Window movement: hard-coded coordinates become invalid when a window moves, a display is reconfigured, or scaling changes.
8. A complete fast-loop example with MSS
from pathlib import Path
from time import perf_counter
from mss import MSS

OUTPUT = Path("frames")
OUTPUT.mkdir(exist_ok=True)
REGION = {"left": 120, "top": 80, "width": 900, "height": 500}

with MSS() as sct:
    # Warm up the backend.
    sct.grab(REGION)

    for frame_number in range(100):
        started = perf_counter()
        shot = sct.grab(REGION)
        captured = perf_counter()

        # Keep processing in the representation your consumer needs.
        # Example: write a PNG only when persistence is required.
        output_path = OUTPUT / f"frame-{frame_number:04d}.png"
        sct.shot(output=str(output_path), mon=REGION)
        finished = perf_counter()

        print({
            "capture_ms": (captured - started) * 1000,
            "capture_and_save_ms": (finished - started) * 1000,
        })
For a high-frequency pipeline, separate acquisition from saving with a bounded queue and a worker, but measure queueing and memory pressure. Saving every frame as PNG may become the bottleneck even when capture is fast.
9. Troubleshooting
Every screenshot is slow
Measure capture alone. If the region is the full 4K desktop, reduce it. If the backend is a fallback path, check display-server availability and permissions. Compare PyAutoGUI, MSS, and Pillow on the same region rather than relying on a generic claim.
Capture is quick but the loop is slow
Time matching, conversion, encoding, and disk writes independently. Move expensive analysis out of the capture critical path or process fewer frames when the application allows it.
Coordinates are wrong
Print monitor rectangles and image dimensions. Check negative monitor origins, Retina scaling, window movement, and display scaling before changing offsets.
MSS output colors look wrong
MSS exposes BGRA. Reorder channels only at the boundary where a library requires RGB or BGR, and avoid repeated conversions.
Grayscale matching finds the wrong object
Grayscale can speed matching but removes color information. Restrict the region further, use a more distinctive template, or disable grayscale when color separates similar controls.
Linux capture fails over SSH
The XShm path may be unavailable on a remote display. MSS can fall back to XGetImage, but latency and permissions differ. Test on the same display server used in production.
PNG saving dominates timing
Measure encoding separately. Save only frames you need, use an appropriate format, or pass raw pixels directly to the next processing stage when persistence is unnecessary.
10. Performance, reliability, and cost checklist
- Record capture, conversion, matching, and save times separately.
- Warm up before measuring and report median plus a high percentile.
- Use a region or bounding box whenever the target is smaller than the display.
- Reuse one MSS instance in repeated loops.
- Keep BGRA, RGB, or BGR choices explicit.
- Validate coordinates after monitor, scaling, or window changes.
- Test the exact OS, display server, Python version, and backend used in deployment.
- Do not buy hardware or promise a universal speedup before measuring the software pipeline.
For local desktop capture, cost is usually CPU time, memory bandwidth, encoding time, and storage. A smaller region reduces each of those. If you move capture to a hosted browser, include network latency and API pricing in the end-to-end measurement.

Or skip the browser setup
If you need a webpage image rather than the pixels on your own desktop, ScreenshotNeo provides a single API request. Cookie and consent banners, newsletter popups, and chat widgets are removed before the shot. Bot checks, blank pages, failed loads, timeouts, and cache hits are never billed, and the response identifies the result with X-Page-Verdict and X-Billed headers. Its MCP server lets Claude, Cursor, and other MCP clients use take_screenshot, get_page_info, and capture_pdf.
See the ScreenshotNeo API documentation for all options.
cURL
curl -G "https://api.screenshotneo.com/v1/shot" -d access_key=YOUR_API_KEY --data-urlencode url=https://stripe.com -o shot.webpPython
import requests
r = requests.get("https://api.screenshotneo.com/v1/shot", params={"access_key": "YOUR_API_KEY", "url": "https://stripe.com"}, timeout=90)
open("shot.webp", "wb").write(r.content)
Node.js
const q = new URLSearchParams({ access_key: 'YOUR_API_KEY', url: 'https://stripe.com' }); const res = await fetch(`https://api.screenshotneo.com/v1/shot?${q}`);ScreenshotNeo includes full-page capture, element selectors, dark mode, device presets, custom viewports, retina scale, PDF output, custom CSS and JavaScript, waits, request blocking, headers, cookies, user agents, geolocation, caching, signed links, asynchronous jobs, bulk capture, usage data, and an OpenAPI specification. It accepts parameter names used by other screenshot APIs, which can simplify migration.
The free plan includes 1,000 screenshots each month with no card. Paid plans start at $5 for 3,000 screenshots, and every feature is available on every plan. Create a free ScreenshotNeo account.
FAQ
Is MSS always faster than PyAutoGUI or Pillow?
No. MSS reports strong results in a particular Linux/X11 test, but platform, backend, region, and processing path determine the result. Benchmark equivalent workloads on your target machine.
Should I capture fewer frames?
Yes, when your application does not need every frame. Event-driven captures, debouncing, or sampling can reduce total work more than micro-optimizing one screenshot call.
Does saving JPEG always make a loop faster?
No. Encoding settings and image content matter. Measure capture and encoding separately, and choose the format required by the consumer.
Can a smaller region break automation?
It can if coordinates or window layout change. Validate the region at startup and handle missing or moved targets explicitly.


