How to Make Screenshots More Readable
Make screenshot text easier to read with focused captures, careful cropping, suitable formats and contrast, plus accessible text alternatives.
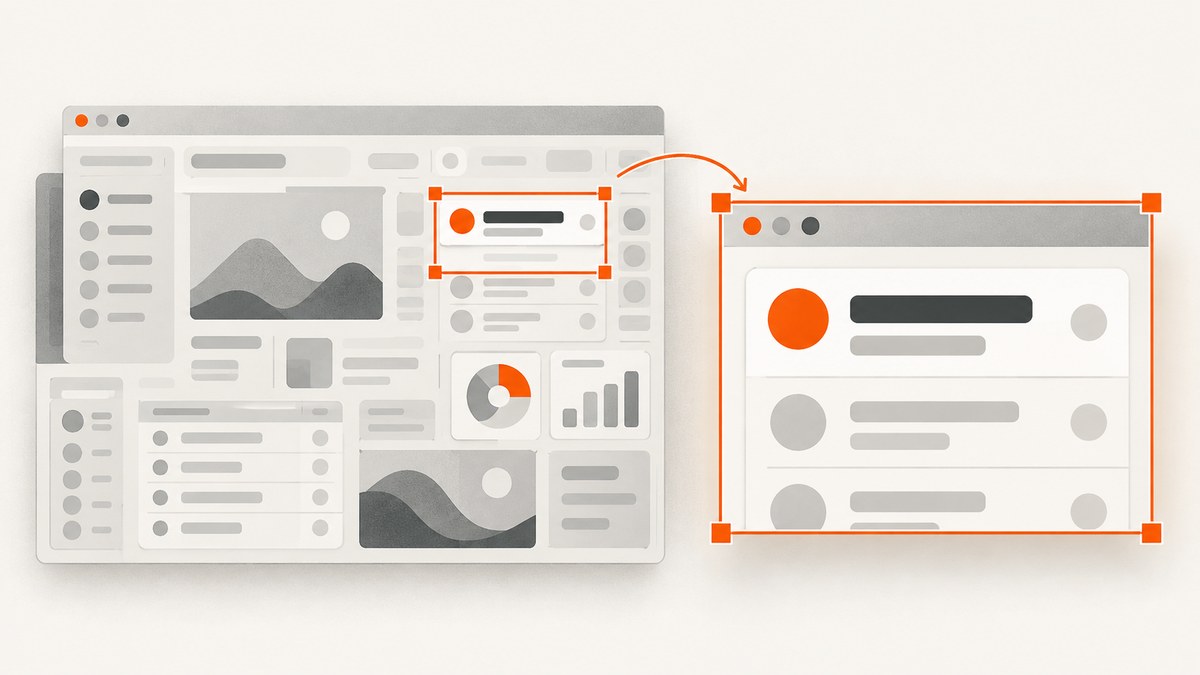
A readable screenshot starts before you edit it: capture only the relevant window or region, crop away distractions without removing useful context, and show the result large enough to inspect. Preserve contrast, choose a suitable image format, and provide the information in text as well when the screenshot communicates something important. There is no universal pixel dimension that guarantees readability; the right size depends on the content and where readers will view it.
This guide covers a practical workflow for screenshots from desktop apps and web pages, including Windows Snipping Tool and Paint, accessible descriptions, privacy-conscious redaction, and browser-generated images.
1. Capture only the content you need
Before taking a screenshot, decide what point it needs to explain. If the answer is a dialog setting, capture the dialog and enough of its surrounding window to identify where it appears. If the point is a full-page layout, capture the page and plan to use a focused crop alongside it for details.
On Windows, Snipping Tool offers capture modes such as rectangular and window snips. Use a rectangular selection for a specific region, or a window capture when the whole application window gives necessary context. The exact interface can differ by Windows version. [Microsoft: Use Snipping Tool to capture screenshots]
- Open the page or application and put it into the state you want to show.
- Close unrelated menus or panels that compete for attention.
- Select the smallest window or region that preserves the reader’s ability to understand the image.
- Capture at a scale where the original text and controls are clear before any resizing.
For a web page, consider whether the screenshot is evidence of a specific detail or an overview. A full-page capture is useful for overall structure, but its text may become too small when displayed as a single image. A focused crop can make the key detail readable while a nearby sentence explains its place in the larger page.
2. Crop tightly, but keep enough context
Remove browser chrome, blank margins, unrelated panels, and surrounding content that does not help explain the point. A purposeful crop directs attention and avoids forcing readers to search the entire image. Google’s developer style guidance recommends cropping screenshots to show relevant information. [Google developer documentation: Images]
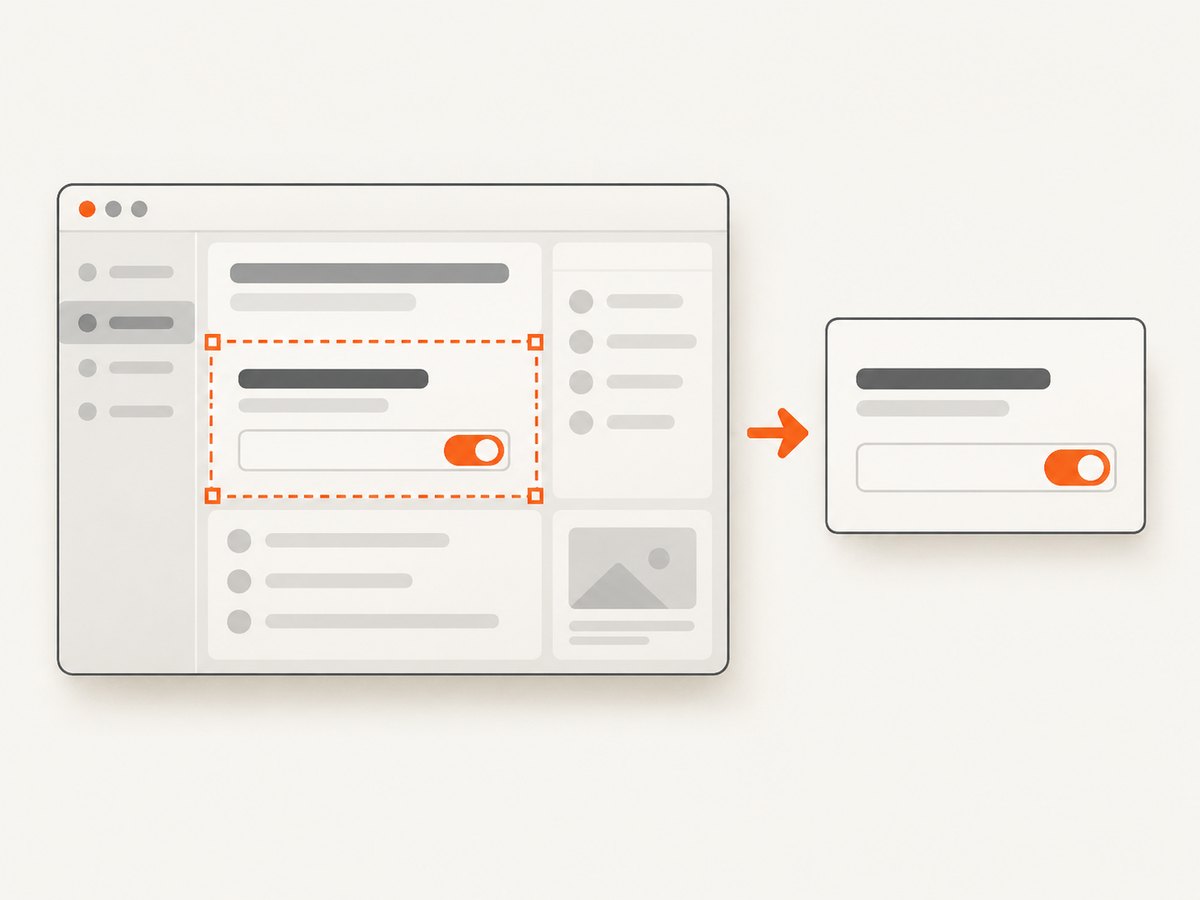
Do not crop so aggressively that controls lose their labels or readers cannot tell which application or section they are seeing. A good crop usually retains a small amount of context: a heading, parent panel, navigation label, or nearby control. When both overview and detail matter, provide two images or a full view with a separate close-up, rather than squeezing all information into one tiny screenshot.
A quick crop checklist
- Does the crop include the feature or content the accompanying text mentions?
- Is enough of the interface visible to identify where the feature is?
- Can unrelated text, notifications, and empty areas be removed?
- Will the image still be legible at the size it appears in the article, ticket, or documentation?
3. Keep text at a useful displayed size
Do not rely on enlarging a small screenshot after capture to recover detail. If interface text is too small, recapture at a larger scale, select a more focused region, or provide a close-up crop. Enlarging pixels can make an image physically bigger without making its original text details clearer.
Check the screenshot in the context where readers will see it: a documentation column, issue tracker, presentation slide, or mobile screen. Avoid reducing a full desktop view until every label is unreadable. If the image has several important regions, split the explanation into multiple focused images and label their purposes in nearby text.
There is no single pixel width or screenshot scale that works for every display and publishing layout. The supplied guidance supports cropping and readable text presentation, but does not establish a universal dimension. Make the decision by checking the actual rendered image at its expected display size.
4. Choose a format that preserves detail
For screenshots with interface text, diagrams, or sharp edges, PNG is a sound default when there is no specific reason to use another format. Google’s developer guidance recommends saving screenshots as PNG unless there is a good reason to choose another format. [Google developer documentation: Images]
Other formats may be appropriate when file size, transparency, or a publishing system’s requirements matter. Whatever format you use, inspect the saved file at its actual display size. Look for softened text, compression artifacts around high-contrast edges, or a background that changed unexpectedly. Keep an editable or original capture when you expect to revise crops or annotations later.
5. Use annotations and contrast carefully
Microsoft documents opening a captured snip in Paint for editing, including resizing and changes to color or text. For simple tasks, Snipping Tool and Paint may be enough; consider another editor only when you need capabilities those tools do not provide. [Microsoft: Use Snipping Tool to capture screenshots]
Use a circle, arrow, or short label only when it makes the target easier to find. Keep marks outside text and controls wherever possible. A large opaque shape over the information being explained can make the image less useful; if you need to conceal private data, use a separate solid redaction that fully covers it.
Contrast helps readers distinguish text and important visual elements. Google Accessibility Help reports WCAG 2.0 recommendations of at least 4.5:1 contrast for large text and 7:1 for other text and images. Treat these as attributed accessibility recommendations, not a guarantee that every screenshot will be readable in every context. [Google Accessibility Help: Make your content accessible]
If you control the interface before capture, choose a state with clear contrast and avoid placing important labels over busy backgrounds. If you do not control the interface, a closer crop or a text explanation may help more than editing the screenshot itself.
6. Make the information accessible outside the image
A screenshot may contain information that a screen reader cannot convey from the image alone. Add concise alternative text when the image communicates a meaningful point, and put necessary details in nearby prose when readers need exact wording, values, or steps. Google explains that alt text gives screen-reader users an audio description; W3C notes that the appropriate text alternative depends on the image’s context and purpose. [Google Accessibility Help: Add alternative text to images] [W3C WAI: Images tutorial]
Describe what matters, not every visible pixel. For example: “The account settings panel has the two-factor authentication toggle enabled.” If the screenshot is decorative or repeats information fully stated in adjacent text, use an appropriate empty alternative in the publishing system. For a complex chart or dense interface, provide the essential interpretation in the article itself instead of asking alt text to carry a long explanation.
7. Redact sensitive information safely
Review the whole capture before sharing it. Look for names, email addresses, account identifiers, access tokens, private messages, browser tabs, notifications, and other personally identifying information. Google’s image guidance says not to include personally identifying information. When concealment is necessary, use a fully opaque solid overlay; the guidance warns that blur or mosaic effects may be reversible. [Google developer documentation: Images]
- Prefer recapturing a clean state with private information absent.
- If you must redact, place a solid opaque fill over the entire sensitive value.
- Export a flattened copy so the covered content is not available as a movable layer.
- Reopen the exported file and inspect it, including at high zoom, before sharing.
Do not use blur, pixelation, or a translucent marker for information that must remain secret. Cropping can also remove sensitive areas, but verify the crop does not leave part of a value visible at an edge.
8. Browser screenshot workflow for developers
When you need repeatable screenshots of web pages, capture settings matter just as much as manual editing. Aim to load the page in a stable state, choose an appropriate viewport, capture the relevant element or region, and preserve enough resolution for the final display. The exact browser automation configuration depends on your stack, so this general checklist avoids assuming a particular library or version:
- Use the intended URL and wait until the content you need is present.
- Set a viewport that reflects the intended view, such as a desktop layout or mobile breakpoint.
- Capture a specific element when the surrounding page is irrelevant; use full-page capture only when readers need the whole page.
- Consider device scale or retina settings when small text needs more source detail.
- Save the original capture, then make a focused derivative crop if the full view is too dense.
- Inspect the exported image at the size and format where it will be consumed.
For dynamic pages, a screenshot can be blank or inconsistent if taken before content finishes loading. Wait for a meaningful selector or a known page state instead of relying only on an arbitrary delay. Lazy-loaded images may require scrolling or a capture mode that loads them before taking a full-page image. Keep the final image focused; a technically complete capture can still be difficult to read when displayed small.
Or skip the browser setup
ScreenshotNeo is a website screenshot API and MCP server. Its API accepts one GET request with a URL and returns a screenshot as PNG, JPEG, or WebP, or a PDF. Use it when you want a web capture without managing browser setup. See the ScreenshotNeo documentation for request options.
curl -G "https://api.screenshotneo.com/v1/shot" -d access_key=YOUR_API_KEY --data-urlencode url=https://stripe.com -o shot.webpimport requests
r = requests.get(
"https://api.screenshotneo.com/v1/shot",
params={"access_key": "YOUR_API_KEY", "url": "https://stripe.com"},
timeout=90,
)
open("shot.webp", "wb").write(r.content)const q = new URLSearchParams({ access_key: 'YOUR_API_KEY', url: 'https://stripe.com' });
const res = await fetch(`https://api.screenshotneo.com/v1/shot?${q}`);
if (!res.ok) throw new Error(`Screenshot request failed: ${res.status}`);
await Bun.write('shot.webp', res);The Node.js example uses the supplied request pattern and Bun’s file-writing helper to save the response as a file. In a Node.js project, write the response bytes using your preferred filesystem API.
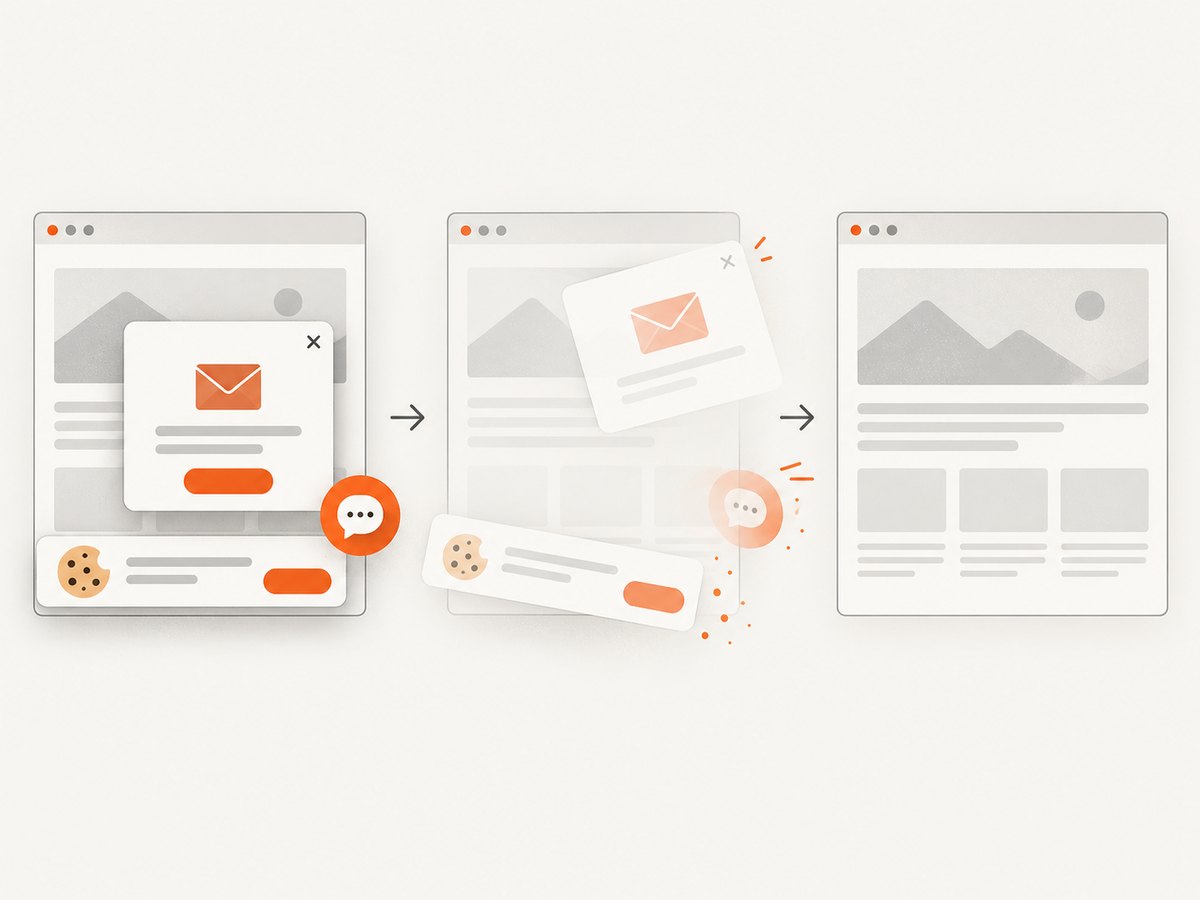
ScreenshotNeo removes known cookie and consent banners, newsletter popups, and chat widgets before capture; each step can be turned off. Bot checks and CAPTCHAs, blank pages, timeouts, failed loads, and cache hits are not billed, and response headers indicate the page verdict and billing status. Its MCP server provides take_screenshot, get_page_info, and capture_pdf tools for AI agents. The free plan includes 1,000 screenshots each month with no card; paid plans start at $5 for 3,000 screenshots.
Sign up for ScreenshotNeo’s free plan to get 1,000 screenshots a month with no card.
9. Troubleshooting readability problems
| Problem | Likely cause | What to do |
|---|---|---|
| Text is tiny in the article | The capture includes too much page area or is displayed too small. | Make a focused crop, capture a larger region at a higher scale, or add a close-up alongside the overview. |
| Text looks soft or blocky | The image was enlarged from a small capture or saved with lossy compression. | Recapture at a useful scale and use PNG for text-heavy content unless another format is justified. |
| The screenshot lacks context | The crop removed the heading, parent panel, or identifying interface. | Expand the crop slightly or explain the location in nearby text. |
| Important information is hard to find | Too many unrelated controls, annotations, or panels compete for attention. | Crop more purposefully and use one restrained annotation if it helps. |
| A web capture is blank or incomplete | The page had not reached the desired state, or content loads lazily. | Wait for the relevant element or page state; ensure lazy content has loaded before capture. |
| Redacted data may still be recoverable | Blur, mosaic, transparency, or an editable overlay was used. | Use a fully opaque solid fill, export a flattened copy, and inspect the exported file. |
| Screen-reader users miss the screenshot’s point | The image has no useful alternative or the meaning exists only visually. | Add concise alt text and state any essential detail in nearby prose. |
10. Performance, reliability, and cost considerations
Readable screenshots need not be unnecessarily large. Capture enough detail for the intended display, crop out irrelevant pixels, and choose a format appropriate to the content. A focused image can be easier to inspect and may be smaller than a full desktop capture, though the exact file-size difference depends on the image and encoding.
For documentation or evidence that needs to remain reproducible, record the relevant URL, viewport, capture state, and any post-processing steps. Dynamic content can change between captures, so wait for the specific content needed and avoid treating an arbitrary delay as proof that a page is ready. Retain a clean source image when later revisions are likely.
Cost depends on the workflow. Manual captures with built-in tools have no API request charge, while browser automation can involve the cost and maintenance of running a browser environment. For ScreenshotNeo, the stated pricing is Free: 1,000 shots/month with no card; Starter: $5 for 3,000; Growth: $15 for 15,000; Pro: $39 for 60,000; Scale: $99 for 250,000; Business: $249 for 1,000,000. Yearly billing gives two months free, and every feature is on every plan. Only clean shots are billed according to the product facts above.
Frequently asked questions
Should I enlarge a screenshot to make it clearer?
If the original capture is too small, enlargement cannot restore missing detail. Recapture at a larger scale or crop to the content readers need to inspect.
Is PNG always the right format?
No. Google’s developer guidance recommends PNG unless there is a good reason for another format. Consider the actual content and publishing constraints, then inspect the exported image for clarity.
Can alt text replace a detailed explanation?
Usually not for complex information. Write concise alt text for the image’s purpose and put essential details or interpretation in the surrounding text.
What should I use to hide private details?
Prefer removing the details before capture. If redaction is necessary, use an opaque solid overlay and verify the flattened export; do not rely on blur or mosaic.
How much context should a crop retain?
Enough for readers to recognize where the detail appears and how it relates to the point being made. Include a heading or nearby controls if those supply useful context.


