How to Set Up Visual Regression Testing in Next.js
Set up deterministic Playwright screenshot tests in Next.js, review baselines, run them in CI, and decide when hosted visual testing helps.
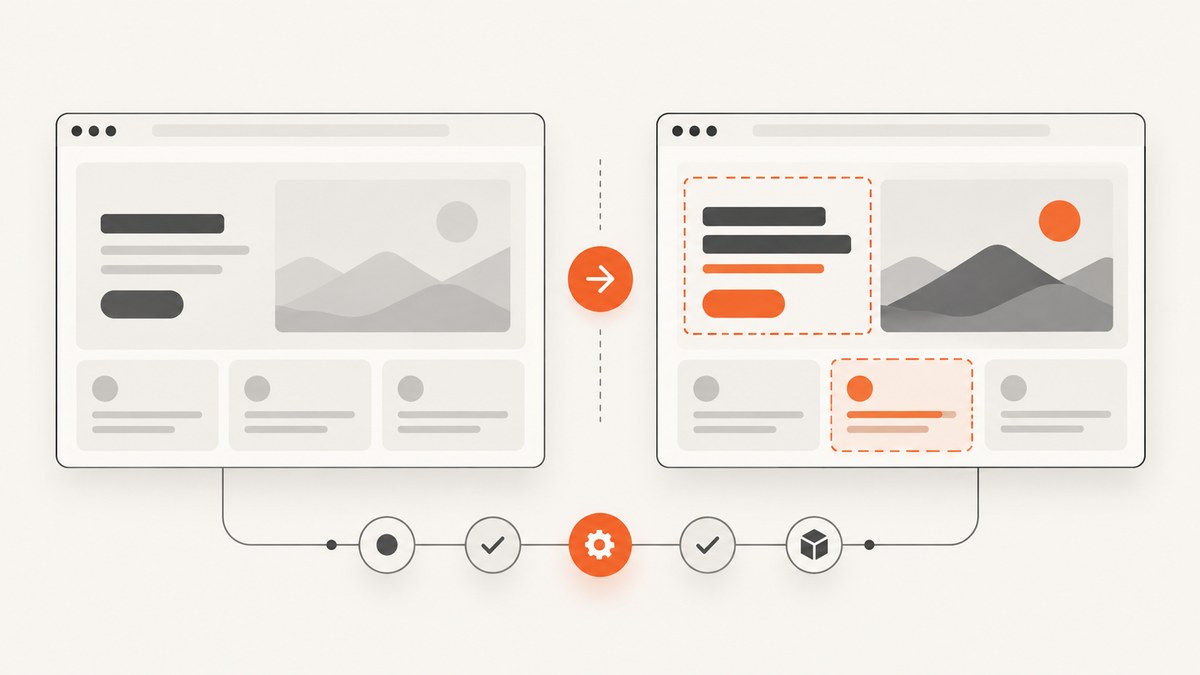
Visual regression testing compares a new browser rendering with an approved reference image. In a Next.js application, the most direct setup is Playwright Test with expect(page).toHaveScreenshot(). The first run creates a baseline; later runs fail when the rendered page differs beyond the comparison tolerance.
This catches spacing changes, missing styles, incorrect responsive layouts, broken typography, and accidental component changes that functional assertions can miss. It complements assertions such as “the checkout button is visible”; it does not replace them.
What you will build
You will add Playwright to a Next.js project, run the app in a consistent environment, capture representative screens, commit approved snapshots, and execute the comparison in CI. The example uses a home page, but the same pattern works for routes, authenticated states, responsive widths, and individual components.
1. Install Playwright in your Next.js project
Next.js documents a preconfigured with-playwright example and also documents manual setup with pnpm create playwright. Use the example for a new project, or add Playwright to an existing repository.
# Existing project
pnpm create playwright

# Or with npm
npm init playwright@latest
When the setup wizard asks where to put tests, choose a directory such as tests. Install the browsers requested by the wizard. If your project does not already have scripts for a production build, confirm that these commands work:
npm run build
npm run start
The official Next.js Playwright guide recommends testing production code when practical because the production build can expose behavior that differs from the development server. Read the current setup guidance in the Next.js testing guide.
2. Configure Playwright to start Next.js
A webServer entry lets Playwright start the application before tests and wait for it to be available. This avoids a separate terminal in local development and gives CI a repeatable command.
import { defineConfig, devices } from '@playwright/test';

export default defineConfig({
  testDir: './tests',
  fullyParallel: true,
  forbidOnly: !!process.env.CI,
  retries: process.env.CI ? 2 : 0,
  workers: process.env.CI ? 1 : undefined,
  reporter: 'html',
  use: {
    baseURL: 'http://127.0.0.1:3000',
    trace: 'on-first-retry',
    screenshot: 'only-on-failure',
  },
  projects: [
    {
      name: 'chromium',
      use: { ...devices['Desktop Chrome'] },
    },
  ],
  webServer: {
    command: process.env.CI ? 'npm run build && npm run start' : 'npm run dev',
    url: 'http://127.0.0.1:3000',
    reuseExistingServer: !process.env.CI,
    timeout: 120 * 1000,
  },
});
If your package manager needs a different start command, replace the value of command. For a repository that already starts Next.js elsewhere, remove webServer and run the server before npx playwright test.
3. Write your first screenshot test
Create tests/home.spec.ts. The assertion below captures the page after navigation and compares it with a file named home-chromium-linux.png (the exact snapshot directory structure is managed by Playwright).
import { test, expect } from '@playwright/test';

test('home page matches its visual baseline', async ({ page }) => {
  await page.goto('/');
  await expect(page).toHaveScreenshot('home.png', {
    fullPage: true,
  });
});
Run the test once:
npx playwright test tests/home.spec.tsIf no reference exists, Playwright writes one. Review that image carefully, then commit it with the test. On subsequent runs, Playwright produces an actual image, compares it with the expected image, and reports a diff when the change exceeds the configured threshold. The Playwright visual comparisons documentation describes this lifecycle and the available assertion options.
4. Capture the right pages and states
Snapshot coverage is a product decision. Start with screens where a visual defect would be costly:
- Landing and pricing pages.
- Navigation, authentication, and checkout states.
- Responsive layouts at the widths your users actually use.
- Components with complex CSS, images, tables, or forms.
- Important empty, loading, error, and permission states.
You do not need a snapshot for every route and every possible state. A small set of stable, representative flows is easier to review than an enormous collection of noisy images. Add a test when a route has a distinct layout or a history of visual regressions.
For a responsive page, define separate projects so each viewport has its own baseline:
projects: [
  {
    name: 'desktop',
    use: { ...devices['Desktop Chrome'] },
  },
  {
    name: 'mobile',
    use: {
      ...devices['Pixel 5'],
      isMobile: true,
    },
  },
],
Use an element assertion when the page contains unrelated content that should not affect the test:
test('account card is stable', async ({ page }) => {
  await page.goto('/account');
  await expect(page.getByTestId('account-card')).toHaveScreenshot('account-card.png');
});
5. Make screenshots deterministic
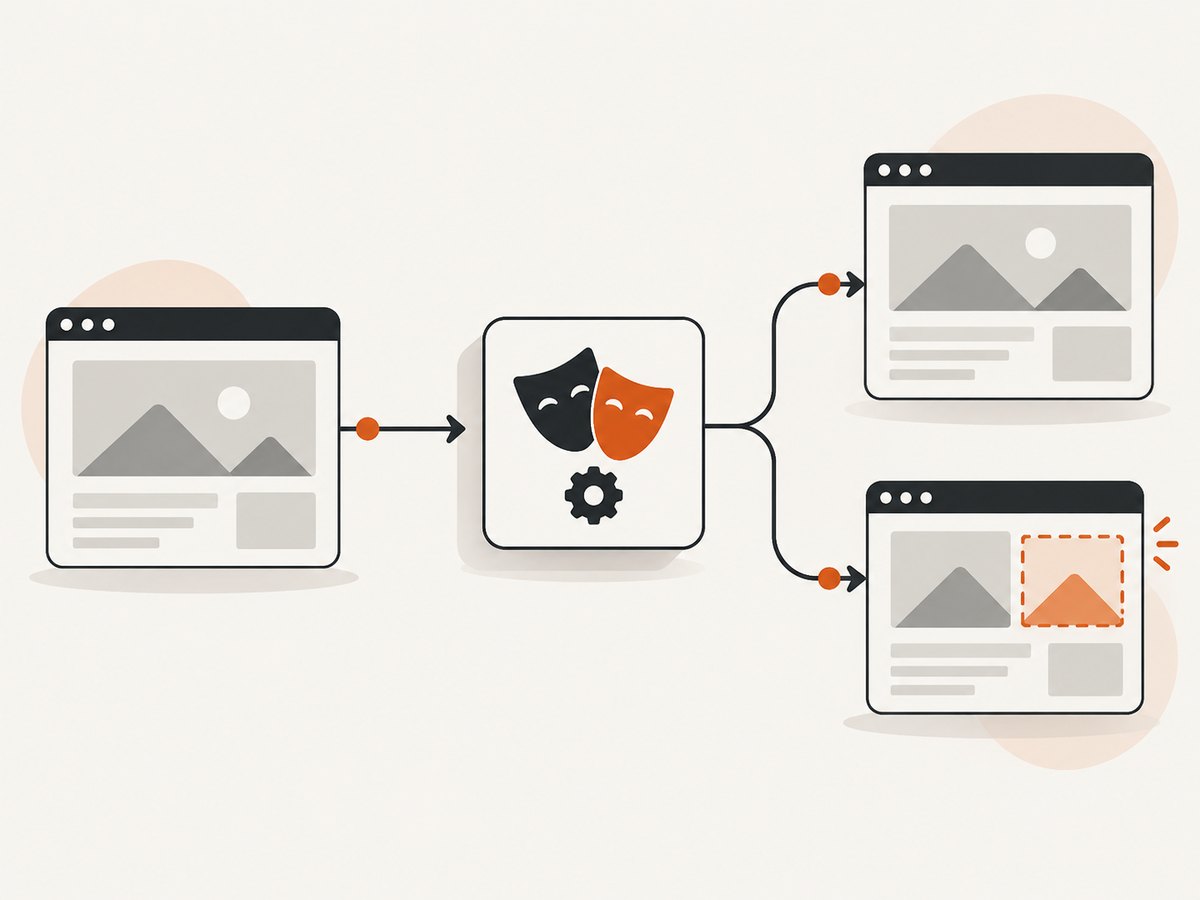
Most flaky visual tests are caused by changing inputs, not by Playwright’s comparison algorithm. Rendering can differ with operating system, browser version, fonts, hardware, power settings, and headless mode. Generate and compare baselines in the same kind of environment, ideally the same CI image.
Control animation and transitions
Animations can be captured at different frames. Add a screenshot stylesheet that disables motion for visual tests:
/* tests/visual-test.css */
*,
*::before,
*::after {
  animation: none !important;
  transition: none !important;
  caret-color: transparent !important;
}
Apply it with stylePath:
await expect(page).toHaveScreenshot('home.png', {
  fullPage: true,
  stylePath: 'tests/visual-test.css',
});
The stylesheet can also hide a clock, rotating promotion, live notification count, or other volatile element. Prefer fixing the source of nondeterminism when possible: inject a fixed date, use stable fixture data, and mock remote responses that are not part of the visual contract.
Wait for meaningful readiness
page.goto() does not guarantee that every image or client component has finished rendering. Wait for a page-specific condition before the assertion:
await page.goto('/dashboard');
await expect(page.getByRole('heading', { name: 'Dashboard' })).toBeVisible();
await expect(page.getByTestId('dashboard-chart')).toHaveScreenshot('dashboard-chart.png');
Avoid arbitrary long sleeps unless the application has no observable readiness signal. A selector, a completed API fixture, or a stable text assertion explains why the test is ready.
Choose comparison tolerances deliberately
Playwright supports options such as threshold, maxDiffPixels, and maxDiffPixelRatio. A tolerance can absorb tiny antialiasing differences, but it can also hide a real layout defect. Start with strict defaults, inspect the diff, and loosen a limit only when you understand the rendering difference.
await expect(page).toHaveScreenshot('hero.png', {
  maxDiffPixelRatio: 0.001,
});
Do not solve unexplained failures by continually increasing the threshold. First check fonts, browser versions, viewport size, animations, data, and the capture environment.
6. Review and update baselines safely
When a test fails, Playwright normally provides the expected image, the actual image, and a diff image in the test-results directory. Review all three. Ask whether the change is an intended design or code change, an environment drift, or a flaky input.
After confirming an intentional interface change, regenerate snapshots explicitly:
npx playwright test --update-snapshotsReview the resulting image files in the same pull request as the code change. Keep baseline updates visible in code review; a snapshot should never be replaced automatically just because a test failed.
7. Run visual tests in CI
A minimal CI sequence installs dependencies, installs browser binaries and system dependencies, builds the Next.js app, and runs Playwright:
npm ci
npx playwright install --with-deps chromium
npm run build
npx playwright test
Store the HTML report and failed screenshots as CI artifacts. Configure the job to fail on a diff. Use the same browser channel, viewport definitions, fonts, and operating-system image used to create the committed baselines. If developers create snapshots on macOS but CI compares on Linux, text rasterization and font metrics can produce persistent differences.
Keep retries for diagnosing transient failures, but do not treat a retry as proof that a visual difference is harmless. A test that passes only after a retry still deserves investigation.
8. Common errors and fixes
| Symptom | Likely cause | Fix |
|---|---|---|
| No baseline exists | This is the first run for the test or project. | Run once, inspect the generated image, and commit the approved snapshot. |
| Every text region differs | Different fonts, OS, browser, or font loading timing. | Use the same CI image, install the required fonts, and wait for the relevant content. |
| Only animated areas differ | Capture occurred at different animation frames. | Disable motion with stylePath or wait for a stable state. |
| Images are blank | Lazy loading or network timing delayed image rendering. | Wait for the image or its container, and use deterministic fixtures for remote assets. |
| Test cannot connect to localhost | The server did not start, the port is wrong, or the build failed. | Run the configured command manually, check baseURL, and inspect the web-server log. |
| Snapshots differ only in CI | CI uses different rendering conditions. | Pin the browser and runner image, install dependencies, and regenerate baselines there. |
| Full-page capture is unexpectedly long | Sticky elements, infinite lists, or content that grows during scrolling. | Use an element screenshot, freeze the data, or test a bounded page state. |
| Flaky failures include live data | Dates, ads, notifications, or API responses change between runs. | Mock or seed the data, hide volatile selectors, or assert a stable component instead. |
9. Performance, reliability, and maintenance
Visual tests cost more time than a small DOM assertion because they launch a browser, render assets, and write image files. Keep the suite useful by selecting high-value states, reusing authenticated setup where appropriate, and running independent tests in parallel when the application and CI runner can support it.
Full-page screenshots are larger and more sensitive to unrelated changes. Prefer element screenshots for component-level contracts and full-page screenshots for page-level layout. Run a focused visual suite on every pull request and a broader browser or viewport matrix on a scheduled job if the full matrix is too slow for every change.
Baselines are code-review artifacts. Name them clearly, keep them near the tests, and remove snapshots when routes are removed. A diff is actionable only when the team knows which environment produced it and what visual behavior the test protects.
10. Local Playwright versus hosted visual review
Playwright’s built-in snapshots keep references in your repository and fit directly into an existing end-to-end test workflow. Hosted services can add centralized review, broader browser coverage, and a team-oriented approval interface.
| Approach | Good fit | Questions to check |
|---|---|---|
| Playwright snapshots | Teams that want local files, direct CI control, and no additional visual service. | Can you keep rendering environments consistent? How will reviewers inspect artifacts? |
| Percy by BrowserStack | Teams preferring hosted visual review and vendor-managed workflow. | Browser and responsive coverage, screenshot allowance, CI integration, review flow, and current terms. |
| Chromatic | Teams using Playwright that also want hosted review, especially alongside Storybook. | Playwright integration, browser coverage, snapshot allowance, review features, and current pricing. |
Vendor limits change. BrowserStack currently documents 5,000 monthly screenshots on Percy’s free plan, with screenshot usage affected by browser and responsive-width permutations. Chromatic currently lists 5,000 billed snapshots in its free tier. Check the Chromatic pricing page and Percy documentation before choosing a plan.
Or skip the browser setup
If your goal is to obtain stable rendered screenshots for review, documentation, or a visual pipeline without maintaining browser workers, ScreenshotNeo provides a website screenshot API. It accepts one GET request and returns PNG, JPEG, WebP, or PDF output. Its capture options include full-page screenshots with lazy images loaded, CSS-selector element capture, dark mode, device presets or custom viewports, retina scale, custom CSS and JavaScript, clicks, selector or network-idle waits, request blocking, headers, cookies, user-agent and Authorization values, timezone, geolocation, transparent backgrounds, resizing, caching with a chosen TTL, signed links, asynchronous jobs with signed webhooks, bulk capture for up to 100 URLs per call, a usage API, and an OpenAPI specification.
Use the parameter names documented by ScreenshotNeo; common screenshot-API parameter names also work, which can simplify migration.
cURL
curl -G "https://api.screenshotneo.com/v1/shot" \
  -d access_key=YOUR_API_KEY \
  --data-urlencode url=https://stripe.com \
  -o shot.webp
Python
import requests

r = requests.get(
    "https://api.screenshotneo.com/v1/shot",
    params={"access_key": "YOUR_API_KEY", "url": "https://stripe.com"},
    timeout=90,
)
r.raise_for_status()
open("shot.webp", "wb").write(r.content)
Node.js
const q = new URLSearchParams({
  access_key: 'YOUR_API_KEY',
  url: 'https://stripe.com'
});
const res = await fetch(`https://api.screenshotneo.com/v1/shot?${q}`);
if (!res.ok) throw new Error(`Screenshot failed: ${res.status}`);
const bytes = Buffer.from(await res.arrayBuffer());
await import('node:fs/promises').then(fs => fs.writeFile('shot.webp', bytes));
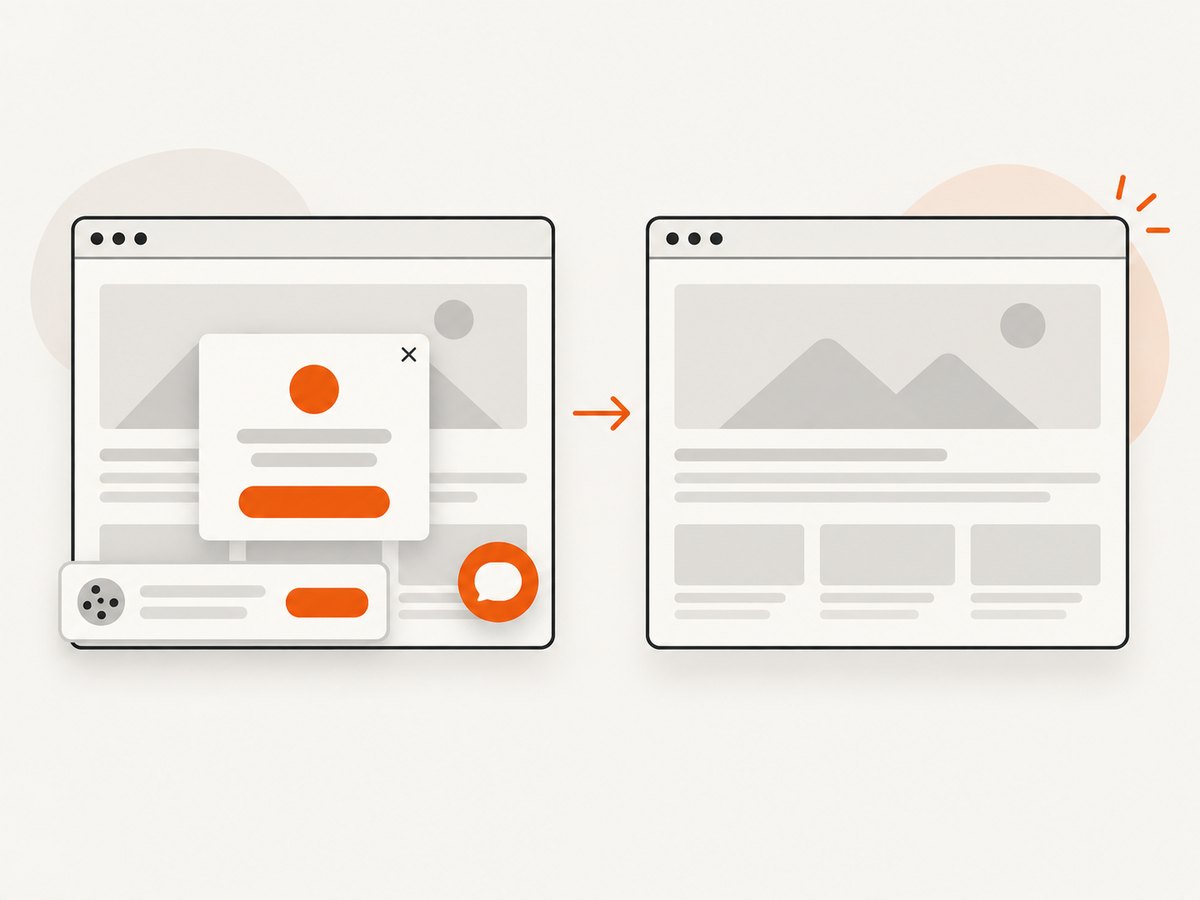
See the ScreenshotNeo API documentation for output formats and options. Cookie banners, newsletter popups, and chat widgets are removed before the shot; each cleanup step can be turned off. Bot checks, blank pages, timeouts, failed loads, and cache hits cost nothing, and the response identifies the result with X-Page-Verdict and X-Billed headers. An MCP server exposes take_screenshot, get_page_info, and capture_pdf for Claude, Cursor, and other MCP clients.
The Free plan includes 1,000 screenshots per month with no card. Paid plans start at $5 for 3,000 shots; every feature is available on every plan, and yearly billing gives two months free. Create a free ScreenshotNeo account.
FAQ
Should visual tests run against development or production?
Use production code when practical: build and start Next.js, then run Playwright. A development server is convenient locally, but production output is usually the more relevant contract for CI.
Do I need a snapshot for every browser?
No. Choose browsers and viewports based on your supported audience and the risk of the interface. Each project needs its own approved baseline.
Can visual tests replace accessibility tests?
No. A screenshot can look correct while labels, keyboard behavior, contrast semantics, or focus order are wrong. Keep functional and accessibility assertions alongside visual checks.
When should I update a baseline?
Only after reviewing the expected, actual, and diff images and confirming that the visual change is intentional. Use --update-snapshots in the same change that modified the interface.
Why do async Server Components affect test strategy?
The Next.js testing overview notes that some tools do not fully support async Server Components and recommends end-to-end testing for those components for now. Recheck that guidance, dated February 27, 2026, before publication.


