How to Use the NightmareJS Screenshot Callback
Learn every NightmareJS screenshot callback overload, capture PNG buffers or files, clip regions, handle errors, and plan a safer migration.
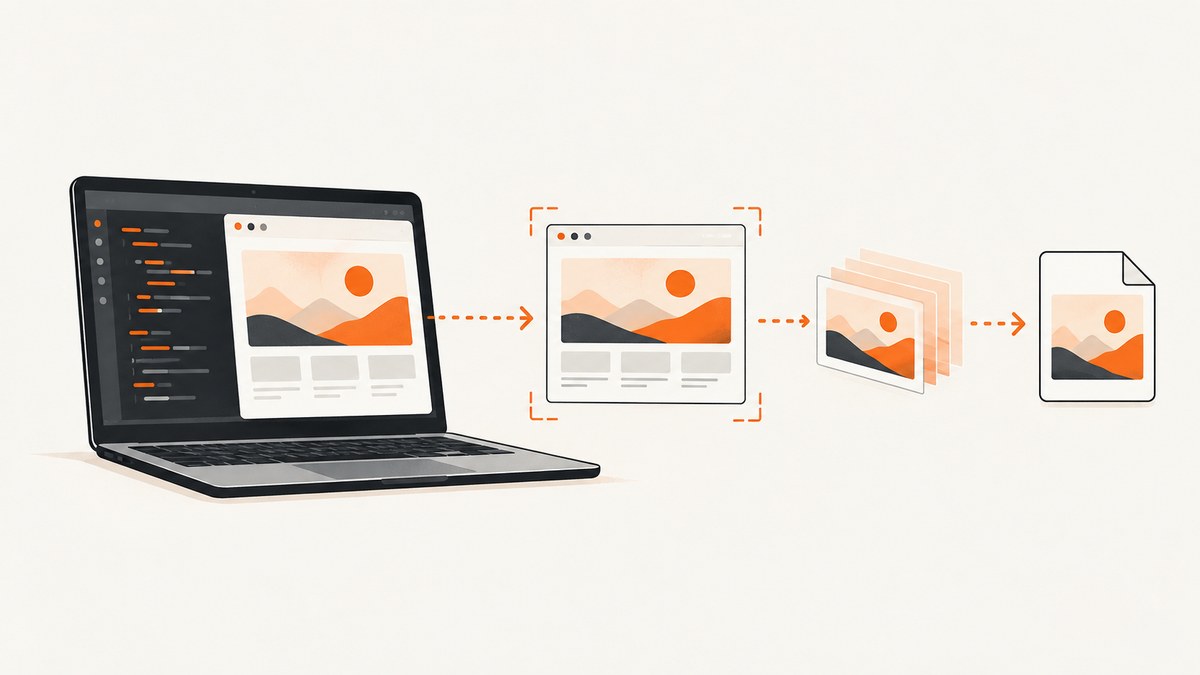
Direct answer: NightmareJS supports four practical screenshot callback forms. Use .screenshot(done) for an in-memory PNG buffer, .screenshot(path, done) to save a PNG file, .screenshot(clip, done) to capture a clipped rectangle into memory, or .screenshot(path, clip, done) to save a clipped PNG. The callback is error-first: done(err, buffer) when no path is supplied. When a path is supplied, the callback reports the file-write result and does not provide the image buffer.
Nightmare’s documented output is always PNG. The API accepts an optional path and an optional clip rectangle, and its callback overloads are implemented by the screenshot(path, clip, done) action. The project is now in the Segment boneyard and is no longer maintained, so pin the version you use and evaluate a maintained replacement for new systems. The examples below still show the exact callback behavior.
1. Install Nightmare and create a browser instance
Install the package in a Node.js project:
npm install nightmareThen require it and create an instance. A basic screenshot should wait for the page body before capturing:
const Nightmare = require('nightmare')
const nightmare = Nightmare()

nightmare
  .goto('https://example.com')
  .wait('body')
  .screenshot((err, buffer) => {
    if (err) return console.error(err)
    console.log('PNG bytes:', buffer.length)
  })
  .end()
  .then(() => console.log('browser closed'))
  .catch(console.error)
Nightmare queues actions. Calling .end() after .screenshot() keeps the browser open until the capture has completed. The callback receives a Node.js Buffer because no path was provided.
2. Get the screenshot buffer in a callback
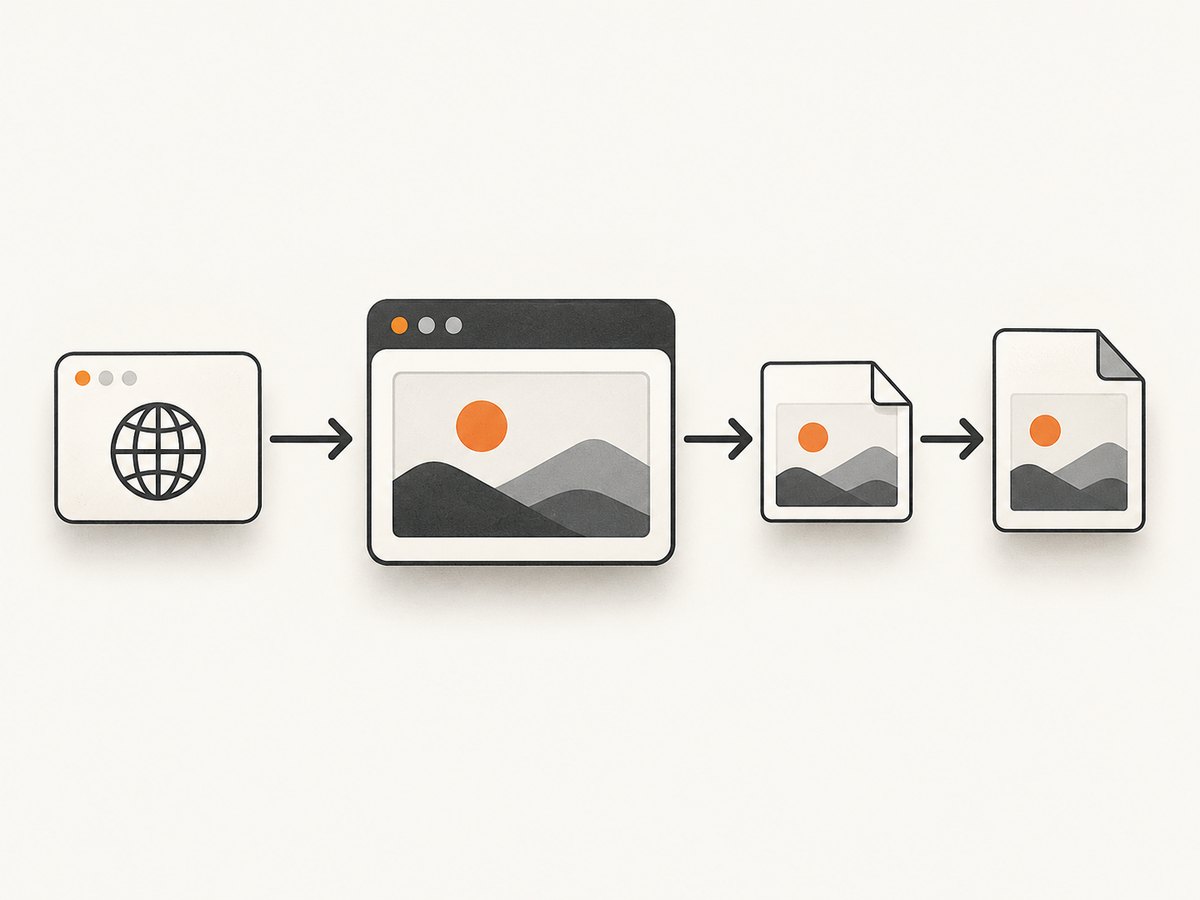
The in-memory form is the right choice when you need to upload the image, calculate a hash, return it from an HTTP endpoint, or pass it to another image-processing library.
const Nightmare = require('nightmare')

async function captureBuffer() {
  const nightmare = Nightmare({ show: false })

  return new Promise((resolve, reject) => {
    nightmare
      .goto('https://example.com')
      .wait('body')
      .screenshot((err, buffer) => {
        if (err) {
          reject(err)
          return
        }
        resolve(buffer)
      })
      .end()
      .catch(reject)
  })
}

captureBuffer()
  .then(buffer => {
    console.log('Received a Buffer:', Buffer.isBuffer(buffer))
    console.log('PNG signature bytes:', buffer.subarray(0, 8))
  })
  .catch(console.error)
Use the callback’s second argument only in the no-path overload. If you write .screenshot('/tmp/page.png', callback), the callback is a completion callback for the write operation. Expect an error or success signal, not a second buffer value.
3. Save a PNG directly to disk
Pass a filesystem path as the first argument when you want Nightmare to write the PNG:
const Nightmare = require('nightmare')
const nightmare = Nightmare()

nightmare
  .goto('https://example.com')
  .wait('body')
  .screenshot('/tmp/example.png', err => {
    if (err) return console.error('screenshot failed:', err)
    console.log('saved /tmp/example.png')
  })
  .end()
  .then(() => console.log('browser closed'))
  .catch(console.error)
The parent directory must already exist, and the Node process must have permission to write there. Create a unique filename if several captures can run concurrently:
const path = require('path')
const fs = require('fs')
const Nightmare = require('nightmare')

const outputDir = '/tmp/nightmare-shots'
fs.mkdirSync(outputDir, { recursive: true })
const outputPath = path.join(outputDir, `shot-${Date.now()}.png`)

Nightmare()
  .goto('https://example.com')
  .wait('body')
  .screenshot(outputPath, err => {
    if (err) return console.error(err)
    console.log(outputPath)
  })
  .end()
  .catch(console.error)
4. Use Promise style instead of a callback
Nightmare wraps callback results into a native Promise. With no path, .screenshot() resolves to the PNG buffer:
const fs = require('fs')
const Nightmare = require('nightmare')

Nightmare()
  .goto('https://example.com')
  .wait('body')
  .screenshot()
  .then(buffer => {
    fs.writeFileSync('/tmp/example.png', buffer)
    return buffer
  })
  .end()
  .then(() => console.log('saved'))
  .catch(console.error)
Promise style is useful when the rest of your application already uses async/await. Keep the lifecycle explicit: await the screenshot result before closing the browser.
const fs = require('fs/promises')
const Nightmare = require('nightmare')

async function main() {
  const browser = Nightmare()
  try {
    const buffer = await browser
      .goto('https://example.com')
      .wait('body')
      .screenshot()

    await fs.writeFile('/tmp/example.png', buffer)
  } finally {
    await browser.end()
  }
}

main().catch(console.error)
5. Capture a clipped rectangle
A clip object limits the capture to a rectangle in the visible capture context. The usual fields are x, y, width, and height. Without a path, the callback receives the clipped PNG buffer:
const Nightmare = require('nightmare')

Nightmare()
  .goto('https://example.com')
  .wait('body')
  .screenshot(
    { x: 0, y: 0, width: 800, height: 500 },
    (err, buffer) => {
      if (err) return console.error(err)
      require('fs').writeFileSync('/tmp/top.png', buffer)
    }
  )
  .end()
  .catch(console.error)
To save a clipped image directly, pass the path first, then the clip object, then the callback:
const Nightmare = require('nightmare')

Nightmare()
  .goto('https://example.com')
  .wait('body')
  .screenshot(
    '/tmp/hero.png',
    { x: 40, y: 80, width: 720, height: 360 },
    err => {
      if (err) return console.error(err)
      console.log('saved clipped capture')
    }
  )
  .end()
  .catch(console.error)
Clip coordinates are not CSS selector coordinates. They describe a rectangle relative to the capture context. If you calculate bounds from an element, scroll that element into view first and confirm its dimensions. A rectangle outside the visible area can produce an empty or surprising crop.
6. Capture a specific element by measuring it
Nightmare’s screenshot action takes a rectangle rather than a selector. You can evaluate an element’s bounding box, scroll it into view, and pass the resulting coordinates:
const Nightmare = require('nightmare')

async function captureCard() {
  const browser = Nightmare()
  try {
    await browser
      .goto('https://example.com')
      .wait('.card')
      .evaluate(() => {
        const element = document.querySelector('.card')
        element.scrollIntoView({ block: 'start', inline: 'nearest' })
        const rect = element.getBoundingClientRect()
        return {
          x: Math.round(rect.x),
          y: Math.round(rect.y),
          width: Math.round(rect.width),
          height: Math.round(rect.height)
        }
      })

    const clip = await browser.evaluate(() => {
      const rect = document.querySelector('.card').getBoundingClientRect()
      return {
        x: Math.round(rect.x),
        y: Math.round(rect.y),
        width: Math.round(rect.width),
        height: Math.round(rect.height)
      }
    })

    const buffer = await browser.screenshot(clip)
    require('fs').writeFileSync('/tmp/card.png', buffer)
  } finally {
    await browser.end()
  }
}

captureCard().catch(console.error)
In a real page, account for fixed headers, device scale, transitions, and content that changes after scrolling. If the element is taller than the viewport, a rectangle captures only the visible capture context; it is not a full-page element renderer.
7. Wait for the page state you actually need
A screenshot taken after goto can be too early for a client-rendered application. Choose a wait condition that represents visual readiness:
.wait('body')confirms that the document body exists..wait('.dashboard')waits for a key selector..wait(1500)adds a fixed delay for animations or late data, but it is less deterministic.- Use
.evaluateto inspect application state when a selector alone is insufficient.
Nightmare()
  .goto('https://example.com/app')
  .wait('.dashboard-loaded')
  .wait(300)
  .screenshot('/tmp/dashboard.png', err => {
    if (err) console.error(err)
  })
  .end()
  .catch(console.error)
Prefer a stable readiness selector over a large arbitrary delay. A delay increases latency on fast pages while still failing on unusually slow pages.
8. Callback overloads at a glance
| Call | Result | Callback shape |
|---|---|---|
screenshot(done) |
PNG in memory | done(err, buffer) |
screenshot(path, done) |
PNG written to path | done(err) |
screenshot(clip, done) |
Clipped PNG in memory | done(err, buffer) |
screenshot(path, clip, done) |
Clipped PNG written to path | done(err) |
screenshot() |
PNG in a Promise | Promise resolves to Buffer |
If the first argument is a function, Nightmare treats it as the callback. If the second argument is a function, Nightmare treats it as the callback and interprets the first argument as either a path or a clip object. Supplying all three arguments is clearest when you need both a path and clipping.
9. Troubleshooting common callback failures
The callback receives no buffer
Cause: A path was supplied, so the callback is reporting file-write completion. Fix: remove the path and write the returned buffer yourself, or read the saved file after the callback.
The callback never fires
Cause: An earlier queued action is still waiting, navigation failed, or the chain was closed before the screenshot action ran. Fix: add an explicit readiness wait, attach .catch(console.error), and keep .end() after the screenshot call.
The process exits before the image is saved
Cause: The program did not await the Promise chain or returned before the callback completed. Fix: return or await the chain and close Nightmare in a final step.
The crop is blank or shifted
Cause: Clip coordinates are relative to the visible capture context, while DOM rectangles can change after scrolling, zooming, or layout shifts. Fix: scroll the element into view immediately before measuring, round the values, and capture without another layout-changing action.
ENOENT or permission errors
Cause: The output directory does not exist or is not writable. Fix: create the directory with fs.mkdirSync(dir, { recursive: true }) and verify the process user can write there.
Navigation or timeout errors
Cause: The target is unavailable, requires authentication, blocks the embedded browser, or loads resources indefinitely. Fix: log the original error, verify the URL independently, add a specific wait instead of an unbounded sequence, and decide whether the page can be captured by an alternate maintained browser tool.
Unhandled errors crash the process
Cause: The error-first callback was ignored or the Promise chain had no rejection handler. Fix: return immediately after if (err) and attach .catch() at the end of every chain.
10. Reliability, performance, and cost considerations
Launching a browser is expensive compared with requesting an already-rendered image. Reuse a Nightmare instance only when its state can be reset safely; otherwise create isolated instances so cookies, navigation history, and page scripts do not leak between captures. Limit concurrency according to available memory and CPU, and write files to local storage before uploading them in a separate step when large images could block the callback path.
Wait for a meaningful selector rather than using a long fixed delay. Keep clip rectangles as small as practical when you only need a component. Full-page captures, large viewport sizes, image-heavy pages, and client-side rendering all increase capture time and memory use. Add structured logging for URL, start time, wait condition, clip rectangle, output path, byte length, and error message so intermittent failures can be diagnosed.
Nightmare itself does not define a hosted screenshot price: you pay for the machine, browser runtime, storage, and engineering time in your own deployment. Because the repository is unmaintained, include dependency pinning, a reproducible Node version, and a migration plan in production operations. Review the Nightmare repository and its documented screenshot API before upgrading any legacy application.
11. Or skip the browser setup
If your goal is a dependable screenshot endpoint rather than maintaining an Electron automation process, ScreenshotNeo provides a GET API and an MCP server. One request returns PNG, JPEG, WebP, or PDF. It accepts the URL and access key directly:

curl -G "https://api.screenshotneo.com/v1/shot" -d access_key=YOUR_API_KEY --data-urlencode url=https://stripe.com -o shot.webpPython:
import requests
r = requests.get(
    "https://api.screenshotneo.com/v1/shot",
    params={"access_key": "YOUR_API_KEY", "url": "https://stripe.com"},
    timeout=90,
)
open("shot.webp", "wb").write(r.content)
Node.js:
const q = new URLSearchParams({ access_key: 'YOUR_API_KEY', url: 'https://stripe.com' });
const res = await fetch(`https://api.screenshotneo.com/v1/shot?${q}`);
const image = Buffer.from(await res.arrayBuffer());
See the ScreenshotNeo API documentation for request options. Before capture, it can accept cookie and consent banners and remove more than 60 known consent platforms, newsletter popups, and chat widgets; each step can be turned off. Only clean shots are billed. Bot checks and CAPTCHAs, blank pages, timeouts, failed loads, and cache hits cost nothing, and response headers identify the page verdict and whether it was billed.
For workflows beyond a basic screenshot, ScreenshotNeo includes full-page capture with lazy images loaded, CSS-selector element capture, dark mode, 12 device presets plus custom viewports, retina scale, PDF paper and margin controls, custom CSS and JavaScript, clicks, selector or network-idle waits, request and resource blocking, headers, cookies, user agents, authorization, timezone, geolocation, transparent backgrounds, resizing, configurable caching, signed image links, asynchronous jobs with signed webhooks, bulk capture for up to 100 URLs per call, a usage API, and an OpenAPI specification. An MCP server exposes take_screenshot, get_page_info, and capture_pdf to Claude, Cursor, and other MCP clients.
The Free plan includes 1,000 shots each month with no card. Paid plans start at $5 for 3,000 shots; yearly billing gives two months free. Create a free ScreenshotNeo account and start with the no-card plan.
12. FAQ
Does Nightmare return JPEG or WebP?
No. Nightmare’s screenshot output is PNG. Convert the resulting buffer with a separate image library if another format is required.
Can I pass a CSS selector directly to screenshot?
No. Measure the selector’s element and pass a clip rectangle. Scroll it into view before measuring.
Is the callback required?
No. Promise style is supported. Use .screenshot().then(buffer => ...) or await the screenshot result.
Why does my callback’s second parameter contain undefined?
That normally means you supplied a path. A path changes the callback into a file-write completion callback, so only the error value is meaningful.
Should a new project use Nightmare?
Nightmare is a legacy, unmaintained project. Pin existing deployments and assess a maintained browser automation library or a hosted screenshot API for new work.


