How to Capture Website Screenshots and Convert HTML to Images in Node.js
Use Puppeteer, Playwright, or node-html-to-image to capture pages and convert HTML to PNG or JPEG in Node.js.
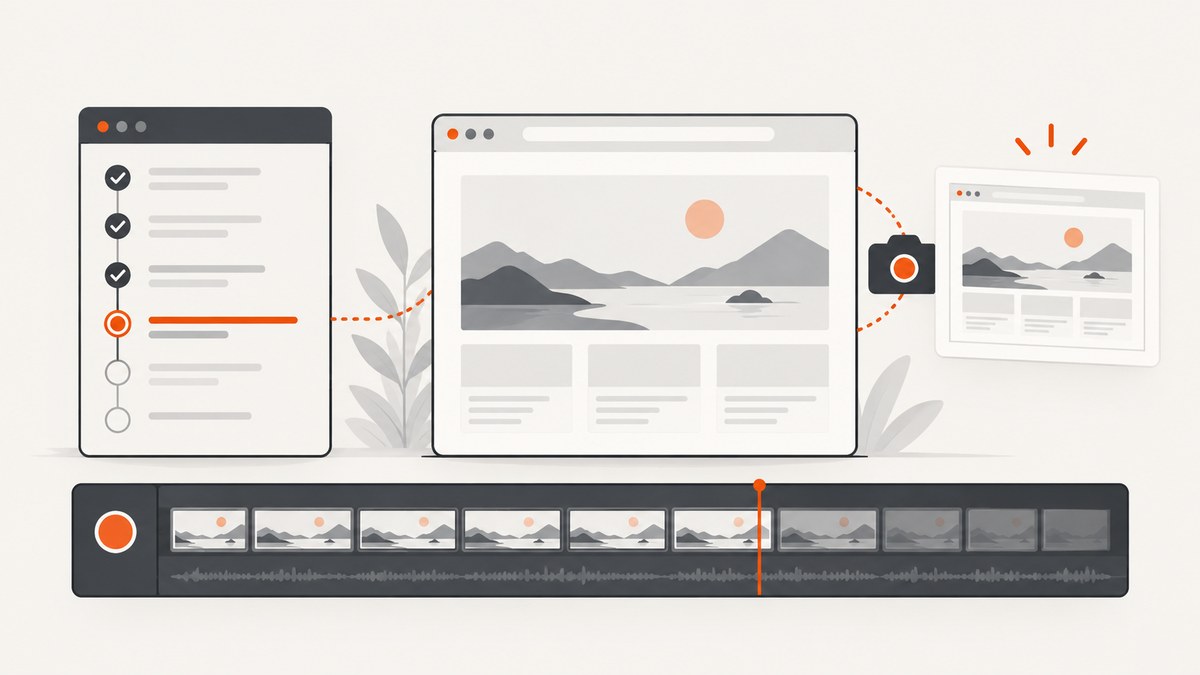
To capture a website screenshot in Node.js, render the URL in a real browser engine, wait until the page is ready, then call the browser’s screenshot API. Puppeteer and Playwright provide direct browser control. If you already have HTML or a template and want an image, node-html-to-image wraps Puppeteer with a higher-level interface.
This guide covers viewport, full-page, element, clipped, transparent, JPEG, PNG, buffer, and template workflows. It also explains browser setup, dynamic pages, errors, performance, reliability, and when a hosted screenshot API is a better fit.
1. Choose the right Node.js approach
| Need | Recommended path | Why |
|---|---|---|
| Navigate to an existing website | Puppeteer | Direct access to Chromium, page lifecycle, selectors, and screenshot options. |
| Use an existing Playwright test stack | Playwright | Captures files, elements, and image buffers through locators. |
| Turn supplied HTML or templates into images | node-html-to-image | Higher-level HTML, Handlebars data, output, and hook options. |
| Run captures without managing Chromium | ScreenshotNeo | A website screenshot API with clean captures and usage-based billing. |
Browser screenshots are rendered output, not a string-to-image conversion. The browser must load CSS, fonts, images, JavaScript, and layout before the capture. For a page that changes after navigation, your wait strategy is part of the screenshot implementation.
2. Capture a website with Puppeteer
Install Puppeteer in a new project. The package normally manages a compatible browser installation; verify the current package and runtime requirements before deployment.
npm install puppeteerCreate screenshot.mjs:
import puppeteer from 'puppeteer';

const browser = await puppeteer.launch({
  headless: true
});

try {
  const page = await browser.newPage();
  await page.setViewport({ width: 1440, height: 900, deviceScaleFactor: 1 });
  await page.goto('https://example.com', { waitUntil: 'networkidle2', timeout: 60_000 });
  await page.screenshot({
    path: 'website.png',
    fullPage: true,
    type: 'png'
  });
} finally {
  await browser.close();
}
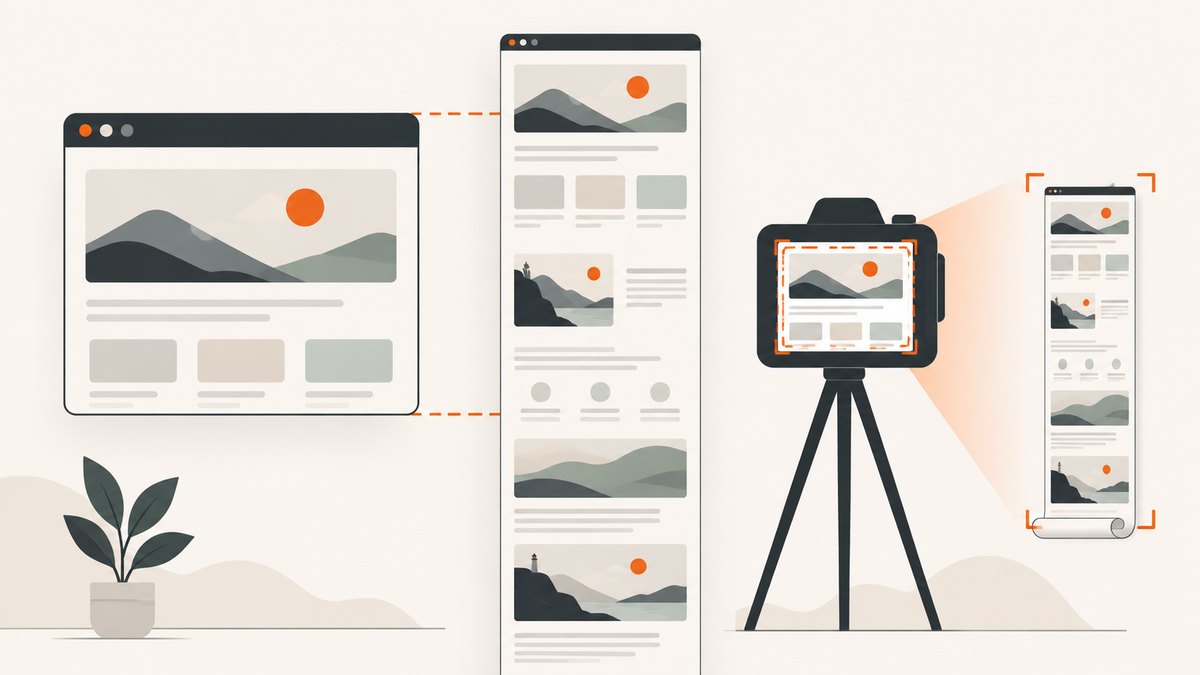
The documented ScreenshotOptions include path, type, fullPage, clip, quality, and omitBackground. JPEG quality applies to JPEG output; PNG does not use that setting.
Viewport, full-page, and clipped captures
// Viewport only
await page.screenshot({ path: 'viewport.png' });

// Entire document, including content below the fold
await page.screenshot({ path: 'full-page.png', fullPage: true });

// A fixed rectangle in CSS pixels
await page.screenshot({
  path: 'region.png',
  clip: { x: 100, y: 200, width: 800, height: 500 }
});

// JPEG for smaller photographic output
await page.screenshot({
  path: 'page.jpg',
  type: 'jpeg',
  quality: 82,
  fullPage: true
});

// Transparent background when the page supports it
await page.screenshot({ path: 'transparent.png', omitBackground: true });
Use deviceScaleFactor for retina-style output. Remember that a larger scale increases pixel dimensions and memory use. A full-page capture can become very tall; set practical limits for untrusted URLs.
Capture one element
const card = await page.$('.pricing-card');
if (!card) throw new Error('pricing card not found');
await card.screenshot({ path: 'pricing-card.png', type: 'png' });
Element screenshots are useful for product cards, charts, receipts, and social previews. Make the selector deterministic and wait for it before capturing.
Wait for dynamic content
await page.goto('https://example.com/dashboard', {
  waitUntil: 'domcontentloaded',
  timeout: 60_000
});
await page.waitForSelector('[data-report-ready]', { timeout: 30_000 });
await page.waitForTimeout(500); // allow a final animation frame
await page.screenshot({ path: 'dashboard.png', fullPage: true });
Choose a wait condition that matches the page. networkidle2 can be unsuitable for analytics, WebSockets, or long polling. A page-specific ready selector is often more predictable. Disable animations when exact visual output matters:
await page.addStyleTag({ content: `
  *, *::before, *::after {
    animation: none !important;
    transition: none !important;
    caret-color: transparent !important;
  }
` });
3. Capture with Playwright
Playwright is a good choice when the rest of your Node.js system already uses Playwright or when you want screenshot bytes for another service.
npm install playwright
npx playwright install chromium
import { chromium } from 'playwright';
const browser = await chromium.launch({ headless: true });
try {
const page = await browser.newPage({
viewport: { width: 1440, height: 900 },
deviceScaleFactor: 1
});
await page.goto('https://example.com', {
waitUntil: 'networkidle',
timeout: 60_000
});
await page.screenshot({ path: 'playwright-full.png', fullPage: true });
const logo = page.locator('header img').first();
await logo.screenshot({ path: 'logo.png' });
const bytes = await page.screenshot({ type: 'png' });
console.log(`received ${bytes.length} bytes`);
} finally {
await browser.close();
}The Playwright screenshots guide documents file output, full-page capture, locator screenshots, and returning a buffer. A buffer is useful when you upload directly to object storage or send an image in an HTTP response.
4. Convert supplied HTML to an image
When the input is markup rather than a URL, node-html-to-image provides a small wrapper around Puppeteer. Its npm documentation describes PNG and JPEG output, templates, a target selector, binary or base64 output, rendering hooks, and concurrency. Check the current release before pinning it; the package version and browser compatibility can change.
npm install node-html-to-imageimport nodeHtmlToImage from 'node-html-to-image';
await nodeHtmlToImage({
output: './card.png',
html: `
<html>
<style>
body { margin: 0; font-family: Arial, sans-serif; }
.card { width: 900px; padding: 48px; background: #101827; color: white; }
h1 { margin: 0 0 12px; font-size: 44px; }
</style>
<div class="card">
<h1>{{title}}</h1>
<p>{{subtitle}}</p>
</div>
</html>`,
content: {
title: 'Weekly report',
subtitle: 'Generated from a Node.js template'
},
type: 'png'
});For JPEG output, set type: 'jpeg' and provide the quality option supported by the package version. A target selector lets you render only one element. Hooks can prepare the page before the screenshot; use them to load fonts, set a viewport, or inject deterministic styles. If you need maximum browser control, use Puppeteer directly.
5. Complete command-line and API examples
For a local Node.js script, keep the browser open for a batch of URLs and close it in a finally block. Reusing a browser reduces repeated startup work, while separate pages isolate cookies and local storage.
import puppeteer from 'puppeteer';

const urls = ['https://example.com', 'https://developer.mozilla.org/'];
const browser = await puppeteer.launch({ headless: true });
try {
  for (const [index, url] of urls.entries()) {
    const page = await browser.newPage();
    try {
      await page.goto(url, { waitUntil: 'domcontentloaded', timeout: 60_000 });
      await page.screenshot({ path: `shot-${index}.webp`, type: 'webp', fullPage: true });
    } finally {
      await page.close();
    }
  }
} finally {
  await browser.close();
}
For an HTTP endpoint, validate allowed URLs, enforce timeouts, limit output dimensions, and avoid exposing internal network addresses. Return the screenshot bytes with an image content type rather than converting them to a base64 string unless your client requires it.
6. Options that affect the final image
- Format: PNG preserves sharp text and transparency; JPEG is smaller for photographic pages; WebP can be useful when your consumers support it.
- Viewport: controls responsive breakpoints. Set width, height, and device scale explicitly for repeatable output.
- Full page: captures the document rather than only the viewport, but very long pages need memory and downstream size limits.
- Element or clip: narrows the output and avoids capturing unrelated navigation or whitespace.
- Fonts and images: wait until critical assets are loaded. Remote fonts can fail in restricted environments.
- Authentication: use a browser context, cookies, or request headers for pages that require a session. Never log secrets.
- Animations: pause or disable them when a stable frame matters.
7. Troubleshooting common failures
| Symptom | Likely cause | Fix |
|---|---|---|
Executable doesn't exist |
Chromium was not installed or the runtime path is wrong. | Run the package’s browser install command, or configure an explicitly installed browser executable. |
| Blank or partially rendered image | Capture happened before client-side rendering or fonts loaded. | Wait for a page-specific selector, a known delay, or an application ready signal. |
| Timeout at navigation | Slow assets, blocked requests, or a page that never becomes idle. | Use a realistic timeout, choose domcontentloaded, and wait for the content you actually need. |
| Cookie dialog covers content | The page requires consent interaction. | Click the consent control, set the appropriate cookie before navigation, or remove the overlay with page-specific logic. |
| Element not found | Selector changed, element is inside a frame, or content is conditional. | Check the selector, wait for it, and access the correct frame when necessary. |
| Fonts differ in production | Font files are unavailable, blocked, or still loading. | Self-host critical fonts, allow the font origin, and wait for document.fonts.ready. |
| Output is too large | Full-page capture, high device scale, or lossless PNG. | Capture an element, lower scale, use JPEG/WebP, or resize after capture. |
| Intermittent failures | Shared browser state, flaky third-party assets, or resource pressure. | Use isolated pages, close them promptly, retry transient navigation errors, and record URL, timing, and failure stage. |
8. Reliability, performance, and cost considerations
Browser startup is expensive compared with taking another page in an already-running browser. For batches, reuse one browser and create short-lived pages or contexts. Limit concurrency to what the host can support; too many Chromium pages compete for CPU and memory and can make captures less predictable.
Cache assets where appropriate, block nonessential analytics and advertising requests, and set navigation and screenshot timeouts. Do not assume that networkidle means visual completeness: a page can be idle while a chart is still being drawn, or remain busy because of telemetry. Measure your own target pages if throughput matters; the cited documentation does not provide a comparative speed or reliability benchmark.
Local automation costs include your compute, browser storage, and maintenance. Puppeteer and Playwright installations may download a browser, and the node-html-to-image documentation gives approximate platform-dependent download sizes that can change. A hosted API changes the cost model to requests and plan limits, while removing browser provisioning from your application.
9. Or skip the browser setup
ScreenshotNeo is a website screenshot API and MCP server. One GET request returns a PNG, JPEG, WebP, or PDF. See the ScreenshotNeo API documentation for all options.
curl -G "https://api.screenshotneo.com/v1/shot" -d access_key=YOUR_API_KEY --data-urlencode url=https://stripe.com -o shot.webpimport requests
r = requests.get("https://api.screenshotneo.com/v1/shot", params={"access_key": "YOUR_API_KEY", "url": "https://stripe.com"}, timeout=90)
open("shot.webp", "wb").write(r.content)const q = new URLSearchParams({ access_key: 'YOUR_API_KEY', url: 'https://stripe.com' });
const res = await fetch(`https://api.screenshotneo.com/v1/shot?${q}`);Cookie and consent banners are accepted before capture, and more than 60 known consent platforms, newsletter popups, and chat widgets are removed. Bot checks, blank pages, failed loads, timeouts, and cache hits are not billed; response headers identify the page verdict and billing result. The API also supports full-page and element captures, dark mode, device presets or custom viewports, retina scale, PDF settings, custom CSS and JavaScript, clicks, selector waits, delays, network idle, request blocking, headers, cookies, user agents, authorization, timezone, geolocation, transparent backgrounds, resizing, TTL caching, signed image links, asynchronous jobs with signed webhooks, bulk capture for up to 100 URLs per call, a usage API, and an OpenAPI specification.
An MCP server provides take_screenshot, get_page_info, and capture_pdf tools for Claude, Cursor, and other MCP clients. The Free plan includes 1,000 screenshots per month without a card. Paid plans start at $5 for 3,000 shots; yearly billing gives two months free, and every feature is available on every plan.
Create a free ScreenshotNeo account and start with 1,000 screenshots each month at no charge.
10. FAQ
Can Node.js screenshot a page without a browser?
Not for a faithful rendering of arbitrary modern websites. The page must be laid out by a browser engine or another renderer. An API such as ScreenshotNeo can provide that browser execution remotely.
Should I use Puppeteer or Playwright?
Use the tool that matches your existing automation stack. Both document viewport, full-page, and element screenshots; Playwright also demonstrates returning image bytes as a buffer.
How do I turn a React or Handlebars template into an image?
Render the template in a browser and capture it. node-html-to-image is convenient for HTML and Handlebars data; direct Puppeteer gives more control over navigation, selectors, and browser state.
Why is my full-page image extremely tall?
Full-page mode includes the document below the viewport. Capture a specific element or clip a region when a bounded output is required.
Can I process the screenshot without writing a file?
Yes. Puppeteer and Playwright can return screenshot data or buffers. Pass those bytes to an image processor, object store, or HTTP response.


