Turn a Notion Content Calendar Into Social Media Graphics
Turn each Notion calendar entry into a finished, linked social graphic with a reliable manual workflow, optional scheduling, and automation guidance.
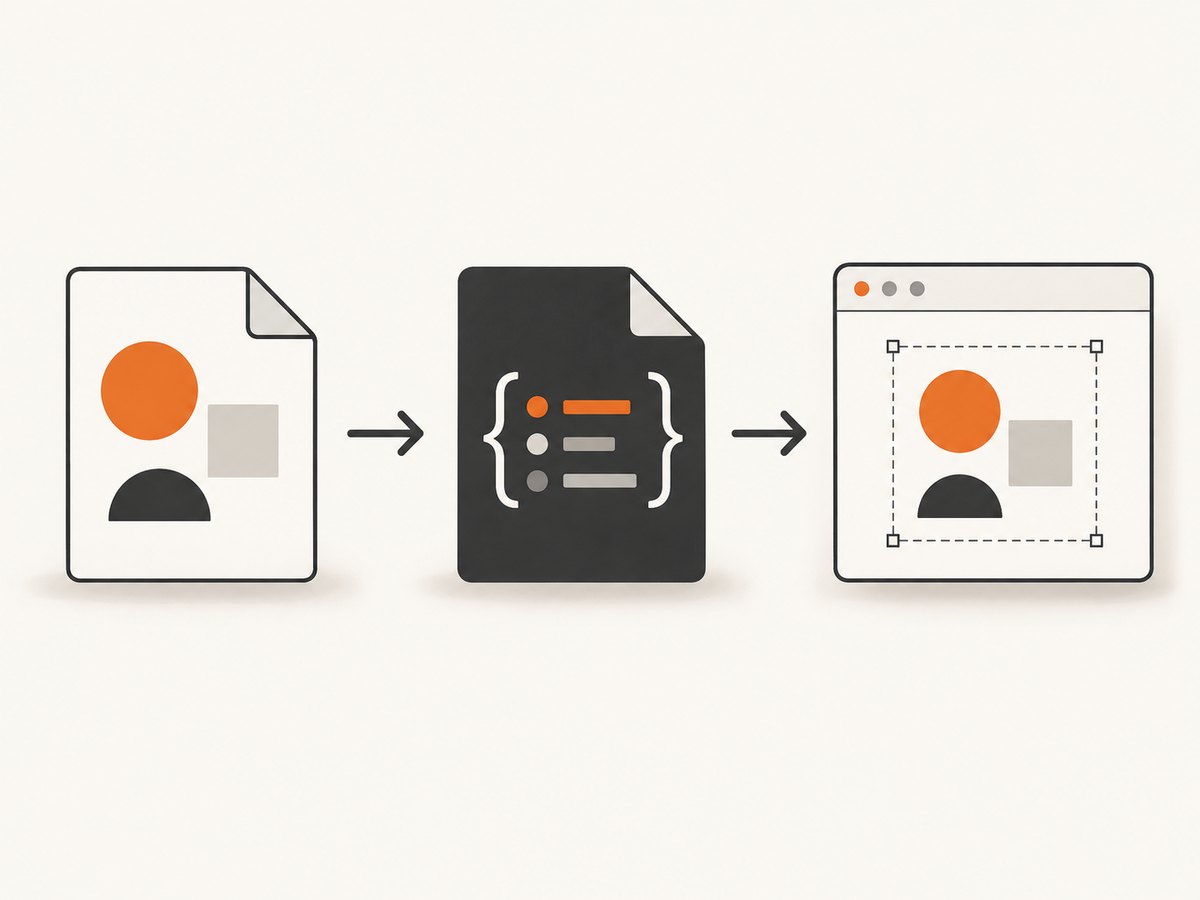
A Notion content calendar becomes much more useful when every post record contains both the publishing brief and the finished creative. The dependable workflow is simple: keep the post details in Notion, create the visual in a design editor such as Canva, paste the design link back into the original record, and schedule it when the destination account supports publishing.
This guide explains the complete process, including database fields, creative handoff, embeds, scheduling limits, review checklists, recurring automation, troubleshooting, and an API option for teams that need screenshots or generated previews.
1. Start with a calendar record that is a usable brief
Your calendar entry should contain enough information for someone else to design the graphic without opening a separate document. Notion’s public Content calendar template demonstrates tracking upcoming posts and social channels in related databases. A community template guide also shows creating a post from a calendar date or a New action, then choosing a platform-specific or cross-platform template. Those are examples of template design, not requirements for every Notion workspace.
Recommended properties
| Property | What to store | Why it matters |
|---|---|---|
| Publish date | Planned date and, if known, time | Drives calendar views and scheduling |
| Channel | Instagram, LinkedIn, Pinterest, or another destination | Determines creative and export checks |
| Post idea or copy | Working headline, caption, or key message | Gives the designer the communication goal |
| Status | Idea, briefed, designing, review, approved, scheduled, published | Shows where the asset is in production |
| Visual direction | Reference, layout idea, image subject, or brand instruction | Reduces back-and-forth |
| Design URL | Direct link to the Canva or other editor file | Keeps the source file attached to the post |
| Export URL | Optional link to the approved PNG, JPG, or other output | Makes the final asset easy to find |
Keep the post’s full brief in the page body as well as in properties when the instruction is longer than a short field. Include the audience, call to action, mandatory wording, prohibited claims, and any image references. Add a short approval checklist so a reviewer can confirm the message, spelling, brand treatment, and destination dimensions.
2. Create the graphic in a design editor
Open an existing brand template in Canva or start a new design. Build around the post’s one main message. A repeatable structure helps: headline or hook, supporting visual, optional proof point, and a clear call to action. Keep text large enough for a phone screen, maintain contrast, and leave safe space around edges where a platform may crop the image.
The research sources establish Canva’s scheduling workflow, but they do not prescribe universal dimensions or a universal design system. Check the destination platform’s current creative guidance whenever exact dimensions, file limits, or text rules matter.
Design checklist
- Use the correct brand colors, typefaces, and approved logos.
- Make the first visual impression understandable without reading the caption.
- Check that names, URLs, dates, and prices are accurate.
- Use one focal point instead of filling every area with decoration.
- Review the design at the approximate size where it will appear in a feed.
- For a carousel or multi-page design, verify the page order and that each page works alone.
- Export a final copy only after the content owner approves the design.
3. Link the design back to the Notion post
Copy the design’s share link and paste it into the Design URL property or the body of the post page. A direct link is the safest handoff because it remains usable even when an embed cannot load.
Notion lists Canva among the services that can be embedded. Use an embed when an in-page preview helps reviewers, but retain the direct link beside it. Notion documents that embeds requiring an external login may not work inside its desktop or mobile apps; open the linked service in a browser when that happens. See Notion’s embed documentation for the current behavior.
Suggested page layout
- Brief: message, audience, channel, date, and visual direction.
- Creative: embedded design or a preview, followed by the direct editor link.
- Review: checkboxes for copy, brand, accessibility, and destination requirements.
- Publishing: scheduled time, destination URL, and final status.
- Notes: revisions, approvals, and post-publication observations.
4. Schedule the approved design from Canva
Canva documents two routes: choose a design in Content Planner, or select Share > Schedule from the editor. Pick the date and time, choose a channel, select pages when the design has multiple pages, add an optional caption, and schedule. The exact channels and account requirements can change, so inspect the options shown in your editor.
Canva’s help page lists Facebook Pages, Instagram Business Accounts, Twitter, LinkedIn, Pinterest, Slack, and Tumblr in its scheduling guidance. Treat that list as a snapshot rather than a guarantee of current or universal support. The page also says Instagram scheduling must be done from a desktop browser.
Account eligibility matters. Canva says scheduling is available to Canva Pro, Canva Business, Canva Education, and Canva for Nonprofits administrators and brand designers. For Canva Education, publishing is off by default until an administrator enables it. Confirm the role and plan of the account that will publish.
One design can only be scheduled to one social media platform at a time, according to Canva’s official help. If the same idea belongs on several channels, create separate scheduled entries and adapt the crop, caption, and call to action for each destination.
Scheduling checklist
- Confirm the connected account is the intended brand account, not a personal profile.
- Check the time zone shown by the scheduler.
- Choose the correct pages from a multi-page design.
- Read the generated caption once more after pasting it.
- Record the scheduled date, channel, and status in Notion.
- Keep the editable design link even after scheduling.
5. Make the handoff auditable
A calendar is the system of record only when its status reflects reality. Move the post from Designing to Review when the editor link is ready, then to Approved after a human checks it, and to Scheduled only after the publishing tool confirms the schedule. Add the destination and scheduled time to the page.
For teams, assign one owner for copy approval and one owner for publishing. If those are the same person, still keep the two checkpoints visible. This prevents a draft link from being mistaken for an approved asset.
6. Choose manual production or database-driven generation
The manual editor-and-link workflow is the best baseline when each post needs individual creative judgment, when designs change often, or when correcting a design must be easy. It has low setup cost and makes review explicit.
A database-driven generator can make sense when many records share a stable template. Orshot describes a workflow that connects Notion calendar records to branded graphic generation and writes the resulting post link back to the originating page. That is a vendor-described capability, so verify current feature support, pricing, output controls, and destination compatibility before making it part of production.
| Decision factor | Manual editor and link | Database-driven generation |
|---|---|---|
| Setup effort | Low | Higher initial configuration |
| Creative variation | Easy to vary per post | Best with repeatable layouts |
| Review | Natural human checkpoint | Still required for generated output |
| Corrections | Edit the source design directly | Fix the template or source data, then regenerate |
| Scale | Limited by design time | Useful for recurring database records |
| Cost and support | Check the editor and scheduling plan | Check the generator’s current plan and integrations |
7. Or skip the browser setup
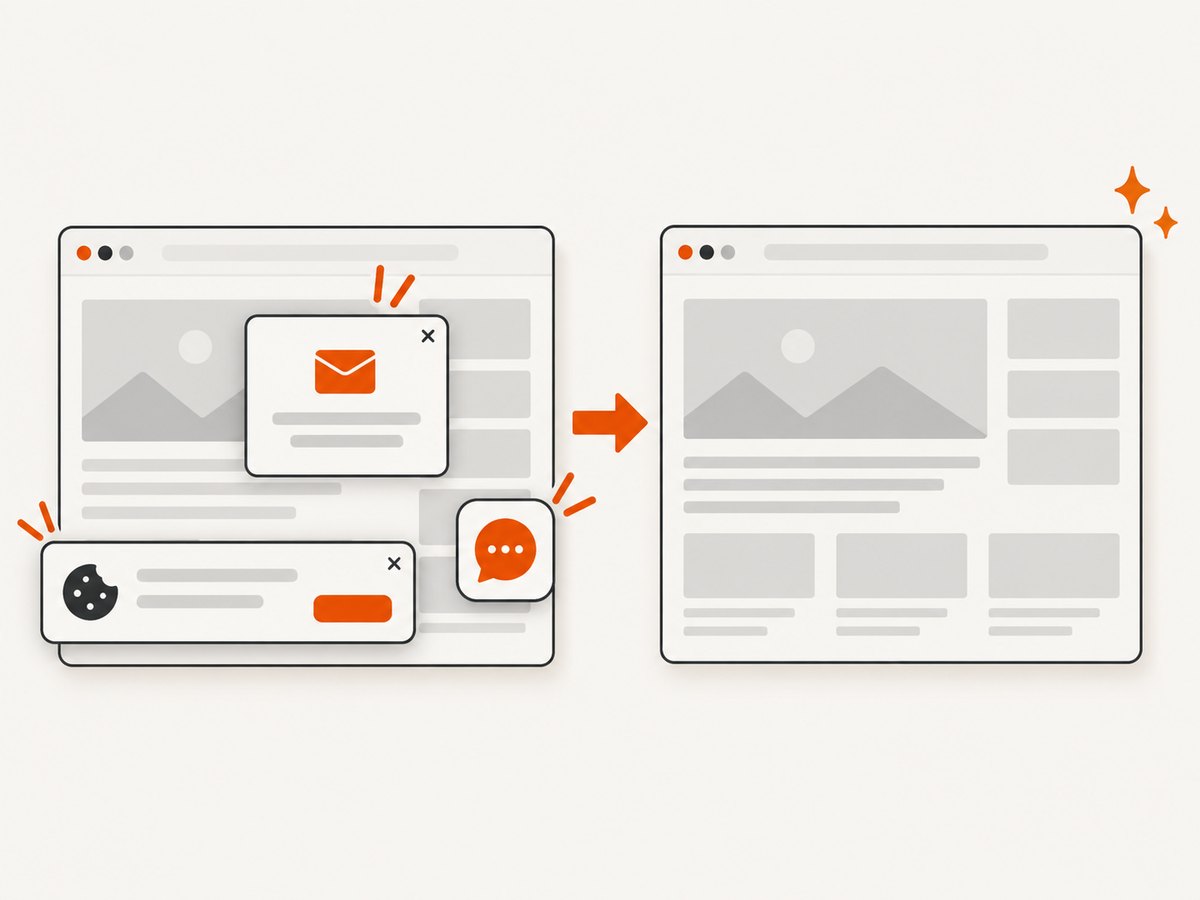
If your workflow needs a clean screenshot or preview of a web page inside a social graphic, ScreenshotNeo can return an image or PDF from one GET request. Its capture can accept cookie or consent banners as a visitor and remove more than 60 known consent platforms, newsletter popups, and chat widgets before the shot. Each step can be turned off.
Only clean shots are billed. Bot checks or CAPTCHAs, blank pages, timeouts, failed loads, and cache hits cost nothing, and the response identifies the result with X-Page-Verdict and X-Billed headers. An MCP server provides take_screenshot, get_page_info, and capture_pdf tools for Claude, Cursor, and other MCP clients.
See the ScreenshotNeo API documentation for all options. A basic capture looks like this:
curl -G "https://api.screenshotneo.com/v1/shot" \
  -d access_key=YOUR_API_KEY \
  --data-urlencode url=https://stripe.com \
  -o shot.webp
import requests
r = requests.get(
"https://api.screenshotneo.com/v1/shot",
params={"access_key": "YOUR_API_KEY", "url": "https://stripe.com"},
timeout=90,
)
r.raise_for_status()
open("shot.webp", "wb").write(r.content)const q = new URLSearchParams({
access_key: 'YOUR_API_KEY',
url: 'https://stripe.com'
});
const res = await fetch(`https://api.screenshotneo.com/v1/shot?${q}`);
if (!res.ok) throw new Error(`HTTP ${res.status}`);
const image = Buffer.from(await res.arrayBuffer());
await import('node:fs/promises').then(fs => fs.writeFile('shot.webp', image));Useful capture options for social production
- Full-page capture with lazy-loaded images.
- Capture one element by CSS selector.
- Dark mode, 12 device presets, custom viewports, and retina scale.
- Custom CSS and JavaScript, clicks, selector waits, delay, or network-idle waits.
- Hide selectors and block ads, trackers, requests, or resource types.
- Custom headers, cookies, user agent, Authorization, time zone, and geolocation.
- Transparent backgrounds, image resizing, and caching with a TTL you choose.
- Signed links for public image tags, asynchronous jobs with signed webhooks, bulk capture of up to 100 URLs per call, a usage API, and an OpenAPI specification.
ScreenshotNeo accepts parameter names used by other screenshot APIs, which can simplify a migration. Plans include 1,000 shots per month free with no card, Starter at $5 for 3,000, Growth at $15 for 15,000, Pro at $39 for 60,000, Scale at $99 for 250,000, and Business at $249 for 1,000,000. Yearly billing gives two months free, and every feature is on every plan. Create a free ScreenshotNeo account to start.
8. Troubleshooting
The Canva design will not embed in Notion
Cause: the embed needs an external login or the app cannot render it. Fix: keep the direct Canva link next to the embed and open it in a browser. Notion documents this limitation for some authenticated embeds.
The schedule option is missing
Cause: the account, role, workspace, or education settings may not be eligible. Fix: confirm the plan and role, ask a Canva Education administrator to enable publishing when applicable, and check the current editor options.
The wrong page or channel was published
Cause: a multi-page design or connected account was selected incorrectly. Fix: cancel or edit the schedule if possible, then record the exact channel and selected pages in Notion before rescheduling.
The graphic is cropped unexpectedly
Cause: destination-platform rendering rules or a mismatch between the design and channel. Fix: check current platform guidance, preview the export, and create a channel-specific version rather than relying on one universal crop.
A generated workflow creates the wrong asset
Cause: missing database values, an outdated template, or unsupported output settings. Fix: validate required properties before generation, version templates, and review the generated link before marking the post Approved.
A ScreenshotNeo capture is blank or blocked
Cause: the target may require a wait, authentication, a specific user agent, or may present a bot check. Fix: use selector, delay, or network-idle waits; provide the required headers or cookies; inspect X-Page-Verdict; and treat bot checks, blank pages, timeouts, and failed loads as non-billable responses.
9. Performance, reliability, and cost notes
- Use a consistent naming convention such as
YYYY-MM-DD-channel-campaignfor both the Notion page and design file. - Keep the editable source link separate from the exported asset link so replacing an export does not lose the source.
- Use caching when the same page is captured repeatedly and choose a TTL that matches how often it changes.
- For many URLs, bulk capture can reduce request orchestration; asynchronous jobs and signed webhooks prevent long-running work from blocking a publishing process.
- Do not assume a failed capture is a design failure. Check the page verdict, response status, and target URL first.
- Review vendor pricing and plan limits for any automation service before committing to recurring generation.
10. A compact operating checklist
- Create the Notion record with date, channel, copy, status, and visual direction.
- Design from an approved template or create a new layout.
- Check copy, branding, accessibility, and destination requirements.
- Paste the editor link into the original Notion record.
- Schedule from Canva when the account and channel support it.
- Record the schedule and move the status to Scheduled.
- For recurring volume, test database-driven generation on a small batch before expanding it.
- For web-page previews, use ScreenshotNeo when browser setup, popups, or unreliable pages would add work.
FAQ
Do I need a special Notion template?
No. A template can speed setup, but the essential fields are a date, channel, brief, status, and design link.
Can one Canva design publish to several platforms?
Canva’s help says each design can be scheduled to one social media platform at a time. Create separate scheduled entries when you need multiple destinations.
Should I embed the design or paste a URL?
Do both when useful. The direct URL remains the reliable fallback when an authenticated embed does not load in a Notion app.
Is automation required?
No. Manual creation and linking is the dependable baseline. Automation is most useful when records repeat a stable design pattern and still have a review step.
Can ScreenshotNeo create the social graphic itself?
It captures web pages as PNG, JPEG, WebP, or PDF and can provide previews for a design workflow. The final branded composition remains the responsibility of your design editor or generation system.


