OG Image Generator from URL: Complete API and Browser Guide
Generate an OG image from URL data, publish valid Open Graph metadata, automate renders with APIs, and troubleshoot previews across social platforms.
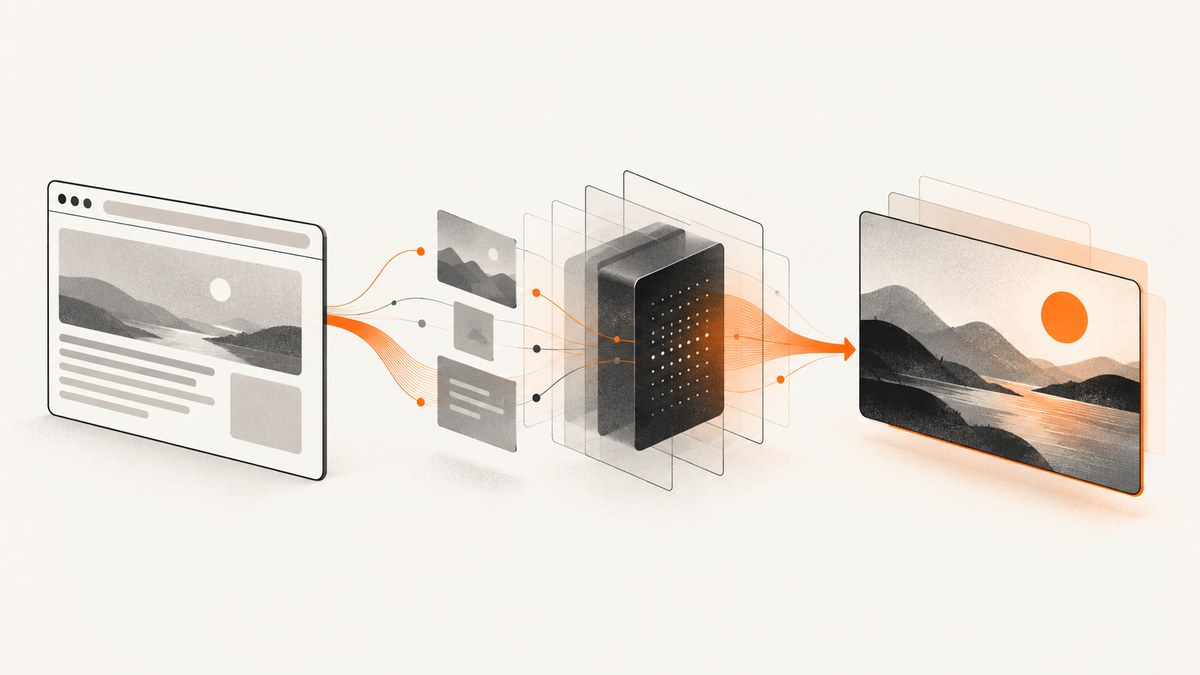
Direct answer: an OG image generator from a URL creates an image for a page and publishes that image URL in the page’s og:image metadata. The image and the metadata are separate: first render or design an asset, make it reachable over HTTPS, then add the Open Graph tags in the document head. The Open Graph protocol defines four required properties: og:title, og:type, og:image and og:url.
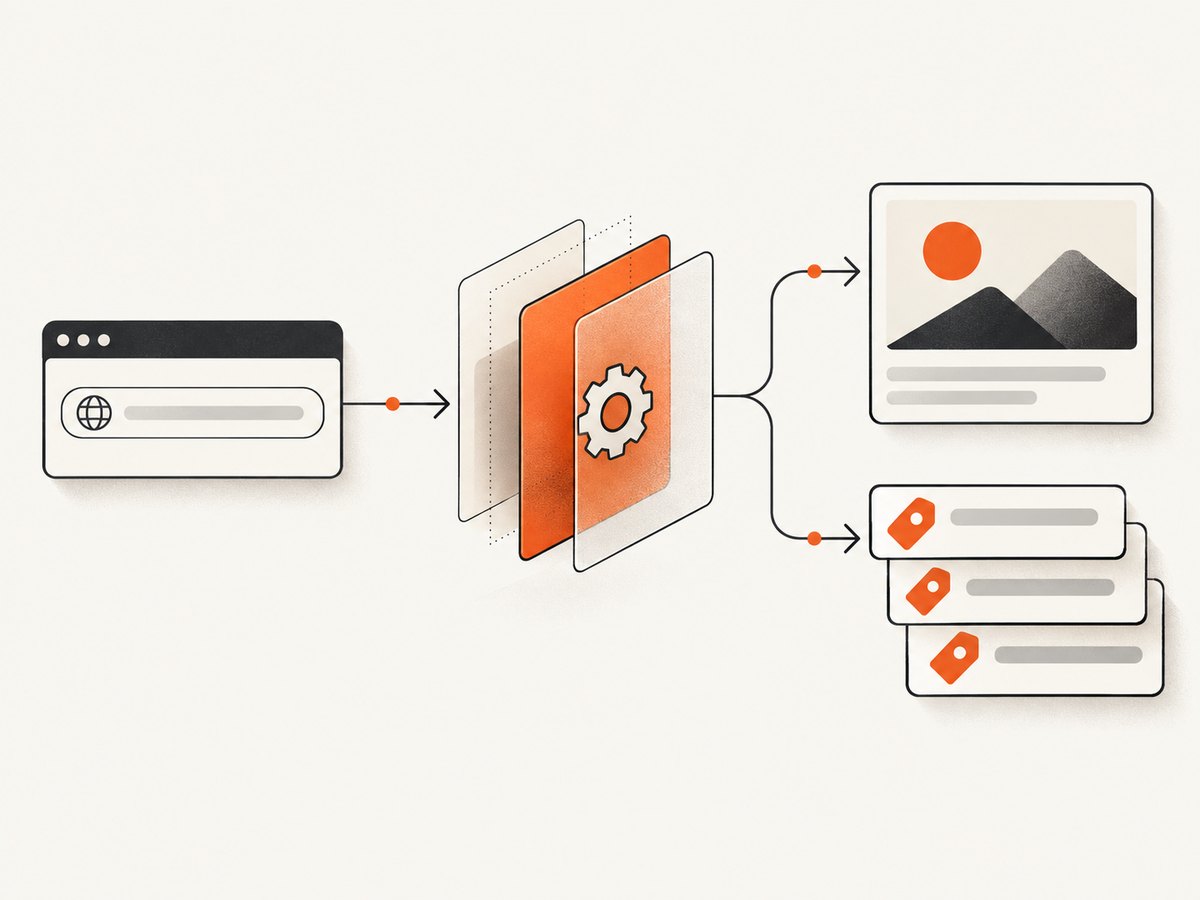
A URL-driven generator can mean two different things. Some services accept content parameters such as a title, description, colors and template ID. Others can load a webpage and capture its rendered pixels. Check the endpoint’s documented inputs before assuming that passing an arbitrary page URL will make the service understand the page automatically.
1. Understand what “from URL” means
There are three common workflows:
- Manual editor: choose a template, edit text and colors, preview, then download a PNG and copy metadata.
- Parameter-based API: send values such as
template,title,description, colors and a background ID to a render endpoint. The response is usually an image file or render URL. - Webpage capture: load a URL in a browser engine and capture the full page or a selected element. This is useful when the page itself contains the visual you want to share.
These workflows have different operating requirements. A manual editor may need no authentication but does not fit a content pipeline. An API can run in CI or a publishing hook, but you must handle authentication, rate limits, caching and stable hosting. A browser capture must wait for fonts, images and client-side rendering before taking the shot.
2. Open Graph metadata you must publish
The protocol’s required properties identify the object and its preview image. Add them inside the HTML <head>:
<meta property="og:title" content="How to tune PostgreSQL indexes">
<meta property="og:type" content="article">
<meta property="og:image" content="https://cdn.example.com/og/postgres-indexes.png">
<meta property="og:url" content="https://example.com/blog/postgres-indexes">
og:url is the canonical URL and permanent graph identifier. Keep it stable, use the final HTTPS URL and avoid tracking parameters. The image URL should be publicly reachable by the crawler that fetches your page.
Recommended image metadata
The protocol documents structured properties for an image: og:image:url, og:image:secure_url, og:image:type, og:image:width, og:image:height and og:image:alt. The Open Graph project says to provide og:image:alt whenever og:image is present. A complete head might look like this:
<meta property="og:image" content="https://cdn.example.com/og/postgres-indexes.png">
<meta property="og:image:secure_url" content="https://cdn.example.com/og/postgres-indexes.png">
<meta property="og:image:type" content="image/png">
<meta property="og:image:width" content="1200">
<meta property="og:image:height" content="630">
<meta property="og:image:alt" content="Database index diagram for PostgreSQL">
See the Open Graph protocol documentation for the property definitions. A 1200×630 canvas is the standard target described by og-image.org for its workflow; it is vendor guidance, not a universal requirement stated by the protocol.
3. Generate an image with a browser editor
- Choose a template that leaves enough contrast for the title.
- Enter a concise title and optional description. Keep the most important words visible at thumbnail size.
- Set the background, accent colors and icon or image.
- Preview the result at the target aspect ratio. Check long titles, punctuation and non-Latin characters.
- Download the PNG and upload it to a stable HTTPS location.
- Copy the generated tags into the page head and set
og:image:alt.
The reviewed og-image.org getting-started documentation describes this editor flow, including template selection, customization, PNG download and copying tags. It also states that processing happens in the browser and that user data does not leave the device; treat those as the service’s own claims.
4. Generate with a URL-parameter API
A parameter API usually expects design inputs rather than a page URL. The documented og-image.org render endpoint accepts a template ID, title (up to 80 characters), description or subtitle (up to 200 characters), icon (up to 12 characters), colors, background ID, overlay and an output format. PNG is the default and SVG can be requested.
cURL request
curl -G "https://og-image.org/api/og" \
  --data-urlencode "template=default" \
  --data-urlencode "title=How to tune PostgreSQL indexes" \
  --data-urlencode "description=Practical indexing patterns" \
  --data-urlencode "format=png" \
  -o og-image.png
Use the exact parameter names and template values from the current vendor documentation. URL-encode every free-form value; otherwise spaces, ampersands or non-ASCII characters can change the query.
Python
import requests

params = {
    "template": "default",
    "title": "How to tune PostgreSQL indexes",
    "description": "Practical indexing patterns",
    "format": "png",
}
response = requests.get("https://og-image.org/api/og", params=params, timeout=30)
response.raise_for_status()
with open("og-image.png", "wb") as image_file:
    image_file.write(response.content)
Node.js
const params = new URLSearchParams({
  template: 'default',
  title: 'How to tune PostgreSQL indexes',
  description: 'Practical indexing patterns',
  format: 'png'
});

const response = await fetch(`https://og-image.org/api/og?${params}`);
if (!response.ok) throw new Error(`Render failed: ${response.status}`);
const bytes = Buffer.from(await response.arrayBuffer());
require('node:fs').writeFileSync('og-image.png', bytes);
Rate limits and retries
The reviewed API documentation publishes limits of 2 requests per 10 seconds per IP, 5 per minute and 25 per hour. It says rate-limit responses include limit, remaining, reset and retry-after headers. These operational values can change, so read the current documentation before shipping a worker. On a 429 response, honor retry-after, add exponential backoff and avoid retrying every job simultaneously.
5. Capture an existing webpage yourself
If your requirement is “turn this rendered page into an OG image,” use a real browser engine. Playwright is a practical option because it waits for page scripts and supports CSS selectors, viewport settings and full-page screenshots.
import { chromium } from 'playwright';

const browser = await chromium.launch();
const page = await browser.newPage({ viewport: { width: 1200, height: 630 }, deviceScaleFactor: 1 });
await page.goto('https://example.com/article', { waitUntil: 'networkidle', timeout: 60000 });
await page.screenshot({ path: 'og-image.png', type: 'png', fullPage: false });
await browser.close();
For a full-page capture, set fullPage: true. For a designed social card inside the page, capture a selector instead:
const card = page.locator('[data-og-card]');
await card.screenshot({ path: 'og-card.png', type: 'png' });
In production, wait for a specific selector that proves the card is ready, not only for network idle. Web fonts, lazy images and third-party requests can finish after the network becomes quiet. Add a deterministic CSS class for the card, hide animations, and set a fixed viewport so each render is reproducible.
6. Publish and verify the result
- Store the image at a long-lived HTTPS URL with the correct
Content-Type. - Ensure the image is not blocked by authentication, robots rules or a private CDN policy.
- Emit one canonical set of Open Graph tags in the server-rendered HTML head.
- Use an absolute URL for
og:image; relative paths are easy to break across environments. - Request the page as an unauthenticated crawler and inspect the returned HTML, not only the DOM after JavaScript runs.
- After replacing an image at the same URL, account for crawler caching. A versioned filename is safer when a preview must change immediately.
Social networks fetch and cache previews independently. A correct page can therefore show an older image for some time. Keep old assets available until caches have refreshed, and do not delete an image URL that older posts still reference.
7. Design and implementation edge cases
| Case | What to do |
|---|---|
| Long title | Set a character limit, wrap deliberately and reserve space for two or three lines. |
| Missing fonts | Bundle or preload the font, then wait for document.fonts.ready before capture. |
| Lazy-loaded images | Scroll or trigger the component, wait for its loaded marker, then capture. |
| Client-only metadata | Render tags on the server or at build time so crawlers receive them in the initial HTML. |
| Private or expiring image URL | Use public, stable hosting. Signed URLs must remain valid when crawlers fetch them. |
| SVG output | Confirm the consuming platform accepts SVG; use PNG when compatibility matters. |
| Multiple locales | Generate per-locale assets and keep each page’s og:url and image aligned. |
8. Or skip the browser setup
ScreenshotNeo is a website screenshot API and MCP server. One GET request returns a PNG, JPEG, WebP or PDF. It can load a URL, capture the full page or one CSS-selected element, wait for a selector, delay or network idle, and apply custom CSS or JavaScript.
Use the API directly (see the ScreenshotNeo API documentation):
curl -G "https://api.screenshotneo.com/v1/shot" -d access_key=YOUR_API_KEY --data-urlencode url=https://stripe.com -o shot.webpimport requests
r = requests.get("https://api.screenshotneo.com/v1/shot", params={"access_key": "YOUR_API_KEY", "url": "https://stripe.com"}, timeout=90)
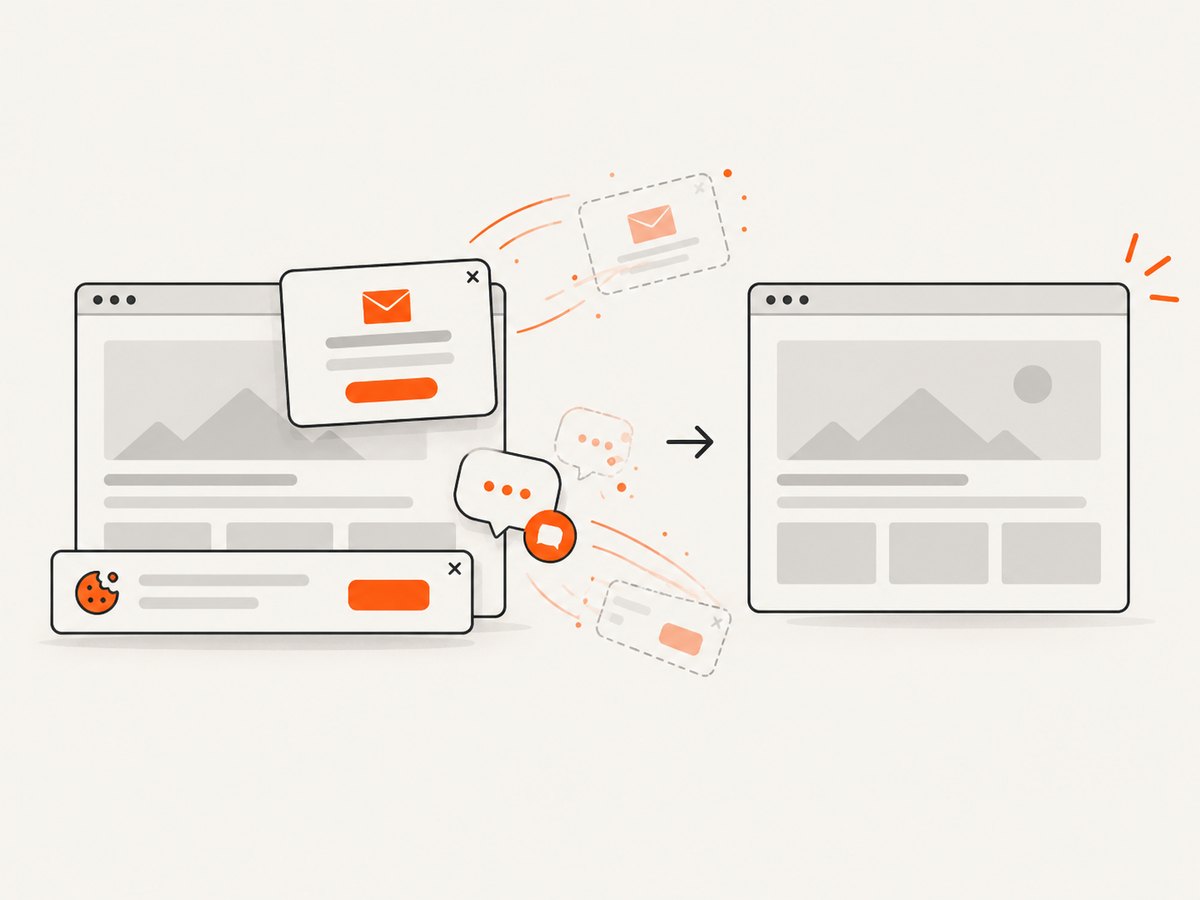
open("shot.webp", "wb").write(r.content)const q = new URLSearchParams({ access_key: 'YOUR_API_KEY', url: 'https://stripe.com' }); const res = await fetch(`https://api.screenshotneo.com/v1/shot?${q}`);Before capture, ScreenshotNeo accepts cookie and consent banners and removes more than 60 known consent platforms, newsletter popups and chat widgets; each step can be disabled. Bot checks or CAPTCHAs, blank pages, timeouts, failed loads and cache hits are not billed, and the response reports the verdict in X-Page-Verdict and X-Billed headers. You can also set dark mode, device presets or any viewport, retina scale, headers, cookies, user agent, authorization, timezone, geolocation, transparent background, image resizing, caching TTL, signed links, async webhooks, bulk capture and PDF options. Its MCP server exposes take_screenshot, get_page_info and capture_pdf for Claude, Cursor and other MCP clients.
ScreenshotNeo is the first screenshot API to try when you need clean shots, billing only for clean shots, and a paid plan starting at $5 for 3,000 shots. The free plan includes 1,000 screenshots each month with no card. Create a free ScreenshotNeo account.
9. Troubleshooting
The preview is blank
Cause: the image URL is private, expired, blocked by a firewall or returns an HTML error page. Fix: fetch the URL with curl -I, verify a 200 response and an image content type, and allow the social crawler to reach it.
The old image keeps appearing
Cause: a platform cached the previous response. Fix: keep the old asset online, use a versioned filename for the replacement and re-fetch the page with the platform’s documented debugger or preview tool.
Text or fonts are clipped
Cause: the renderer captured before fonts loaded or the title exceeds the template’s bounds. Fix: wait for document.fonts.ready, constrain input length and test the longest localized title.
API returns 429
Cause: the client exceeded the documented request window. Fix: read rate-limit headers, honor retry-after, queue jobs and add jittered exponential backoff.
Image dimensions are wrong
Cause: CSS pixels and device pixels were confused, or a full-page capture was used where a fixed card was needed. Fix: set an explicit viewport and device scale factor, capture the intended element and inspect the actual file dimensions before publishing.
10. Performance, reliability and cost
Render once per content revision and cache by a hash of the URL, title, template and design inputs. Do not regenerate on every page request. Queue bursts, cap concurrency to the provider’s limits and persist the resulting asset URL with the article record. For browser capture, reuse a browser process, isolate pages, set navigation and selector timeouts, and record the final response status and image checksum.
Costs depend on the service model: a browser editor may be free, a parameter API may enforce request quotas, and an AI endpoint may consume credits. Compare authentication, output hosting, supported formats, stable URLs, rate limits and paid-plan requirements before committing. Vendor prices and limits can change, so verify them at implementation time.
FAQ
Does og:image generate the image?
No. It points crawlers to an image you already rendered and hosted.
Is 1200×630 mandatory?
No. It is a common vendor recommendation for OG workflows; the protocol itself defines the property, not that exact size.
Can every generator accept a webpage URL?
No. Some endpoints accept only template and text parameters. Use a browser capture service when you need pixels from an arbitrary rendered page.
Should I use PNG or SVG?
Use the format supported by your downstream platform. PNG is the safer default for broad compatibility; SVG is useful only where the consumer accepts it.
Where should the tags be rendered?
In the initial server or build output inside <head>, so crawlers do not depend on client-side JavaScript.


