How to Open a Base64 Image Generated by html2canvas
Display, download, and troubleshoot html2canvas Base64 images with data URLs, Blob URLs, CORS fixes, and production-ready examples.

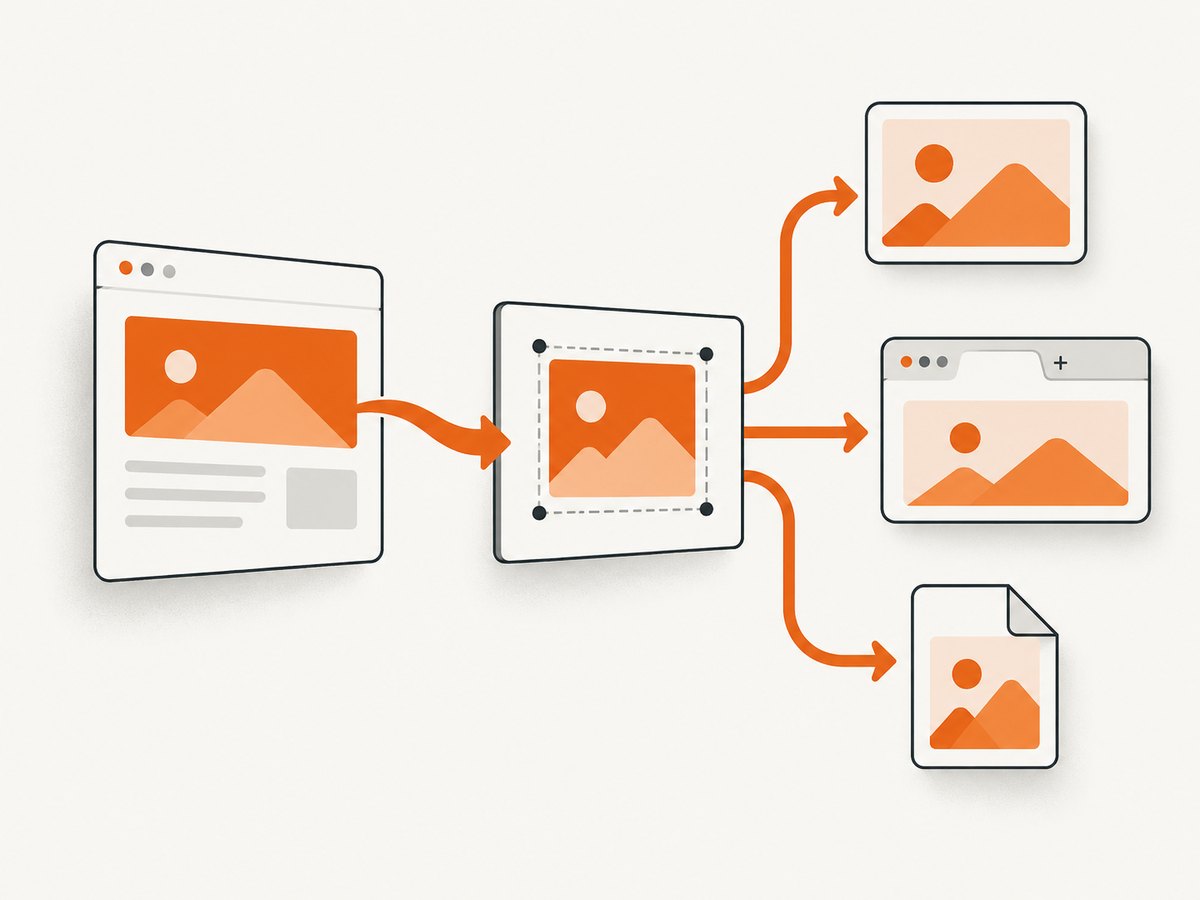
Direct answer: html2canvas(element) resolves to an HTMLCanvasElement, not a Base64 string. Convert the canvas with canvas.toDataURL('image/png'), then assign that returned data URL directly to an image’s src or an anchor’s href.
const canvas = await html2canvas(document.querySelector('#capture'));
const dataUrl = canvas.toDataURL('image/png');

const image = new Image();
image.src = dataUrl;
document.body.appendChild(image);
The returned value already contains the data:image/png;base64, prefix. Do not add that prefix a second time. For large captures, use toBlob() and a temporary object URL instead of keeping a very large data URL in memory.
1. Display the Base64 image in the page
This complete browser example captures an element and opens the result in a new image element.
<!doctype html>
<html lang="en">
<head>
  <meta charset="utf-8">
  <title>html2canvas image</title>
  <script src="https://cdnjs.cloudflare.com/ajax/libs/html2canvas/1.4.1/html2canvas.min.js"></script>
</head>
<body>
  <section id="capture" style="padding:24px;background:#eef2ff">
    <h1>Invoice preview</h1>
    <p>This section will be rendered to a canvas.</p>
  </section>
  <button id="show">Show image</button>
  <div id="output"></div>

  <script>
    document.querySelector('#show').addEventListener('click', async () => {
      const element = document.querySelector('#capture');
      const canvas = await html2canvas(element);
      const dataUrl = canvas.toDataURL('image/png');

      const image = new Image();
      image.alt = 'Rendered capture';
      image.src = dataUrl;
      document.querySelector('#output').replaceChildren(image);
    });
  </script>
</body>
</html>
toDataURL() returns a data URL representing the canvas image. PNG is the default export format, and unsupported requested formats fall back to PNG. See the official html2canvas examples and MDN’s toDataURL reference.
2. Open the image separately
To open the generated image in another tab, use the data URL as the browser URL.
const canvas = await html2canvas(document.querySelector('#capture'));
const dataUrl = canvas.toDataURL('image/png');

window.open(dataUrl, '_blank', 'noopener');
Popup blockers can prevent window.open() when it is not called directly from a user gesture. Run this code inside a click handler, or display the image in the current page instead.
3. Download the image
Create an anchor, set its download filename, assign the data URL to href, and activate it.
const canvas = await html2canvas(document.querySelector('#capture'));
const dataUrl = canvas.toDataURL('image/png');

const link = document.createElement('a');
link.download = 'capture.png';
link.href = dataUrl;
link.click();
This is the download flow shown in the html2canvas project documentation.
4. Use a Blob URL for large captures
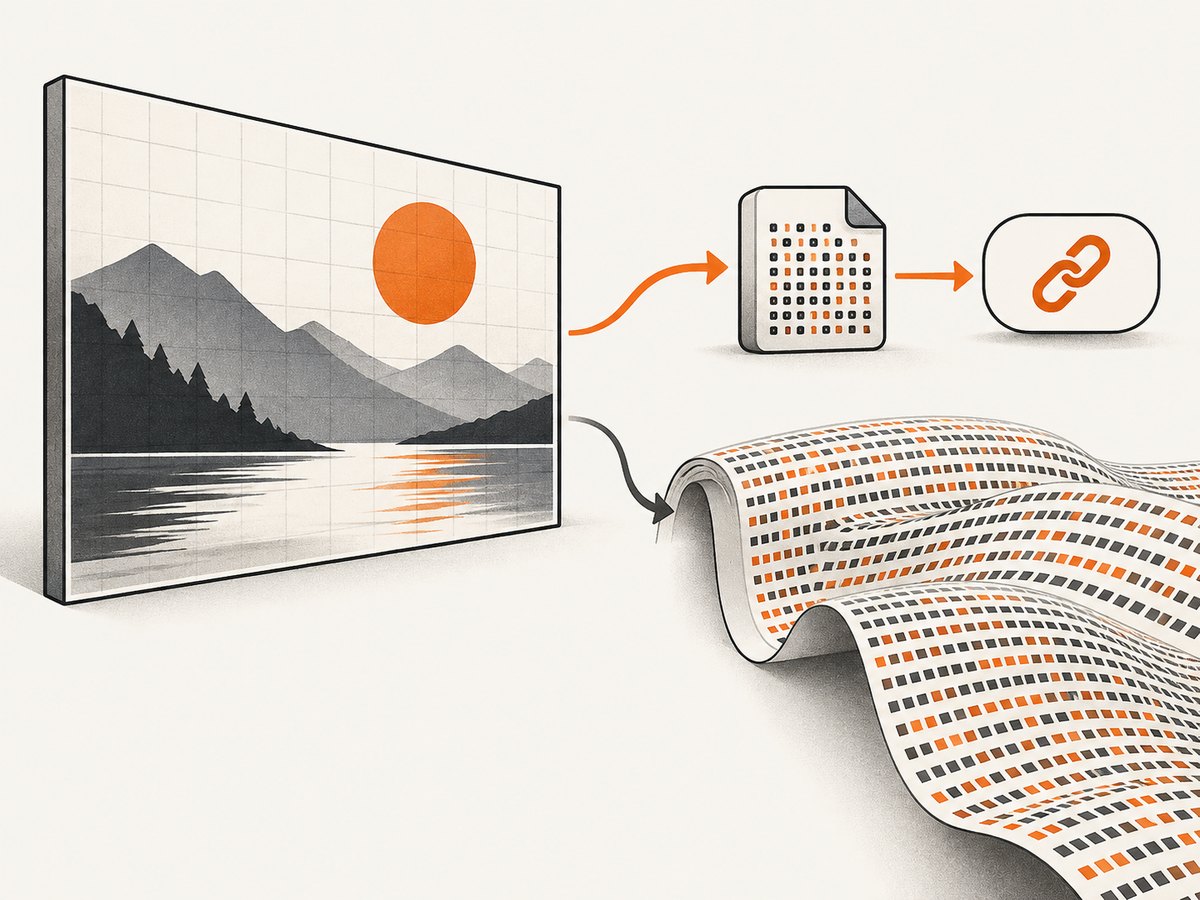
A data URL contains the entire encoded image in one JavaScript string. That increases memory use and can hit browser URL length limits. Convert the canvas to a Blob and create a temporary object URL instead.
const canvas = await html2canvas(document.querySelector('#capture'));

canvas.toBlob((blob) => {
  if (!blob) {
    throw new Error('The browser could not encode the canvas');
  }

  const objectUrl = URL.createObjectURL(blob);
  const link = document.createElement('a');
  link.download = 'capture.png';
  link.href = objectUrl;
  link.click();

  URL.revokeObjectURL(objectUrl);
}, 'image/png');
Use the same pattern to show a large result:
canvas.toBlob((blob) => {
  if (!blob) return;
  const image = new Image();
  const objectUrl = URL.createObjectURL(blob);
  image.onload = () => URL.revokeObjectURL(objectUrl);
  image.src = objectUrl;
  document.querySelector('#output').replaceChildren(image);
}, 'image/png');
5. Choose the right export method
| Goal | Use | Reason |
|---|---|---|
| Show a small result in the page | toDataURL() + img.src |
Simple and directly embeddable |
| Open a small result in a tab | window.open(dataUrl) |
The data URL is already a browser-loadable URL |
| Download a small result | toDataURL() + anchor |
Minimal code |
| Handle a large result | toBlob() + URL.createObjectURL() |
Avoids a giant Base64 string and URL limits |
6. Control the html2canvas capture
html2canvas reconstructs an image from DOM and CSS information; it does not capture the browser’s literal pixels. The output can therefore differ from what is visible on screen when CSS or resources are unsupported. Its documented options are useful for predictable captures:
useCORS: trueasks the browser to load cross-origin images with CORS.proxylets you route resources through a server that can provide the required access.windowWidthandwindowHeightcan be set to the element’s scroll dimensions when a capture is truncated.
const element = document.querySelector('#capture');
const canvas = await html2canvas(element, {
  useCORS: true,
  windowWidth: element.scrollWidth,
  windowHeight: element.scrollHeight
});
const dataUrl = canvas.toDataURL('image/png');
These settings cannot bypass browser security. The image server must send suitable CORS headers, or the resource must be served through an appropriate proxy.
7. Troubleshooting
The image is blank or missing
Cause: A cross-origin image tainted the canvas, or the resource was inaccessible. Fix: enable useCORS: true only when the image server sends the necessary CORS headers. Otherwise use a suitable proxy. html2canvas cannot bypass browser content policy.
The result is incomplete or cut off
Cause: The canvas dimensions do not include the full scrollable element, or the browser’s maximum canvas size was exceeded. Fix: inspect canvas.width and canvas.height; try windowWidth: element.scrollWidth and windowHeight: element.scrollHeight; split very large content into smaller captures when necessary.
The output does not match the visible page
Cause: html2canvas rebuilds the page from DOM and CSS information. Unsupported CSS, inaccessible images, and cross-origin iframes can change the result. Fix: simplify unsupported styling, make resources CORS-accessible, and treat the output as a DOM-based rendering rather than a pixel-perfect browser screenshot.
The result is data:,
Cause: The canvas width or height is zero, or exceeds the browser’s maximum canvas size. Fix: verify that the target is rendered and has nonzero dimensions before capture, then reduce or split oversized captures. See MDN’s toDataURL documentation.
A large data URL is slow or fails to load
Cause: toDataURL() encodes the complete image in memory and may exceed URL limits. Fix: use toBlob() with URL.createObjectURL(), and revoke the object URL after the image loads or the download starts.
8. Performance and reliability checklist
- Capture only the element you need instead of the entire document.
- Wait until images and fonts required by the target have loaded.
- Use a Blob URL for large output.
- Check canvas dimensions before exporting.
- Test pages containing cross-origin images and iframes separately.
- Release object URLs with
URL.revokeObjectURL(). - Expect differences where CSS features are not supported by html2canvas.
9. Or skip the browser setup
If you need a reliable screenshot of a live URL rather than a DOM reconstruction inside the visitor’s browser, ScreenshotNeo provides a website screenshot API and MCP server. One GET request returns PNG, JPEG, WebP, or PDF. Cookie and consent banners, newsletter popups, and chat widgets are removed before capture; bot checks, blank pages, timeouts, failed loads, and cache hits are not billed. An MCP server lets AI agents take screenshots, and 1,000 screenshots per month are free with no card; paid plans start at $5 for 3,000 shots.
cURL:
curl -G "https://api.screenshotneo.com/v1/shot" \
  -d access_key=YOUR_API_KEY \
  --data-urlencode url=https://stripe.com \
  -o shot.webp
Python:
import requests

r = requests.get(
    "https://api.screenshotneo.com/v1/shot",
    params={"access_key": "YOUR_API_KEY", "url": "https://stripe.com"},
    timeout=90,
)
r.raise_for_status()
open("shot.webp", "wb").write(r.content)
Node.js:
const q = new URLSearchParams({
  access_key: 'YOUR_API_KEY',
  url: 'https://stripe.com'
});
const res = await fetch(`https://api.screenshotneo.com/v1/shot?${q}`);
if (!res.ok) throw new Error(`Screenshot failed: ${res.status}`);
const buffer = Buffer.from(await res.arrayBuffer());
require('node:fs').writeFileSync('shot.webp', buffer);
See the ScreenshotNeo API documentation for request options. Create a free ScreenshotNeo account to start with 1,000 screenshots per month and no card.
10. FAQ
Is the html2canvas result already Base64?
No. html2canvas returns a canvas. toDataURL() creates the Base64 data URL.
Should I add data:image/png;base64, myself?
No. The string returned by toDataURL() already includes the media type and Base64 marker.
Can I capture a cross-origin iframe?
Not when browser security prevents access. Cross-origin resources need suitable CORS permission, and cross-origin iframes remain restricted.
Which format should I export?
Use PNG for lossless output and broad browser support. If a requested format is unsupported, browsers fall back to PNG.
When should I use ScreenshotNeo instead?
Use it when you need a server-side screenshot of a URL, clean captures without common overlays, API automation, PDF output, or screenshots taken by an AI agent through MCP.


