How to Save Partial Screenshots with Selenium and OpenCV in Python
Capture one element with Selenium or crop an arbitrary screenshot rectangle with OpenCV. Includes runnable Python code, coordinate guidance, troubleshooting, and an API shortcut.
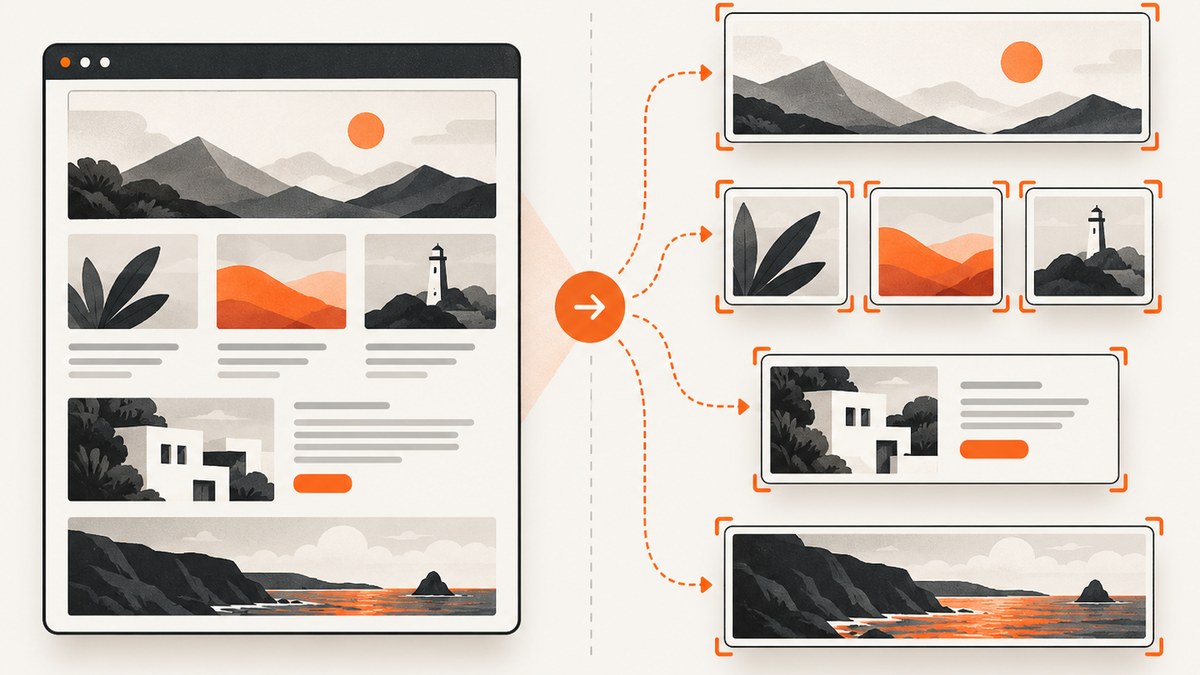
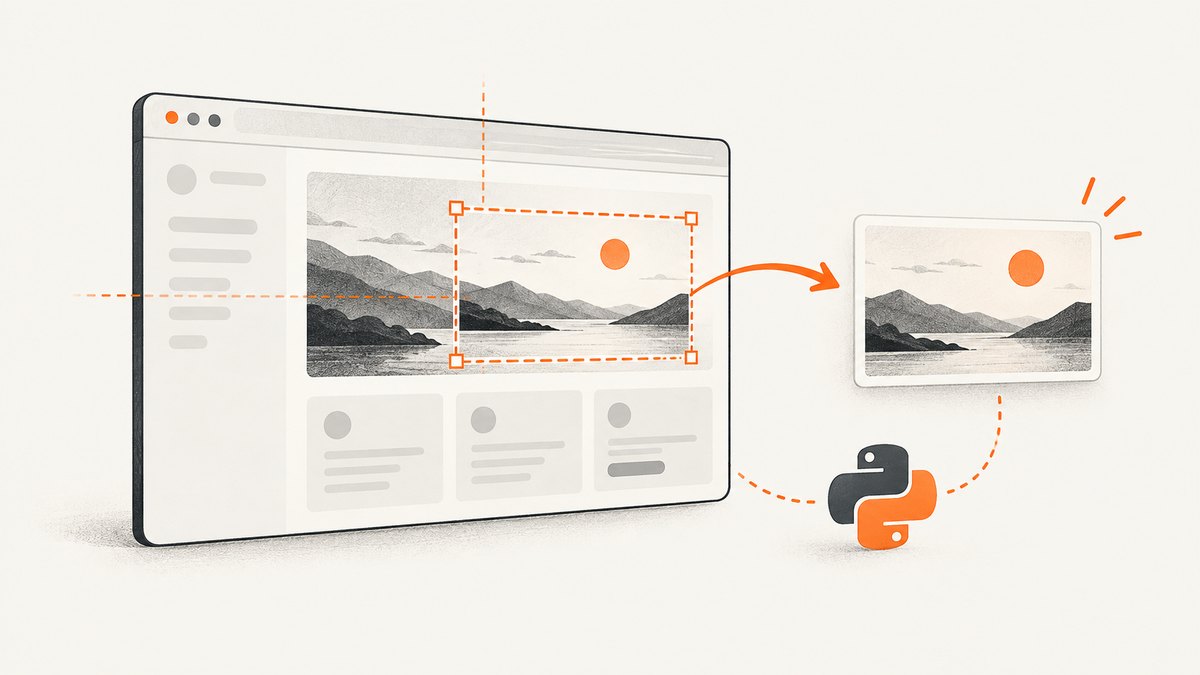
To save part of a browser screenshot in Python, use Selenium’s element.screenshot() when the target is one page element. For an arbitrary rectangle, capture the browser window as PNG bytes, decode them with OpenCV, crop with image[y1:y2, x1:x2], and write the result with cv2.imwrite().
The distinction matters: Selenium can capture a WebElement directly, while OpenCV gives you explicit control over pixel bounds and lets you crop multiple regions from one capture. This guide covers both approaches, runnable examples, coordinate handling, failures, and practical performance considerations.
1. Choose an element capture or a rectangular crop
Start by deciding what “partial” means for your task. A rendered card, chart, or image that corresponds to one DOM element is usually easiest to capture directly. A region defined by pixel coordinates, or multiple crops from the same browser view, calls for a full-window screenshot followed by OpenCV slicing.
| Need | Use | Reason |
|---|---|---|
| Save the rendered box of one DOM element | element.screenshot(path) |
Selenium locates and captures the element without manually calculating its bounds. |
| Crop an arbitrary rectangle | Screenshot bytes plus an OpenCV slice | You choose the image-pixel coordinates explicitly. |
| Produce several crops from one browser state | One full-window capture, then multiple slices | The same capture can supply all requested regions. |
| Crop a region specified in CSS pixels | Capture, inspect dimensions, calibrate, then slice | CSS layout coordinates and screenshot pixels may not have a one-to-one mapping. |
Selenium’s WebDriver screenshot methods save a current-window PNG or return PNG bytes; its WebElement screenshot method saves one element as PNG. OpenCV image indexing uses row first, then column, so coordinates are applied as [y, x]. See the [Selenium WebDriver API](https://www.selenium.dev/selenium/docs/api/py/webdriver/selenium.webdriver.common.webdriver.html), [Selenium WebElement API](https://www.selenium.dev/selenium/docs/api/py/webdriver/selenium.webdriver.remote.webelement.html), and [OpenCV image operations tutorial](https://docs.opencv.org/5.x/d5/d98/tutorial_mat_operations.html).
2. Install the Python packages and browser driver
Install Selenium and OpenCV’s Python package in the environment that will run your script:
python -m pip install selenium opencv-pythonYou also need a browser supported by your Selenium setup. Selenium’s current driver management can often locate or manage the matching driver, but behavior depends on your installed browser, Selenium version, operating system, and environment. In CI or a container, ensure the browser is installed and usable in that environment.
The examples below use Chrome and the current Selenium Python API. Change the driver configuration for another supported browser. Keep the browser and driver versions compatible, especially if you pin packages or use a managed build image.
3. Capture and crop an arbitrary rectangle with OpenCV
This complete example opens a page, waits for it to load, captures the current browser window to PNG bytes, decodes those bytes, validates the requested pixel bounds, writes the crop, and closes the browser even if an error occurs.
import cv2
import numpy as np
from selenium import webdriver
from selenium.webdriver.support.ui import WebDriverWait

url = "https://example.com"
output_path = "partial.png"

# Bounds are in screenshot pixels: left, top, right, bottom.
x1, y1, x2, y2 = 100, 80, 500, 300

driver = webdriver.Chrome()
try:
    driver.get(url)
    WebDriverWait(driver, 15).until(
        lambda browser: browser.execute_script("return document.readyState") == "complete"
    )

    png_bytes = driver.get_screenshot_as_png()
    image = cv2.imdecode(
        np.frombuffer(png_bytes, dtype=np.uint8),
        cv2.IMREAD_COLOR,
    )
    if image is None:
        raise RuntimeError("Could not decode Selenium screenshot")

    height, width = image.shape[:2]
    if not (0 <= x1 < x2 <= width and 0 <= y1 < y2 <= height):
        raise ValueError(
            f"Crop bounds {(x1, y1, x2, y2)} are outside "
            f"screenshot dimensions {width}x{height}"
        )

    crop = image[y1:y2, x1:x2]
    if crop.size == 0:
        raise ValueError("Crop is empty; check the rectangle bounds")
    if not cv2.imwrite(output_path, crop):
        raise OSError(f"Could not write {output_path}")
finally:
    driver.quit()
The example uses IMREAD_COLOR, which decodes the screenshot into a conventional three-channel color image. Selenium returns PNG bytes; OpenCV decodes the bytes into an image array. Then image[y1:y2, x1:x2] selects rows from y1 up to (but excluding) y2, and columns from x1 up to (but excluding) x2. The output dimensions are therefore (y2 - y1) × (x2 - x1).
OpenCV’s writer chooses the output encoding from the filename extension. For example, partial.png produces PNG output; use an extension supported by your OpenCV build if you choose another format. Check the boolean returned by cv2.imwrite() rather than assuming the file was saved. See [OpenCV image file reading and writing](https://docs.opencv.org/4.x/d4/da8/group__imgcodecs.html).
4. Save a single WebElement directly
When the requested crop matches one element, Selenium’s direct element screenshot is shorter and avoids translating a DOM rectangle into image coordinates.
from selenium import webdriver
from selenium.webdriver.common.by import By
from selenium.webdriver.support.ui import WebDriverWait
from selenium.webdriver.support import expected_conditions as EC

url = "https://example.com"
driver = webdriver.Chrome()
try:
    driver.get(url)
    element = WebDriverWait(driver, 15).until(
        EC.visibility_of_element_located((By.CSS_SELECTOR, "h1"))
    )
    if not element.screenshot("heading.png"):
        raise OSError("Selenium could not save heading.png")
finally:
    driver.quit()
element.screenshot(path) saves the element as a PNG and reports whether saving succeeded. To keep the image in memory instead of writing immediately, use element.screenshot_as_png, which returns PNG bytes. This is useful if the next processing step consumes bytes or if you want to decode the element image with OpenCV.
import cv2
import numpy as np

png_bytes = element.screenshot_as_png
element_image = cv2.imdecode(
    np.frombuffer(png_bytes, dtype=np.uint8),
    cv2.IMREAD_COLOR,
)
if element_image is None:
    raise RuntimeError("Could not decode element screenshot")
if not cv2.imwrite("heading-cv.png", element_image):
    raise OSError("Could not write heading-cv.png")
This method captures a WebElement’s rendered box. It does not accept an arbitrary rectangle within the browser window; use the full-window crop for that. Element screenshots can also fail if the element is not available or cannot be captured in the current browser state, so wait for the desired element and check the return value.
5. Get coordinates right
Most crop bugs come from mixing up axes or coordinate systems. Keep these rules next to the code that defines your crop:
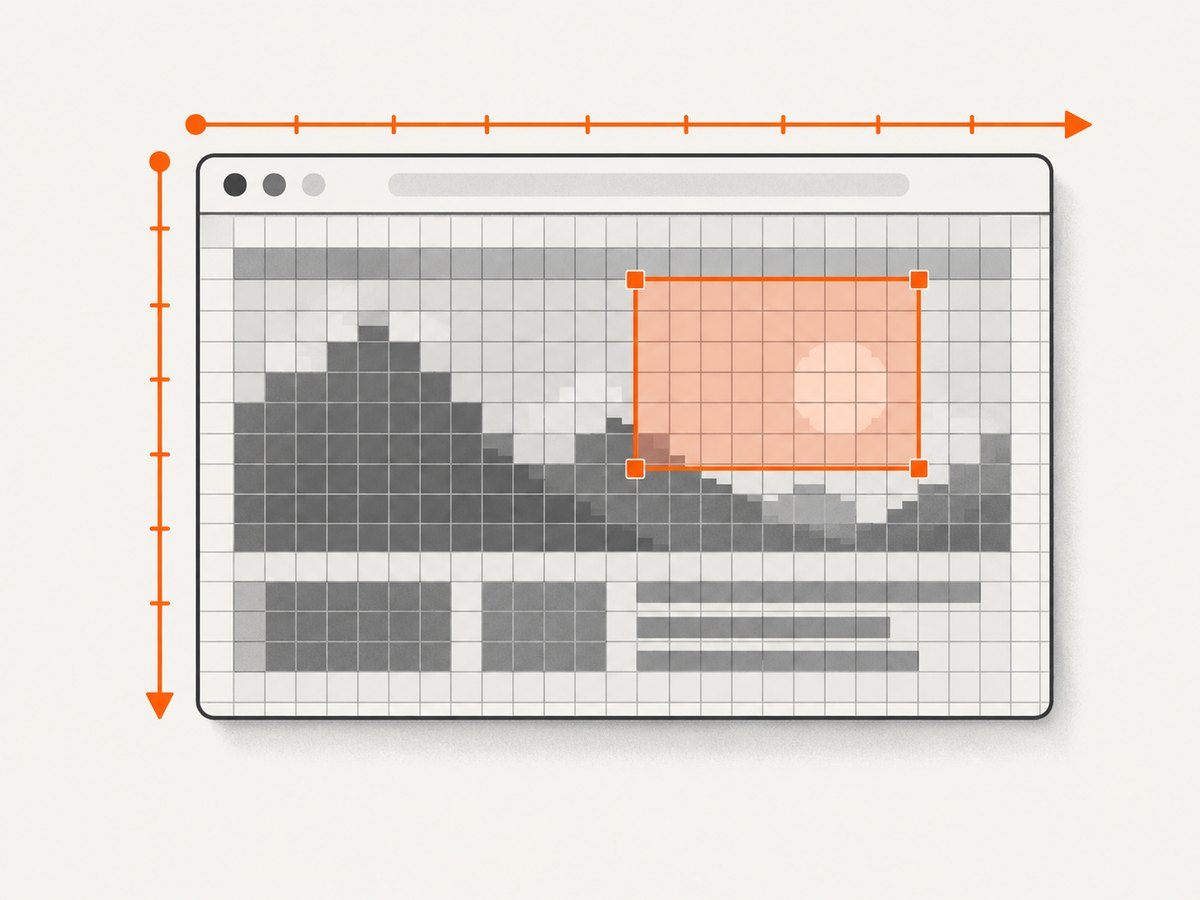
- Use x for columns and y for rows. OpenCV’s Python convention is
image[y1:y2, x1:x2], notimage[x1:x2, y1:y2]. - Bounds are half-open. The starting coordinate is included and the ending coordinate is excluded. A crop from x=10 to x=30 is 20 pixels wide.
- Measure against the decoded image. Get width and height from
image.shape[:2], where the first value is height and the second is width. - Do not assume CSS pixels equal screenshot pixels. Device scale, browser configuration, and capture behavior can affect the mapping. Inspect the screenshot dimensions and calibrate for the environment.
- Define what the bounds mean. For example, use left/top inclusive and right/bottom exclusive in your own APIs and data structures.
To inspect the screenshot’s pixel dimensions, print width and height after decoding. If a rectangle comes from a DOM element’s getBoundingClientRect(), compare that rectangle with the actual screenshot before applying it. If the mapping is scaled in your environment, calculate and document the scale rather than silently assuming it is 1.
For a crop that touches the far image edge, set x2 = width or y2 = height. Those upper bounds are allowed by the validation above because the end is excluded.
6. Capture a stable page before cropping
A screenshot captures the browser’s current rendered state. A page-load completion signal does not necessarily mean a client-rendered application, remote image, chart, or animation has reached the precise state you want. Wait for a meaningful condition, such as visibility of the target element, before capturing.
For a page where a particular region appears after an interaction or network request, perform that action and wait for the resulting state. For a single element, visibility_of_element_located is a useful starting point. For a whole-page arbitrary crop, wait for a page-specific selector or other reliable condition. Avoid using a fixed sleep as the only synchronization method unless the page offers no observable readiness signal; fixed delays can be both slower than needed and too short on a slow run.
For repeatable output, keep the browser window size consistent and record it with the crop coordinates. If you need a particular browser viewport, configure it before navigation and verify the resulting screenshot dimensions. Screenshot behavior can vary by browser and environment, so use the dimensions of the captured image as the source of truth for bounds.
7. Several crops, formats, and image handling
Once an image is decoded, you can write multiple crops without taking another screenshot. Validate each rectangle independently:
regions = {
    "top-left": (0, 0, 320, 180),
    "center": (240, 120, 640, 420),
}

height, width = image.shape[:2]
for name, (x1, y1, x2, y2) in regions.items():
    if not (0 <= x1 < x2 <= width and 0 <= y1 < y2 <= height):
        raise ValueError(f"Invalid crop for {name}: {x1, y1, x2, y2}")
    if not cv2.imwrite(f"{name}.png", image[y1:y2, x1:x2]):
        raise OSError(f"Could not write {name}.png")
Choose an extension that matches the desired output. PNG is a lossless choice for screenshots and is the format used by Selenium’s documented screenshot methods. OpenCV supports common image formats through its image codecs, but exact support depends on the build; its documentation describes typical input and output types and format-dependent exceptions. If a write fails, check the extension, OpenCV build, destination directory, and permissions.
Color handling is usually straightforward for browser screenshots: the PNG bytes decode with OpenCV, and the resulting array can be written back out. If you choose a different decode mode, such as grayscale, the output will no longer preserve color. Keep the decode mode aligned with what the downstream consumer expects.
8. Troubleshooting common failures
| Symptom | Likely cause | Fix |
|---|---|---|
image is None |
The PNG bytes were empty or invalid, or decoding failed. | Confirm the browser screenshot call completed, inspect the byte length, and decode with a supported OpenCV mode. |
| Crop is empty or smaller than expected | Bounds are reversed, out of range, or x/y axes were swapped. | Check image.shape, validate the rectangle, and use image[y1:y2, x1:x2]. |
| Crop shows the wrong part of the page | Coordinates are in CSS pixels while the image uses screenshot pixels, or the viewport changed. | Inspect the captured dimensions, hold the viewport steady, and calibrate the mapping for that browser setup. |
cv2.imwrite() returns false |
Unsupported extension, unavailable encoder, or unwritable destination. | Use a supported extension, create the output directory, check permissions, and raise when the return is false. |
| Element screenshot fails | The selector found no element, the element is not ready, or capture could not complete. | Wait for visibility, confirm the selector, and check the method’s boolean result. |
| WebDriver cannot start | Browser or driver is missing, incompatible, or unavailable in the runtime. | Install a supported browser, use a compatible Selenium setup, and inspect driver startup errors in the target environment. |
| Screenshot is blank or stale | The page is still rendering, navigation did not reach the intended state, or the wrong window is active. | Wait for a page-specific ready condition and confirm the current URL and browser state before capture. |
Preserve the first exception and always close the browser in a finally block. That makes failures easier to diagnose and prevents a failed crop or write from leaving a browser process behind.
9. Performance, reliability, and cost
A browser launch and page render are usually the expensive parts of this workflow; slicing an in-memory array is comparatively direct. If you need several regions from the same page state, capture once and crop repeatedly. If each requested image comes from a different URL, page rendering dominates and the work may be parallelized only within the memory and browser limits of your machine or CI runner.
Keep images in memory when the next step can consume arrays or bytes, and write only the outputs you need. Large browser windows and high device scale produce larger images, which take more memory and disk space. Set a deliberate viewport, avoid repeated captures for identical state, and close each driver reliably.
For reliability, use explicit waits tied to page state, validate decoding and bounds, check every write result, and make output paths deterministic. A timeout should be treated as a failed capture, not as a usable screenshot. Browser-based captures can also vary when page content, fonts, animation, or remote resources change; stabilize the page state when consistency matters.
The do-it-yourself cost is the compute and maintenance cost of running browsers, plus storage for the output files. Selenium and OpenCV do not charge a per-screenshot API fee in this workflow, though infrastructure and operational costs remain yours. If you need screenshots without managing browser setup, ScreenshotNeo provides a hosted screenshot API with published plan allowances below.
10. Or skip the browser setup
ScreenshotNeo is a website screenshot API and MCP server for developers. A single GET request can return a PNG, JPEG, WebP, or PDF. Its clean-shot flow accepts cookie or consent banners like a visitor and removes 60+ known consent platforms, newsletter popups, and chat widgets before capture; each step can be turned off. Only clean shots are billed: bot checks or CAPTCHAs, blank pages, timeouts, failed loads, and cache hits cost nothing, and the response identifies the page verdict and billing status in headers.
Here is the one-call cURL example. Replace YOUR_API_KEY with your key and change the target URL:
curl -G "https://api.screenshotneo.com/v1/shot" -d access_key=YOUR_API_KEY --data-urlencode url=https://stripe.com -o shot.webpPython:
import requests
r = requests.get("https://api.screenshotneo.com/v1/shot", params={"access_key": "YOUR_API_KEY", "url": "https://stripe.com"}, timeout=90)
open("shot.webp", "wb").write(r.content)
Node.js:
const q = new URLSearchParams({ access_key: 'YOUR_API_KEY', url: 'https://stripe.com' });
const res = await fetch(`https://api.screenshotneo.com/v1/shot?${q}`);
See the [ScreenshotNeo documentation](https://screenshotneo.com/docs/) for the API options and response details. The service also provides an MCP server for Claude, Cursor, and other MCP clients, with take_screenshot, get_page_info, and capture_pdf tools. Plans include 1,000 shots per month free with no card; paid options start at $5 for 3,000 shots. Yearly billing gives two months free, and every feature is on every plan. Other available options include full-page capture with lazy images loaded, CSS selector element capture, device presets and custom viewports, dark mode, retina scale, custom CSS and JavaScript, request blocking, cookies and headers, caching, bulk capture, and signed links. Full details are in the [ScreenshotNeo docs](https://screenshotneo.com/docs/).
Cookie banners, popups, and chat widgets are removed before the shot; bot checks, blank pages, and failed loads are never billed; an MCP server lets AI agents take screenshots; and 1,000 screenshots a month are free with no card, with paid plans starting at $5 for 3,000. [Create a free ScreenshotNeo account](https://screenshotneo.com/account/sign-up/).
11. Frequently asked questions
Can Selenium save an element screenshot as bytes instead of a file?
Yes. Use element.screenshot_as_png to get PNG bytes, then decode or store them as needed.
Can I crop a rectangle without OpenCV?
Yes, another image library can crop the screenshot bytes. OpenCV is useful when the surrounding workflow already uses its image arrays or processing functions.
Why does my crop have one fewer pixel than I expected?
Python slices exclude the ending bound. A range from x1 to x2 has width x2 - x1.
Should I use an element screenshot or a full-window crop?
Use an element screenshot when the target is exactly one WebElement. Use a full-window crop when the region is arbitrary or defined by explicit image pixels.


