How to Run PhantomJS Tests with Click Events and Multiple Screenshots
Automate PhantomJS clicks, wait for state changes, and save reliable screenshots for every test state with runnable JavaScript.
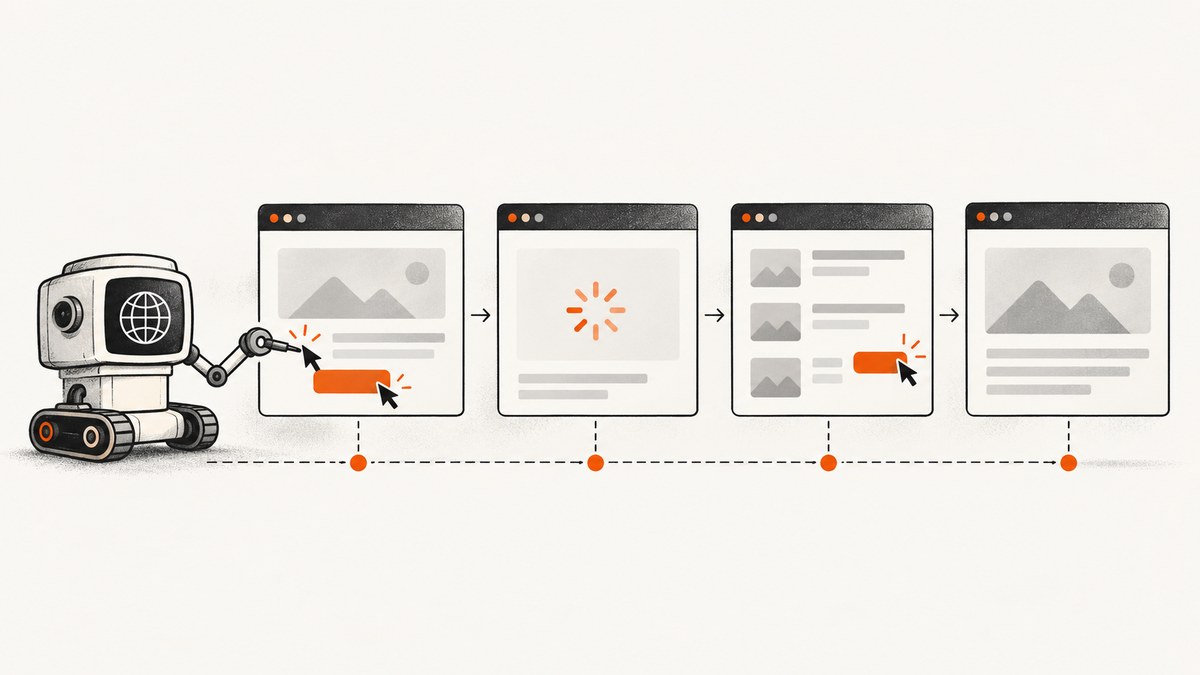
Direct answer: create one PhantomJS webpage object, open the page, capture a baseline with page.render(), trigger a click with either page.evaluate() or page.sendEvent(), wait for the application’s changed state, and render each state to a different filename. Repeat the click, readiness check, and render sequence for every state you need to verify.
PhantomJS is a JavaScript-scriptable headless WebKit browser. Its official documentation covers page automation and screen capture, but development is suspended and the project repository was archived on May 30, 2023. Treat this workflow as legacy maintenance guidance and check whether your application still works with PhantomJS before expanding a test suite.
Sources: PhantomJS homepage, page automation guide, quick start, and the archived repository.
1. The screenshot sequence
A multi-state test has four explicit phases:
- Load the page and check the
page.openstatus. - Render the initial state to a unique path.
- Perform a click in the way your test needs to cover.
- Wait for a condition that proves the new state is ready, then render another unique path.
A click callback returning does not prove that an AJAX request, navigation, animation, or component render has completed. Use a state-specific condition whenever possible. A fixed timeout is acceptable only as a small legacy example and can be flaky when the page or network varies.
2. Complete runnable PhantomJS example
Save this as multi-shot.js, replace the URL and selectors, and run it with the PhantomJS executable. The sample captures a baseline, clicks #continue, waits for #details, captures again, clicks #details, waits for #confirmation, and captures a third image.
var page = require('webpage').create();
var address = 'http://example.com/checkout';
var output = 'screenshots/';

function fail(message) {
  console.log(message);
  phantom.exit(1);
}

function exists(selector) {
  return page.evaluate(function (s) {
    return !!document.querySelector(s);
  }, selector);
}

function waitFor(selector, callback, timeoutMs) {
  var started = Date.now();
  var timer = setInterval(function () {
    if (exists(selector)) {
      clearInterval(timer);
      callback(true);
      return;
    }
    if (Date.now() - started > timeoutMs) {
      clearInterval(timer);
      callback(false);
    }
  }, 100);
}

page.open(address, function (status) {
  if (status !== 'success') {
    fail('Unable to load page: ' + status);
    return;
  }

  page.render(output + '01-before-click.png');

  var clicked = page.evaluate(function () {
    var element = document.querySelector('#continue');
    if (!element) return false;
    element.click();
    return true;
  });

  if (!clicked) {
    fail('Selector #continue was not found');
    return;
  }

  waitFor('#details', function (ready) {
    if (!ready) {
      fail('Timed out waiting for #details');
      return;
    }

    page.render(output + '02-after-continue.png');

    var opened = page.evaluate(function () {
      var element = document.querySelector('#details');
      if (!element) return false;
      element.click();
      return true;
    });

    if (!opened) {
      fail('Selector #details was not found');
      return;
    }

    waitFor('#confirmation', function (complete) {
      if (!complete) {
        fail('Timed out waiting for #confirmation');
        return;
      }
      page.render(output + '03-after-details.png');
      phantom.exit(0);
    }, 10000);
  }, 10000);
});
The official quick start documents opening a page and rendering it after a successful load. The automation guide documents DOM scripting and CSS selectors inside page.evaluate.
3. Choosing the click mechanism
DOM click with page.evaluate
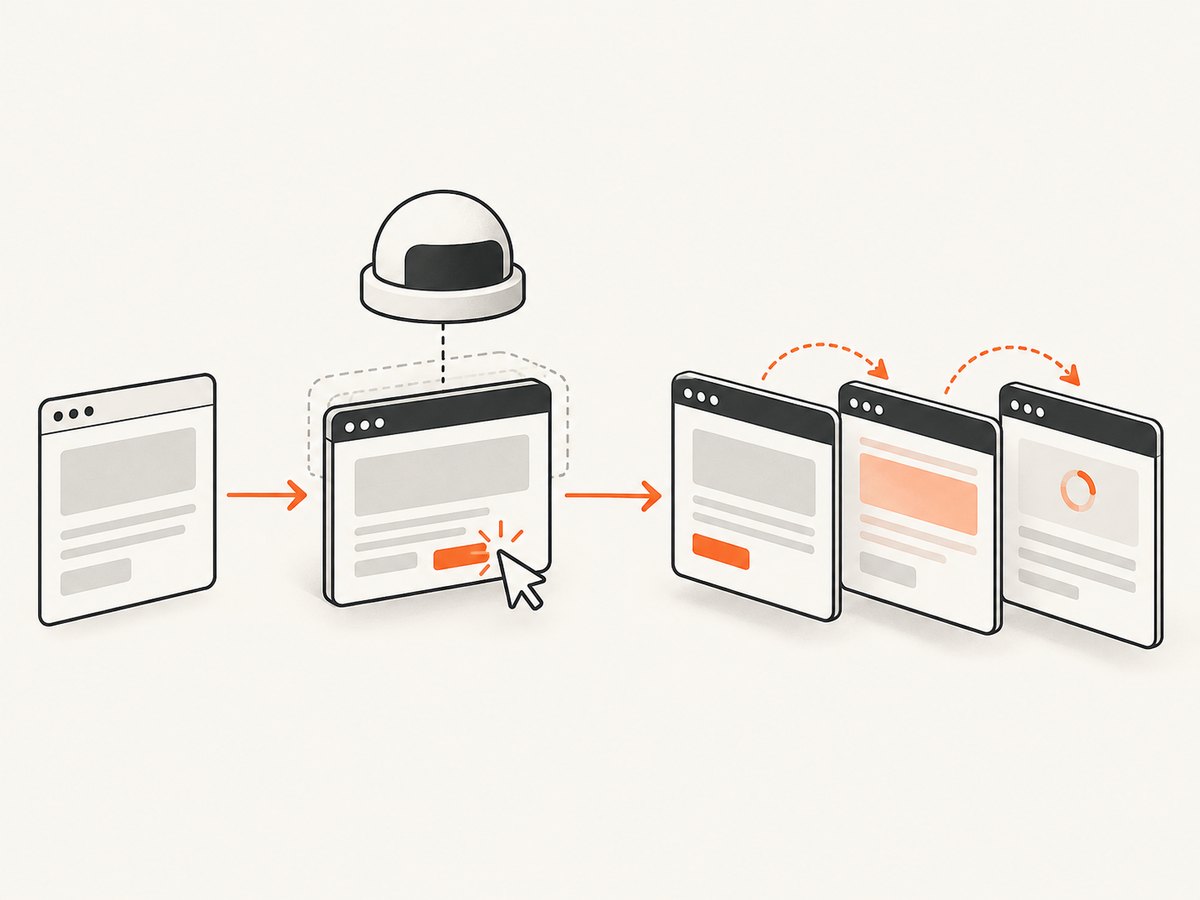
Use a DOM click when the test is intended to exercise the element’s JavaScript handler and you can identify the element with a selector.
var clicked = page.evaluate(function () {
  var button = document.querySelector('#continue');
  if (!button) return false;
  button.click();
  return true;
});
The function runs in the page context, so it can access the document and standard DOM APIs. Return a boolean or another small value to make missing selectors visible to the PhantomJS script.
Mouse click with page.sendEvent
Use the mouse API when the behavior under test depends on mouse events or coordinate-based interaction. The documented form is:
page.sendEvent('click', 320, 240, 'left');The documented event types include mousedown, mouseup, mousemove, doubleclick, and click. The button argument defaults to left when omitted. Coordinates must match the rendered layout, so they can be more fragile than a selector.
Do not treat them as interchangeable
| Need | Preferred approach | Reason |
|---|---|---|
| Call an element handler by selector | page.evaluate and element.click() |
Directly invokes the page’s DOM interaction path. |
| Cover mouse event handling | page.sendEvent |
Exercises the documented mouse-event route. |
| Verify asynchronous UI state | Either method plus a readiness check | The click itself does not prove rendering is complete. |
4. Waiting for the changed state
Prefer a condition that represents completion: an element appears, a loading marker disappears, a known text value changes, or a navigation callback completes. The selector-wait helper above polls for an element. You can also return text from the page context:
function hasReadyText() {
  return page.evaluate(function () {
    var node = document.querySelector('#status');
    return node && node.textContent.indexOf('Complete') !== -1;
  });
}
If the application has no reliable state marker, a short delay can illustrate sequencing:
setTimeout(function () {
  page.render('02-after-click.png');
  phantom.exit();
}, 500);
Keep the delay conservative and document that it is a fallback. It can fail when an API response, animation, or page load takes longer than expected.
5. Rendering and test configuration
- Unique filenames: include an ordered prefix and state name so later renders cannot overwrite earlier evidence.
- Output directory: write all artifacts under a predictable directory such as
screenshots/. - Viewport: set the page viewport before opening when your test depends on responsive layout. Use the viewport size supported by your PhantomJS build and application.
- Page settings: the automation guide shows changing
page.settings.userAgentbefore opening. Use this when the server returns different markup for different agents. - Render format: choose the filename extension supported by your PhantomJS build, such as PNG or JPEG, and keep it consistent across a comparison run.
- Exit status: call
phantom.exit(0)only after every capture succeeds; callphantom.exit(1)on a missing selector, failed load, or timeout so CI can fail the test.
Do not assume current browser features are supported. PhantomJS uses an older WebKit engine, and the official project is suspended. Validate the exact pages and JavaScript syntax used by your test suite.
6. Organizing multiple screenshots in CI
- Create a clean output directory for each test run.
- Use stable state names such as
01-before,02-after-continue, and03-confirmation. - Log the state being captured immediately before each
page.render. - Keep the exit code nonzero when a load, selector, or readiness check fails.
- Publish the generated files as CI artifacts so a failure includes visual evidence.
For visual comparisons, keep URL data, viewport dimensions, user-agent settings, and test data stable. A screenshot can differ because the page changed, because asynchronous content was captured at a different moment, or because the rendering environment changed.
7. Troubleshooting
| Symptom | Likely cause | Fix |
|---|---|---|
Unable to load page |
Network failure, invalid URL, or a page PhantomJS cannot load. | Log the status, verify the address from the same machine, and fail before rendering. |
| Screenshot shows the old state | The click triggered asynchronous work that had not finished. | Wait for a state-specific element or text instead of relying on an immediate render. |
| Selector is missing | The page returned different markup, the selector is wrong, or the page has not finished loading. | Check the selector in the loaded DOM, wait for it, and return an explicit failure. |
| Mouse click hits the wrong target | Coordinates changed with viewport, zoom, responsive layout, or scrolling. | Prefer a DOM selector when mouse-event fidelity is not the requirement; otherwise control layout and coordinates. |
| Later images overwrite earlier ones | Every render uses the same path. | Give every state a distinct filename. |
| CI reports success despite a bad image | The script exits successfully after logging an error. | Use phantom.exit(1) for failed loads, missing elements, and timeouts. |
| Modern page does not behave correctly | PhantomJS’s legacy WebKit engine lacks browser behavior required by the site. | Confirm compatibility before investing in the test, or move the flow to a maintained browser automation stack. |
8. Performance, reliability, and cost notes
- Performance: there is no source-backed benchmark to use for comparing PhantomJS with other browsers. Reduce unnecessary waits and captures, but measure your own suite if timing matters.
- Reliability: readiness conditions, deterministic test data, unique paths, and nonzero failure exits matter more than a fixed sleep.
- Capture count: render only the states needed for diagnosis and review. Every additional state adds storage and review work.
- Legacy risk: the official site says development is suspended, and the GitHub repository is read-only. Plan for compatibility issues and migration if the tested application evolves.
- Cost: a local PhantomJS script has no hosted screenshot charge, but it still consumes CI time, storage, and maintenance effort.
9. Or skip the browser setup
ScreenshotNeo provides a website screenshot API: one GET request returns a PNG, JPEG, WebP, or PDF. It can capture a URL, full page, or selected element, and supports waits, custom JavaScript and CSS, device presets, cookies, headers, user agents, geolocation, caching, bulk capture, and async jobs. See the ScreenshotNeo documentation for the complete option list.

For a direct capture after your application has reached the desired URL, use:
curl -G "https://api.screenshotneo.com/v1/shot" -d access_key=YOUR_API_KEY --data-urlencode url=https://stripe.com -o shot.webpimport requests
r = requests.get("https://api.screenshotneo.com/v1/shot", params={"access_key": "YOUR_API_KEY", "url": "https://stripe.com"}, timeout=90)
open("shot.webp", "wb").write(r.content)const q = new URLSearchParams({ access_key: 'YOUR_API_KEY', url: 'https://stripe.com' });
const res = await fetch(`https://api.screenshotneo.com/v1/shot?${q}`);Cookie and consent banners, newsletter popups, and chat widgets are removed before the shot. Bot checks, blank pages, failed loads, timeouts, and cache hits are not billed, and the response identifies the result with X-Page-Verdict and X-Billed headers. ScreenshotNeo also has an MCP server with take_screenshot, get_page_info, and capture_pdf tools for Claude, Cursor, and other MCP clients.
The Free plan includes 1,000 screenshots per month with no card. Paid plans start at $5 for 3,000 screenshots, and every feature is available on every plan. Create a free ScreenshotNeo account.
10. FAQ
Should I use a DOM click or a mouse click?
Use a DOM click when you need to invoke an element handler by selector. Use page.sendEvent when the test specifically covers mouse events or coordinates.
How many screenshots can one PhantomJS test create?
There is no fixed limit in the documented pattern. Render as many states as the test needs, using a distinct path and a readiness check for each one.
Why is a timeout alone unreliable?
Network responses, animations, and application work do not complete in a fixed amount of time. A selector or text condition ties the capture to the state you actually want.
Is PhantomJS suitable for a new browser test suite?
It may maintain an existing legacy suite, but official development is suspended and the repository is archived. Check compatibility and consider a maintained browser automation tool for new coverage.
Can I capture only one element?
PhantomJS’s documented workflow centers on rendering the page. If your requirement is a hosted element capture with waits and cleanup, ScreenshotNeo supports capture by CSS selector through its API.


